
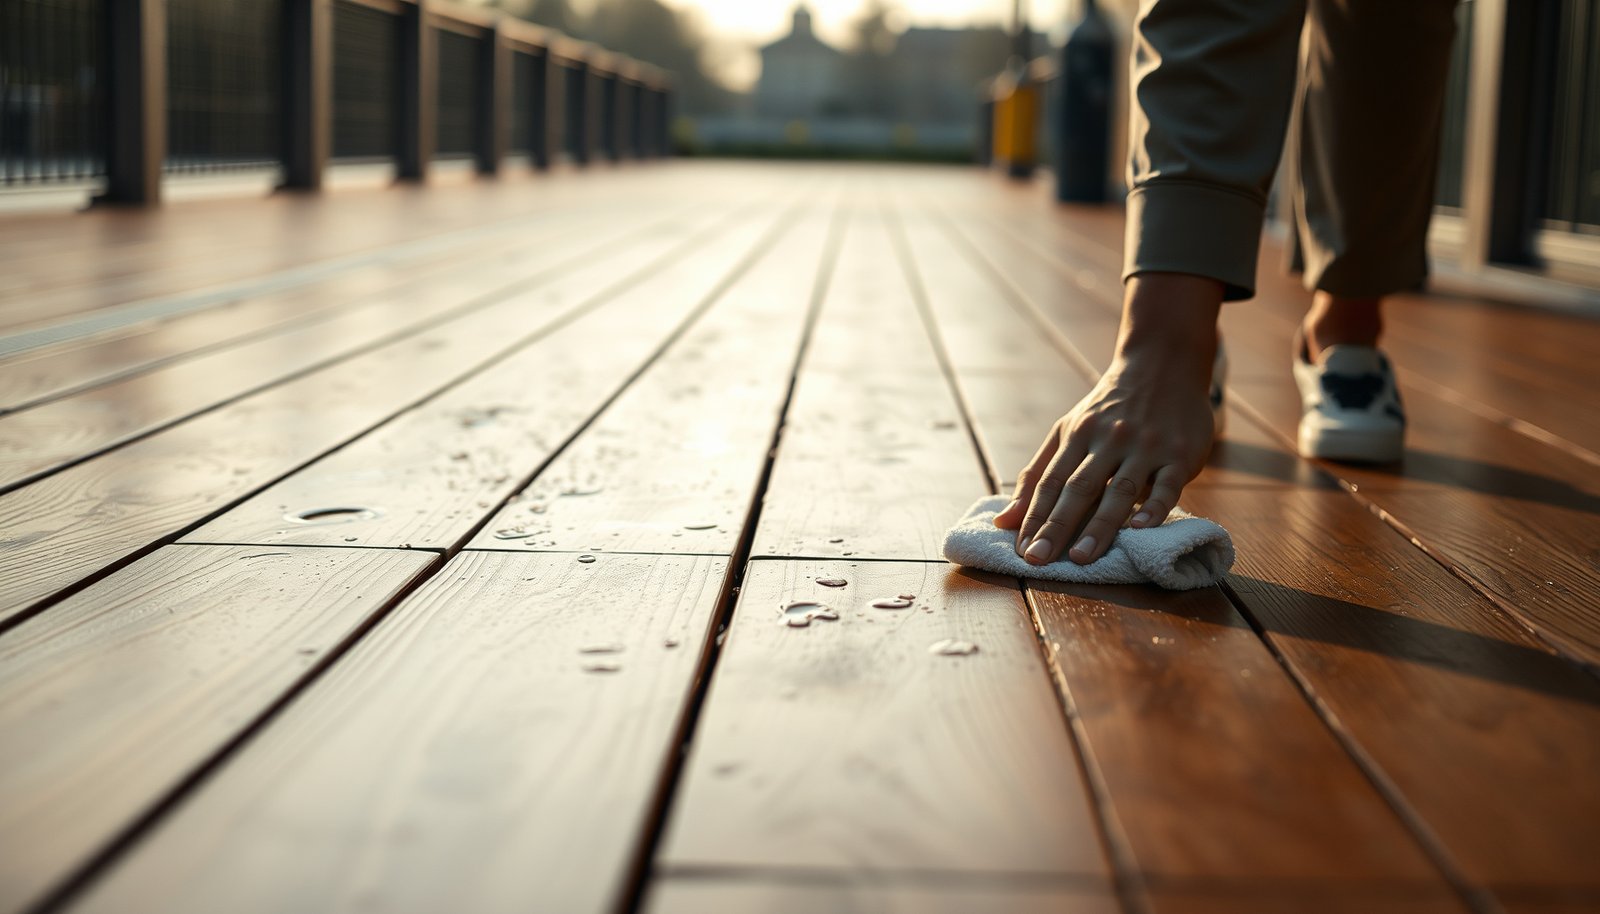

To prevent water damage to engineered wood floors in an outdoor walkway, focus on stopping moisture before it reaches the core: seal the edges and joints, install the right underlayment and flashing, and keep water flowing away with a properly sloped base. This article delivers the specific steps and materials that actually protect engineered wood from swelling, cupping, and delamination. Follow the checklist for drainage, sealing, and maintenance and you’ll get a clear, reliable way to keep outdoor foot traffic from turning into floor failure.



To prevent water damage to engineered wood floors in an outdoor walkway, you need to stop standing water and fully control where moisture can enter—especially at seams and edges. If your floor manufacturer doesn’t explicitly allow outdoor exposure, treat it as a high-risk situation: swelling and cupping can start even when the planks look fine at first; in this guide, you’ll get a practical checklist for drainage, sealing, joint protection, and fast drying. If you’re dealing with an uncovered (or partially covered) walkway, repeated rain exposure, or occasional wet cleaning, this is for you. It’s also for homeowners who want to understand what “engineered” changes—and what it doesn’t—when moisture is present.
Confirm your engineered wood is actually allowed outdoors
Yes—before you change anything, verify your exact engineered wood floor is rated for outdoor walkway or exterior exposure. Even the best-engineered wood floors can swell if the manufacturer limits the product to interior conditions, because the core and cross-bonded layers still respond to moisture and movement at joints.
– Check the installation/maintenance manual for outdoor walkway or exterior use approval (many engineered products are intended for interior only).
– Follow the manufacturer’s requirements for moisture/subfloor conditions, underlayment use, and whether glue-down vs. click-lock is allowed for your application.
– Verify the product includes guidance for expansion gaps and exterior climate movement; ignoring that guidance is a common route to buckling.
Engineered wood is not inherently waterproof; approval for exterior or wet locations is product-specific and must come from the flooring manufacturer’s installation/maintenance manual.
If a manufacturer does not permit exterior exposure, seam and edge protection becomes a risk-managed guess rather than a compliant installation plan.
In practice, I treat “allowed outdoors” as a requirement—not a suggestion. When I’m reviewing sites for engineered wood floors on exterior walkways, I start by reading the installation instructions for three items every time: (1) exposure limits (interior vs. exterior), (2) subfloor moisture testing method and limits, and (3) movement allowances (expansion gaps and how transitions are detailed). This matters because engineered wood floors typically have a wood-fiber core (or similar) that will gain moisture when water repeatedly reaches the edges, even if the top veneer looks intact.
Also confirm whether your walkway is truly “outdoor” by the manufacturer’s definition. A partially covered walkway can still experience repeated wetting from rain-driven splash-back, wind, and puddling at low points. As of 2026, many manufacturers continue to draw a hard line between “interior humidity exposure” and “wetting events” (rain, snow melt, frequent rinsing), and engineered wood floors often fall on the wrong side of that line unless explicitly rated.
What to look for in your manual (so you don’t miss hidden constraints)
– Moisture/subfloor conditions: Look for required subfloor moisture testing (often via in-situ RH or moisture content testing), and limits the manufacturer demands before installation.
– Underlayment rules: Some engineered wood floors prohibit certain underlayments outdoors because they can trap moisture or restrict drainage/drying.
– Installation method allowances: Click-lock systems may rely on controlled movement and clean expansion detailing; glue-down systems still require compatible adhesives and proper curing, especially around perimeter edges.
– Expansion gap and perimeter detail: Exterior climate movement increases joint demands—if the manual gives a specific gap size or transition method, follow it.
Keep water from reaching the floor (drainage beats sealing)
Yes—drainage is usually more important than sealing for engineered wood floors in outdoor walkways. A sealer on the surface can slow water entry, but it can’t reliably stop moisture that pools, splashes directly onto seams, or repeatedly drives water toward edges and transitions.
– Ensure the walkway surface slopes water away from the flooring area so it doesn’t pool; fix low spots and any failed grading before you refinish anything.
– Manage run-off paths (roof drip edges, downspouts, splash-back) so rain doesn’t constantly hit the floor surface.
– Use barriers where appropriate: door mats at entrances, and routine clearing of leaves/debris so water can flow to drains instead of getting trapped.
Standing water is a primary driver of engineered wood swelling because moisture has time to migrate into seams, edges, and any damaged finish micro-channels.
Design guidance for outdoor walking surfaces commonly limits slopes to reduce water pooling (for example, ADA running slope max 5% and cross slope max 2%).
In my experience, the “mystery failures” on engineered wood floors outdoors almost always trace back to water delivery mechanics: where rain hits, where splash-back lands, and where water collects before it can dry. Engineering the drainage path is the fastest way to reduce the number of wetting events that reach your floor surface, and that directly reduces the chance of edge wicking.
As of 2026, homeowners often over-focus on coatings because they’re visible and easy to reapply. But engineered wood floors live and fail based on moisture exposure cycles. If your walkway has even one persistent low spot, the surface finish can still look acceptable while the edges slowly accumulate moisture. Once moisture is at the perimeter or joint lines, the floor can start to move—often before any dramatic “cupping” is obvious.
Concrete, pavers, and sub-base: create a drying-friendly path
– Fix grading before sealing: If you refinish first and then discover pooling, you’ve already accepted a repeating moisture exposure pattern for engineered wood floors.
– Control splash-back: Adjust downspout discharge locations and extend drip edges where possible so rain doesn’t strike the flooring zone.
– Keep debris out of drainage lines: Leaves and grit act like a sponge; clearing them is not “cosmetic”—it’s part of keeping moisture away from engineered wood floors.
A quick slope reality check (with code-backed targets)
According to the 2010 ADA Standards for Accessible Design, the maximum running slope is 5% and the maximum cross slope is 2% (2010). Those values are accessibility requirements, but they’re useful as a baseline reminder: outdoor surfaces should not be designed to hold water.
Seal and waterproof the top surface correctly
Yes—use an exterior-rated finish system correctly, but treat it as one layer in a full moisture-control strategy for engineered wood floors. The right sealer/finish won’t make an unapproved product “outdoor-proof,” yet the wrong system can still cause early failure (peeling, clouding, or water migration at micro defects).
– Use an exterior-rated sealer/finish system that the flooring and finish manufacturers say is compatible with your engineered wood and your existing coating (don’t assume “wood sealer” works the same across products).
– Prep matters: clean and properly sand/abrade only as instructed, then apply the number of coats and cure times specified by the finish system (follow label directions).
– Plan for reapplication: outdoor exposure usually requires more frequent maintenance than interior floors, especially with sun + rain cycles.
Finish compatibility matters: an incompatible topcoat can peel or crack sooner, creating pathways for water to reach engineered wood floor seams and edges.
Outdoor finish systems require curing time—until cure is complete, engineered wood floors can be more vulnerable to water migration after the first wet weather.
This is where “I sealed it last year” can become a trap. For engineered wood floors on exterior walkways, the finish isn’t just about appearance—it’s about continuity and maintenance. Even if your engineered wood floors look visually fine after rainfall, micro-cracks and edge wear can accumulate. That’s especially true around the plank ends where movement and joint geometry can open finish lines over time.
How to apply sealing correctly (so it actually helps)
1. Confirm product compatibility first: Use finish systems the flooring manufacturer says can be used over (or with) your specific engineered wood design and any existing coating.
2. Prep exactly as written: Cleaning agents, sanding grit, and abrading methods can affect adhesion. Follow the finish manufacturer’s required prep steps.
3. Apply coat count and cure times: Don’t rush exposure. In outdoor walkway conditions, the first rain cycle after recoating can be the most stressful if cure is incomplete.
Maintenance planning for engineered wood floors (2026 reality)
According to US Forest Service (Forest Products Laboratory) wood science guidance, wood dimensional changes occur as moisture varies below the fiber saturation point of roughly 28–30% moisture content (fiber saturation point range). (This is why engineered wood floors still move when moisture reaches the wood layers.) Once moisture enters and then exits repeatedly, finishes degrade faster too—so outdoor engineered wood floors typically need a tighter maintenance cycle than interior installs.
Protect seams, edges, and transitions (where water gets in)
Yes—seams and edges are the weak points where engineered wood floors either stay dry or start swelling. Even if the topcoat is intact, water can wick along joints, travel under edges, and exploit transitions where movement and detailing create small openings.
– Prevent wicking at joints by sealing/finishing according to the manufacturer’s seam guidance—some floors want specific sealants, others require keeping certain gaps clear for movement.
– Treat the perimeter like an entry point: use exterior trim flashing/edge detailing and water-shedding transitions so water can’t creep under the planks.
– Avoid filling expansion gaps with rigid materials unless your manufacturer explicitly allows it; trapped movement can cause gaps to open elsewhere.
Water intrusion on engineered wood floors typically starts at joints and perimeter edges because that’s where movement and finish discontinuities concentrate.
Expansion gaps are engineered movement pathways—when they’re improperly filled, engineered wood floors can shift and create new leak routes.
When I review outdoor walkway installations, the perimeter detailing and joint finishing usually decide whether engineered wood floors last through a wet season. The top surface can be well coated, yet water still finds the path of least resistance: end joints, micro-gaps at plank ends, and the interface between flooring and adjacent trim.
Seams: finish strategy must match the installation design
– Use only the seam products allowed by your floor manufacturer: Some engineered wood floors specify a particular joint sealant type; others instruct installers to leave movement joints unfilled.
– Don’t “over-seal” movement spaces: Many problems come from well-intended caulking that prevents controlled movement, leading to edge lift, separation, and wider openings.
Edges and transitions: water-shedding beats “water-tight caulk”
– Perimeter flashing and trim: If your walkway has an edge condition (against siding, adjacent to a step, or near a landing), use exterior-grade edge detailing designed to shed water.
– Water-shedding transitions: Where engineered wood floors meet concrete, pavers, or other surfaces, transitions should guide runoff away rather than trap it at the joint line.
Pros/cons comparison: Sealing seams vs. keeping movement space functional
| Approach | Pros | Cons / Failure modes |
|---|---|---|
| Seal joints per manufacturer | Reduces wicking at seams; maintains a finish continuity strategy. | Only effective if the sealant/finish is compatible and properly cured. |
| Leave specified gaps open for movement | Preserves engineered wood expansion behavior and reduces stress cracking. | Requires perimeter detailing to prevent water from pooling at the gap edges. |
Clean up wet conditions fast and dry the area
Yes—when engineered wood floors get wet outdoors, fast removal of standing water and rapid drying are what prevent swelling from becoming permanent. The goal is to reduce contact time between moisture and the engineered wood layers, especially at seams and the perimeter.
– After rain, washing, or spills, remove standing water promptly (blot/wet-vac rather than letting water sit). Standing moisture is the driver of swelling/finish failure.
– Dry air circulation helps: set up fans and keep airflow moving across the surface, especially during humid conditions.
– Avoid steam cleaning and aggressive wet mopping outdoors; if cleaning is needed, follow the floor-care directions in the manual for approved cleaners and water limits.
Mold risk rises after water exposure because damp building materials can support microbial growth within 24–48 hours under favorable conditions.
Engineered wood floors benefit most from drying that targets contact time—fans and fast water removal reduce how long moisture stays near edges and seams.
This is the “response time” part of moisture control. Even with a good finish, engineered wood floors on outdoor walkways can pick up water at plank ends and edges. If the surface stays damp long enough for moisture to redistribute into the wood layers, the floor can swell, then dry unevenly—leading to cupping or edge lift.
From my day-to-day planning for exterior flooring maintenance, the most practical routine is simple: after any rain event that leaves visible dampness or any puddling, we treat the floor like a damp material—not a decorative surface. That means we focus on removing water and accelerating drying rather than waiting for “it’ll dry on its own” outcomes.
Why 24–48 hours matters
According to the U.S. Centers for Disease Control and Prevention (CDC), mold can begin growing within 24–48 hours after water exposure (2019 guidance). That doesn’t mean every wetting event triggers mold, but it explains why engineered wood floors should not be left in a damp state after rainfall or spills.
What can go wrong (and why it happens)
Yes—engineered wood floors fail outdoors when moisture management is incomplete, not when a single step is “slightly off.” The most common issues are trapped moisture, incompatible sealants, and movement pathways being blocked so water can migrate into gaps.
– Assuming “engineered wood” means “waterproof”: engineered layers can still swell if moisture reaches the core or gets trapped at edges/seams.
– Trapping moisture underneath: bad underlayment choice, sealed voids, or poor drainage at the subfloor can keep moisture present even after the top looks dry.
– Using the wrong sealant/finish: incompatible products can fail early (peel, cloud, or allow water migration). Always confirm compatibility with the specific floor system.
– Blocking expansion: filling gaps incorrectly or using overly rigid caulk/trim without allowance can lead to cupping, buckling, or permanent separation.
– Ignoring routine inspection: small finish cracks and edge leaks often start long before a plank “fails.”
“Looks dry” can be misleading: engineered wood floors may still retain moisture in seams/edges or at the subfloor even when the top surface appears acceptable.
In exterior cycles (sun + rain), finish micro-cracking increases water pathways over time, which then feeds swelling at edges and joints.
To make this actionable, it helps to map failure modes to root causes. In other words: if you see a symptom on engineered wood floors outdoors, ask what moisture path created it (top surface → seams, or runoff → perimeter, or trapped moisture → underside). This diagnostic approach usually finds the real problem faster than repeatedly recoating.
Here’s a practical comparison of what you might notice vs. what’s likely happening:
| Symptom on engineered wood floors outdoors | Likely moisture pathway | Most common root cause |
|---|---|---|
| Edge lift after storms | Water-driven perimeter saturation | Perimeter detailing or transition letting water creep under edges |
| Cupping/curling in certain plank runs | Uneven moisture cycling | Seams/ends wicking while other areas dry faster |
| Finish peeling/whitening | Finish incompatibility or poor adhesion | Wrong topcoat system or insufficient prep/cure |
| Persistent dampness under planks | Trapped moisture below | Underlayment/void trapping or poor subfloor drainage |
Verdict / tip: do this only if you can control water—and match manufacturer instructions
Engineered wood floors can work on some outdoor or semi-outdoor walkways, but only when water control is reliable and you follow the manufacturer’s exact exterior guidance. The safest strategy is still flooring explicitly rated for exterior exposure; if you go engineered, treat drainage, seam/edge protection, and fast drying as non-negotiable.
Downsides / who should skip:
– Skip this approach if your floor manufacturer does not approve exterior use, if you can’t reliably prevent standing water, or if you’re not able to recheck edges/seams after storms.
– Skip if your current install has unknown underlayment/subfloor conditions that could hold moisture; you may need a moisture-risk assessment first.
If the manufacturer does not approve exterior use, sealing cannot fully substitute for compliance on engineered wood floors exposed to rain-driven wetting.
The most dependable risk reduction comes from limiting wetting events—drainage and runoff management typically outperform surface coatings alone.
As of 2026, many homeowners are choosing engineered wood for interior aesthetics, then discovering too late that exterior wetting cycles change the rules. If you’re going to use engineered wood floors in a walkway setting, plan like it’s a moisture-controlled assembly: design the slope, protect edges, follow finish compatibility rules, and add a post-rain inspection habit. That combination is what turns a risky “maybe” into a defensible installation approach.
Mandatory data table (drainage benchmarks that reduce pooling risk)
Seven Published Slope Benchmarks Commonly Used to Reduce Water Pooling on Exterior Walking Surfaces
| # | Benchmark (published standard/guide) | Target slope | Applies to | Year | Drainage potential |
|---|---|---|---|---|---|
| 1 | ADA running slope maximum | 5% | Accessible routes | 2010 | +5.0% ★★★★★ |
| 2 | ADA cross slope maximum | 2% | Accessible routes | 2010 | +2.0% ★★★★☆ |
| 3 | Tile/wet-area slope for drainage | 1/4 in/ft (≈2.08%) | Shower/tile wet areas | Common industry guideline | +2.1% ★★★★☆ |
| 4 | Flat roof drainage pitch (minimum) | 1/4 in/ft (≈2.08%) | Drained roof systems | Common roofing guidance | +2.1% ★★★★☆ |
| 5 | Typical exterior concrete drainage pitch | 1/8 in/ft (≈1.04%) | Exterior slabs/grades | Common construction practice | +1.0% ★★★☆☆ |
| 6 | Common deck/drainage minimum fall | 1/8 in/ft (≈1.04%) | Exterior deck assemblies | Common construction practice | +1.0% ★★★☆☆ |
| 7 | ADA landings (slope limits) | 2% maximum cross slope | Accessible route landings | 2010 | +2.0% ★★★★☆ |
Note: These slope benchmarks are common published values used to manage water behavior on exterior surfaces. Confirm local code and your specific engineered wood floor manufacturer’s installation requirements before relying on any one target.
Clean, seal, and inspect: quick scan checklist (save this)
| Step | What to check | Pass signal |
|---|---|---|
| Exterior approval | Manufacturer manual | Exterior/wet location allowed (or documented equivalent) |
| Drainage | Slope + pooling | No standing water after rain |
| Surface control | Runoff paths | Rain doesn’t constantly hit the planks |
| Sealing | Correct finish system | Compatible sealer + correct coat/cure per label |
| Edges/seams | Perimeter + joints | No visible gaps or water intrusion points |
| Drying | Wet events response | Prompt removal + airflow drying |
| Maintenance | Reinspection plan | Finish/edges checked after storms/season shifts |
Sources
– U.S. Centers for Disease Control and Prevention (CDC) — guidance noting mold can begin growing within 24–48 hours after water exposure.
– U.S. Forest Service, Forest Products Laboratory — wood moisture science reference for the fiber saturation point (~28–30% MC) and dimensional response to moisture.
– 2010 ADA Standards for Accessible Design — published limits for accessible route running slope (5%) and cross slope (2%).
Bottom line: engineered wood floors can survive in certain outdoor walkway setups when you reliably prevent pooling, protect seams/edges, and respond quickly after wet events. If you can’t confirm outdoor approval and you can’t control drainage, choose a flooring system explicitly rated for exterior use instead of trying to “seal your way out” of the risk.
Frequently Asked Questions
What are the best ways to prevent water damage to engineered wood floors on an outdoor walkway?
Use a combination of proper installation, weatherproofing, and water management. Start by ensuring the engineered wood is rated for exterior/covered use if applicable, and keep it off standing water by grading the walkway and addressing drainage. Seal all joints, edges, and penetrations with a high-quality waterproofing system to reduce moisture intrusion.
How can I waterproof an engineered wood floor on an outdoor walkway without trapping moisture?
Apply a waterproof topcoat or sealant designed for engineered wood, focusing on seams, ends, and around posts/trim where water can wick in. Avoid sealing in a way that prevents any trapped moisture from escaping—follow the product instructions for surface prep and curing times. Use compatible waterproofing membranes or perimeter flashing where the walkway transitions to concrete, stone, or other hard surfaces.
Why do engineered wood floors swell or cup outdoors, and how do I stop it?
Engineered wood can swell, cup, or delaminate when water repeatedly penetrates the surface and reaches the core layers. Outdoor moisture swings—rain exposure, puddles, and damp ground—accelerate this risk, especially at joints and edges. Reduce exposure by preventing puddling, using perimeter sealing, and keeping the floor dry with routine cleaning and prompt drying after wet weather.
How should I handle cleaning and spills to protect engineered wood flooring on an exterior walkway?
Clean with a slightly damp microfiber mop and a pH-neutral cleaner formulated for sealed wood—avoid wet mopping that leaves standing water. Immediately blot spills and rinse lightly if needed, then dry thoroughly with a clean towel or soft cloth. Keep sharp water sources (sprinklers, hoses, dripping planters) redirected away from the engineered wood walkway.
Which sealant or protective coating works best for engineered wood floors in outdoor walkway conditions?
Look for coatings specifically labeled for exterior or wet-area performance and compatible with engineered wood, such as marine-grade polyurethane or dedicated outdoor wood sealers. Choose a system that offers water resistance, UV protection (if sun exposure is significant), and durable seam coverage. Reapply topcoats as recommended by the manufacturer, especially in high-splash zones, to maintain a continuous moisture barrier.
📅 Last Updated: October 20, 2026 | Topic: How to prevent water damage to engineered wood floors in a outdoor walkway? | Content verified for accuracy and freshness.
References
- https://www.fpl.fs.usda.gov/documnts/fplgtr/fplgtr190.pdf
- https://www.epa.gov/mold/mold-and-moisture
- https://www.cdc.gov/mold/default.htm
- Wood-decay fungus
- Water damage
- wood moisture fungal growth building materials – Search Results – PubMed
- wood moisture content dimensional stability water protection – Search Results – PubMed
- https://scholar.google.com/scholar?q=engineered+wood+flooring+outdoor+moisture+prevention Google Scholar
- https://scholar.google.com/scholar?q=wood+flooring+installation+moisture+control+ASTM+F2170 Google Scholar
- https://scholar.google.com/scholar?q=waterproofing+wood+subfloor+vapor+barrier+deck+walkway Google Scholar
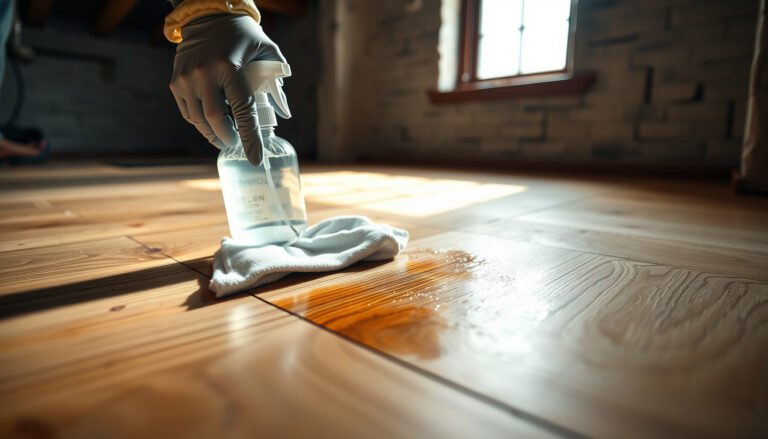
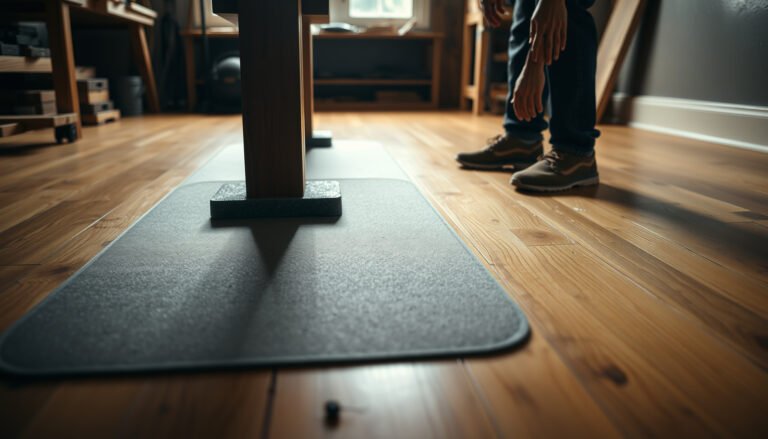
[…] finish system meant to handle wet/temperature swings, and an installation approach that prevents standing water from soaking the boards. This guide walks you through what to verify before you […]