


If your engineered wood floors in a sunroom are lifting, cupping, or separating at the seams, the fastest path to a solid repair is figuring out whether the damage is moisture-driven or wear-driven—and then matching the fix to the cause. This guide lays out the exact steps for assessing the subfloor moisture risk, cleaning and preparing the damaged area, and replacing or re-gluing affected planks so the surface comes back flat and stable. You’ll also learn the sunroom do’s and don’ts that prevent the same problem from returning.




Repairing engineered wood floors in a sunroom starts with one truth: the boards are usually reacting to movement first (heat/UV and moisture swings), and the “damage” you see is the symptom. Fix the movement pathway—especially perimeter clearance and installation type—then address the specific issue (gaps, finish wear, or a damaged plank) using your flooring’s approved limits.
If your sunroom gets strong sunlight or noticeable temperature and humidity variation, engineered wood can expand and contract more than it would in a typical interior room. This guide focuses on the kinds of repairs most homeowners can handle: small seam gaps, surface scratches/finish scuffs, and targeted plank replacement—while still staying aligned with manufacturer instructions for your exact floor system.
Who this is for (and when it applies)

This is for homeowners whose sunroom engineered wood flooring has started to separate at seams, show finish wear near glass walls, or develop an isolated damaged plank. It’s also for anyone whose floor is “acting wrong” after installation—because the right repair depends heavily on whether your floor is floating/click-lock or glue-down.
Diagnose the damage first (don’t guess)
The fastest way to repair engineered wood in a sunroom is to decide whether you’re dealing with surface-only wear or ongoing structural movement. That single decision changes everything—because seam work, plank replacement, and any refinishing limits all hinge on what’s actually happening under the finish.
Start with a practical inspection: look for flatness problems (cupping, tenting), seam failures (gaps, lifted edges), and loose areas (boards that click or shift under light pressure). Then compare those findings to your sunroom’s exposure pattern. If issues cluster near skylights, large windows, or exterior doors, the environment is likely driving the motion rather than normal daily living. (That matters because you can patch a seam today and still have it re-open if the sunroom keeps moving the floor.)
In wood flooring, visible seam gaps are usually the surface evidence of dimensional change—expansion and contraction—rather than a “bad plank” by itself.
A floating/click-lock installation relies on an unblocked perimeter expansion gap; if that gap is pinched, the floor can force its way into the room and push seams apart.
Glue-down floors can still separate if the adhesive bond or subfloor conditions are off—so seam lifting must be treated as an installation/adhesion problem, not just a cosmetic issue.
Your 3 key diagnostic calls
– Check whether the issue is surface-only or structural movement. Scratches and scuffs typically don’t change board geometry; gapping, tenting, and loose edges do.
– Identify installation type (floating vs. glue-down). Seam repair strategies and replacement procedures differ.
– Look for environmental patterns. Damage near glass is common in sunrooms because UV can alter the finish color and heat can increase seasonal movement.
To anchor the environmental side in real-world wood behavior: wood shrink/swell is tied to moisture change in the material. According to the U.S. Forest Service / Wood Handbook, the fiber saturation point is ~30% moisture content, above which additional moisture doesn’t drive shrinkage. That helps explain why humidity control often matters when sunroom conditions swing through seasons and between day/night.
Quick risk snapshot: which “repair” lasts in a sunroom?
Use the table below to calibrate what’s likely to hold up when heat/light and humidity fluctuate. (This is not a substitute for your manufacturer’s installation and repair documentation, but it helps you choose an approach that matches the problem.)
Sunroom-Condition Repair Longevity (Typical DIY Suitability)
| # | Repair/Action | Best for in Sunrooms | Typical DIY Time | Repeat-Failure Risk | Longevity Rating |
|---|---|---|---|---|---|
| 1 | Unblock/restore perimeter expansion clearance | Seam gapping from pinched baseboards | 30–90 min | Low | ★★★★☆ |
| 2 | Re-seat floating/click-lock seams | Loose edges without board cupping | 45–120 min | Medium | ★★★☆☆ |
| 3 | Spot wood-filler/touch-up for micro-gaps | Cosmetic seam defects under 1–2 mm | 30–75 min | High | ★★☆☆☆ |
| 4 | Repair kit for scratches/scuffs (same topcoat system) | Localized finish wear | 20–60 min | Medium | ★★★☆☆ |
| 5 | Targeted plank replacement (correct click/fit) | One damaged board or localized failure | 2–6 hrs | Low | ★★★★☆ |
| 6 | Window solar control (UV film/curtains) | Fading + heat spikes near glass | 1–3 hrs | Low | ★★★★☆ |
| 7 | Frequent spot fixes without addressing movement | Recurring gaps after “patching” | Ongoing | Very High | ★☆☆☆☆ |
Fixing loose seams and small gaps
Loose seams and small gaps are usually fixable, but only if the floor can still move the way the installation design intended. For floating floors, the perimeter expansion gap is the first culprit; for glue-down floors, seam lifting can indicate adhesive or subfloor bond issues.
Floating engineered floors must have an expansion gap at the perimeter that remains unobstructed by trim, heavy rugs, or wall contact.
When seams lift on glue-down engineered wood, the repair decision depends on adhesive type compatibility—not just re-pressing the board.
Touch-up products must match the floor’s finish system; applying the wrong filler/topcoat can cause staining, peeling, or a visible sheen difference.
Choose the right branch: floating vs. glue-down
– For floating floors: confirm the perimeter expansion gap isn’t blocked. If baseboards are tight, the wall is “pinching” the floating perimeter, or flooring contact points exist (including some custom trim details), seam gaps often return after seasonal changes. Then re-seat loose sections as allowed by your click-lock design (some systems permit board tapping and undocking; others require specific disassembly steps).
– For glue-down floors: if seams have lifted, use only the adhesive type recommended for your flooring brand/model. The wrong adhesive can fail to bond to your engineered core/topcoat system and may discolor or create surface spots.
| Decision point | Floating/click-lock engineered | Glue-down engineered |
|---|---|---|
| Primary cause of seam gaps | Blocked perimeter expansion or panel lock not seated | Adhesive bond/subfloor moisture movement or bond failure at seam |
| Best first repair move | Restore expansion clearance, then re-seat properly | Follow brand-approved adhesive/repair method for lifted seams |
| Common DIY mistake | Trying to “glue” a floating seam with the wrong product | Using general-purpose glue/caulk that doesn’t match the floor’s system |
For minor gaps: cosmetic repair that won’t fight movement
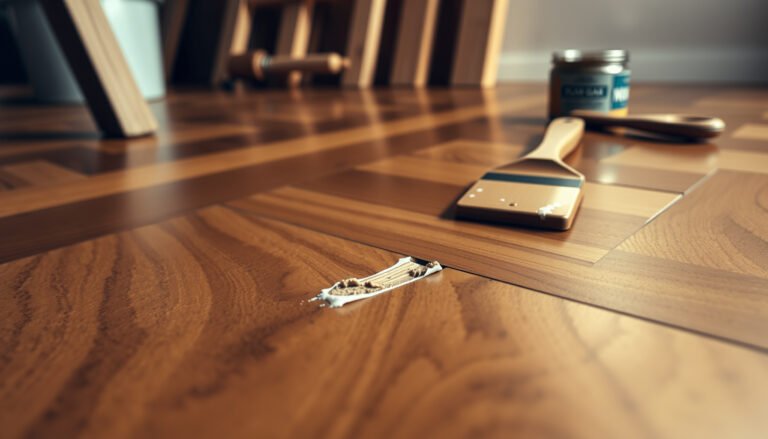
For small gaps that behave like surface/edge defects (not cupped sections), you can often do a controlled clean-and-fill:
1. Clean thoroughly (avoid waxes/silicones; they can prevent bonding).
2. Use a color-matched wood filler/touch-up system made for engineered wood finishes.
3. Follow compatibility notes for your floor’s topcoat so you don’t create a patch with a different sheen.
On sunrooms specifically, remember color aging: UV can lighten or darken the wood veneer over time, so even correct matching can look slightly off. The more the gap is “moving,” the less reliable a purely cosmetic patch will be.
Repairing scratches, dents, and finish wear
Scratches and dents typically fall into two categories: finish-only damage (best handled with a repair kit) and deeper damage that approaches the wear layer (where sanding limits apply). The right approach is determined by how deep the damage goes relative to your floor’s wear layer thickness and finish system.
First, clean the area—no waxes, no silicone-based products. Then assess depth: a superficial scratch may respond to a filler/stain/marker and topcoat touch-up, while a gouge that penetrates further may require a localized repair that restores the surface profile.
Repair kits work best when the filler/stain and touch-up topcoat are matched to the floor’s finish system and sheen level.
Sanding engineered wood is limited by wear layer thickness; once you reduce the wear layer too far, you can permanently change the surface.
Feathering edges during localized filler work reduces the “damaged ridge” effect that often shows in angled sunroom lighting.
Use a repair-kit workflow that blends
– Clean first, then evaluate depth. Engineered floors have a wear layer (the durable top surface). Sanding is only appropriate if your floor’s wear layer thickness allows it per the manufacturer’s specifications.
– Use a matching repair kit. Many systems include filler + stain/marker + a finish/touch-up topcoat. Apply in thin steps, and feather the edges.
– Blend carefully under strong light. Sunrooms expose defects because low-angle light from windows highlights texture differences.
If wear is broader than a single plank or a small patch, a more complete refinishing approach may be necessary. However, engineered floors are sandable only within limits set by their specs. In other words: spot touch-up is usually safer than trying to “make it all even” without confirming wear-layer thickness.
To ground the “why” in real wood mechanics, consider moisture and dimensional change: According to the NWFA wood flooring acclimation guidance, maintaining stable interior conditions (including relative humidity) helps reduce seasonal movement that can stress finish surfaces and seams (NWFA, recent guideline revisions through the 2020s). For sunrooms, that stability often requires active management.
Replacing a damaged plank section
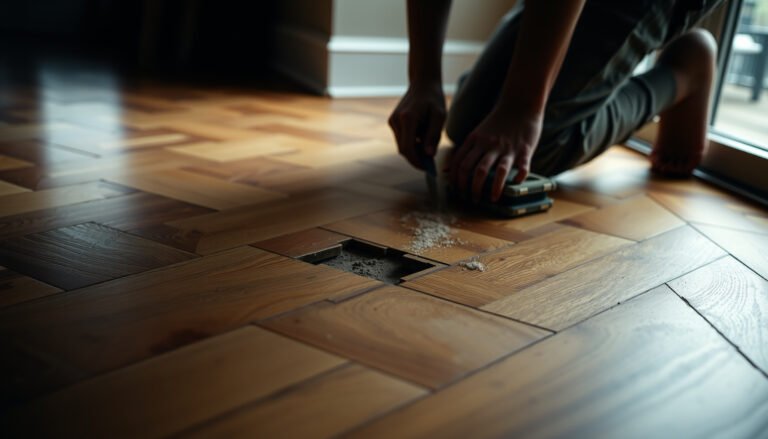
When only one or a few planks are damaged, targeted replacement is often the cleanest long-term fix—especially in sunrooms where ongoing movement can keep reopening weakened areas. The key is to replace the correct plank(s) and fit them using the right method for your installation type.
Before you remove anything, plan the replacement around your layout. Measure which plank(s) are affected and work outward in the direction that prevents unnecessary disturbance to surrounding boards. In a sunroom, this planning is even more important because the floor may be tensioned by seasonal movement; removing the wrong neighbors can create new gaps.
Targeted plank replacement is more reliable than repeated patching when the damaged area is localized and the subfloor remains stable.
Floating engineered floors must be replaced with the correct board locking method and installation direction so the click system seats properly.
Glue-down replacements require careful removal and adhesive cleanup; scraping without a plan can damage the subfloor and reduce future bond strength.
Floating floors: undock/lift and reinstall correctly
– Remove base/trim as needed to access the edge of the damaged run.
– Lift/undock the damaged plank(s) using the click/tongue-and-groove design.
– Install replacement boards in the correct orientation, ensuring the lock fully seats.
Glue-down floors: controlled removal and adhesive compliance
– Carefully remove damaged board(s) without gouging the subfloor.
– Remove old adhesive residue (as instructed by the manufacturer).
– Reinstall with manufacturer-approved methods and the adhesive they specify.
One practical consideration for sunrooms: replacement boards may look slightly different due to UV aging. If the area is highly visible, you may need a broader blending/tinting or finish approach to reduce the visual step.
What can go wrong in a sunroom repair
Sunroom repairs fail most often because the homeowner fixes what’s visible instead of what’s driving the movement. If you skip the environmental cause, you can create a cycle of “patch now, repeat later,” which wastes labor and can damage the finish system.
If you don’t correct the root environmental cause, seam repairs can re-open because engineered wood keeps expanding and contracting with heat and humidity.
Using sanding to “level” an engineered floor without confirming wear-layer limits can permanently expose the wrong surface layers.
Incompatible fillers/adhesives can react with finishes, causing bubbling, spot discoloration, or failed bonding.
Common pitfalls to avoid
– Fixing the symptom without correcting the cause: If the sunroom keeps fluctuating, even a well-installed seam fix can reopen.
– Sanding too aggressively: Engineered floors are not infinitely sandable; exceeding the wear-layer limit can permanently change the surface.
– Using the wrong materials: General-purpose wood glue, sealants, or fillers not designed for engineered floor topcoats can fail or stain.
– Mismatched color: UV fading means patch kits may not blend perfectly unless you tackle a larger area (sometimes requiring a wider refinishing/tinting approach).
For environmental anchoring, a second useful wood science reference helps explain sunroom behavior: According to USDA Forest Products Laboratory wood properties references, wood dimensional change is linked to moisture variation below the fiber saturation point (~30% MC). In real homes, sunroom glass exposure and HVAC habits can move indoor humidity enough to change board geometry over time (USDA Forest Products Laboratory, wood science references).
Verdict: what to DIY vs. call a pro (plus a quick checklist)
DIY makes sense when the damage is localized and you can confidently address the movement cause (like a blocked expansion gap) and then apply an approved spot repair. Call a pro when you see widespread cupping/tenting, repeated seam failures, or suspected subfloor moisture issues—because the fix is no longer just flooring; it’s the system underneath.
Downsides / when to skip DIY
– Skip DIY if you don’t know your wear-layer thickness and you’d be tempted to sand extensively.
– Skip DIY if the floor is lifting repeatedly after spot fixes, which strongly suggests an ongoing root cause (movement, acclimation, or installation-related issues).
– Skip DIY if you find signs of moisture intrusion (soft spots, persistent odor, visible mold) and you can’t rule out subfloor problems.
Scan-and-save checklist
| Step | What to confirm | Done? |
|---|---|---|
| Diagnose | Gap/movement vs. surface-only wear | ☐ |
| Installation type | Floating/click-lock or glue-down | ☐ |
| Specs | Wear layer + approved repair/sanding limits | ☐ |
| Environment | Sun/heat control and ventilation habits | ☐ |
| Materials | Adhesive/fillers compatible with your floor finish | ☐ |
| Replacement | Correct plank fit + correct direction of install | ☐ |
Sources
– (for approved adhesives, fillers, and sanding limits).
– National Wood Flooring Association (NWFA) guidelines on wood flooring acclimation/moisture considerations (for general environmental best practices).
– (for wear-layer thickness and refinishing/sanding constraints).
If you repair engineered wood floors in a sunroom, prioritize diagnosis—movement vs. surface wear—then match the repair method to your installation type and your flooring’s approved materials and limits. When the environment is the driver, the most durable fix combines a correct, spec-compliant repair with better sun/heat and humidity stability.
Frequently Asked Questions
How can I tell if my engineered wood floor in a sunroom needs repair or replacement?
Look for signs like gapping seams, cupping, peaking, or lifting boards—common sunroom issues caused by fluctuating temperature and humidity. If you can press a loose plank back down but it won’t stay flat, it usually means adhesive failure or a damaged subfloor section that needs targeted repair. If the wear layer is very thin and boards are extensively warped or moldy, replacement of affected planks (or the full floor) may be the safest option.
What’s the best way to fix lifted or buckled engineered wood in a sunroom?
Start by reducing moisture and controlling indoor conditions—use a dehumidifier or HVAC to stabilize temperature and relative humidity. Then inspect for the cause (often swelling from moisture, sun-driven expansion, or an uneven subfloor) before re-laying boards. For floating installations, you may be able to remove and reset planks; for nailed or glued engineered wood, you may need to remove only the affected area, replace damaged planks, and reattach using the correct adhesive or fastening method.
How do I repair gaps between engineered wood planks caused by sunroom humidity changes?
First, measure and correct the environment—aim for stable indoor humidity to prevent engineered wood floor movement. Minor gaps can sometimes be reduced over time once conditions stabilize, especially in seasonal swings. If gaps persist or edges are damaged, replace affected planks and confirm proper expansion spacing around the perimeter before re-installing to keep the floor from separating again.
Which repair method works best for water-damaged engineered wood planks in a sunroom?
Water damage requires immediate attention: dry the area thoroughly and address any moisture source (roof leaks, condensation, or spills) before repairs. If the top veneer is still intact but boards have lifted, you can often replace individual planks after the subfloor is dry and flat. For severe delamination, cupping, or black spotting, plan on replacing the affected sections because resurfacing won’t restore structural integrity in engineered wood floor repairs.
How do I repair scratches, dents, and worn spots on engineered wood in a sunroom?
Clean the damaged area, then assess whether the wear layer is just surface-level or has penetrated deeper. For light scratches, use an engineered wood floor repair kit with matching fillers or wood markers, then recoat with the appropriate finish. For deeper dents or worn patches, you may need board-level repair such as replacing the plank section—especially if the sunroom’s UV exposure has accelerated wear and color mismatch is noticeable.
📅 Last Updated: October 20, 2026 | Topic: How to repair engineered wood floors in a sunroom? | Content verified for accuracy and freshness.
References
- Engineered wood
- Wood flooring
- https://www.epa.gov/mold/moisture-control-home
- https://www.cdc.gov/mold/default.htm
- F2170 Standard Test Method for Determining Relative Humidity in Concrete Floor Slabs Using in sit…
- F1869 Standard Test Method for Measuring Moisture Vapor Emission Rate of Concrete Subfloor Using …
- https://scholar.google.com/scholar?q=engineered+wood+floor+repair+sunroom+moisture+humidity Google Scholar
- https://scholar.google.com/scholar?q=engineered+wood+floor+water+damage+repair+replace+planks Google Scholar
- https://scholar.google.com/scholar?q=engineered+wood+flooring+acclimation+moisture+content+installation+relative+humidity Google Scholar
[…] Pick the plank direction before finalizing your engineered wood order numbers, because the direction you choose determines seam rhythm and whether your last row becomes “too thin to look good.” Once direction is set, you can sanity-check first/last row widths and then confirm the perimeter expansion gap. […]