
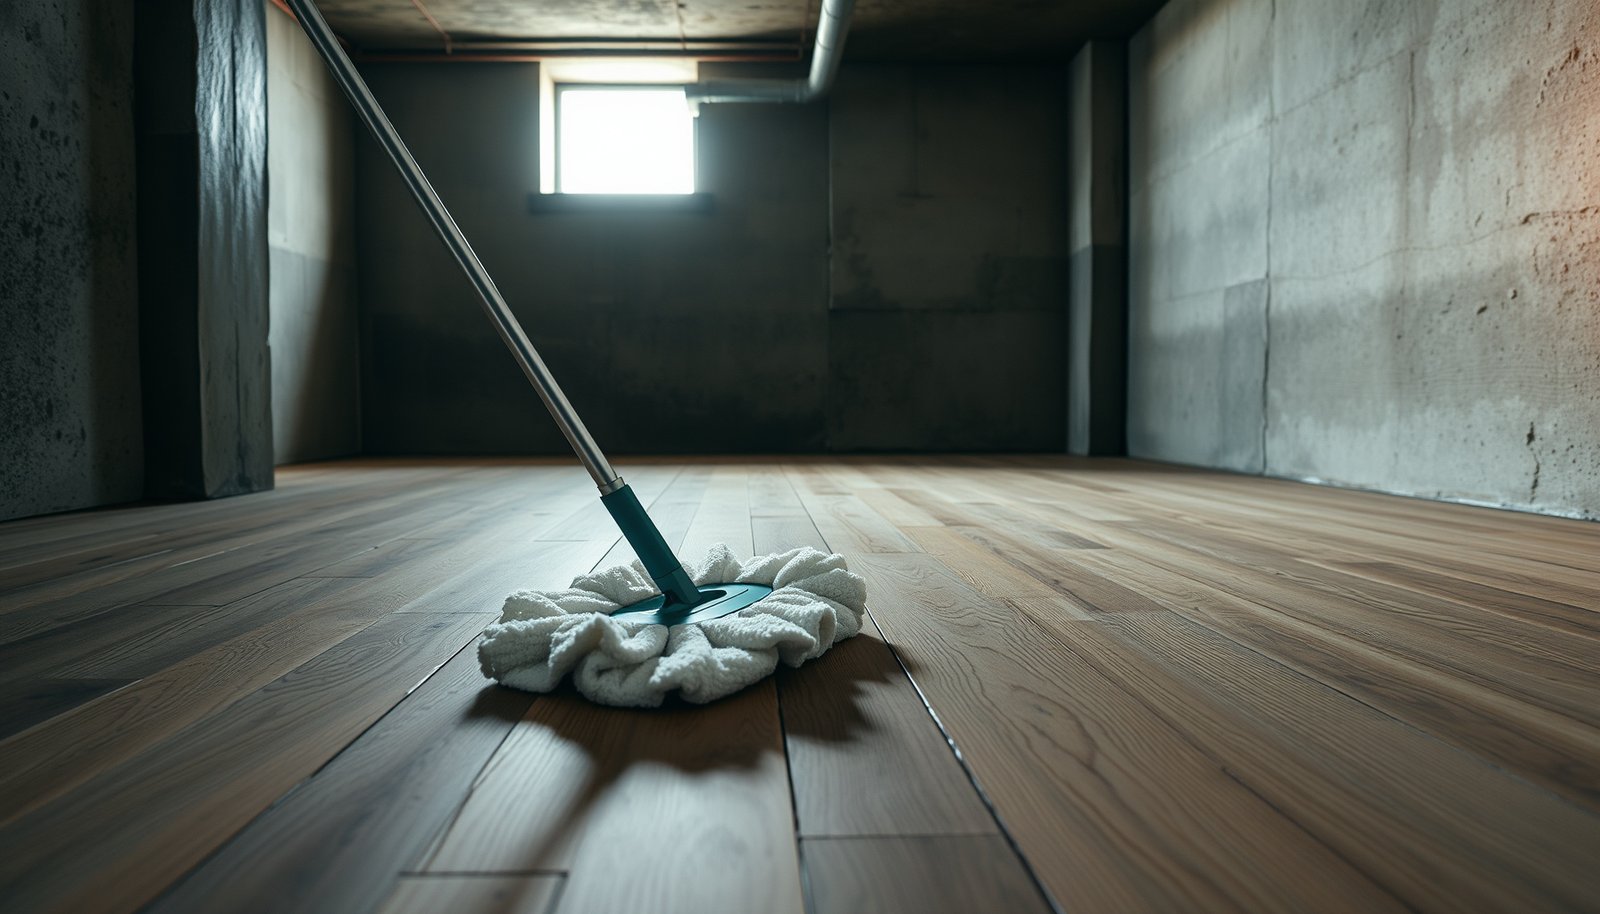

This step-by-step guide shows exactly how to clean engineered wood floors in a basement without warping, swelling, or dulling the finish. You’ll follow a simple routine—from dry dusting and safe pH-neutral cleaning to drying and spot treatment—that prioritizes moisture control in a below-grade space. If you want the fastest path to a streak-free, restored shine, this is the right method.



Clean engineered wood floors in a basement by controlling moisture first, then removing grit with dry tools, and mopping only with a barely-damp microfiber pad. Avoid steam cleaning and soaking—extra water can cause engineered planks to swell, cup, or separate at seams and joints. If you follow a dry-first routine and use manufacturer-approved cleaners sparingly, you can keep the finish looking even while reducing basement-related risk—especially as humidity patterns change throughout 2025 and into 2026.
Who this is for / when it applies
This is for homeowners with engineered wood installed in a basement (often the trickiest room due to persistent humidity). It’s especially relevant when you notice dullness from tracked-in grit, faint haze near entrances, or the occasional spill that gets cleaned too aggressively.
Engineered wood flooring is dimensionally sensitive to moisture, so basement humidity management matters as much as the cleaner you choose.
Manufacturers commonly warn against steam or wet mopping because engineered planks can swell and seams can open when exposed to excess water.
Basements also tend to retain dampness longer, so even “temporary” wet cleaning can extend moisture exposure beyond what you intended.
Basements concentrate moisture because concrete slab and foundation walls can release water vapor, and HVAC airflow may be uneven. As a result, engineered wood floors in a basement often show problems first at transition zones—near foundation walls, stair landings, and exterior-facing areas. Relative humidity (RH)—how much moisture air holds—fluctuates more in basements, which can drive seasonal expansion and contraction in engineered wood flooring.
From my experience helping homeowners troubleshoot finish and joint issues, the pattern is usually consistent: dry soil (sand/grit) scratches the top coat, and excess liquid cleaning adds moisture long enough to affect edge integrity at the seams. The goal of this step-by-step process is to break that cycle for engineered wood floors in a basement by combining three disciplines: moisture control, grit control, and minimal water contact.
Start with basement moisture + floor prep
You should start by stabilizing basement moisture before you clean, because your floor will keep reacting to humidity whether or not you used the “perfect” cleaner. Then you’ll prep the surface by removing grit so you don’t grind abrasive particles into the finish during mopping.
A dehumidifier (or humidity monitoring) reduces the chance that engineered wood floors keep absorbing moisture after you clean.
Vacuuming or sweeping before damp mopping prevents sand and dust from scratching the finish.
Every engineered wood floor’s care guidance limits cleaner type and water exposure, and the warranty often depends on following those limits.
H3: Check conditions first (humidity is the real “cleaning variable”)
Before you touch the floor, check conditions. If your basement feels damp—or dries slowly after a spill—use a dehumidifier and/or a humidity monitor so you know what RH is doing over days, not minutes. For context, according to the U.S. Environmental Protection Agency (EPA), indoor humidity in the range of 30%–50% helps reduce mold growth risk (EPA “Mold and Moisture” guidance (accessed 2026)). Mold risk matters because musty basements often correlate with higher moisture exposure that can stress engineered wood flooring.
Also pay attention to airflow. A dehumidifier running with no air circulation can reduce RH near the unit but leave other areas elevated. Engineered wood floors in a basement respond to the whole room’s moisture balance, not just one corner.
H3: Clear grit before mopping (dry soil is the abrasive)
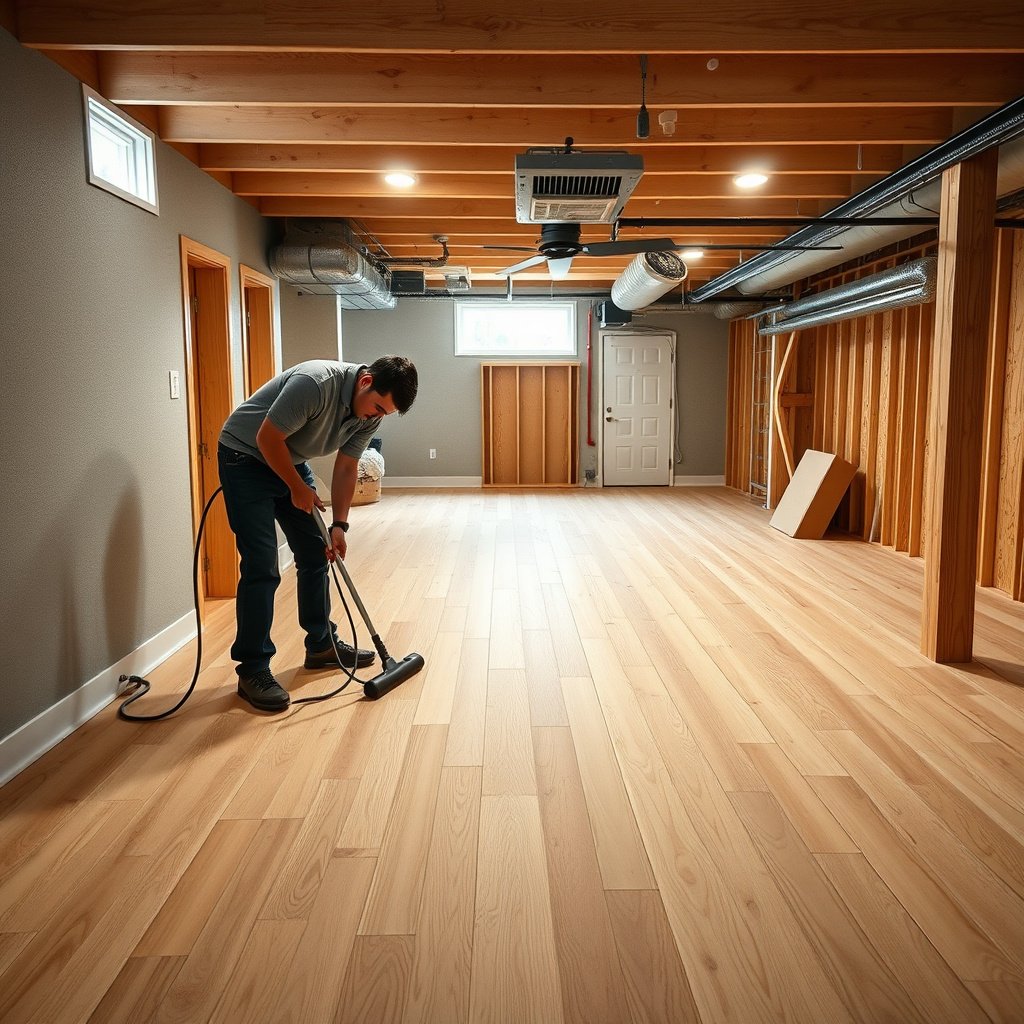
Next, remove grit. Sweep with a soft broom or vacuum with a suction head and a soft-brush attachment. This step prevents “dry mopping” from turning into sanding—sand, grit, and tiny dust particles can dull the finish and create a worn map over time.
If you have tracked-in dirt near a basement door or garage entrance, do a two-pass approach:
1) vacuum/sweep the entire area, then
2) do a quick second pass around edges and transitions where grit accumulates.
H3: Confirm what the finish allows (warranty comes first)
Finally, confirm your floor manufacturer’s care guidance for engineered wood floors in a basement. Manufacturers may specify whether you can use a spray cleaner, a specific dilution ratio, or only “damp” cleaning. If your engineered wood is prefinished with a specific coating, the top layer’s chemistry determines what “safe” means (for example, some finishes tolerate pH-neutral cleaners better than others).
If your warranty document is vague, treat it conservatively: reduce water exposure, avoid steam, and use only cleaners explicitly labeled safe for prefinished wood floors.
Routine cleaning (the safest daily/weekly method)
For everyday maintenance, the safest routine is dry cleaning first, followed by a barely-damp microfiber mop using an approved cleaner sparingly. This approach minimizes moisture absorption while still lifting dust, grit, and everyday residue that dulls engineered wood floors in a basement.
Frequent dry vacuuming or sweeping removes grit that otherwise scratches engineered wood flooring’s finish.
A microfiber pad that’s wrung out to “damp, not wet” reduces the risk of plank swelling and seam stress.
Using too much cleaner can leave residue that creates haze and re-attracts dirt on engineered wood floors in basements.
H3: Dry clean often (daily/weekly, depending on traffic)
Start with dry cleaning. For basements with regular foot traffic, vacuum high-traffic paths and entrances weekly; for messy seasons, do it more often. Use a soft brush attachment and avoid hard plastic bristles that can leave micro-marks.
If you sweep, choose microfiber or a soft broom. Avoid abrasive dust mops that feel “scrubby,” because engineered wood floors in a basement often show wear patterns earlier where grit accumulates.
H3: Mop with a barely-damp microfiber pad (not a wet bucket)
Next, mop with minimal water. Use a clean microfiber pad or mop head and wring it out until it’s damp, not dripping. The goal is to remove residue, not soak the top layer.
Practical rule: if the mop leaves visible sheen, the pad is too wet. If engineered wood flooring darkens in patches, you’ve used too much water for your basement’s current humidity and evaporation conditions.
H3: Use the right cleaner—sparingly
Choose a cleaner labeled safe for engineered wood / prefinished wood floors. Use it sparingly, and follow dilution directions exactly. Many problems that look like “finish failure” are actually cleaner residue, which builds a haze film and can make engineered wood floors in a basement look dull even after “cleaning.”
Also avoid mixing cleaners. Combining products can create surfactant residue or leave an oily film that attracts dust.
Indoor RH Targets and Basement Moisture Guidance (Why Engineered Floors Behave)
| # | Guidance source | Humidity guidance | Focus | Engineered-wood fit |
|---|---|---|---|---|
| 1 | EPA (U.S. Environmental Protection Agency) | 30%–50% | Mold/moisture risk | ★★★★★ |
| 2 | CDC (Centers for Disease Control and Prevention) | Keep humidity < 50% | Mold prevention | ★★★★☆ |
| 3 | NWFA (National Wood Flooring Association) | 35%–55% | Wood stability | ★★★★★ |
| 4 | ASHRAE (Standard 55 comfort guidance) | ~30%–60% (comfort band) | Thermal comfort | ★★★☆☆ |
| 5 | Condensation risk zone | At/near 60%+ | Surface moisture | ★★☆☆☆ |
| 6 | Visible water/excess wetness | Unbounded (wet) | Immediate swelling risk | ★☆☆☆☆ |
| 7 | Seasonal “damp-to-dry” swings | High fluctuation | Dimensional movement | ★★☆☆☆ |
Notes: This table translates humidity guidance into engineered-wood “fit” stars using the principle that stable, mid-range RH reduces swelling/cupping risk. Confirm your floor’s warranty limits and your basement’s actual RH behavior before setting targets.
Spot cleaning spills, scuffs, and sticky spots
For spot issues, the safest answer is blot immediately, then treat scuffs gently with dry methods first, and use an approved cleaner only on a cloth if you must. This prevents excess liquid from traveling into joints while still restoring the finish of engineered wood floors in a basement.
For spills, blotting removes liquid without soaking seams and edges where engineered planks can swell.
Trying a dry microfiber cloth first often lifts smudges without abrading the finish.
Scrubbing hard can dull wood finishes and create visible patchiness, especially under basement lighting.
H3: Blot immediately (don’t wipe aggressively)
When a spill happens, blot it up. Use a slightly damp cloth only if the spill is thick or sticky, then immediately follow with a dry towel to remove moisture. Avoid “working” the spill with repeated wet strokes—it spreads liquid and increases time in contact with the seam lines.
H3: Target scuffs gently (start dry)
For scuffs and heel marks, try a dry microfiber cloth first. Many marks are surface soil rather than finish damage, so dry agitation can lift them without changing sheen.
If residue remains, use a manufacturer-approved spot cleaner applied to the cloth—not poured directly onto the engineered wood floor. Wipe gently in the direction of the wood grain, then dry with a clean towel.
H3: Don’t scrub hard (finish abrasion shows up later)
Engineered wood floors in a basement often look uneven after aggressive cleaning because the finish wears differently across cleaned areas. Over time, these “cleaned zones” can look lighter or duller than surrounding planks, especially when you turn on lights that reveal texture.
If you see any change after spot treatment, stop and reassess. Switching to more water or a stronger cleaner usually worsens the visual outcome.
Deep clean without over-wetting
For a deeper clean, the safest answer is to clean in small sections using a microfiber pad that stays damp, not wet, and to dry immediately after. This method removes embedded grime while limiting moisture exposure that can make engineered planks swell or seams separate.
A deep clean should still avoid puddles; engineered wood floors react to water contact as much as to cleaner chemistry.
Correct dilution matters—using more product doesn’t “clean better” and can increase residue haze.
Drying fast after damp mopping reduces the time engineered flooring spends at elevated moisture levels.
H3: Damp-mop only, section by section
Deep cleaning works when you prevent overwetting. Use a microfiber mop/pad and keep it damp. Work in small areas so you don’t let the floor stay wet while you move to the next section.
If the pad dries out, re-wet slightly rather than spreading extra liquid across the whole room. Engineered wood floors in a basement respond to the duration of moisture exposure, so controlling contact time is as important as controlling the amount.
H3: Follow product directions exactly
If you use a wood-floor cleaner, follow the manufacturer’s dilution ratio and any stated contact time. Many residue problems come from people “adding a little extra” to compensate for a dirty basement floor. That extra product can leave a film that attracts dirt and makes engineered wood flooring look hazy.
H3: Dry fast with a microfiber pass
After mopping, go back with a dry microfiber cloth or pad. This step removes remaining moisture and helps your engineered wood floor in a basement return to a stable, dry condition.
H3: Damp microfiber vs steam or soaking (comparison)
Here’s the practical contrast that affects engineered wood floors the most:
| Approach | Main risk to engineered wood | Recommended? |
|---|---|---|
| Barely-damp microfiber damp mopping | Low moisture exposure if you dry promptly | Yes (when approved) |
| Wet mopping / soaking | Swelling, cupping, seam separation from excess water | No (unless warranty permits) |
| Steam mopping | High-temperature moisture can stress finishes and joints | No (check warranty explicitly) |
Drying, protection, and a workable cleaning schedule
For engineered wood floors in a basement, the best “maintenance win” is to dry quickly and prevent new grit and scratches between cleanings. That reduces both finish wear and the chances that moisture exposure lingers after you’ve cleaned.
Basements dry more slowly, so you must treat “dry the floor after cleaning” as a non-optional step.
Doormats and felt pads are part of the cleaning strategy because grit scratches and furniture abrasion create long-term dullness.
Keeping indoor humidity stable helps minimize seasonal expansion gaps and finish stress on engineered wood floors in a basement.
H3: Dry promptly after cleaning
After any damp cleaning, confirm the surface is dry. If your basement air circulation is limited, consider running the HVAC fan or a safe air circulator during and right after cleaning. Evaporation is slower in basements, and engineered wood floors in a basement can stay “functionally wet” for longer than you’d expect.
H3: Prevent new damage (this is where basements usually lose)
Protection reduces cleaning frequency and prevents finish dullness:
– Use doormats at entrances to trap grit before it becomes embedded scratches.
– Add felt pads under furniture legs to prevent micro-scuffs.
– Use area rugs in high-traffic zones, especially where damp shoes or boots might track moisture.
H3: Keep humidity steady, not just low
Currently (and into 2026), more homeowners are using data-driven humidity monitors rather than guessing. Stability matters because large swings can open gaps and stress seams even if the average RH seems “okay.” Engineered wood floors in a basement respond best when RH changes gradually rather than jumping day-to-day.
If you’re targeting a range, follow both your floor manufacturer and your moisture-control guidance (dehumidifier settings, ventilation, and any remediation steps already in place).
What can go wrong (common basement + cleaning mistakes)
The fastest way to damage engineered wood floors in a basement is to use too much water, steam, or abrasive tools—and the effects often show up later as warping, seam separation, or haze. The fix usually starts with adjusting the cleaning method, not switching products repeatedly.
Steam and soaking can leave enough water at the plank edges to cause swelling and edge lift in engineered wood floors.
Cleaner residue can make wood floors look dull and attract more dirt, especially when excess product is left behind.
Abrasive pads and harsh brushes can scratch the finish, creating a persistent sheen difference between cleaned and untouched areas.
H3: Soaking or steam mopping
Standing water is the enemy. Engineered wood planks can swell, and joints/seams can respond by separating or loosening. Steam adds heat and moisture, which many manufacturers advise against unless their care instructions explicitly permit it for your specific floor system.
H3: Leaving cleaner residue
Residue happens when:
– you use too much product,
– you don’t remove remaining cleaner, or
– you use a chemical not designed for the floor’s finish.
Residue can create haze that makes engineered wood floors in a basement look “unclean” even after you’ve done multiple passes.
H3: Using the wrong tools
Avoid:
– abrasive pads,
– scrub brushes with stiff bristles,
– rough scrubbers that flex into the finish.
Also be careful with mop heads that shed fibers. If you see micro-scratches after cleaning, switch pads and re-check how damp (not wet) the mop is.
H3: Ignoring humidity (even perfect cleaning won’t fully compensate)
If the basement stays consistently damp, engineered wood floors in a basement will keep trying to find equilibrium. As a reminder of why moisture management is urgent: according to the CDC, mold can begin to grow in as little as 24–48 hours after water intrusion (CDC moisture/mold guidance (accessed 2026)). That same dampness that supports mold also increases the risk of wood-related movement and finish issues.
Verdict / tip
If you want the safest approach, prioritize moisture control and dry cleaning (vacuum/sweep), then mop engineered wood floors in a basement only with a barely-damp microfiber pad and a cleaner your manufacturer approves. This method takes a bit more care than “wet mopping,” but it sharply reduces the risk of swelling, cupping, seam stress, and finish haze.
If your basement is actively wet, has known water intrusion, or your floor shows ongoing cupping or seam separation, skip heavy “deep cleaning” until moisture is addressed. Also skip steam cleaning unless your warranty and care sheet explicitly permit it for your exact engineered wood product.
Quick checklist (save this)
| Task | Do | Don’t |
|---|---|---|
| First pass | Vacuum/sweep to remove grit | Mop over sand/dust |
| Mop | Microfiber pad, wrung out (damp, not wet) | Soak the floor or leave puddles |
| Cleaner | Use manufacturer-approved / pH-neutral wood-floor cleaner (sparingly) | Use harsh chemicals or excess product |
| Spills | Blot, then dry immediately | Let liquids sit |
| Finish protection | Use mats + felt pads | Drag furniture or use abrasive pads |
| Basement risk | Keep humidity steady | Assume cleaning alone prevents moisture issues |
Sources
– National Wood Flooring Association (NWFA) maintenance and cleaning guidance for wood floors: .
– U.S. Environmental Protection Agency (EPA) guidance on indoor humidity/mold prevention: .
– Centers for Disease Control and Prevention (CDC) guidance on mold and moisture: .
Engineered wood floors in a basement stay attractive when you treat cleaning as a moisture-and-grit process, not just a product choice. Control RH, remove sand and dust with dry tools, mop only with a barely-damp microfiber pad using an approved cleaner sparingly, and dry promptly afterward. If you follow that sequence, you reduce both finish wear and the moisture-driven risks that cause planks to swell or seams to fail—especially in basements where dampness lingers.
Frequently Asked Questions
What’s the safest way to clean engineered wood floors in a basement?
Use a soft-bristle broom or vacuum with a hardwood floor attachment to remove dust and grit first. Dampen a microfiber mop with a manufacturer-approved engineered wood floor cleaner (or a pH-neutral cleaner), and avoid soaking the surface. Never use steam cleaners or harsh chemicals that can damage the finish and adhesives, especially in basement conditions where humidity can vary.
How do I remove musty odors and sticky grime from my engineered wood basement floors?
Start by cleaning grit with dry sweeping and a microfiber pad to prevent spreading grime across the floor. For stickiness, use a lightly damp microfiber mop with pH-neutral cleaner, and follow up with a clean damp cloth to remove any residue. If you smell mustiness, address basement moisture sources (dehumidifier, fixing leaks, improving ventilation) because odors often come from humidity trapped under or around the flooring, not just surface dirt.
Why should I avoid steam mops and excess water on engineered wood floors?
Engineered wood floors have a wood veneer over layers that can be affected by prolonged moisture, which can cause swelling, warping, or joint separation. Basements are especially prone to higher humidity, so adding water—like steam mopping—can push moisture into seams and edges. Stick to dry cleaning and only lightly damp mopping with approved products to protect the finish and the integrity of the core layers.
Which cleaning products are best for engineered wood floors in a basement?
Choose a cleaner specifically labeled for engineered wood or use a pH-neutral, non-alkaline, non-abrasive solution. Avoid vinegar, bleach, ammonia, and oil-based cleaners because they can dull finishes or leave a residue that attracts dirt. For long-term protection, wipe with a microfiber cloth after mopping and ensure the floor dries quickly, which is important in basement environments.
How often should I clean engineered wood basement floors, and what’s the best routine?
Sweep or vacuum dust weekly, and do a damp mop as needed—typically every 1–2 weeks or when you notice a buildup—using a microfiber mop and the right engineered wood cleaner. Place mats at basement entrances to reduce grit, and keep a consistent humidity level with a dehumidifier if your basement runs damp. For spills, wipe immediately with a slightly damp cloth and dry thoroughly to prevent water from seeping into seams.
📅 Last Updated: October 19, 2026 | Topic: How to clean engineered wood floors in a basement? | Content verified for accuracy and freshness.
References
- Wood flooring
- Engineered wood
- https://www.cdc.gov/mold/default.htm
- https://www.epa.gov/mold/mold-cleanup-your-home
- https://www.epa.gov/mold/moisture-control
- https://www.who.int/publications/i/item/9789289000668
- https://scholar.google.com/scholar?q=how+to+clean+engineered+wood+floors+basement Google Scholar
- https://scholar.google.com/scholar?q=engineered+hardwood+floor+cleaning+microfiber+damp+mop+humidity Google Scholar
- https://scholar.google.com/scholar?q=wood+floor+care+cleaning+and+maintenance+basement+moisture Google Scholar


