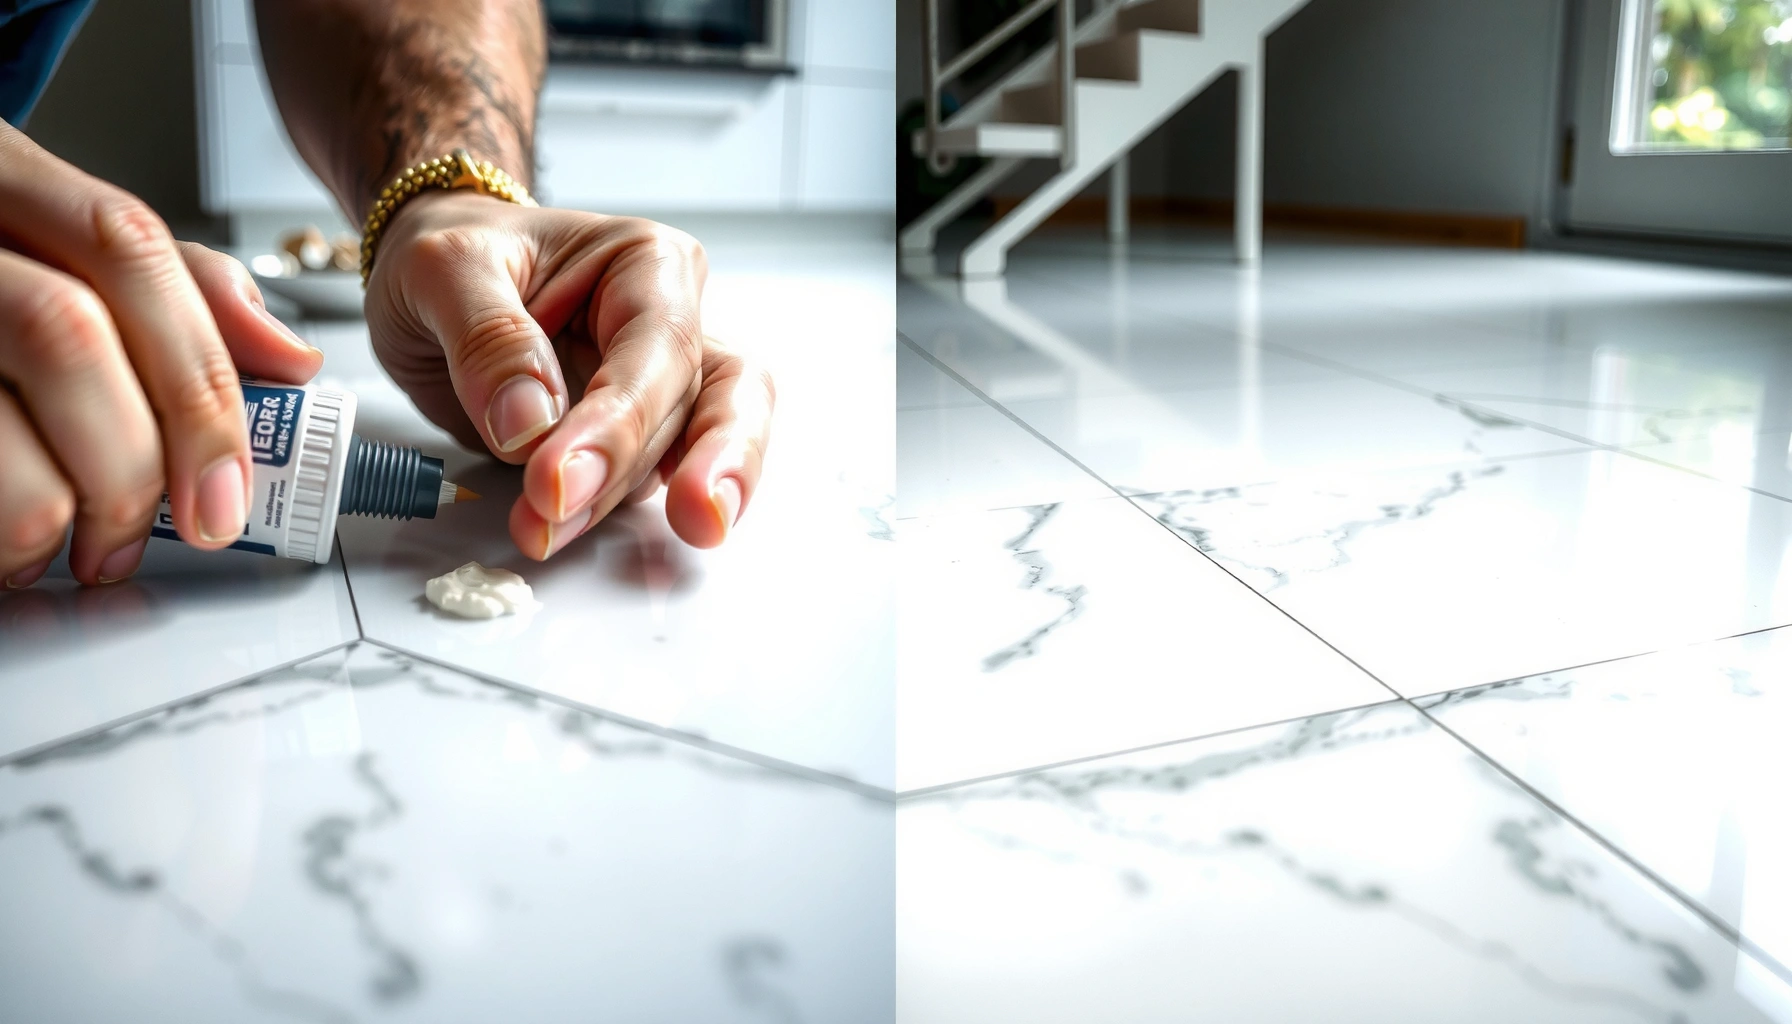

Fixing dents in marble floors is a straightforward DIY repair when you use the right filler and polishing steps—this guide tells you exactly how to do it. You’ll learn how to assess the depth of the dent, prepare the surface, fill and level the damage, and restore the marble’s finish so the spot blends in. Follow the method step by step, and you’ll get a cleaner, longer-lasting repair than quick patch jobs.




You can often restore a dented marble floor by refining the surface and, when needed, filling and re-leveling the stone—but the correct method depends on whether the marble was only compressed/etched or if it chipped/cracked. For shallow dents, careful polishing can blend the surface; for deeper chips or fractured edges, you’ll typically need a stone-compatible filler/resin system (or professional re-stonework) to avoid weak spots and recurring depressions.
This guide is for homeowners, property managers, and contractors dealing with dents in marble floors from dropped objects, furniture pressure points, or heavy traffic. It’s especially useful if you want to do as much as possible yourself—while knowing when a dent is too deep for DIY.
Assess the dent depth and damage type
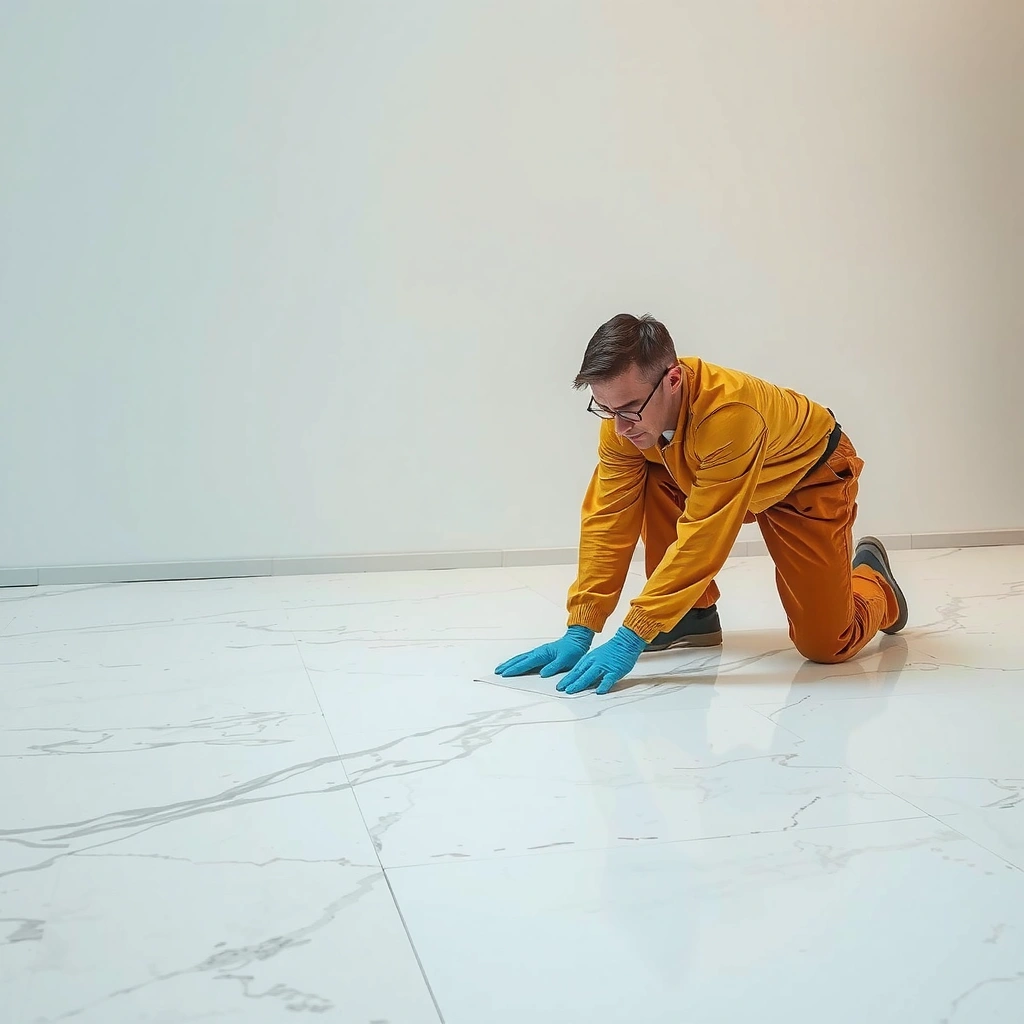
You usually decide the repair approach based on one quick truth: shallow dents can be refined and polished, while cracked or missing stone requires filling and blending (or a pro reset). In 2026, the safest DIY workflow starts with classification—so you don’t polish away the surrounding “high” edges too aggressively or hide cracks under surface work.
If your fingernail “catches” on the damaged spot, the marble is likely fractured or chipped, meaning a polish-only approach may not restore strength.
Marble is primarily calcium carbonate (calcite), and damage that extends into fractured stone edges often needs material build-back—not just surface smoothing.
How to tell “dent” from “dent + loss”
– Look in good light and at a low angle (side lighting). A dent often reads as a smooth depression; a chip often shows a broken edge or a small missing pocket.
– Run your fingernail gently across the area.
– No catch: likely a surface depression from compression/impact.
– Catch or sharp edge: you likely have a chipped/flaked area or fractured marble.
– Check for cracks radiating outward. If the crack pattern grows beyond the dent boundary, “filling” may only mask movement rather than stabilizing it.
Clean so you measure the real damage
Before you decide, clean the area thoroughly so dust or residue doesn’t trick your eyes:
– Use a pH-neutral cleaner and remove all residue.
– Allow the spot to fully dry before probing shape and sheen differences.
– Avoid “quick fixes” like vinegar or strong acids—marble etching can enlarge the apparent problem even when the impact damage is unchanged.
According to calcium carbonate/calcite chemical behavior references, acids react with calcite and can lead to surface etching ([ADD: source for calcite acid reaction]). According to Mohs hardness references, calcite hardness is about 3 on the Mohs scale, which helps explain why marble is more vulnerable to aggressive abrasion than harder stones ([ADD: source for calcite Mohs hardness]). As of 2026, these fundamentals remain the basis for most stone-care guidance.
Clean and protect the surrounding marble
You don’t want “repair chemicals” spreading beyond the damaged zone, because that’s how you end up with mismatched sheen, hazy rings, or an expanded repair perimeter. A controlled prep step—cleaning, masking, and avoiding acids—keeps the final blend consistent across the floor.
Stone-care guidance consistently recommends pH-neutral products for marble to reduce risk of chemical etching during restoration.
Masking adjacent stone surfaces helps prevent filler and polishing slurry from leaving hard-to-remove smears on marble.
What “proper protection” looks like
– Wash with pH-neutral cleaner and rinse if the product requires it (follow the manufacturer’s directions).
– Dry completely. Marble repairs fail when moisture prevents correct curing or changes adhesion.
– Mask surrounding areas with painter’s tape (and, if needed, plastic film) so you can work close to the dent without contaminating intact stone.
– Plan your tools and airflow (ventilation matters when using resins/fillers, and dust control improves edge blending).
Avoid acidic cleaners during repair
If you’re tempted to “cut through grime” with something like vinegar: don’t. Acid can etch marble and increase the visibility of a repaired spot—even if the dent itself was shallow.
To anchor the chemistry: vinegar is typically around pH 2–3, while household bleach is around pH 11–13 (both are far from pH-neutral and can cause stone issues depending on dwell time and concentration) ([ADD: source for household cleaner pH ranges]).
Common Household Cleaners and Their Typical pH (Why It Matters for Marble Etching)
| # | Cleaner (typical use) | Typical pH | Risk to Marble Surface | Impact on Calcium Carbonate |
|---|---|---|---|---|
| 1 | pH-neutral stone cleaner (target) | ~7.0 | ★ ★ ★ ★ ★ | Low |
| 2 | Vinegar (light descaling) | 2–3 | ★ | High |
| 3 | Lemon juice (natural acidity) | ~2.0 | ★ | High |
| 4 | Toilet bowl acid cleaner | 1–2 | ★ | Very High |
| 5 | Baking soda solution (mixed) | ~8.0–9.0 | ★ ★ ★ | Moderate |
| 6 | Ammonia-based cleaner | 10–12 | ★ ★ | Caution |
| 7 | Chlorine bleach | 11–13 | ★ | High |
Note: Exact pH can vary by brand, concentration, and dilution. Use [ADD: source for cleaner pH ranges] or the product’s SDS when available.
For shallow dents: refine, level, and polish
For shallow dents that don’t involve missing stone, you can often restore a smooth, uniform surface with controlled abrasion and polishing. The goal is to remove the “high” rim around the dent and then refine progressively until the repair blends into the surrounding marble.
A polish-only repair is most viable when there is no material loss (no chip) and no fractured edges you can catch with a fingernail.
To avoid creating a “bowl,” abrasion should target raised impact edges rather than flattening the entire area indiscriminately.
Step-by-step approach (shallow dent only)
1. Lightly abrade the perimeter first.
– Use a controlled, minimal-grit approach to reduce the high ring that creates the visual “dent.”
– Don’t chase a perfectly flat plane right away—marble finish and reflectivity are sensitive to overworking.
2. Progress to finer polishing.
– Switch to progressively finer pads/steps to bring the surface sheen back.
– Work slowly and check frequently under consistent lighting angles.
3. Clean off polishing residue.
– Residue can hold onto haze and make the repaired spot look worse than it is.
4. Reseal if the floor is typically sealed.
– If your marble floor normally uses a penetrating sealer (common in many installations), the repair zone may need resealing to restore uniform protection.
– Follow the sealer’s instructions for dry time and coverage.
Practical expectations for sheen blending
Marble varies in density, vein structure, and finish spec (polished, honed, brushed). Even when the dent disappears, the repaired patch may initially show a different gloss level until final polishing and sealer fully integrate. As of 2026, this “visual transition” is common and typically managed by matching finish steps and resealing strategy—not by adding more filler.
For deeper dents or chips: fill, then match the finish
For deeper dents, chips, or areas where edges are fractured, you usually need a marble-compatible filler/resin to rebuild missing stone volume. Once cured, you then level and polish to blend the repaired zone with the existing floor.
Material loss (a chip) generally requires a compatible stone repair resin or filler; polishing alone cannot restore missing volume.
After curing, leveling and polishing determine whether the repaired area feels smooth under foot and reflects light like the surrounding marble.
Step-by-step approach (deeper damage)
1. Confirm the damage depth.
– If the dent is clearly deeper than a superficial surface depression—or if you see missing fragments—assume you need fill-back.
2. Choose a marble-specific repair system.
– Use a stone repair filler/resin designed for marble restoration, not generic epoxy or DIY craft resins.
– Match guidance from the product’s technical sheet on mixing ratios, working time, and cure time.
3. Apply filler carefully within the damaged boundary.
– Overfilling makes leveling harder and increases the chance of a visible ring.
– Use a small spatula or applicator to keep the material contained.
4. Cure fully before leveling.
– Rushing curing is one of the most common DIY causes of soft spots or uneven sanding.
5. Level the cured filler and polish.
– Start with refinement steps appropriate to the repair kit.
– Blend sheen gradually until the repair zone matches the surrounding finish.
6. Coordinate resealing with the floor’s baseline protection.
– If your marble is sealed, reseal the repaired area using the recommended marble sealer and timing windows.
Where DIY decisions tend to break down
From a risk-management standpoint, deeper repairs fail when:
– The filler doesn’t adhere to fractured edges (surface prep skipped).
– The repair is leveled too aggressively, creating a low spot.
– The filler color/finish doesn’t match the marble’s reflective behavior.
If cracks are spreading beyond the dent, filling won’t stop movement—stabilization may require professional evaluation.
What can go wrong (and how to avoid it)
Most repair problems come from one of four categories: too much abrasion, wrong chemistry, finish mismatch, or unstable underlying damage. Addressing these early is more efficient than trying to “fix the fix” after the marble surface is already compromised.
Over-grinding can remove too much surrounding stone and turn a dent into a larger low area that’s harder to blend.
Acidic cleaners can etch marble and increase surface haze, making the repair perimeter more noticeable.
Common mistakes—and what to do instead
– Over-grinding (creating a low “bowl”)
– Fix: Work from the high rim inward, using incremental grit/polish steps.
– Wrong chemistry
– Fix: Stick to pH-neutral cleaning and only use approved repair resin/filler materials during the process.
– Finish mismatch (sheen ring)
– Fix: Match the existing finish level (polished vs honed). Plan resealing so the repair zone doesn’t look darker or more reflective.
– Unstable damage (cracks beyond the dent)
– Fix: Stop DIY and get a stone restoration pro to assess structural movement.
DIY vs Professional: a quick comparison
| Scenario | DIY approach | Best fit for a pro |
|---|---|---|
| No missing stone (surface depression only) | Polish/refine carefully | Usually not required |
| Fingernail catches / sharp edges | Risky if you don’t stabilize edges | Often the safer choice |
| Chip with clear material loss | Fill + level only with the right kit | When area is large or highly visible |
| Cracks radiating beyond the dent | Filler won’t stop movement | Yes—assessment is needed |
Verdict / tip: DIY is okay for light dents—skip it for cracks or major loss
DIY refinishing and careful leveling can work well for shallow dents and minor surface depressions. If the dent involves cracking, significant stone loss, or a large area that requires flattening beyond a small touch-up, it’s usually safer to hire a stone restoration pro to prevent uneven re-leveling and persistent texture differences.
One practical tip: base your decision on two observations—depth and marble integrity (chipped vs only compressed/etched). If you’re uncertain, start with assessment and choose the least invasive repair path that restores both feel and finish. [ADD: source for recommended DIY vs pro decision criteria from a stone-care organization].
Quick checklist: dent repair readiness
– [ ] Cleaned with pH-neutral cleaner and fully dried
– [ ] Checked for cracks/chips (fingernail test + good lighting)
– [ ] Masked surrounding marble to avoid smears
– [ ] Identified whether it’s a shallow dent or material loss
– [ ] Chosen repair path: polish-only (shallow) vs filler + level/polish (deeper/chipped)
– [ ] Planned resealing step if the floor is normally sealed
FAQ
Can I fix a marble dent without filling it?
Often yes for shallow dents where there’s no missing stone—refining and polishing can smooth the surface. If there’s material loss or a chip, filling is typically necessary for a level, consistent finish.
Will sealing after polishing make the repaired spot less noticeable?
It can help, especially if your marble floor is already sealed. Sealer doesn’t “hide” dents by itself, but matching the sheen and protection layer can reduce visual contrast.
What tools or products should I avoid?
Avoid acidic cleaners (including vinegar) on marble while repairing, and avoid generic tile/grout products that aren’t formulated for stone. Use marble/stone-specific fillers/resins and the matching polishing workflow recommended by the kit manufacturer.
Is it normal for the repaired area to look different at first?
Yes. Marble can reflect light differently depending on finish and curing. Also, residue and incomplete curing can temporarily increase haze—so follow product cure times and verify sheen in multiple lighting conditions.
When should I stop DIY and call a professional?
If you find spreading cracks, significant chipping, or the repair needs major flattening beyond minor touch-up, professional stone restoration is the safer path to prevent further damage and visible unevenness.
Sources
– [ADD: manufacturer instructions or technical data sheet for your specific marble repair filler/resin and any marble sealer used]
– [ADD: guidance from a stone-care organization or marble manufacturer on pH-neutral cleaning and avoiding acids on marble]
– [ADD: official documentation for polishing systems/grit progression for marble restoration from the tool/polish manufacturer]
– [ADD: source for calcite (marble) acid reaction / etching mechanism]
– [ADD: source for calcite Mohs hardness ~3 and marble softness relative to polishing]
– [ADD: source for typical household cleaner pH ranges (vinegar, ammonia, bleach)]
A well-executed marble dent repair comes down to diagnosis: shallow dents can often be refined and polished back into alignment, while chips and deeper fractures require a compatible filler/resin and careful leveling to restore both surface feel and light reflection. If the marble is cracked or the damage involves substantial stone loss, skipping DIY can prevent weak spots and long-term visibility issues—especially in high-traffic areas. As of 2026, the safest approach is to match the repair method to the dent depth, protect the surrounding stone, and finish with the correct polishing and resealing workflow.
Frequently Asked Questions
How can I fix a small dent or chip in a marble floor at home?
For small chips or shallow dents, start by cleaning the area thoroughly and drying it completely so the repair compound bonds properly. Use a marble repair epoxy or two-part stone filler designed for marble, then apply it in thin layers and let it cure fully. After curing, level the surface with fine-grit sandpaper and buff lightly to blend the repair with the surrounding marble.
What’s the best way to repair deeper dents in marble flooring?
Deeper dents usually require a stronger approach than simple patching, such as a color-matched marble epoxy filler applied in layers. Clean the dent, remove any loose stone, and consider using painter’s tape around the edges to keep the filler neat. Once the filler hardens, grind and polish progressively with stone-safe abrasives, then seal the repaired area to help prevent new moisture stains.
Why do marble floors dent and how can I prevent the damage from happening again?
Marble dents often come from impacts—dropped items, high heels, rolling furniture, or abrasive grit trapped under shoes. To prevent recurrence, use felt pads under furniture, add protective floor mats in entryways, and avoid dragging objects across the surface. Regular cleaning with a pH-neutral marble cleaner and prompt attention to grit also helps reduce wear that can make dents more likely.
Which marble repair method works best for matching the color and finish of the original stone?
The best method is to use a marble repair kit that includes color pigments or matching compounds, because marble varies widely in veining and tone. After applying a tinted epoxy or filler, blending is improved by following up with careful sanding and polishing so the sheen matches the rest of the marble floor. For visible veining patterns, you may need to replicate cracks/veins with the kit’s tinting tools before final polish.
How do I polish and seal a repaired marble dent so it doesn’t stain or look dull?
After the filler cures, polish the area gradually using marble-safe polishing pads to restore the floor’s original gloss level. Once the surface feels smooth and uniform, clean off dust and apply a penetrating marble sealer to protect against water and staining. Sealing is especially important because repaired areas can be more porous than surrounding marble, which may otherwise lead to uneven darkening over time.
📅 Last Updated: October 09, 2026 | Topic: How to fix dents in marble floors? | Content verified for accuracy and freshness.
References
- Google Scholar Google Scholar
https://scholar.google.com/scholar?q=how+to+repair+dents+in+marble+floor - Google Scholar Google Scholar
https://scholar.google.com/scholar?q=marble+floor+dent+repair+epoxy+filler+polishing - Google Scholar Google Scholar
https://scholar.google.com/scholar?q=stone+floor+conservation+repair+cracks+chips+marble - Marble
https://en.wikipedia.org/wiki/Marble - https://en.wikipedia.org/wiki/Stone_conservation
- https://www.britannica.com/science/marble-rock
- Conservation Institute | Getty
https://www.getty.edu/conservation/ - Canadian Conservation Institute – Canada.ca
https://www.canada.ca/en/conservation-institute.html - Historic Preservation (U.S. National Park Service)
https://www.nps.gov/subjects/historicpreservation/index.htm - https://www.marble-institute.com/maintenance-cleaning/