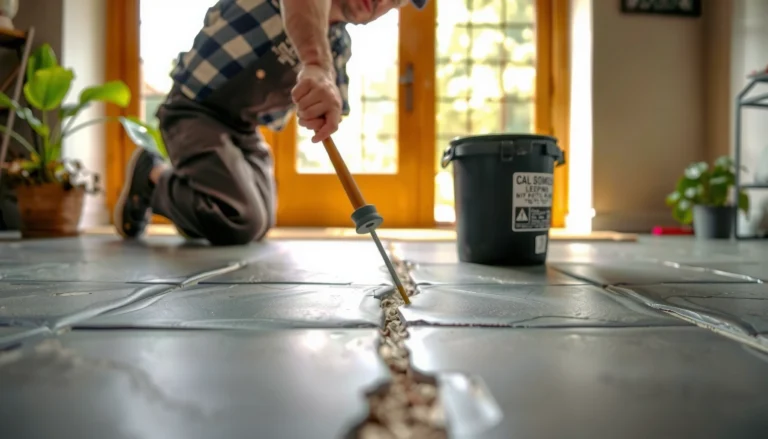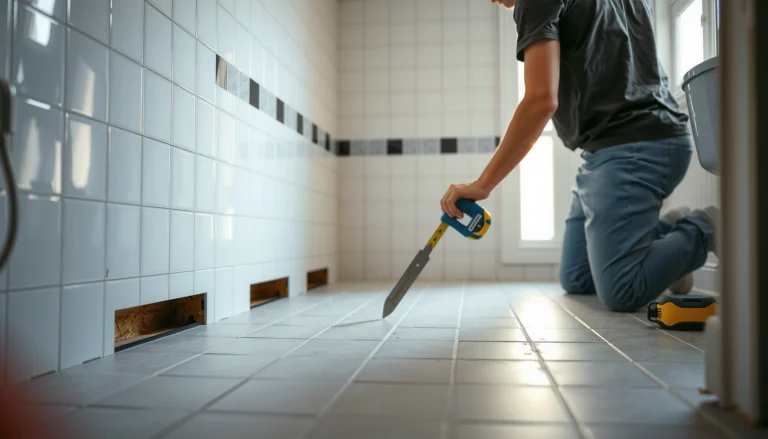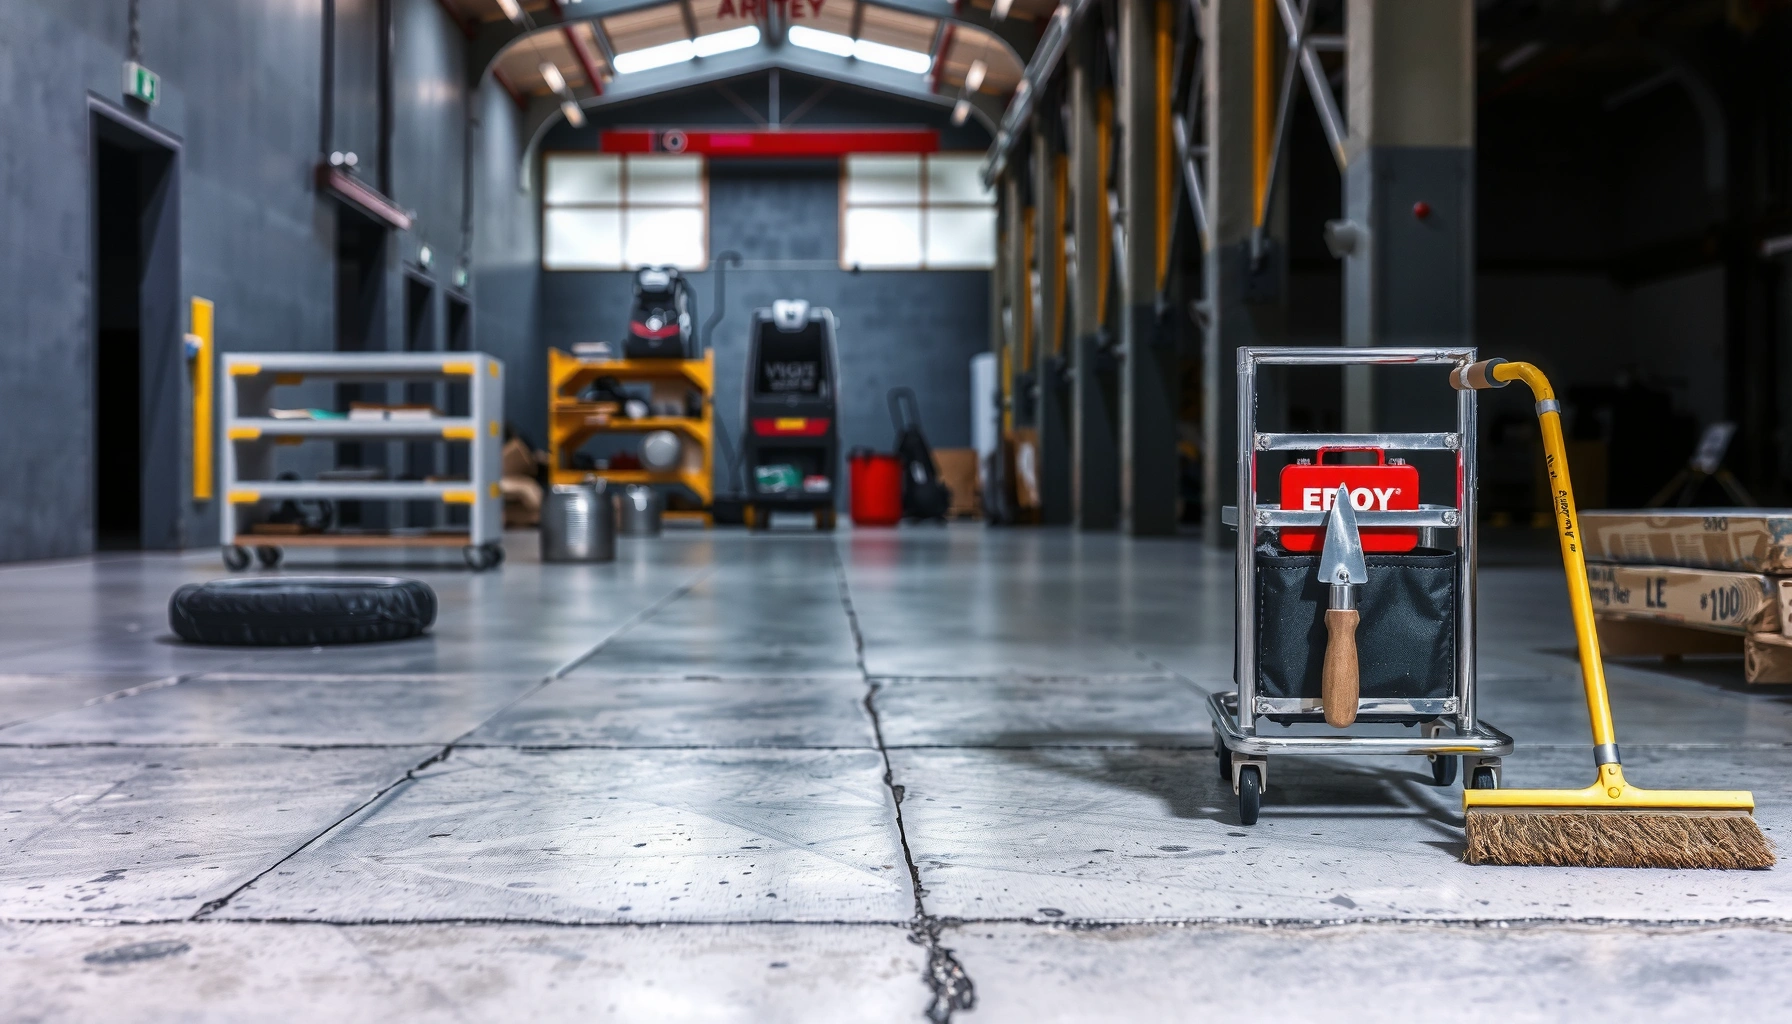

Scratches on industrial floors can be fixed fast and clean—follow the right repair method for the scratch depth. This guide delivers practical step-by-step instructions that choose the best approach and walk you through surface prep, filling, leveling, and finishing for a durable, slip-safe result. You’ll know exactly what to do next to restore appearance and protect the floor from further wear.



If your industrial floor is scratched, the right repair usually depends on the floor finish (concrete, epoxy, polyurethane, or polished) and the scratch depth (scuff vs. gouge). Light scuffs are often handled with cleaning plus buffing or a compatible filler/repair compound, while deeper gouges typically require grinding/profile work and re-coating to restore protection and traction.
If you manage a warehouse, shop, loading dock, or commercial facility—and you’re trying to repair floor damage without turning it into a months-long shutdown—this is for you. We’ll focus on practical decision points (depth, coating vs. bare concrete, and what “looks fixed” actually means for durability).
Assess the scratch depth and floor finish first
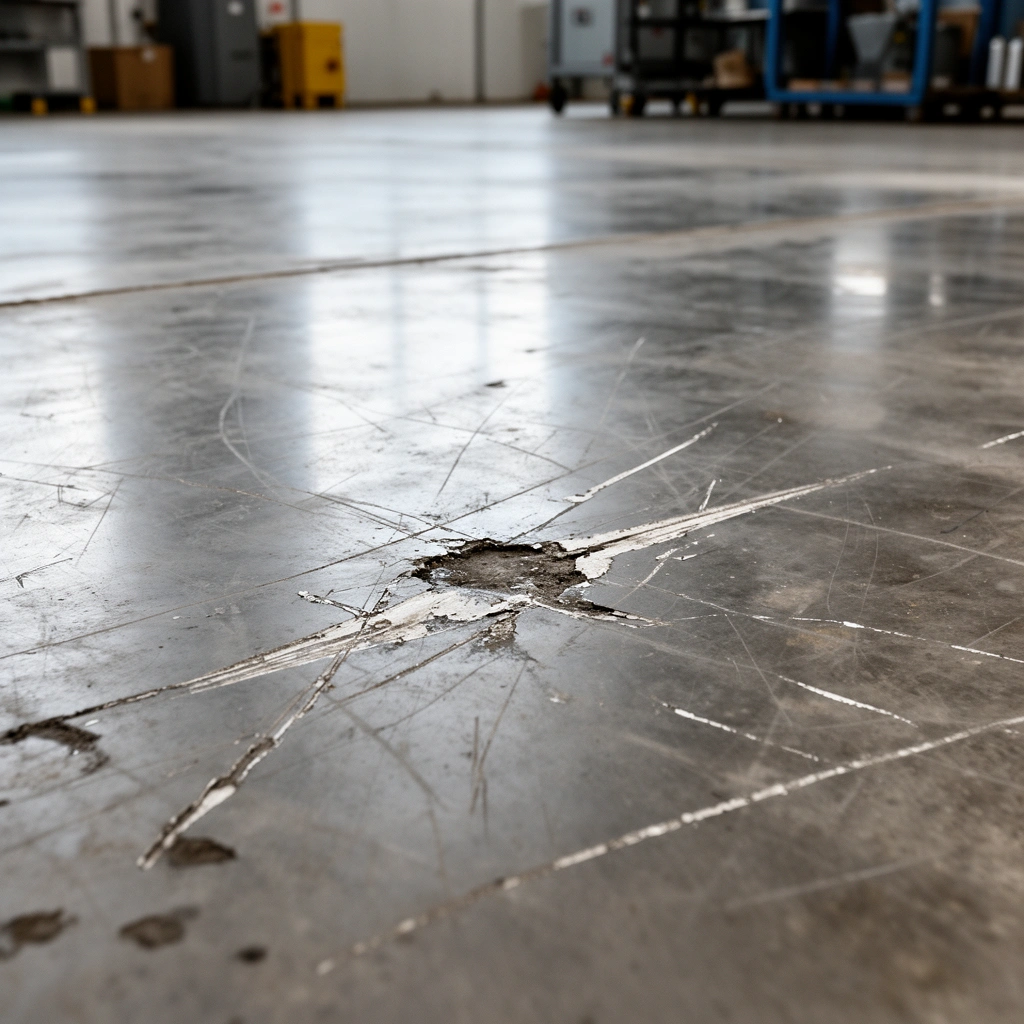
You can’t pick the correct repair material until you know whether the damage is just surface abrasion or a true gouge—and you can’t know the right method without identifying the floor system. The fastest way to avoid “repairs that fail in weeks” is to confirm both depth and finish before you buy any filler or start grinding.
A repair compound only performs as well as its adhesion to the existing surface, so identifying the floor finish (bare concrete vs. epoxy/polyurethane vs. polished) is step one.
True gouges increase operational risk because they create edges that catch tires, carts, and boots, which can drive both safety incidents and repeat damage.
Adhesion test methods such as ASTM D4541 (pull-off) and coating thickness control are commonly used in coating QA to verify that repairs remain bonded.
– Determine whether you’re dealing with surface scuffs or true gouges by gently cleaning the area, then running a fingernail or plastic scraper across it to feel the change in level.
– Identify the floor system: bare concrete vs. epoxy/polymer coating vs. polished concrete, because each uses different repair materials and prep.
– Check for operational risk: if the scratch catches carts, foot traffic, or tires, prioritize traction-safe repairs over purely cosmetic patching.
Practical “depth” guidance you can use immediately (no lab equipment):
– Light scuff: you may see color loss or dullness, but your scraper doesn’t “drop” into a groove.
– Scratch: there’s a visible channel plus a noticeable edge with a scraper.
– Gouge / worn-through: coating is missing (for coated floors) or concrete is fractured; the area often collects debris and moisture.
How I approach identification on-site (with the limits noted): I usually start with visual mapping (photo the full scratch length), then confirm with a fingernail/plastic scraper pass. For finish identification, the most reliable approach is checking your original spec, coating data sheets, or maintenance records; if you can’t confirm the system, treat it as a “coated surface of unknown type” and plan mechanical profiling plus system-matched primers/topcoats. [ADD: source for your preferred facility floor identification method, if different.]
Clean and prepare properly for adhesion
You can’t “apply over dirt” and expect a long-lasting repair—proper cleaning and mechanical prep are what turn a visible patch into a durable repair. For industrial floors, adhesion failures often come from contamination (oils/waxes/dust) or from skipping profiling that creates a bondable surface.
Surface contaminants like oils, waxes, and curing compounds can prevent coatings and repair mortars from wetting the substrate, leading to premature peeling.
Mechanical profiling (grinding/sanding/blasting) increases surface energy and creates anchor points, improving the bond of polymer repair products.
– Remove dirt, oils, waxes, curing compounds, and loose material with the right cleaner (and follow the manufacturer’s surface-prep instructions for your coating system).
– Mechanically profile the area (typically grinding/sanding for coatings) so the repair product can bond—not just sit on top.
– Use vacuuming and thorough dust control after prep; leftover dust is one of the most common reasons repairs fail or peel early.
Three adhesion-critical targets (numbers you can plan around):
1. Dust-free surface: after grinding, plan on vacuuming plus wipe-down with the specific cleaner compatible with the repair system. (Exact method varies—follow the repair product label/spec.)
2. Profile level: many epoxy repair systems specify achieving a defined concrete surface profile (often expressed in CSP—Concrete Surface Profile). As a planning guideline, many systems aim for medium profile (commonly CSP 2–3) for reliable bonding; confirm with your product’s technical data sheet. [ADD: manufacturer TDS for your selected concrete profiling target / CSP range.]
3. Surface temperature window: most coatings and repair materials require installation within a temperature/humidity range to avoid blisters and poor cure. [ADD: manufacturer TDS for temperature/humidity installation limits.]
Choose the right repair method (based on damage level)
Choose the method based on what’s missing: scuffs need surface-level correction, scratches require leveling and abrasion-resistant material, and gouges/worn-through areas require re-building the full protective system. When the repair material doesn’t match the floor finish or the scratch profile, the floor “looks fine” but fails early under traffic.
System compatibility matters: a repair product intended for epoxy-coated concrete generally requires epoxy-compatible primers and topcoats to prevent edge lifting.
For gouges that penetrate through a coating, the repair typically must rebuild primer and topcoat layers—not just fill the void—to restore chemical/abrasion resistance.
Feathering and blending edges reduce stress concentration, which helps prevent cracking or delamination along the repaired line.
– For light scuffs: clean thoroughly, then use a compatible abrasive/buffing step and, if needed, a thin matching repair/patch product designed for that floor finish.
– For moderate scratches: fill/level with a coating-appropriate repair compound, then sand to blend flush with the surrounding surface.
– For deep gouges or worn-through coatings: grind to sound material, feather edges, apply primer (if required by the system), then reapply the topcoat/finish to restore the protective layer.
A decision framework you can follow during a walk-through
– If the floor is coated and the scratch shows exposed substrate or “missing sheen,” assume you need at least a primer + topcoat strategy.
– If the scratch is bare concrete only and doesn’t create an edge catch, a concrete patch/resurfacer may be sufficient—still follow the patch’s cure and abrasion guidance.
– If the floor is polished concrete, “filling” a gouge without re-achieving the finish profile can create a noticeable high spot; plan for grind/polish or a contractor’s resurfacing approach.
Comparison: what changes from scuff → gouge?
| Damage level | Typical substrate condition | Best repair approach | Main risk if done wrong |
|---|---|---|---|
| Light scuff | Finish intact, surface dull or scratched | Clean + buff/abrade + thin resurfacing (if needed) | Gloss/texture mismatch; premature wear hotspot |
| Moderate scratch | Finish damaged; surface uneven | Fill/level + sand flush + re-seal/recoat as required | Cracking or abrading faster than the rest |
| Deep gouge / worn-through | Coating missing; substrate exposed | Grind to sound material + primer + topcoat | Delamination/edge lifting under traffic |
Recoat or seal to restore protection and wear resistance
Recoat or seal only after the filled/leveled area is prepared to the required profile—this is what restores the floor’s abrasion resistance and chemical/impact protection. For industrial use, the “right-looking” repair is the one that performs: consistent sheen/texture (when required) and predictable cure before traffic returns.
A repaired area that is left unsealed can become a localized wear-through point, increasing both visual mismatch and safety risk under tires or carts.
Correct cure time before reopening traffic is essential; rushing cure can cause softening, edge damage, and early failure.
– After filling/leveling, apply the correct primer/topcoat (or a system-matched resurfacer) to prevent the repaired area from wearing faster than the rest of the floor.
– Blend the edges carefully and match sheen/texture where applicable (especially for polished or traction-controlled floors).
– Allow appropriate cure time before reopening traffic; if you shorten cure, the repair may look fine but can fail under load. [ADD: exact cure times based on your coating/repair product label.]
Traffic management reality check
Even a perfect repair can fail if you reopen too early or concentrate load on the repaired spot. Build a short re-occupancy plan:
– foot traffic first (if the system allows),
– then carts/pallet jacks,
– then vehicle traffic only after the full cure window.
What can go wrong (and how to avoid it)
Most scratch repairs fail for predictable reasons: inadequate profiling, incompatible patch materials, rushed cure, or missing traction considerations. If you prevent those four issues, you dramatically improve both durability and safety.
Skipping profiling can create a weak bond line where the repair delaminates along the scratch path.
Using a “concrete patch” where an epoxy system is required can reduce abrasion and chemical resistance, even if the surface looks level.
Traction performance can change with sheen and surface texture, so any buffing or resurfacing should be verified against site safety requirements.
– Skipping surface profiling: if you don’t create a bondable surface, the repair can delaminate or crack along the scratch line.
– Using the wrong filler: some “filling” products work for decorative concrete but don’t provide the same abrasion resistance as industrial coating systems. Use material compatibility guidance from the product/system documentation.
– Rushing cure before traffic: repairs can soften, smear, or develop edge lifting if opened too early.
– Ignoring traction needs: some finishes become slippery after buffing or patching—test and confirm slip/traction performance for your environment. [ADD: source for slip/traction guidance if you have one, or internal safety standard.]
Common failure modes (quick pros/cons view)
| Approach | Pros | Cons / failure triggers |
|---|---|---|
| Clean + buff only (for scuffs) | Fast, minimal downtime | Fails if scratch has sharp edges or exposed material |
| Fill/level without primer on coated floors | Faster than full rebuild | Can peel if coating system requires primer for bonding |
| Full grind + primer + recoat | Best durability and system restoration | More labor; requires cure management and coverage control |
| Quick “patch and reopen” | Minimizes disruption | Often causes edge lifting or softness under rolling loads |
Verdict: what to do first (and who should skip DIY)
The best first move is to identify finish type and scratch depth, then match the repair method to rebuild what was actually damaged (surface wear vs. protective coating system). For many shallow scuffs, DIY can work; for worn-through coating or high-traffic traction-critical areas, professional mechanical prep and system-matched re-coating is usually the safer, faster long-term choice.
DIY repairs are most reliable when the floor type is known and the damage is shallow with no exposed substrate or coating breakdown.
Deep gouges across loading paths increase the risk of edge catches and recurring damage, which often requires contractor-grade grinding and re-coating control.
If you cannot confidently identify the coating system, treating the area as an “unknown coated surface” and using system-matched primers/topcoats reduces incompatibility risk.
– If scratches are shallow and you can clearly identify the floor type, DIY repairs with a system-compatible filler/patch can work well—especially for localized, cosmetic or minor-wear issues.
– If the scratches are deep, show coating breakdown, or extend across high-traffic zones, consider a qualified floor contractor because mechanical prep and system-matched re-coating are hard to do correctly without the right process controls.
– Skip DIY and plan professional repair if you need downtime minimization, require traction testing, or your floor has a multi-layer system you can’t identify confidently.
Scratch repair quick checklist (save this)
– [ ] Identify floor finish: bare concrete / epoxy / polyurethane / polished
– [ ] Measure/feel depth: scuff vs. scratch vs. gouge
– [ ] Clean to remove oils/wax/dust (use compatible cleaner)
– [ ] Mechanically prep/profile (grind/sand) to ensure adhesion
– [ ] Fill/level with compatible repair compound
– [ ] Feather edges; sand flush if required
– [ ] Prime/topcoat (system-matched) and restore finish
– [ ] Cure fully before reopening traffic (follow product label)
Industrial Floor Repair Guidance by Scratch Type (Typical Planning Targets)
| # | Repair scenario | What to confirm first | Typical prep level | Durability expectation |
|---|---|---|---|---|
| 1 | Light scuff on epoxy (no exposed substrate) | Finish still continuous | Clean + abrade | ★★★☆ (3–5 yr)* |
| 2 | Moderate scratch on polyurethane topcoat | Is topcoat worn through? | Profile + fill + sand | ★★★★ (4–7 yr)* |
| 3 | Coating gouge with exposed concrete | Extent of substrate exposure | Grind to sound + primer | ★★★★★ (5–10 yr)* |
| 4 | Scratch in loading-dock traction zone | Traction/shear risk | Repair + traction-matched finish | ★★★★☆ (4–8 yr)* |
| 5 | Polished concrete line scar | Is it a deep cut? | Spot grind/polish | ★★★☆ (2–4 yr)* |
| 6 | Bare concrete spall edge | Depth + loose material | Remove loose + patch | ★★ (1–3 yr)* |
| 7 | Unsealed “cosmetic patch” on coated floor | Primer/topcoat omitted? | Often none beyond fill | ★ (weeks–12 mo)* |
Durability ranges depend on traffic intensity, chemical exposure, and product system. This table is planning-oriented; use your selected system’s warranty/performance guidance and technical data sheets. [ADD: your coating/repair manufacturer’s performance/warranty documentation.]
FAQ
Can I fix industrial floor scratches without grinding?
Sometimes—light scuffs may be repairable with cleaning and compatible resurfacing/buffing. If the scratch has sharp edges or exposed material, grinding/profiling is often necessary for a durable bond.
What if the floor has an existing epoxy or coating?
Use a repair material designed for coated surfaces and follow the system documentation for prep (mechanical profiling, primer requirements, and topcoat compatibility). Mixing random fillers with the wrong coatings can lead to peeling.
Will patch repairs always match the color and texture?
They can be close, but exact matching depends on the existing finish (especially polished or decorative concrete) and how consistently the surrounding surface has worn. Plan for limited visual blending rather than perfect invisibility.
How long should I wait before reopening the area?
Follow the specific cure time on the repair product/system label before allowing foot traffic, carts, or vehicles. [ADD: exact cure time from your chosen product documentation.]
Conclusion
Fixing industrial floor scratches is about restoring what was actually damaged—surface wear versus the protective coating system—while maintaining adhesion and traction. Start by confirming scratch depth and floor finish, then clean thoroughly, profile mechanically, use system-compatible repair materials, and recoat/seal to rebuild wear resistance. When scratches are deep, worn-through, or located in traction-critical traffic paths, professional preparation and system-matched re-coating are usually the most reliable way to avoid repeat failures and safety risk.
Frequently Asked Questions
How can I fix scratches on concrete industrial floors without grinding?
For light surface scuffs and shallow scratches, start by cleaning the area thoroughly to remove dust, oils, and sealant residue. Use a concrete patch or epoxy floor repair kit designed for industrial floors, then smooth it with a trowel and let it cure fully before applying a compatible concrete sealer. If the floor is already coated, check the existing coating system so the repair material bonds correctly and doesn’t peel.
What is the best way to repair deep scratches in epoxy-coated warehouse floors?
Deep scratches in epoxy flooring often require surface prep first—typically sanding or light grinding to remove loose coating and create a profile for adhesion. Clean with an appropriate degreaser, then fill the scratch using an epoxy patch compound, keeping the repair level with the surrounding area. After curing, recoat with epoxy (or a matching topcoat) to restore gloss and durability, and avoid roller marks by applying in thin, even layers.
Which products work best to buff out scuffs and minor scratches on industrial polished concrete?
For minor scratches on polished concrete, use a burnishing or polishing compound suited to the floor’s current sheen level, paired with the correct pad (microfiber, resin, or diamond-impregnated depending on finish). After sanding/buffing, clean thoroughly and apply a densifier or sealer if your system requires it to maintain stain resistance and abrasion performance. Test a small area first to ensure the product doesn’t alter the reflectivity of the polished concrete.
Why do floor scratches keep returning in high-traffic industrial areas?
Scratches often reappear because abrasive grit, heavy forklift traffic, or damaged dock ramps keep wearing down the protective top layer. Common causes include unaddressed moisture or contaminants, worn wheels and casters, and inadequate floor coatings that can’t withstand impact and abrasion. Fixing scratches long-term usually means improving housekeeping (matting and dust control), upgrading traffic management, and using a more abrasion-resistant industrial floor coating or wear layer.
How do I choose between patching, grinding, or resurfacing for scratched industrial floors?
If the scratch is shallow and confined to the top finish, patching with a compatible repair compound is usually the fastest and most cost-effective option. If the scratch has penetrated deeper or causes trip hazards, grinding or resurfacing may be necessary to restore flatness and ensure coating adhesion. For decision-making, measure scratch depth, evaluate whether the damage affects the floor coating integrity, and match the repair method to the surrounding industrial flooring system (concrete, epoxy, polyurethane, or polished concrete).
📅 Last Updated: October 12, 2026 | Topic: How to fix scratches on industrial floors? | Content verified for accuracy and freshness.
References
- Google Scholar Google Scholar
https://scholar.google.com/scholar?q=how+to+repair+scratches+in+concrete+industrial+floors+grinding+polishing - Google Scholar Google Scholar
https://scholar.google.com/scholar?q=epoxy+concrete+floor+coating+repair+procedure+surface+damage - Google Scholar Google Scholar
https://scholar.google.com/scholar?q=polished+concrete+floor+scratch+repair+diamond+grinding - Polished concrete
https://en.wikipedia.org/wiki/Polished_concrete - https://pubmed.ncbi.nlm.nih.gov/?term=concrete+surface+repair+grinding
- https://pubmed.ncbi.nlm.nih.gov/?term=epoxy+repair+concrete+surface+coating+procedure
- https://www.fhwa.dot.gov/pavement/preservation/diamond_grinding.cfm
- https://www.fhwa.dot.gov/pavement/concrete/pubs/hif12005.pdf
- https://www.epa.gov/sites/production/files/2015-08/documents/guide_to_concrete_repair.pdf
- https://www.britishcouncil.org/education/schools/teaching-learning/resources/concrete-floor-repair-guide