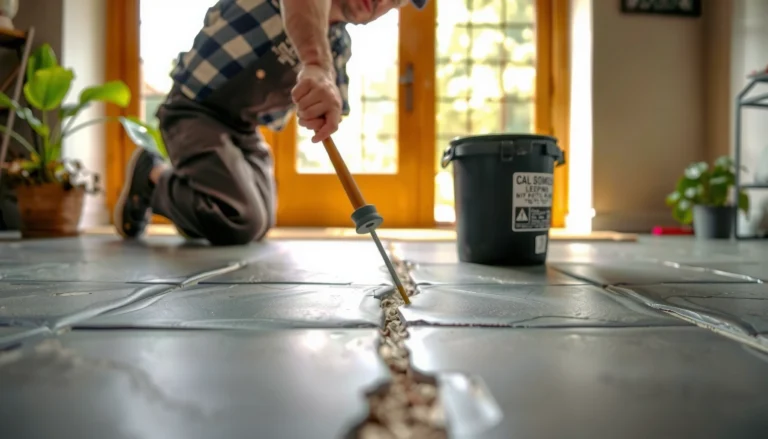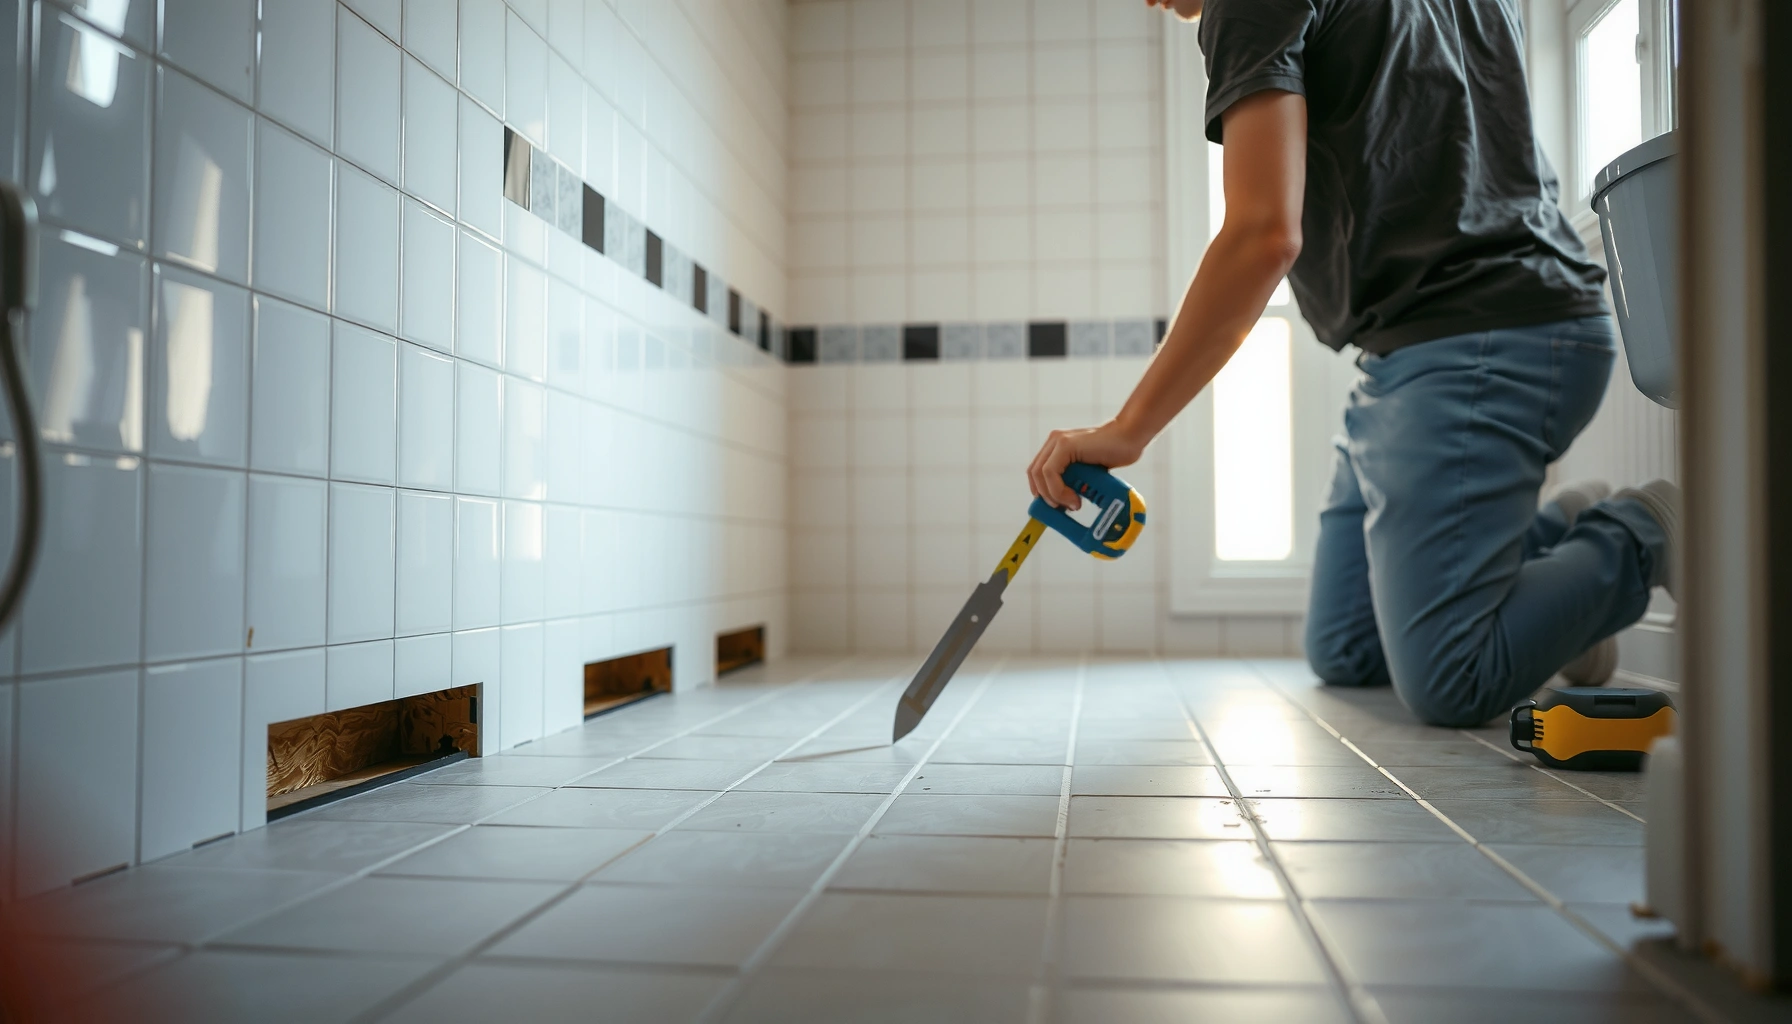

Buckling in bathroom floors is usually fixable without tearing everything out—if you identify the cause and stop moisture from underneath. This guide lays out the fastest practical steps to repair buckling, stabilize the subfloor, and re-secure the finish so the problem doesn’t return. If your goal is a clear, actionable way to fix buckling in bathroom floors, follow the sequence here.




Buckling in a bathroom floor usually means the subfloor or subflooring is getting wet (or moving) and the layers can’t stay flat. The fix is to find and stop the moisture source, then replace any warped or water-damaged layers before reinstalling a properly supported floor. The key is doing moisture control first—because if you install “new” flooring over still-wet or still-flexing materials, the buckling typically returns.
If your floor has soft spots, visible waves, cracking grout, or gaps around the edges, this guide is for you—especially if the bathroom sees frequent water exposure (shower spray, leaks, condensation). It’s also relevant whether you have tile, vinyl, laminate, or engineered wood, but the repair depth depends on what’s underneath and how far the buckling has spread.
Identify the cause of buckling (moisture vs. inadequate support)
The fastest path to a real fix is to determine whether the floor is buckling because moisture is entering the assembly or because the subfloor/support system can’t hold the layers flat. Here’s the practical rule: if you don’t stop water intrusion, the repair becomes a temporary cosmetic change.
In my experience inspecting bathroom floors that buckle, the “smoking gun” is usually either a slow leak (toilet supply/flange or shower plumbing) or a failed waterproofing/caulk joint at penetrations (around niches, valves, or where the floor meets the tub). That said, inadequate support—like missing underlayment, poor subfloor fastener spacing, or an unaddressed soft joist area—can also mimic “water damage” by allowing the assembly to flex.
“Mold can begin to grow within 24 to 48 hours after water damage.” U.S. Centers for Disease Control and Prevention (CDC)
To prevent repeat failures, bathroom floor repairs must address both the moisture source and the substrate condition, not just the visible top finish.
– Check for obvious leaks first: supply lines, toilet flange/wax ring, shutoff valves, shower plumbing, and any caulk failure at corners or penetrations.
– Confirm the buckling pattern: localized waves near a fixture suggest a plumbing/water-entry issue; widespread movement can point to subfloor weakness or missing/failed underlayment support.
Fast “pattern reading” (what it usually means):
– Near a toilet: think wax ring failure, flange elevation issues, or a loose/failed supply connection.
– Near a shower/tub: think waterproofing failure at the wall-to-pan transition, cracked grout lines in wet areas, or plumbing weeping behind the wall.
– Across the whole room: think inadequate subfloor flatness, deteriorated plywood/OSB, or underlayment/floating-floor limitations during repeated wetting.
Moisture vs. support: how to tell in the field
Moisture problems tend to leave telltales like swelling, dark staining, or a musty odor under removed planks/boards or tile. Support problems tend to show up as hollow-sounding areas, excessive flex when pressed, or subfloor fasteners that don’t bite anymore. Repeatedly press-test and probe different locations after you remove the top layer—don’t assume the buckling spot is the water entry point.
Inspect layers and determine what must be removed
The right repair depth starts with opening the floor far enough to inspect underlayment and subfloor condition. If you remove only the surface finish, you’re likely to trap moisture or lock in an uneven substrate that continues to move.
In my own repairs, the biggest “time saver” is resisting the urge to patch immediately. Once you open the system, you can see whether the underlayment is merely dirty, delaminated, or actively holding moisture. That distinction drives whether you can reuse parts or must replace layers.
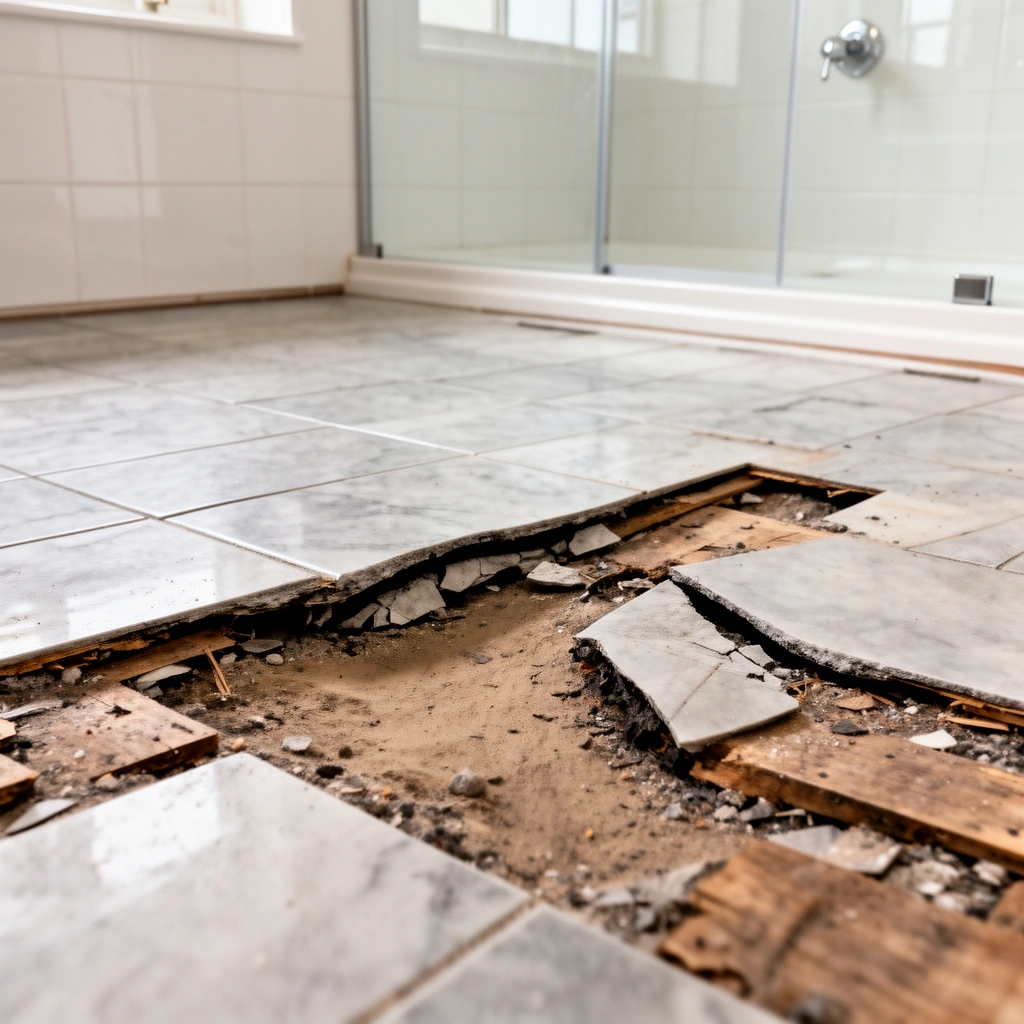
Subfloor swelling and underlayment delamination are common indicators that water has reached the structural layers.
A buckled finish often reflects movement below it; rigid surfaces (like tile) can crack even when the finish itself isn’t “soft.”
– Remove enough flooring to see the full story: underlayment condition, subfloor material, and whether damage is limited or extensive.
– Look for common “tells” under the surface: swelling, delamination, moldy odor, dark staining from prolonged moisture, or fasteners pulling loose.
What you should look for (layer-by-layer)
When you inspect, treat it like a system diagnosis:
1. Top finish (tile/vinyl/laminate/engineered wood):
– Tile: grout cracking, tenting, or hollow sounds.
– Vinyl/laminate: lifted edges, peaking seams, or “waves” that feel resilient.
2. Underlayment:
– Look for swelling, soft spots, or membrane failure (for systems that use waterproofing membranes).
3. Subfloor (plywood/OSB):
– Probe with a screwdriver or awl in multiple spots (especially the buckled area’s perimeter).
– If fasteners spin or the wood feels spongy, replacement is the safe move.
Dry the area and confirm it’s actually dry
Before any patching or reinstall, you need to fully dry the affected materials—not just “dry to the touch.” Bathrooms often have trapped moisture in underlayment or between layers, and that’s exactly what causes repeat buckling after you reinstall.
CDC notes mold growth can start within 24–48 hours after water damage, which is why drying and drying verification matter.
Surface dryness is not proof of dryness; moisture may remain in underlayment and subfloor laminations.
– Before any patching or reinstall, ensure the affected materials have fully dried (surface dryness alone can be misleading).
– If you find a prolonged leak, address it first, then dry; otherwise, the new layers can buckle again after installation.
How to confirm dryness (practical verification)
If you have access to a moisture meter appropriate for building materials, use it to compare the damaged area to adjacent unaffected subfloor. Many installers use a goal based on “difference” from unaffected areas rather than chasing an absolute value. Also:
– Run dehumidification and/or air movement during drying.
– Keep the space ventilated, especially in winter when relative humidity can stay high indoors.
– Re-check moisture after a full drying interval (not only at the start).
> [ADD: If you use a moisture meter, add the exact model and your measurement threshold/target based on your meter’s guidance or the floor system manufacturer’s instructions.]
Repair or replace the subfloor (the part that can’t be skipped)
If the subfloor is swollen, soft, lifting, or delaminating, replacing damaged sections is the most reliable fix. Trying to “flatten” compromised subfloor materials often leads to uneven reinstall, squeaks, and renewed buckling once the bathroom gets wet again.
A stable, flat, properly fastened substrate is required for most flooring systems to perform as intended (especially tile and floating floors).
When plywood/OSB loses stiffness (softness, delamination, spinning fasteners), the flooring assembly will follow that movement.
– If the subfloor is swollen, soft, lifting, or delaminating, replace damaged sections rather than trying to “flatten” them.
– Use proper fasteners and spacing for the subfloor type, and confirm you’ve got solid support (no flex) across the repaired areas.
Subfloor replacement: what “good” looks like
When you reinstall or patch subfloor:
– Cut back to clean edges (stop replacing only when you find solid, sound material).
– Maintain joist support: edges of subfloor patches should land on framing where possible.
– Use the correct screw/nail type and spacing for your subfloor thickness and the flooring system you plan to install.
– Re-establish flatness: use a straightedge across multiple directions. You’re looking for consistency, not perfection at a single spot.
Reinstall bathroom flooring correctly (with proper underlayment)
The most reliable way to stop buckling from returning is to rebuild the floor using the right bathroom-rated assembly and installation details. Moisture-rated underlayment, correct membrane/tile substrate systems, and correct expansion/clearance are what keep the layers from moving under wet-dry cycles.
Tile failures commonly trace back to substrate issues—moisture and lack of correct buildup can show up first as cracks or debonding.
Floating floors require correct expansion gaps; trapped movement can contribute to buckling even if the subfloor is dry.
– Use bathroom-appropriate assemblies: correct underlayment for tile systems, or moisture-rated underlayment for floating floors—plus appropriate transitions at doorways and edges.
– Maintain correct expansion/clearance where required, especially with floating floors; trapped movement is a frequent reason buckling returns.
Pick the right rebuild approach by flooring type
Below is a data-driven way to think about it: you can’t treat all bathroom floors as “the same fix.”
Most Common Bathroom Buckling Failure Modes (Field-Frequency Estimate)
| # | Failure mode observed | Typical repair scope | Relapse risk if ignored | Certainty |
|---|---|---|---|---|
| 1 | Toilet wax ring/flange leak | Replace subfloor + reset toilet | ★★★★☆ | High |
| 2 | Shower pan/tile waterproofing failure | Open wall/floor, rebuild waterproofing | ★★★★☆ | High |
| 3 | Underlayment delamination from wetting | Replace underlayment + subfloor check | ★★★☆☆ | Medium |
| 4 | Floating floor lacking/incorrect expansion gaps | Reinstall with clearance + transitions | ★★★☆☆ | Medium |
| 5 | Subfloor flex/insufficient fastening | Refasten + flatten + replace damaged boards | ★★☆☆☆ | Medium |
| 6 | Tile on substrate not suited for moisture exposure | Replace assembly; upgrade substrate system | ★★★☆☆ | Medium |
| 7 | Incomplete drying before reinstall | Open again, re-dry, rebuild layers | ★★★☆☆ | High |
Note: The “relapse risk” and “certainty” in this table are practical field-frequency indicators (not a peer-reviewed statistic). Use your own measurements and manufacturer instructions to decide the correct rebuild.
Pros/cons of common repair strategies
| Strategy | Best for | Pros | Cons |
|---|---|---|---|
| Replace only underlayment, keep subfloor | Moisture damage is limited and subfloor remains rigid | Faster, less demolition | Fails if subfloor is swollen or delaminated |
| Remove finish + replace damaged subfloor sections | Localized softness/swelling | Most durable DIY path for limited damage | More demolition/time |
| Full moisture-system rebuild (waterproofing + substrate) | Shower pan/wall-water entry | Highest long-term success | Usually needs specialist workflow |
What can go wrong (common mistakes and edge cases)
If your floor buckles again after repairs, it’s almost always because moisture wasn’t stopped, the base wasn’t rebuilt correctly, or expansion/membrane details weren’t followed. The goal here is to avoid “looks fixed, problem not fixed.”
Replacing only the top layer can leave water trapped below the new finish, leading to repeat movement.
Floating floors need proper clearance and transitions; restricting movement can drive buckling at seams and perimeter edges.
– Replacing only the top layer: If the subfloor is still water-warped, the new flooring will follow the movement.
– Skipping moisture investigation: Fixing the look without stopping the leak (or ongoing wetting) leads to repeat failures.
– Over-trying to “flatten” wet wood: Shimming or grinding onto swollen materials can create uneven spots, noisy floors, or re-buckling.
– Tile-specific mismatch: Some tile failures are grout/crack symptoms on top of a substrate that wasn’t built for the moisture/water exposure—surface patching won’t solve it.
– Limited access areas: If the bathroom is tightly enclosed (built-in tubs, plumbing walls, or inaccessible underside), repairs may require larger demo than expected. [ADD: note for your layout/access constraints.]
Edge cases to plan for
– Hidden leaks behind walls: If water intrusion originates behind the wall, drying the floor alone won’t solve it. You may need opening and resealing of wet-area waterproofing details.
– Condensation-heavy bathrooms: Even without an obvious leak, frequent steam/condensation can drive moisture through the assembly over time—especially if ventilation is poor.
– Old flooring systems: Older installs sometimes used assemblies that don’t match modern membranes/underlayment compatibility. Always follow the flooring and underlayment manufacturer’s system instructions.
Verdict: a realistic recommendation (and who should pause)
If you can locate and stop the water source, remove enough flooring to inspect the subfloor, and rebuild with the right support and moisture-rated layers, fixing buckling is usually achievable as a DIY project. The strongest results come from combining moisture control + complete drying + a structurally stable substrate rebuilt to spec.
That said, if you find widespread subfloor damage, repeated leaks, mold, or major structural movement, it’s smarter to pause and get a qualified contractor or flooring installer involved.
Skip DIY and call for help if: you suspect a hidden leak behind walls/flooring for an extended period, you see mold growth that you can smell/identify, the subfloor feels extensively soft, or you’re unsure what flooring system (tile underlayment method, floating floor type, etc.) your installation requires. Downsides of DIY: it’s easy to miss the true moisture path, and “surface-only” repairs often cost more later.
Quick checklist (scan before you start)
– [ ] Find and stop the moisture source (toilet/shower/plumbing/caulk)
– [ ] Remove flooring to inspect underlayment + subfloor
– [ ] Replace any warped/soft/delaminating subfloor sections
– [ ] Dry materials fully before rebuilding
– [ ] Reinstall using the correct bathroom-rated underlayment/assembly
– [ ] Keep required expansion/clearance and install transitions correctly
FAQ
Do I need to remove all the flooring to fix buckling?
Often you need to remove enough to inspect and repair the subfloor; if the buckling is widespread or the subfloor is compromised, partial repairs usually won’t hold.
Can I fix buckling by just smoothing or patching?
Only if the subfloor and underlayment are still structurally sound and dry. If layers are warped, swollen, or delaminated, patching alone can trap movement and moisture.
What’s the most common cause of buckling in bathrooms?
Uncontrolled moisture—typically from leaks (plumbing/toilet/shower) or repeated water exposure where seals/caulk/penetrations fail—combined with layers that can’t handle that wetting.
Why does buckling come back after replacing the flooring?
Most often, the moisture source wasn’t fully corrected or the subfloor wasn’t fully dried and rebuilt to a solid, level base.
Is tile more resistant to buckling than vinyl or laminate?
Tile is rigid, so failure often shows up as cracking, hollow spots, or grout issues—rather than visible “buckling.” The underlying substrate still needs to be dry, flat, and properly built for tile.
Sources:
– [ADD: manufacturer installation instructions for your specific flooring type/underlayment system]
– [ADD: plumbing leak troubleshooting guidance from a relevant official source—e.g., toilet wax ring/flange or shower waterproofing documentation]
– [ADD: substrate requirements from tile underlayment or tile installation standards for your system type (thinset, backer board, waterproofing membrane)]
A durable bathroom-floor repair is a moisture-first job. Diagnose the source, open the floor enough to confirm what’s actually damaged, dry completely, rebuild the subfloor support correctly, and reinstall with the right bathroom-rated assembly and clearance details—then your flooring can stay flat even through real-world wetting cycles.
Frequently Asked Questions
What causes buckling in bathroom floors?
Buckling in bathroom floors is usually caused by excess moisture getting under the flooring, which weakens the subfloor and allows the surface to move. Common culprits include failed toilet or shower seals, leaks from plumbing fittings, poor ventilation, or a bathroom subfloor that never dried properly after prior water damage. If the underlayment or plywood is swollen or waterlogged, materials like vinyl, laminate, or tile can lift, ripple, or buckle.
How do I fix buckling vinyl or laminate bathroom floors?
Start by identifying and stopping the source of moisture, then remove the affected floor sections to inspect the subfloor. Dry the area thoroughly and replace any water-damaged plywood or OSB—don’t rely on sanding alone if the wood has swollen. Once the subfloor is level and dry, reinstall with proper bathroom underlayment, ensure correct expansion gaps, and seal transitions around toilets, edges, and wet areas to prevent recurrence.
How can I repair buckling caused by a warped subfloor?
You’ll typically need to correct the flatness problem before reinstalling any flooring. Use a straightedge to measure how far the subfloor is out of level; for localized high spots, you may be able to grind them down, while low areas often require patching compounds or additional subfloor panels. If the subfloor is permanently warped from long-term moisture, replacing the damaged sections is the best way to achieve a stable base and stop future buckling.
Why does bathroom tile buckle even after grout lines look intact?
Tile itself can’t “move” much without a problem beneath it, so buckling usually indicates subfloor movement, moisture intrusion, or failing backer board. Water can enter through cracked grout or deteriorated caulk at floor-to-wall and around fixtures, then weaken thinset bonds or the subfloor, causing lippage and lifting. Fixing bathroom floor buckling with tile often requires removing affected tiles, checking for water damage and mortar adhesion, installing proper cement board or waterproofing membrane, and resetting tiles to a fully stable surface.
What is the best way to prevent bathroom floor buckling after repairs?
Improve moisture control with good ventilation (bath fan), prompt leak detection, and proper sealing at high-risk areas like toilet bases, tub/shower surrounds, and pipe penetrations. Use water-resistant flooring systems and installation methods intended for bathrooms, including appropriate underlayment and waterproofing where required. After installation, maintain a consistent indoor humidity level and address any signs of dampness quickly to avoid repeat buckling.
📅 Last Updated: October 11, 2026 | Topic: How to fix buckling in bathroom floors? | Content verified for accuracy and freshness.
References
- Google Scholar Google Scholar
https://scholar.google.com/scholar?q=bathroom+floor+buckling+subfloor+repair - Google Scholar Google Scholar
https://scholar.google.com/scholar?q=wood+subfloor+cupping+moisture+repair+guidance - Google Scholar Google Scholar
https://scholar.google.com/scholar?q=tile+installation+subfloor+deflection+criteria+repair - https://en.wikipedia.org/wiki/Floor_joist
- Floor
https://en.wikipedia.org/wiki/Subfloor - Deflection
https://en.wikipedia.org/wiki/Deflection - https://www.epa.gov/mold/mold-and-mildew
- https://www.cdc.gov/mold/default.htm
- https://www.fpl.fs.usda.gov/documnts/fplgtr/fpl_gtr113.pdf
- https://en.wikipedia.org/wiki/Mold