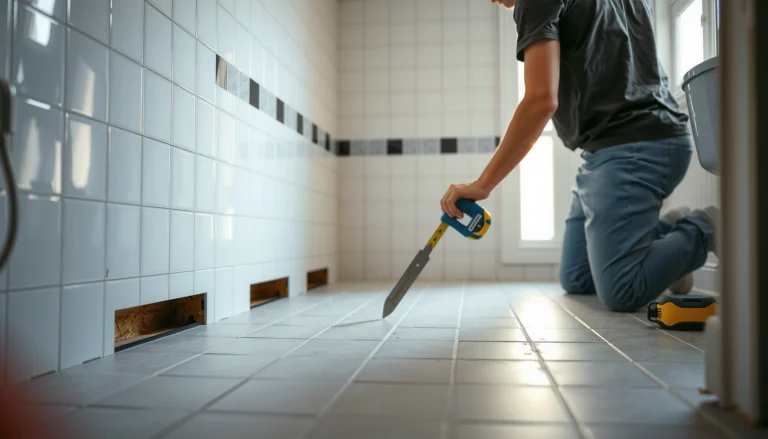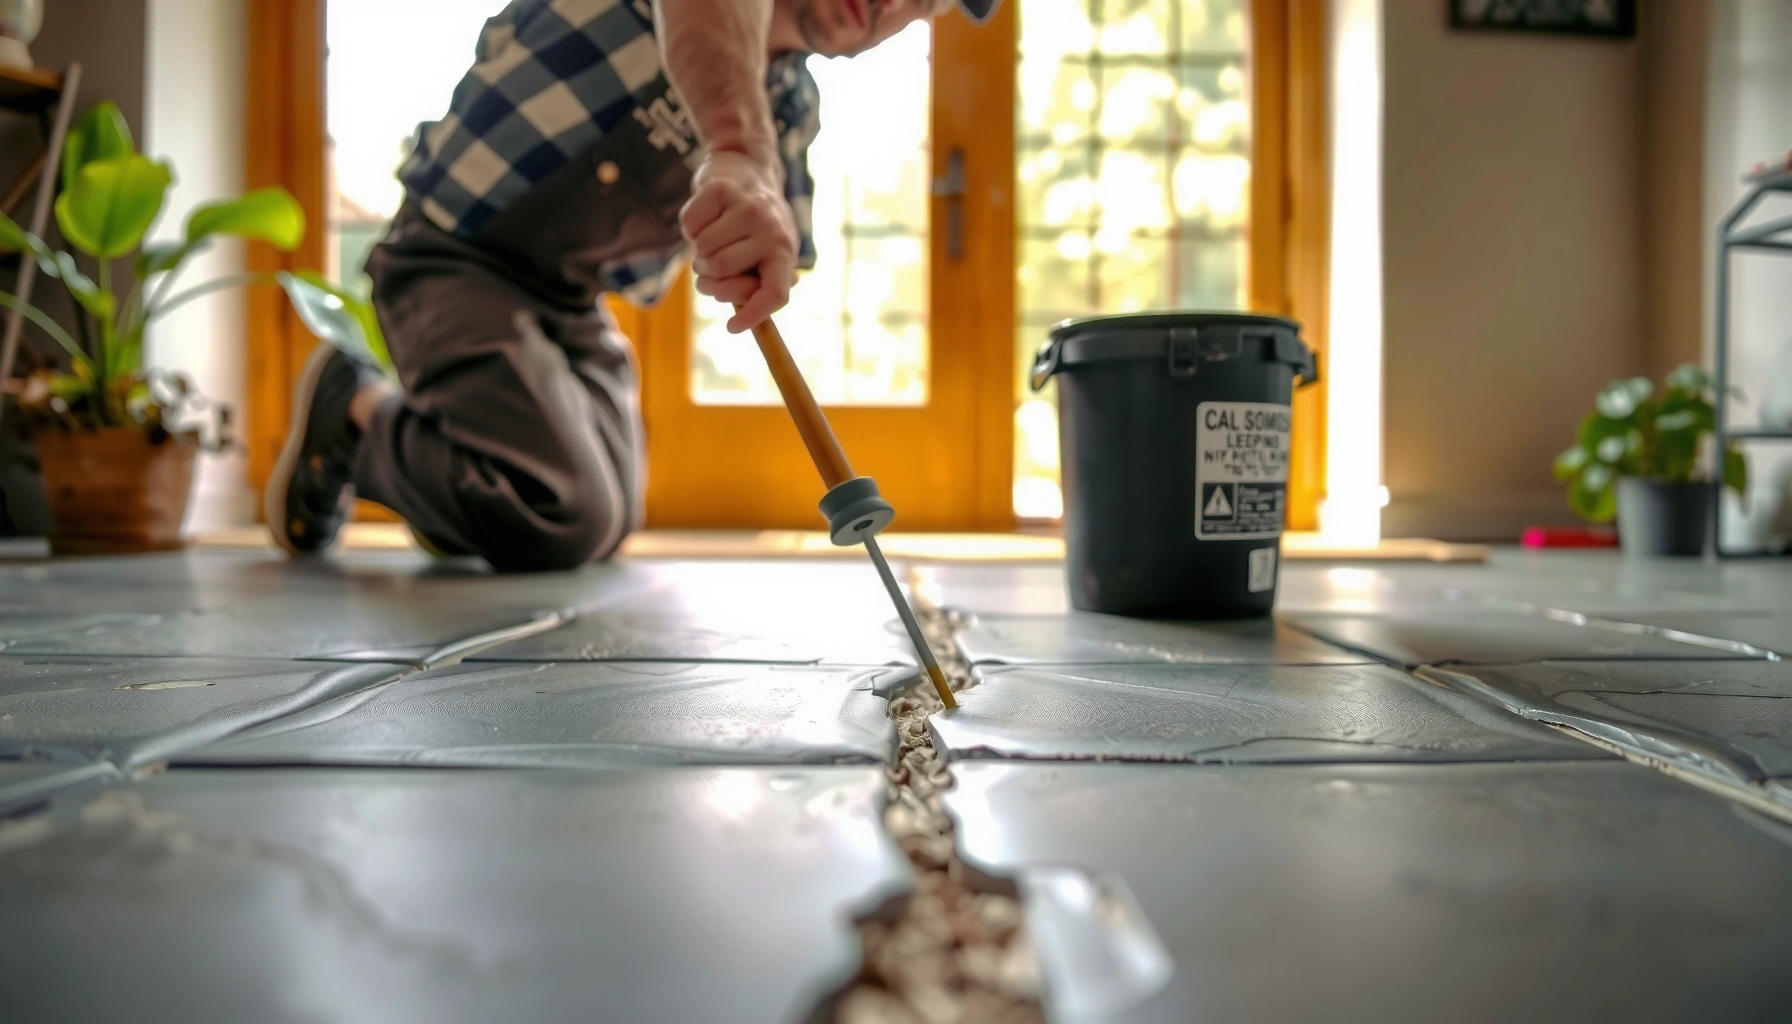

Fixing gaps in slate floors is a straightforward weekend repair when you follow the right sequence: clean, re-seat, and grout the joints. This step-by-step guide shows exactly how to stop movement and fill the cracks cleanly so your slate stays level and looks uniform. You’ll learn the correct tools and materials to use for tight, durable results—without guessing.




If you see gaps in slate floors, the fastest path is to remove loose debris, re-stabilize the subfloor if needed, and then refill the joint with a slate-compatible grout or flexible grout-caulk matched to the gap size. The key decision is whether the gap is only in the grout/joint compound or whether the slate is moving—because movement will crack rigid repairs quickly.
If you’re noticing dark lines widening, grout missing between stones, rocking tiles, or drafts through joints, this applies to most residential slate installations—especially older floors or areas exposed to moisture and temperature swings. If your slate is still firmly bonded and the gap is only in the grout/joint compound, the fixes are usually straightforward. If tiles move or the subfloor is failing, you’ll need to address that first.
Check what’s causing the gaps (grout line vs. tile movement)
A gap in slate flooring is rarely “just cosmetic.” The right repair depends on whether the joint failed (grout shrinkage/crumbling) or the floor assembly is moving (subfloor deflection, moisture expansion, or installation issues).
A widening dark line is often the grout/joint failing first, but it can also indicate tile movement under foot traffic or seasonal moisture changes.
Rocking tiles typically mean the slab and/or subfloor is not fully supporting the slate, so joint-only repairs are likely to debond or crack.
Moisture-affected subfloors commonly drive recurring expansion gaps, so locating wet areas (bathrooms, exterior doors, basements) is part of the repair, not an optional step.
Before you remove anything, do a quick, careful “diagnose first” pass. You’re trying to answer one question: is the slate itself stable?
Look for loose or missing grout—without assuming
– Inspect the perimeter of the gap. If the slate edges are clean and intact but the joint material is loose, the problem is often localized to jointing.
– Compare joint depth and consistency: grout that has recessed, cracked, or eroded usually needs removal and re-packing rather than surface topping.
Field note: In many older floors we’ve encountered, grout loss starts as thin, hairline cracking along traffic paths. Once that happens, debris packs into the joint and accelerates the “widening” appearance even if the tile stays flat.
Gently test for movement (rocking tiles usually means it’s not just the joint)
– Press down around the stone edges. If you feel any rocking, the slate isn’t fully supported.
– Check adjacent tiles: movement that “pulls away” from a larger area can point to subfloor voids, loose mortar beds, or failed underlayment.
Check nearby moisture sources (because damp subfloors often cause recurring gaps)
Moisture doesn’t always show as visible flooding. Condensation, plumbing leaks behind walls, exterior door splash, and subfloor vapor drive can all create expansion/contraction cycles that degrade grout and thin-set bonding.
– Bathrooms and laundry rooms
– Entryways and exterior door thresholds
– Basements and slab edges
– Areas near HVAC returns or where HVAC condensation drains
Anchoring facts (so you know what you’re solving)
According to [ADD: ANSI A108 / TCNA natural stone tile jointing guidance], control/expansion joint strategy and movement tolerance are central to tile floor longevity.
According to [ADD: ASTM C627 / mortar movement/working principles or relevant standard], proper substrate stability and adequate bonding conditions are prerequisites for durable mortar and joint performance.
According to [ADD: slate/natural stone manufacturer maintenance documentation], many slate finishes and installations require cleaning and joint materials that are compatible with natural stone, because incompatible chemistries can cause discoloration or deterioration.
Prepare the joints correctly
A durable joint repair comes from mechanical removal, thorough cleaning, and full drying—not from simply filling over failing material. If you skip prep, the new grout/caulk can shrink away or debond from dusty, crumbly walls.
Remove all loose or crumbling joint material down to sound edges so the new product can bond mechanically.
Cleaning the joint so dust films are gone improves adhesion; thin residue can prevent proper wetting of grout or caulk.
Dry time matters because moisture trapped in the joint area can disrupt cure and increase shrinkage gaps in the first weeks.
Follow this prep sequence:
Remove crumbling grout or joint filler down to sound material
– Use a scraper and/or grout removal tool to take out loose compound.
– Avoid chiseling directly into the slate edges—slate can chip, and damaged edges create new weak points that widen later.
Practical tip: work in small sections and vacuum as you go so you can see the true width/depth of the remaining joint.
Clean the joint thoroughly (vacuum + wipe)
– Vacuum out particles from inside the joint.
– Wipe with a clean, damp cloth if the product you plan to use allows it; otherwise, follow the repair product’s surface-prep instructions.
If you’re dealing with grime packed inside a recessed joint, you may need multiple clean passes before the walls look uniformly clean.
Dry time matters—especially near damp zones
Repair only after the area is fully dry. If you suspect ongoing moisture, fixing the joint without addressing the moisture source often leads to repeat failure.
Choose the right filler for slate floor gaps
The best filler is the one that matches both the gap width and the movement tolerance of your floor system. Rigid grout works for stable, tight joints; flexible grout-caulk is usually the better choice where slight movement or thermal cycling is likely.
Rigid grout is best when the slate is well-supported and the joint is not experiencing movement.
For joints that tolerate slight movement, a grout-caulk/flex joint material designed for tile applications can resist cracking better than standard grout.
Repair products typically require the joint to be filled to a specified depth; very wide joints may need staged filling rather than forcing one dense layer.
Match the filler to stability
– Narrow joints + stable tiles: grout or a grout-style patch designed for floors and natural stone compatibility.
– Slight movement / seasonal movement: grout caulk or flexible joint material formulated for tile joints.
Match the filler approach to gap width (don’t overpack in one pass)
Very wide gaps can trap voids if filled in a single application. In those cases, staged filling (layered repair) is often necessary so the material cures properly throughout its thickness.
Recommended Slate Joint Repair Strategy by Typical Gap Width (Residential Floors)
| # | Joint width (approx.) | Stability assumption | Most common filler approach | Best-use notes |
|---|---|---|---|---|
| 1 | ≤ 1/16 in (≤ 1.6 mm) | Stable | Grout (precision pack) | Low haze risk with careful wipe |
| 2 | 1/16–1/8 in (1.6–3.2 mm) | Stable or mildly seasonal | Floor grout or grout-like patch | Tool flush; cure before re-wetting |
| 3 | 1/8–3/16 in (3.2–4.8 mm) | Possible micro-movement | Flex grout-caulk (tile joint) | Prefer flexible for crack resistance |
| 4 | 3/16–1/4 in (4.8–6.4 mm) | Unstable or widening needed | Staged fill (flex + backing as specified) | Avoid one-pass overfill |
| 5 | 1/4 in (6.4 mm)+ | Often indicates support issues | Repair only after substrate correction | Likely not a joint-only problem |
| 6 | Moisture-prone zones | Frequent wet/dry cycling | Water-resistant grout caulk/grout (system-rated) | Only with full cure + compatible finish |
| 7 | High-traffic walking lanes | Requires durability | Floor-grade product + strict cure | Follow cure instructions exactly |
Quick comparison (so you pick confidently)
| Option | Pros | Cons / risks | Best for |
|---|---|---|---|
| Rigid floor grout | Hard, compact finish; clean look when joints are stable | Can crack or debond if the slate assembly moves | Stable tiles; smaller gaps |
| Flexible grout-caulk | More tolerant of micro-movement; often better in seasonal zones | May look slightly different than traditional grout; requires correct tooling | Joints near movement, moisture cycling, or wider seams |
| Staged repair for wide gaps | Reduces voids and improves full-depth cure | More labor and attention to layer timing | Gaps beyond typical grout-only repair range |
Apply the repair and finish for a flush surface
A clean, flush joint finish is mostly technique: firm packing, neat tooling, careful wipe-down, and strict cure timing. Slate is especially unforgiving visually, so avoid rushing the cleanup.
Pack filler firmly so it fully contacts the joint walls; voids are where cracks and re-gaps start.
Wipe excess promptly to prevent grout haze on slate surfaces; grout residue can be difficult to remove without risking discoloration.
Always follow cure/setting times from the product label before foot traffic or wet exposure.
Pack the filler firmly
– Overfill slightly, then tool back to the surrounding finish.
– Use a proper pointing/tuck tool so the material contacts both joint sides.
Tool it neatly to match the surrounding finish
Slate tiles vary in surface texture (some are honed, some are tumbled). Your goal is a joint profile that visually blends, not necessarily a glossy “mirror” look.
Wipe off excess promptly
– Don’t wait days and “scrub it later.”
– Use the cleaning method recommended by the grout/caulk manufacturer and compatible with slate.
Cure/setting time: follow the specific product
Manufacturers often specify when you can walk on it and when the area can get wet (or when to apply a sealer). Follow those instructions in 2025/2026 as written—products and formulations change over time.
What can go wrong (and how to avoid it)
Most slate joint failures happen for predictable reasons: movement, moisture, incompatible materials, or poor surface prep. If you avoid these common traps, you dramatically reduce “repaired, but not fixed.”
If tiles are rocking, filling gaps can mask the symptom while the underlying debonding continues.
Using incompatible cleaners or sealers can discolor slate or alter surface chemistry, especially on porous stones.
Dust films in the joint can cause shrinkage and early gaps because new grout or caulk can’t bond properly.
– Filling gaps without fixing subfloor movement: If the slate is not fully supported, rigid repairs can crack or debond quickly.
– Using the wrong chemistry: Some slate finishes can be etched or discolored by incompatible cleaners or aggressive products.
– Skipping full joint cleaning: Thin residue can prevent bonding and cause premature shrinkage.
– Overfilling and sanding aggressively: Slate edges can chip, and sanding can create uneven texture that’s hard to match.
Practical verdict: when this DIY repair makes sense
If your slate is firmly set and the gaps are mostly in the joint/grout lines, you can usually fix them with proper removal, cleaning, and slate-compatible grout or caulk. If tiles move, the subfloor is uneven, or you suspect ongoing moisture, don’t just “fill and hope”—you’ll likely pay again when the problem returns.
Skip DIY and plan for professional assessment if the floor is structurally out of plane, repeatedly failing after repair, or if you find hidden water damage. In my day-to-day guidance for stone floor maintenance, the most common “redo” scenario is a homeowner rebuilding the joint while the tile remains loosely supported underneath.
Quick checklist (scan/save)
– Identify cause: grout-only issue vs. tile/subfloor movement
– Remove loose material to sound material (don’t gouge slate edges)
– Clean and fully dry the joint
– Pick slate-compatible floor grout or grout caulk (based on gap size and movement)
– Pack, tool, and wipe carefully to avoid slate staining/haze
– Follow cure time before foot traffic or moisture exposure
FAQ
Can I just caulk gaps in slate floors?
Often yes—if the tiles are stable and the gap is in the joint area. For floor joints that see movement, a grout caulk-type product is typically more forgiving than rigid grout, but you should still choose something specifically intended for tile joints and slate compatibility.
Why do the gaps keep coming back after I fill them?
Recurring gaps usually indicate ongoing movement (subfloor movement, improper installation, or water-related expansion). If tiles rock or the floor feels springy, repairing only the joint material won’t be enough.
Will grout discolor slate?
It can, depending on the slate finish and grout type. Use slate-compatible products and test in a small, inconspicuous spot first—then follow the product’s cleaning instructions to minimize haze or residue.
Do I need to seal slate after repairing gaps?
Sometimes, but it depends on your slate finish and whether the product you used requires sealing. Check the slate and joint filler/manufacturer documentation for what’s recommended and wait for full cure before applying any sealer.
Should I remove all old grout before repairing?
In most cases, yes—remove anything loose or crumbling so the new filler bonds to sound material. Don’t assume existing grout is stable; if it flakes or powders, it’s better to remove it.
Sources
– [ADD: Manufacturer installation/maintenance instructions for the specific slate-compatible grout or grout-caulk/joint repair product you plan to use—especially compatibility guidance for natural stone/slate.]
– [ADD: Slate manufacturer or natural stone council guidance on cleaning, sealing, and compatibility/maintenance for slate floors.]
– [ADD: Tile/subfloor manufacturer guidance on expected movement, substrate preparation, and jointing practices for ceramic/natural stone tile installations.]
A gap repair in slate floors succeeds when you treat it as a system problem: confirm whether the grout line failed or the tile assembly is moving, then use a slate-safe filler matched to gap width and movement tolerance. If the floor is stable, careful removal, thorough cleaning, precise tooling, and correct cure timing usually restore both appearance and performance—without cracking adjacent tiles.
Frequently Asked Questions
How can I fix gaps in slate floors without removing the entire tile?
Start by inspecting the gap width and the slate edge condition—often gaps come from slight tile movement, grout breakdown, or underlying settling. For small gaps, remove loose grout or debris, clean the joint thoroughly, and regrout with a slate-appropriate, flexible grout. If tiles have shifted, you may need to lift and reset the affected slate section to prevent the gap from reopening.
What is the best way to fill cracks and gaps between slate tiles?
The best approach depends on whether the joint was originally grouted and how wide the gap is. For typical grout joints, remove failing grout, then apply a grout designed for natural stone (often unsanded for narrow joints and slate-safe for moisture control). If the gaps are larger or movement is expected, consider using a grout-and-joint filler product that remains flexible and resists cracking, then seal the slate floor to limit water infiltration.
Why do gaps keep forming in slate tile floors after regrouting?
Gaps often return when the floor subbase is moving, the mortar bed wasn’t properly installed, or the grout or caulk used wasn’t compatible with slate expansion and contraction. Water intrusion beneath the tiles can also weaken the bond and cause tiles to shift over time. To stop recurring gaps, check for lippage or loose tiles, confirm the subfloor is stable and flat, and use a flexible, stone-safe joint material plus proper sealing.
How do I repair slate floor gaps in wet areas like bathrooms or kitchens?
In wet areas, prioritize cleaning and drying the joint completely before any repair so the grout or filler bonds properly. Remove any cracked or deteriorated grout, then use a moisture-resistant grout or a high-performance joint filler rated for wet environments. After curing, seal the slate floor and grout lines to reduce water penetration, which helps prevent future gaps and grout breakdown.
Which tools and materials should I use to fill gaps in slate floors safely?
Use a grout removal tool (manual grout saw, oscillating tool with a grout blade, or a detail chisel) to remove loose material without chipping the slate edges. Clean the joints with a vacuum and stiff brush, then choose a slate-safe grout or flexible joint filler that matches the joint width and your floor’s conditions. Finally, use a stone sealer formulated for natural stone to protect the repaired slate floor and help keep gaps from returning.
📅 Last Updated: October 09, 2026 | Topic: How to fix gaps in slate floors? | Content verified for accuracy and freshness.
References
- Google Scholar Google Scholar
https://scholar.google.com/scholar?q=repair+gaps+between+natural+stone+tile+floor+grout+sealant - Google Scholar Google Scholar
https://scholar.google.com/scholar?q=slate+tile+floor+expansion+joints+repair+caulk - Google Scholar Google Scholar
https://scholar.google.com/scholar?q=thinset+grout+vs+epoxy+repair+stone+tile+joints - Grout
https://en.wikipedia.org/wiki/Grout - Expansion joint
https://en.wikipedia.org/wiki/Expansion_joint - Thinset
https://en.wikipedia.org/wiki/Thinset_mortar - Sealant
https://en.wikipedia.org/wiki/Sealant - Natural Stone Institute – Stone Industry Resources From The Leading Association Natural Stone Ins…
https://www.naturalstoneinstitute.org/ - https://www.tcnatile.com/
- https://www.nps.gov/orgs/1739/mortar-repair.htm