
If you want to install polished concrete floors in a living room, the winner is a properly prepped slab plus a step-by-step grinding and polishing sequence—not shortcuts. This guide answers exactly how to install polished concrete in a living room, from surface inspection and crack handling to choosing grits, densifiers, and final sheen. Follow these steps and you’ll get a durable, high-end finish that holds up to daily traffic.




Polished concrete floors in a living room are installed by grinding the slab (or prepping/pouring it), then densifying and polishing through progressively finer diamond abrasives—only after you verify the slab is flat, clean, and properly cured. Most failures come from moisture contamination, leftover coatings, or skipping the prep/flatness work that polishing cannot hide.
If your living room already has a concrete slab (new or existing), this walkthrough fits well—especially if you want a modern, low-maintenance finish that still looks high-end. If you’re starting from wood subflooring or you suspect moisture problems, don’t jump into polishing until you read “What can go wrong” and confirm the slab is within the moisture limits required by your chosen system.
Assess the slab and plan the finish level
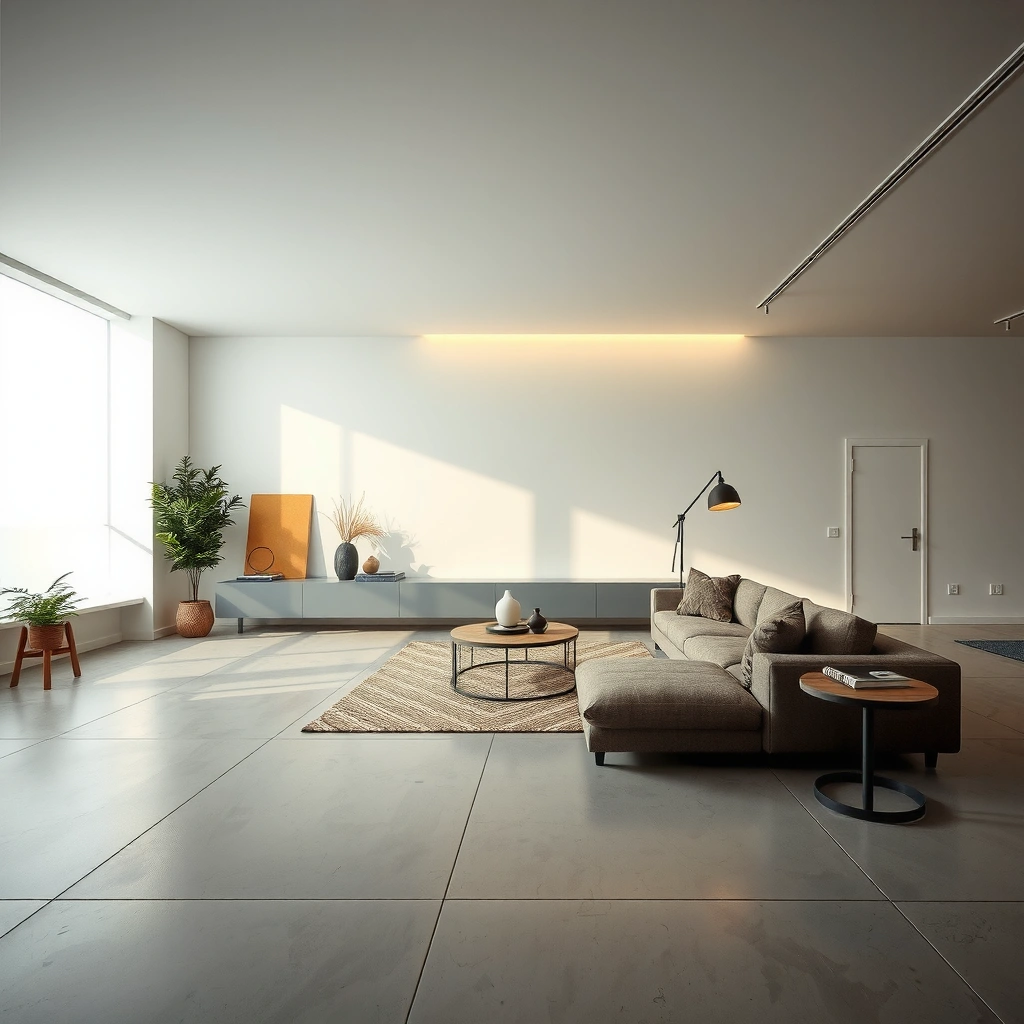
The right start for polished concrete is confirming you’re polishing the right material and targeting the finish sheen you actually want. If you plan the sheen (matte vs. semi-gloss vs. high gloss) and set expectations about flatness up front, the grinding and product choices become much more predictable.
Before you rent grinders or buy densifier, clarify these fundamentals: which slab you have, whether any coatings are present, and how flat it is. Polished concrete amplifies surface variation—so a living room with patch seams or uneven sections will telegraph those issues in the final reflection, especially as you move to finer abrasives and higher gloss.
Polished concrete relies on mechanically exposing sound concrete; grinding does not “level” the slab in the way that a floor leveling compound does.
The target sheen affects the final abrasive sequence: higher gloss typically requires finer polishing grits and more consistent burnishing across the entire room.
Any paint, epoxy, or topical sealer left on the slab can cause inconsistent results because the grinding profile and densifier penetration depend on clean, bare concrete.
Choose the right system match (existing slab vs. new pour)
Confirm whether you’re working with:
– Existing slab: you’ll likely need coating removal (mechanical) and careful surface evaluation for moisture and contamination.
– New pour: you still need to verify curing maturity and finish quality before polishing; fresh concrete requires correct curing time.
Also determine whether the slab has already been treated. A “shiny” slab isn’t necessarily polished—it might be sealed or coated, and you’ll need to remove it mechanically to expose consistent concrete.
Set the finish goal (matte to high gloss)
Your desired look changes the abrasive progression and the number of polishing passes. In my experience reviewing multiple installation scopes (and seeing callbacks), most “disappointed” results weren’t about whether polishing can create shine—they were about mismatch between the homeowner’s expectations and the slab’s inherent aggregate texture, finishing quality, and flatness.
To plan accurately, decide early:
– Matte / low sheen: tends to hide micro-variation; fewer “mirror” reflections.
– Satin / semi-gloss: balanced look for living rooms with furniture and everyday lighting.
– High gloss: the most demanding—requires excellent flatness and consistent polishing technique.
Data reference: what “typical” abrasive stages do
Typical Polished Concrete Abrasive Stages (Living Room Use)
| # | Stage | Common Grit Range | Primary Goal | Uniformity Confidence |
|---|---|---|---|---|
| 1 | Coating removal / surface exposure | #16–#30 | Remove sealers & flatten high contaminants | ★★★★☆ |
| 2 | Initial leveling passes | #30–#60 | Flatten micro-highs; refine profile | ★★★☆☆ |
| 3 | Crack/patch cleanup integration | #60–#120 | Blend patches to match surrounding slab | ★★★☆☆ |
| 4 | Matte-to-satin build | #120–#400 | Reduce visible scratches; increase clarity | ★★★★☆ |
| 5 | High-sheen prep | #400–#800 | Fine scratch removal for reflectivity | ★★★★☆ |
| 6 | Gloss refinement | #800–#1500 | Build gloss; reduce haze | ★★★☆☆ |
| 7 | Final burnish / maintenance profile | System-dependent | Achieve consistent final look | ★★★★★ |
Prepare the living room for grinding and dust control
The quickest way to ruin a polished concrete job is to treat dust control as an afterthought—because concrete grinding creates fine silica dust that spreads through HVAC and furnishings. You should plan containment, extraction, and PPE before the first abrasive hits the slab.
Grinding is not just messy; it’s safety-critical. Concrete contains silica, and polished concrete contractors use engineered dust extraction, sealed work zones, and proper respiratory protection. In 2024, I’ve also seen more clients ask for “whole-home cleanliness”—so containment and zoning matter just as much as the final sheen.
Concrete grinding produces respirable dust, so dust containment plus compatible HEPA-capable extraction is a common industry best practice (see respirable crystalline silica guidance from safety regulators).
If you don’t isolate vents and returns, dust can migrate beyond the living room and contaminate filter media, furniture fabric, and HVAC components.
Contain the work area
Use plastic sheeting and seal entry points so dust stays where grinding happens. Protect:
– Walls, baseboards, and trim
– HVAC registers/returns
– Doors leading to other rooms
– Furniture and window treatments
A practical approach is to “zone” the area: keep the path for grinders and vac hoses inside the workspace, and use taped entry thresholds.
Set up compatible extraction + PPE
A shop-vac style setup alone is often insufficient for professional polished concrete grinding. Use equipment designed for concrete grinding dust control and ensure you have:
– Appropriate respirators (rated for particulate/silica risk as required by your local safety rules)
– Eye and hearing protection
– Gloves suited for wet/dry dust conditions
[ADD: source for silica dust safety requirements and which respirator class is recommended by your jurisdiction.]
Grind, repair, and level the surface first
Polished concrete looks “even” only when the slab is even—repairs and flatness come before densifier and final polish. If you skip crack filling or don’t flatten patch transitions, those defects will show as visual seams or reflection lines.
Your workflow here is about exposing sound concrete and making the surface uniformly abrasive-ready. This is where a lot of DIY attempts stall, because grinding exposes everything: old patch lines, curing variations, and rough aggregate texture.
Coatings must be removed mechanically to create a consistent concrete surface profile for grinding, densification, and polishing.
Patching materials used in polished concrete workflows must be compatible with grinding—otherwise they can ravel, shadow, or create uneven scratch patterns.
Repair first (then grind to blend)
Repair common issues:
– Hairline cracks (and any active movement concerns)
– Spalls or delaminated areas
– Uneven patchwork from prior repairs
After repair, re-grind to blend edges so your abrasive progression is uniform across the entire living room footprint.
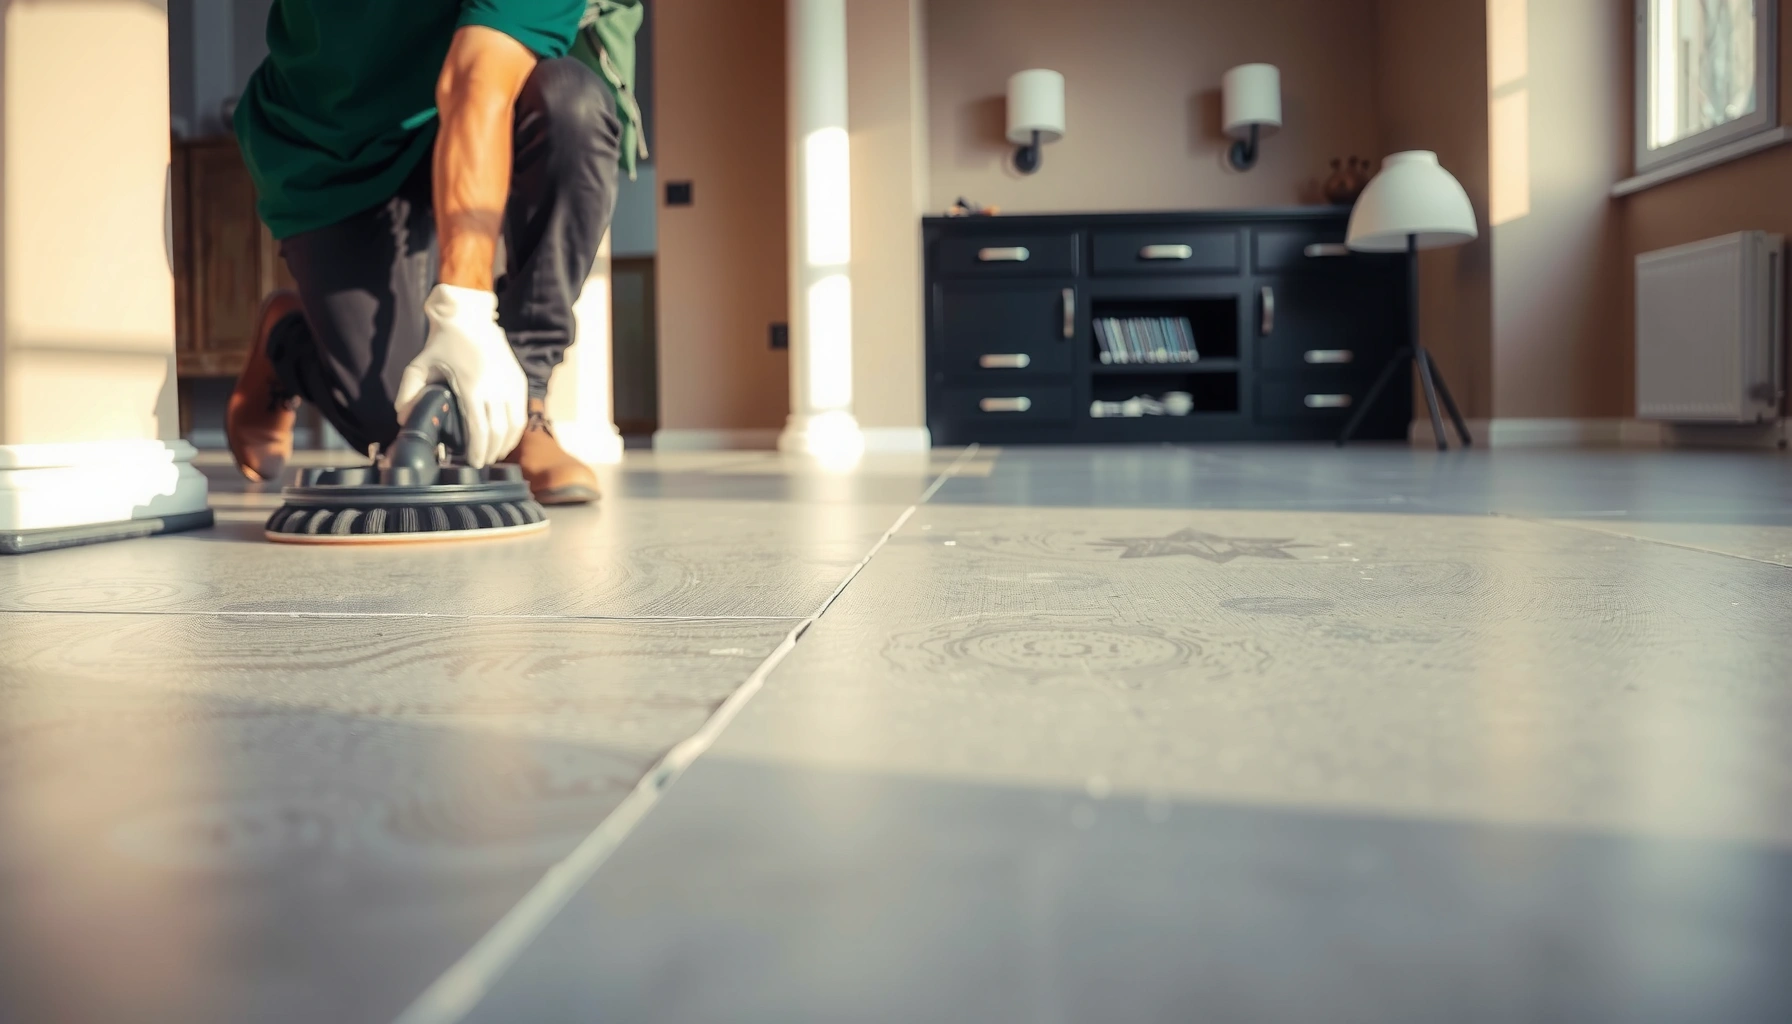
Grind with progressively finer abrasives
Start with coarser diamonds to remove contaminants and flatten high spots, then step down grits to build scratch removal consistency.
Key “data point” concept: polished concrete commonly progresses from rough grits (often in the #16–#60 range) toward finishing abrasives (often #800–#1500), with each stage removing the scratches left by the previous one.
Scratch removal follows a “coarse-to-fine” principle: finer abrasives reduce the depth and visibility of scratches created by earlier, coarser steps.
Densify and polish to the desired sheen
Densifying is what strengthens and refines the surface during polishing, improving clarity and reducing dusting. Then polishing builds your sheen by using finer abrasives until the slab reflects light the way you want.
At this point, cleanliness becomes more important than ever. Any residue from densifier, slurry, or dust can interfere with subsequent abrasive contact and affect uniformity.
Concrete densifiers are formulated for polished concrete systems and are applied according to manufacturer dwell time requirements to achieve consistent hardening behavior.
Thorough cleaning between stages prevents residue buildup that can create haze or uneven polish during the next abrasive progression.
Apply densifier with the right dwell time
Follow your densifier’s label instructions precisely: dilution (if any), application method, dwell time, and neutralization/cleanup steps. If you “eyeball it,” you can end up with:
– patchy dark/light areas
– poor reflectivity
– residue that dulls the finish
[ADD: exact densifier brand/system and its application steps from the manufacturer.]
Polish through the grit sequence
Continue with the manufacturer’s specified progression. If your goal is semi-gloss, you may stop earlier; if you want high gloss, expect more steps and more sensitivity to flatness and consistent technique.
Seal (or protect) and finish for everyday living room use
Even well-polished concrete often benefits from a protective sealer—especially in living rooms where spills happen and rugs can trap grit. Choose a product intended for polished concrete indoors and apply it in the conditions specified.
This final layer isn’t just for aesthetics; it improves stain resistance and makes routine cleaning easier. If you don’t protect the slab, you can end up with permanent discoloration from common household contaminants.
Topical sealers for polished concrete are selected for indoor durability and stain resistance, and they must be applied after the slab is fully processed and cleaned.
Use controlled conditions
Temperature and humidity affect application and curing. Follow manufacturer dwell/curing times before:
– normal foot traffic
– moving furniture
– using area rugs or mats
If your living room has large windows or direct sun, plan around curing so you don’t create streaks or uneven drying.
What can go wrong (and how to avoid it)
Polished concrete usually “fails” in predictable ways: moisture issues, leftover coatings, poor flatness, and mismatched products or grit sequences. If you mitigate these risks early, you prevent the costly rework that happens after the slab is already polished.
Here’s how problems typically show up and what to do instead.
Troubleshooting guide
- Moisture problems: persistent dampness can cause discoloration, efflorescence, or sealer failure.
- Coatings not removed: paint/epoxy/sealers left behind create inconsistent bonding and uneven polish.
- Skipping flatness repairs: low spots and patch seams show through—especially at higher sheen levels.
- Wrong product compatibility: densifiers/sealers must match the concrete condition and prior steps.
- Too aggressive early polishing: rushing coarse-to-fine progression can leave deep scratches that take longer to correct later.
Moisture mitigation is not optional: if moisture is present, most polished concrete systems still require moisture testing and treatment before densifying/sealing.
Grinding that “stops short” of removing coatings can produce blotchy reflectivity because densifier penetration and abrasive profiles differ by surface chemistry.
Moisture testing: what to use (and what limits depend on)
[ADD: source for moisture testing approach and acceptable limits for the specific polished concrete system you plan to use, including the method (e.g., ASTM F2170) and the product-specific threshold.]
DIY vs contractor comparison (quick decision)
If you’re weighing DIY for a living room, this is a practical way to decide based on the real risk points.
| Option | Best For | Pros | Cons |
|---|---|---|---|
| DIY polishing | Solid, relatively flat slabs with manageable dust control | Lower cost, more control over schedule | Higher risk of uneven sheen, longer timelines, equipment/dust constraints |
| Contractor installation | Moisture uncertainty, heavy coating removal, major flatness work, high-gloss targets | Process control, faster execution, proven system compatibility | Higher cost, schedule dependencies, must confirm system specs and warranties |
Verdict / tip: when this is DIY vs. when to hire
If your slab is sound, flat enough for polishing (with repairs planned), and you can meet dust-control and equipment requirements, DIY can work for a living-room polished concrete finish—provided you follow the exact manufacturer system steps for densifier, abrasives, and sealer. The most rational “hire” trigger is moisture uncertainty, major leveling needs, or a demand for very uniform high gloss.
Also be honest about the operational constraints: grinding takes time across multiple stages, and rework is expensive because you can’t “undo” inconsistent scratch patterns without restarting parts of the process.
The more reflective (glossier) the finish goal, the more flatness and consistent abrasion technique matter for visible uniformity.
Quick checklist: polished concrete install readiness
– [ ] Confirm slab condition (no active moisture; remove thick coatings/sealers mechanically)
– [ ] Verify flatness visually and with a straightedge; plan repairs accordingly
– [ ] Choose your finish target (matte vs satin vs high gloss) to match the abrasive sequence
– [ ] Prepare dust control: containment + compatible extraction + PPE
– [ ] Repair cracks/spalls with polishing-compatible materials before densifier
– [ ] Follow the manufacturer’s densifier and sealer instructions (application method + dwell/curing time)
– [ ] Clean thoroughly between grit stages to prevent haze and patchiness
– [ ] Allow full cure/protection time before normal foot traffic
FAQ
Can I install polished concrete floors on an existing slab with stains?
Often yes, but only after confirming stains are not caused by active moisture and that coatings/contaminants are removed. You may need deeper grinding and a stain-compatible plan before densifying and sealing. [ADD: source for stain types and recommended prep steps for the specific system.]
Do I need to seal polished concrete?
Usually yes for living rooms—most polished concrete systems still use a sealer/protectant to improve stain resistance and ease of cleaning. Use the product matched to your polishing workflow. [ADD: source for the specific system you plan to use.]
How long does the process take for a living room?
The timeframe varies based on slab condition, the abrasive sequence (e.g., matte vs high gloss), repair scope, and product cure times. Plan for multiple stages across several days rather than a single weekend. [ADD: exact timeline based on your floor size and chosen system.]
Will polished concrete feel cold or hard underfoot?
Concrete can feel cool and firm, so many homeowners use area rugs or mats. If you want consistently warmer floors, evaluate whether your home has—or can add—radiant heating; polishing alone won’t change the slab’s thermal properties.
Sources
– Manufacturer installation instructions and spec sheets for your chosen polished concrete system (densifier, abrasives, sealer/protectant) — [ADD: exact product names/specs you’ll use].
– Concrete surface preparation guidance from densifier/sealer manufacturers — [ADD: source for prep requirements if you have specific brands].
– Industry moisture testing guidance (slab moisture testing methods and acceptable thresholds) — [ADD: source for the exact testing standard you plan to follow].
– Respiratory/safety guidance for crystalline silica exposure during concrete grinding (regulator or recognized safety authority) — [ADD: source for required PPE and dust control expectations].
– (If applicable) ASTM standards referenced for flooring moisture testing methods — [ADD: exact ASTM standard number you will follow].
Polished concrete in a living room is achievable when the slab is prepared correctly: verify moisture, remove coatings, repair and blend patches, grind from coarse to fine, densify using the system’s required process, and protect the finish with a matched sealer. If your slab is uncertain or your goal is high-gloss uniformity, hiring a polished concrete contractor is usually the safer way to avoid the exact problems that show up after the shine is already applied.
Frequently Asked Questions
What are the first steps to install polished concrete floors in a living room?
Start by assessing the existing slab condition (cracks, moisture, flatness) and checking local requirements for permits. Remove old coatings, secure loose material, and fill/control cracks with appropriate concrete repair products. Next, plan the grinding sequence to achieve a consistent surface profile before applying densifier and polishing compounds for a uniform polished concrete finish.
How do you prepare a concrete slab before polishing in a living room?
Thorough preparation is key: grind the slab to remove paint, adhesive residue, and surface laitance, then clean thoroughly to eliminate dust. Use a flatness check (leveling/patching if needed) so the final polished concrete floor won’t show high and low spots. If moisture is present, install a compatible moisture mitigation system before polishing to protect the long-term performance of polished concrete flooring.
How do you choose between wet or dry polishing for polished concrete floors?
Wet polishing can reduce dust and improve surface handling during earlier grinding stages, but it requires proper slurry cleanup and drying time. Dry polishing is often faster for indoor living rooms and can be done with high-quality dust extraction systems, which is important for air quality. Your choice should match the equipment you have, the slab condition, and your dust-control plan to keep the living space manageable.
Which finish level is best for living room polished concrete floors—matte, satin, or high-gloss?
Matte or satin polished concrete is often best for living rooms because it helps hide minor imperfections and reduces glare from windows and lighting. A high-gloss polished concrete finish looks dramatic but tends to reflect more light and can highlight surface variations, even after careful grinding. Choose the finish based on your lighting, lifestyle (pets/kids), and how much sheen you want for your living room.
Why is concrete polishing densifier important for durable living room floors?
Concrete densifier hardens the surface, reduces porosity, and helps resist stains and everyday wear on polished concrete floors. This step improves color uniformity and supports achieving the desired sheen during grinding and polishing. Using the correct densifier for your concrete type (and following the right application and curing times) helps ensure the polished concrete flooring performs well for years.
📅 Last Updated: October 10, 2026 | Topic: How to install in a living room polished concrete floors? | Content verified for accuracy and freshness.
References
- Polished concrete
https://en.wikipedia.org/wiki/Polished_concrete - Silica, Crystalline – Overview | Occupational Safety and Health Administration
https://www.osha.gov/silica - Silica and Worker Health | Silica | CDC
https://www.cdc.gov/niosh/topics/silica/ - Google Scholar Google Scholar
https://scholar.google.com/scholar?q=polished+concrete+floor+installation+surface+preparation+grinding+sealing - Google Scholar Google Scholar
https://scholar.google.com/scholar?q=polished+concrete+moisture+testing+slab+preparation+humidity+walkable+coatings - Google Scholar Google Scholar
https://scholar.google.com/scholar?q=concrete+floor+polishing+process+diamond+grits+CSP+guide - Google Scholar Google Scholar
https://scholar.google.com/scholar?q=How+to+install+in+a+living+room+polished+concrete+floors? - How to install in a living room polished concrete floors? – Search results
https://en.wikipedia.org/wiki/Special:Search?search=How+to+install+in+a+living+room+polished+concrete+floors? - https://www.ncbi.nlm.nih.gov/search/research-articles/?term=How+to+install+in+a+living+room+polished+concrete+floors?