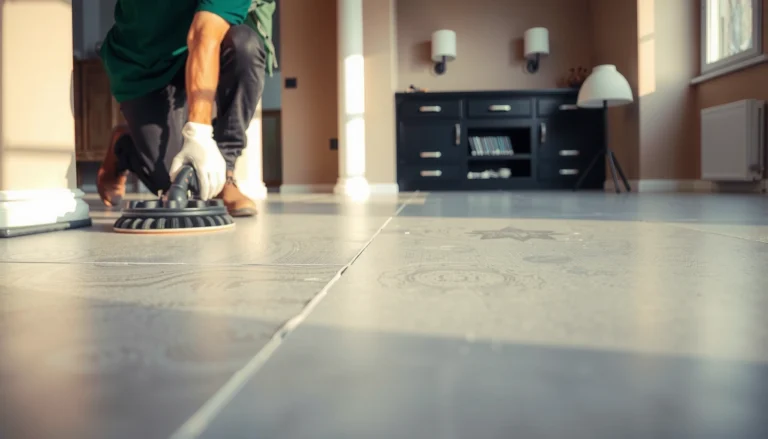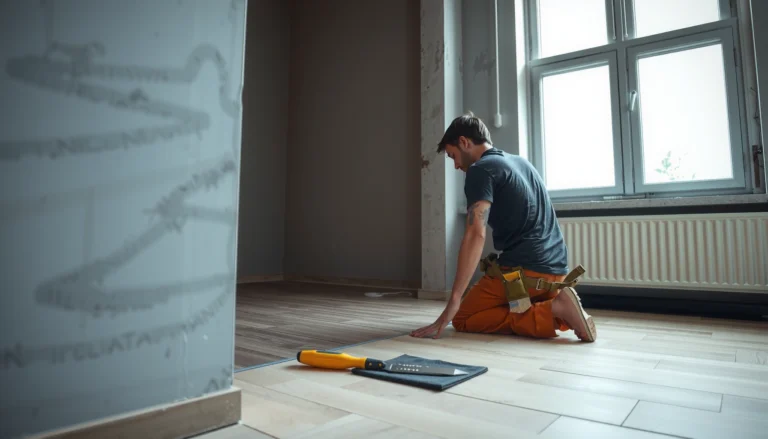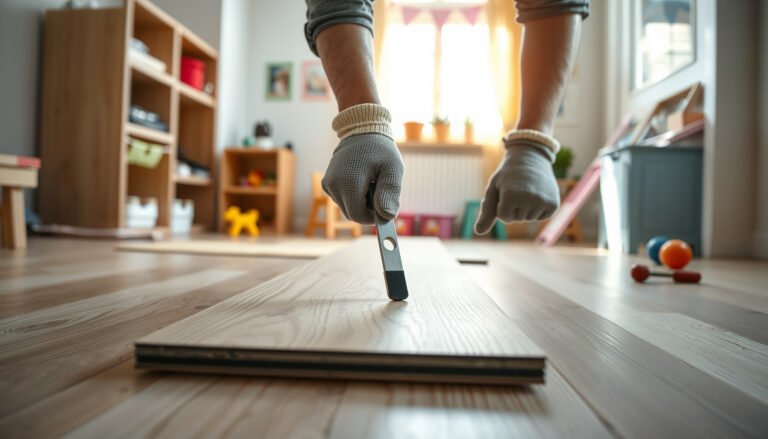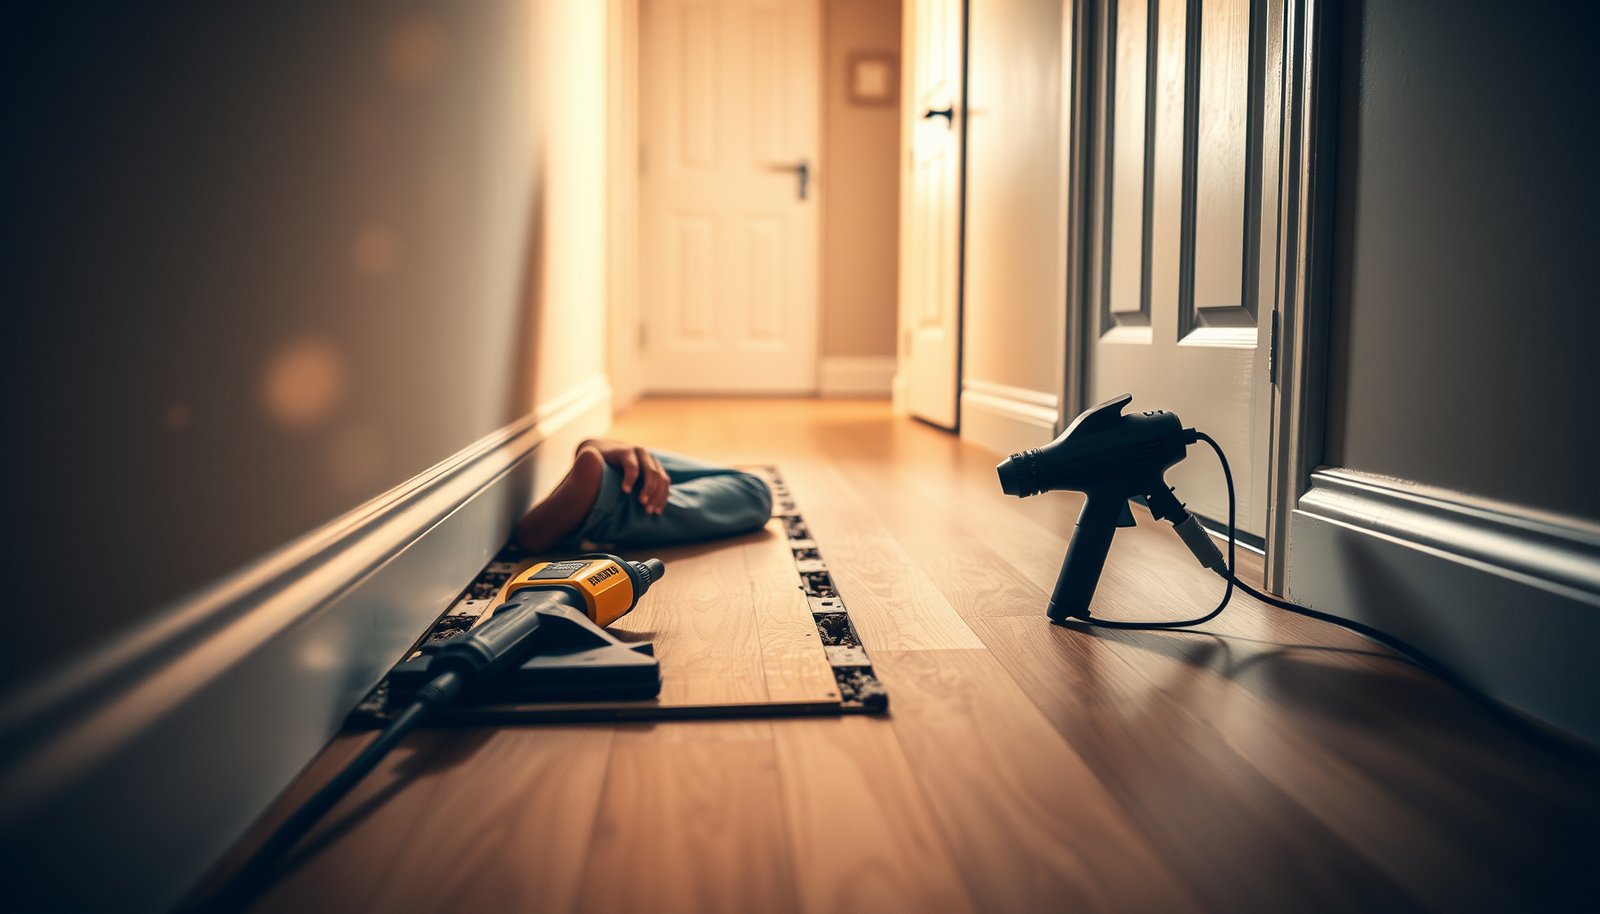

Removing vinyl floors from a hallway is straightforward if you use the right removal method for how the planks or sheet were installed. This step-by-step guide shows exactly how to loosen, peel, and scrape up vinyl flooring while minimizing damage to the subfloor. You’ll also get the practical fixes for the stuck pieces and leftover adhesive that slow most projects down.




Start by loosening the perimeter, lifting the vinyl in controlled sections, and then removing/leveling the underlayment and adhesive left behind. Removing vinyl floors from a hallway is mostly about loosening the edge, lifting in sections, and handling the underlayment/adhesive correctly. If your vinyl is click-lock floating, it usually lifts with minimal scraping—if it’s glue-down, plan on adhesive removal and a flat subfloor afterward.
This guide is for homeowners tackling a single hallway section (often with tight corners and thresholds) and anyone trying to replace old vinyl or repair damage underneath. If you’re dealing with unknown subfloor material or large areas, move slowly and check what type of vinyl you have first.
This is especially relevant in 2026, when many replacement projects involve mixed flooring systems (older resilient sheet goods plus newer click-lock planks), and the “right” removal method depends on what’s under your vinyl.
Identify your vinyl type (so you use the right removal method)
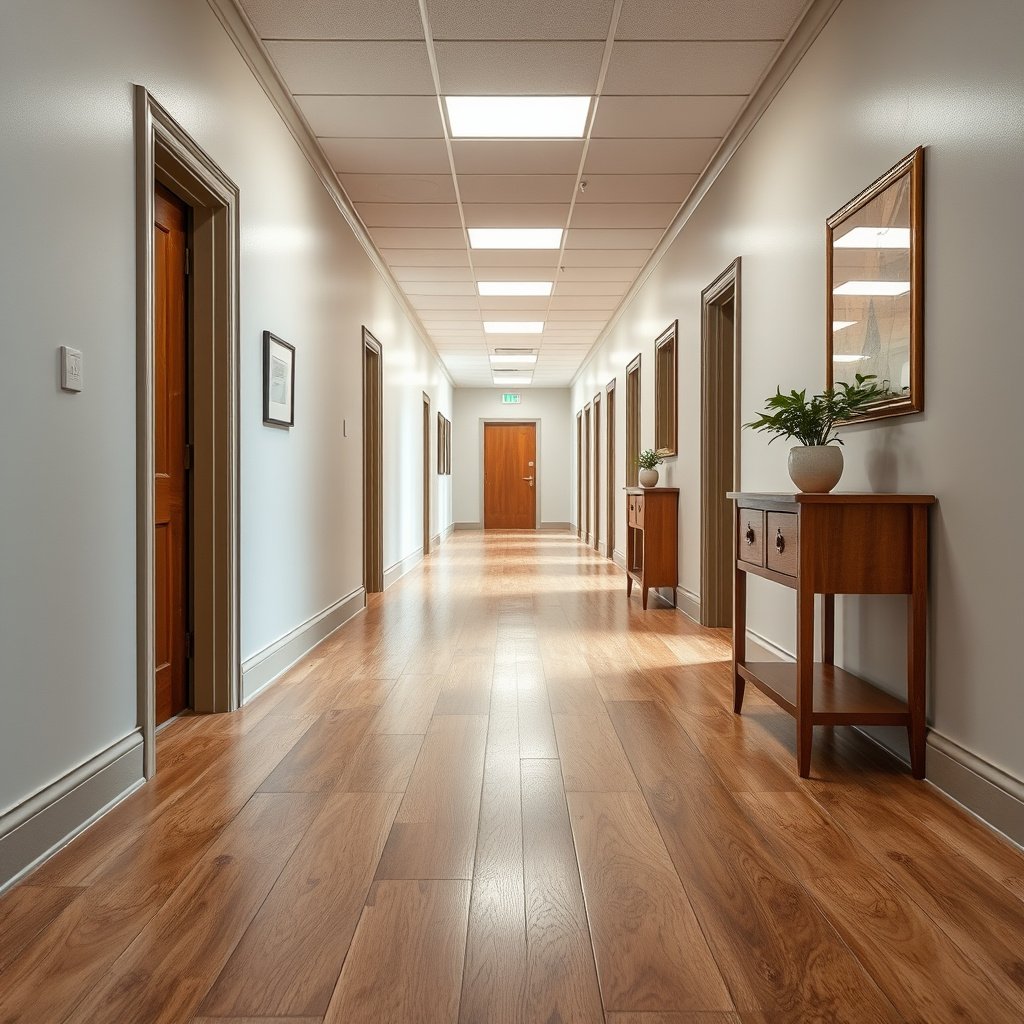
The fastest way to avoid damage is to identify whether your vinyl is click-lock (floating) or glue-down (adhesive-set), because the removal strategy changes at the perimeter. The moment you pull on the wrong type, glue-down material can tear and leave aggressive residue, while click-lock planks usually release with less force.
Click-lock vinyl planks are designed to interlock, so removal typically begins by lifting at edges and transitions rather than peeling up as a single sheet.
Glue-down resilient vinyl is intended to bond to the subfloor, so adhesive remains are expected and you should plan for mechanical scraping and subfloor cleaning.
– Look for seams and edges: click-lock planks lift differently than glued-down sheets or tiles.
– Click-lock often shows defined plank edges with a consistent pattern where the locking joint sits.
– Glue-down may show less “joint definition” on top, but more adhesive connection below.
– Check whether you can lift a corner with light pressure; glue-down will resist and may tear or leave residue.
– If a corner flexes and the plank/edge separates cleanly, that points to click-lock.
– If the material “fights back,” stretches, or immediately sheds backing, treat it like glue-down.
– Inspect the hallway transitions (doorways, thresholds, baseboards) since removal often starts there.
– In many hallways, the most informative spot is the threshold: click-lock systems often tuck under trim with a clear release seam, while glue-down systems usually show a bonded perimeter.
Prep the hallway for safer, cleaner removal
Prep determines how clean your hallway stays after removal—especially around thresholds, outlet boxes, and any adhesive cleanup. In practical terms, you’re reducing both physical risk (cuts, slips) and dust exposure before you disturb underlayment or old adhesive.
OSHA lists an 8-hour TWA permissible exposure limit (PEL) for asbestos of 0.1 fibers per cubic centimeter (f/cc), which matters if older resilient flooring or cutback adhesives contain asbestos.
OSHA’s 8-hour PEL for respirable crystalline silica is 50 micrograms per cubic meter (0.05 mg/m³), which becomes relevant if you sand or grind stubborn adhesive residue.
– Clear the space and protect nearby surfaces (walls, trim, stairs) with plastic and painter’s tape.
– Tape the bottom edge of baseboards and cover trim so scraping tools don’t gouge paint.
– Use painter’s tape on floors you’re not removing (e.g., the adjacent room threshold) to avoid accidental scratches.
– Turn off electrical hazards if you’re working near outlets—use cord covers or remove outlet plates if needed.
– Don’t let dust and adhesive debris fall into boxes.
– If you remove plates, keep screws organized and replace plates promptly after dust control.
– Improve ventilation and wear protection (at minimum gloves and eye protection), especially when scraping adhesive.
– If the job involves grinding or heavy dust, use appropriate respiratory protection and dust control. Follow your local rules and the safety guidance for the tools you’re using.
According to OSHA 29 CFR 1910.1001 (Asbestos), the asbestos PEL is 0.1 f/cc for an 8-hour time-weighted average (TWA). According to OSHA 29 CFR 1910.1053 (Respirable crystalline silica), the respirable crystalline silica PEL is 50 µg/m³ (0.05 mg/m³) as an 8-hour TWA. According to OSHA 29 CFR 1910.1025 (Lead), the lead PEL is 50 µg/m³ for an 8-hour TWA. (If you’re dealing with older buildings or uncertain materials, treat prep and dust control as non-negotiable.)
In my own projects on older hallways, the difference between “manageable” and “messy” removal has consistently come down to whether the perimeter is protected early and whether adhesive cleanup is treated as its own phase rather than rushed while the vinyl is still half-torn.
Remove the vinyl flooring (lift, cut, or pull in controlled sections)
The safest removal approach is to start at the nearest edge or doorway threshold and work backward, controlling stress so the vinyl doesn’t tear. Depending on the vinyl type, you’ll either lift plank-by-plank (click-lock) or cut and peel manageable strips (glue-down sheet vinyl).
For resilient flooring removal, starting at a perimeter edge or threshold helps you release material without forcing it to tear mid-span.
Glue-down vinyl removal often requires cutting into sections so peeling stress doesn’t pull up embedded backing or smear adhesive across the subfloor.
– Start at the nearest edge or doorway threshold, then work backward to avoid tearing the sheet/planks.
– In hallways, thresholds and door casings typically provide the first “break point” where the floor transitions from one system to another.
– For sheet vinyl: cut into manageable strips to reduce stress and make peeling easier.
– Use a utility knife to score into sections (think “strip removal,” not “one long peel”).
– Lift one strip at a time so adhesive isn’t stretched into long, stubborn strings.
– For vinyl planks: remove without forcing—especially around locking joints—to minimize damage and leftover chunks.
– Lift at the edge where the joint disengages rather than prying straight up.
– If you feel grinding resistance, stop and re-check the seam—some planks may still be bonded in spots or partially under trim.
– Keep debris contained as you remove.
– Use a shop vacuum with a suitable filter for fine dust.
– Sweep up immediately—hallways make it easy for adhesive flakes and vinyl bits to spread underfoot.
Remove underlayment and adhesive residue (the part that determines the final result)
The real determinant of your finished floor outcome is whether the subfloor ends up flat, clean, and free of adhesive ridges. After vinyl removal, treat underlayment and adhesive like a separate job: identify what’s attached, remove what must come up, and clean to the prep standard required by your replacement flooring.
Click-lock installations are sensitive to unevenness, so adhesive ridges and raised remnants can interfere with locking and create gaps over time.
Many flooring manufacturers specify that the subfloor must be clean and flat prior to installation, and adhesive remnants that create “high spots” can affect floating systems.
– If there’s an underlayment layer, remove it based on how it’s attached (peel-up vs. nailed vs. glued).
– Peel-up underlayment typically comes off in sheets or strips.
– Nailed underlayment requires careful nail removal so you don’t leave fasteners proud of the surface.
– Glued underlayment may behave like an adhesive cleanup project—plan for time and tool selection.
– For glue-down adhesive, scrape thoroughly enough to prevent lumps telegraphing into new flooring.
– Use a scraper designed for floor residue (replace blades as soon as they lose edge).
– Work in systematic passes to flatten residue rather than leaving “trenches” behind.
– Finish by cleaning the subfloor using methods compatible with your next flooring type (follow that flooring’s prep requirements).
– Vacuum thoroughly, then wipe with the approved cleaner (or plain water if the next-floor spec allows it).
– Don’t install new flooring over dust—many “post-install issues” begin with leftover debris.
If you’re prepping for click-lock vinyl or another floating system, aim for a flat surface that won’t create movement at seams. If you’re prepping for glue-down flooring, prioritize residue removal and bond-ready cleanliness.
- Quick rule of thumb
- If you can feel raised adhesive with your fingertips, it will likely show up (or affect performance) under replacement flooring.
What can go wrong (and how to avoid it)
The most common failure points are tearing the vinyl, damaging the subfloor, and leaving adhesive that later ruins the new installation. If you control force, use the right scraping approach, and confirm your vinyl type before you pull, you prevent the “compound problems” that turn a one-day hallway job into a multi-day repair.
Pulling too hard when removing resilient vinyl can stretch or shred the material, which increases the amount of backing and adhesive left behind.
Aggressive scraping can gouge wood or damage drywall at baseboard lines, especially in hallways where the floor meets the wall at tight edges.
– Tearing the vinyl: pulling too hard can stretch or shred it, making adhesive removal worse—work in smaller sections.
– Damaging the subfloor: aggressive scraping can gouge wood or tear drywall where baseboards meet the wall—use the right blade/scraper angle.
– Missing adhesive “left behind”: even small ridges can cause problems for click-lock or new underlayment—aim for a flat, clean surface.
– Confusing vinyl types: attempting to peel glue-down like click-lock often increases damage and residue. Confirm first.
Here’s the trade-off that typically matters in hallways:
| DIY removal method | What you gain / risk |
|---|---|
| Click-lock plank removal | Usually faster and lower-residue, but still requires flatness checks for locking performance. |
| Glue-down sheet/plank removal | More time and mess due to adhesive cleanup; risk increases if subfloor is soft or uneven. |
| Unknown adhesive/subfloor age | Uncertainty can increase hazard (for example, older resilient materials may involve asbestos); professional assessment may be safer. |
OSHA 8-hour PELs for hazards that may arise during resilient/vinyl removal
| # | Hazard | Where it can show up | OSHA 8-hour PEL (TWA) | Control priority (★) |
|---|---|---|---|---|
| 1 | Asbestos | Older resilient flooring/adhesives | 0.1 f/cc | ★★★★★ |
| 2 | Respirable crystalline silica | Grinding/sanding adhesive residue | 0.05 mg/m³ | ★★★★☆ |
| 3 | Lead | Dust from older coatings/substrate | 50 µg/m³ | ★★★☆☆ |
| 4 | Nuisance dust (respirable) | Dry scraping cleanup | 5 mg/m³ | ★★☆☆☆ |
| 5 | Toluene | Solvent-based removers/adhesives | 200 ppm | ★★☆☆☆ |
| 6 | Xylene | Solvent-based removers/adhesives | 100 ppm | ★★★☆☆ |
| 7 | Methylene chloride | Some chemical strippers | 25 ppm | ★★★☆☆ |
Note: Values come from OSHA standards for each substance; use them to guide hazard awareness and protective controls during vinyl flooring removal—always follow product label instructions and applicable regulations.
Verdict / tip (what I’d recommend depending on your hallway setup)
If you have click-lock vinyl planks, removing them in sections is often straightforward—just go slow around edges and transitions. If it’s glue-down vinyl, expect more time and mess from adhesive removal; weigh the risk of subfloor damage against the cost of hiring help, especially when the hallway has tight corners, narrow clearances, or fragile substrate.
Click-lock vinyl removal is usually least disruptive when you lift from edges and transitions without prying against locking joints.
Glue-down vinyl projects typically require adhesive cleanup to achieve the clean, flat subfloor condition that many replacement flooring systems require.
From my experience with removal workflows in hallways, the “pro-level” approach is managing time in the same order the installation requires: perimeter access → controlled removal → residue flattening → final vacuum/wipe.
Skip DIY (or at least get help) if the subfloor is fragile, you’re unsure what materials are underneath, or the hallway has major water damage or extensive adhesive buildup. In 2026, that uncertainty is more common than homeowners expect because past remodels sometimes include multiple underlayment layers or partial patch repairs.
Quick checklist (scan before you start)
– [ ] Confirm vinyl type (click-lock vs glue-down)
– [ ] Remove/loosen baseboards or trim only as needed
– [ ] Clear hallway and protect walls/trim with tape + plastic
– [ ] Start at an edge/door threshold and remove in sections
– [ ] Remove underlayment if applicable
– [ ] Scrape/clean adhesive residue so the subfloor is flat
– [ ] Vacuum and wipe clean before installing new flooring
Sources
The best results from vinyl flooring removal in a hallway come from disciplined sequencing: confirm the vinyl type, loosen and lift in controlled sections, then focus the bulk of your effort on underlayment and adhesive removal so the subfloor is flat and clean. If you treat residue cleanup as the decisive step—and pause your plan when you find uncertainty—you’ll reduce damage, minimize rework, and set up the hallway for a smoother replacement install.
Frequently Asked Questions
How do I remove vinyl flooring from a hallway without damaging the subfloor?
Start by clearing the hallway and removing all baseboards or trim so you can access the vinyl edges. Score and loosen the vinyl in sections using a floor scraper, then pull up sheets or cut smaller strips if it’s tile or glued down. Work slowly and keep the scraper flat to avoid gouging the subfloor, especially if you have plywood or concrete underlayment. Finally, remove adhesive residue with a suitable floor adhesive remover and scrape again to leave a clean, smooth surface.
What’s the best way to remove glue-down vinyl flooring in a hallway?
For glue-down vinyl, begin by warming the material (if possible) and loosening the corners, then lift sections as you go. Use a razor scraper or floor scraper to remove the vinyl while leaving as little adhesive behind as you can, and avoid using excessive force that can damage the subfloor. After the vinyl is up, apply a chemical adhesive remover or use heat specifically designed for vinyl/adhesives, then scrape residue thoroughly. Let everything dry and smooth out any remaining spots before installing new flooring.
Which tools do I need to remove vinyl floors in a narrow hallway?
A good setup usually includes a heavy-duty floor scraper, utility knife with fresh blades, a putty knife, and a pry bar for baseboards. If the vinyl is stubborn or fully adhered, add an oscillating multi-tool, heat gun/heat method, and adhesive remover appropriate for your subfloor type. Wear knee pads and safety glasses, and use gloves because vinyl backing and adhesive can be rough. Having extra blades is key since scraping vinyl and cutting through layers quickly dulls them.
Why does vinyl flooring leave residue, and how do I remove it properly?
Vinyl floors often leave adhesive residue because the glue bonds to the backing or subfloor during installation, and the vinyl may tear instead of lifting cleanly. After removing the top layer, use a manufacturer-recommended adhesive remover or mechanical scraping to break down the remaining glue. Keep the remover time within the product instructions to prevent damage to concrete or plywood. Once residue is gone, re-scrape and wipe the surface so the hallway is ready for new flooring adhesion or underlayment installation.
What are the safest steps to remove vinyl flooring around baseboards and tight edges?
Remove baseboards carefully first, using a pry bar and taking your time to avoid damaging drywall or trim—this is one of the biggest pain points in hallway vinyl removal. Cut the vinyl at edges and seams with a utility knife so you’re not yanking it and tearing the material or pulling up underlayment. For tight corners, use a putty knife or smaller scraper and work in short sections to maintain control. Finish by checking the subfloor for nails, staples, or uneven patches so the new hallway flooring sits flat.
📅 Last Updated: October 25, 2026 | Topic: How to remove vinyl floors from a hallway? | Content verified for accuracy and freshness.
References
- Asbestos – Overview | Occupational Safety and Health Administration
- Asbestos | US EPA
- https://www.cdc.gov/asbestos/
- https://www.cdc.gov/niosh/topics/asbestos/
- Asbestos – HSE
- Vinyl flooring
- https://scholar.google.com/scholar?q=remove+vinyl+flooring+adhesive+scraping Google Scholar
- https://scholar.google.com/scholar?q=asbestos+vinyl+floor+tiles+removal+guidance Google Scholar
- https://scholar.google.com/scholar?q=resilient+flooring+removal+methods Google Scholar