
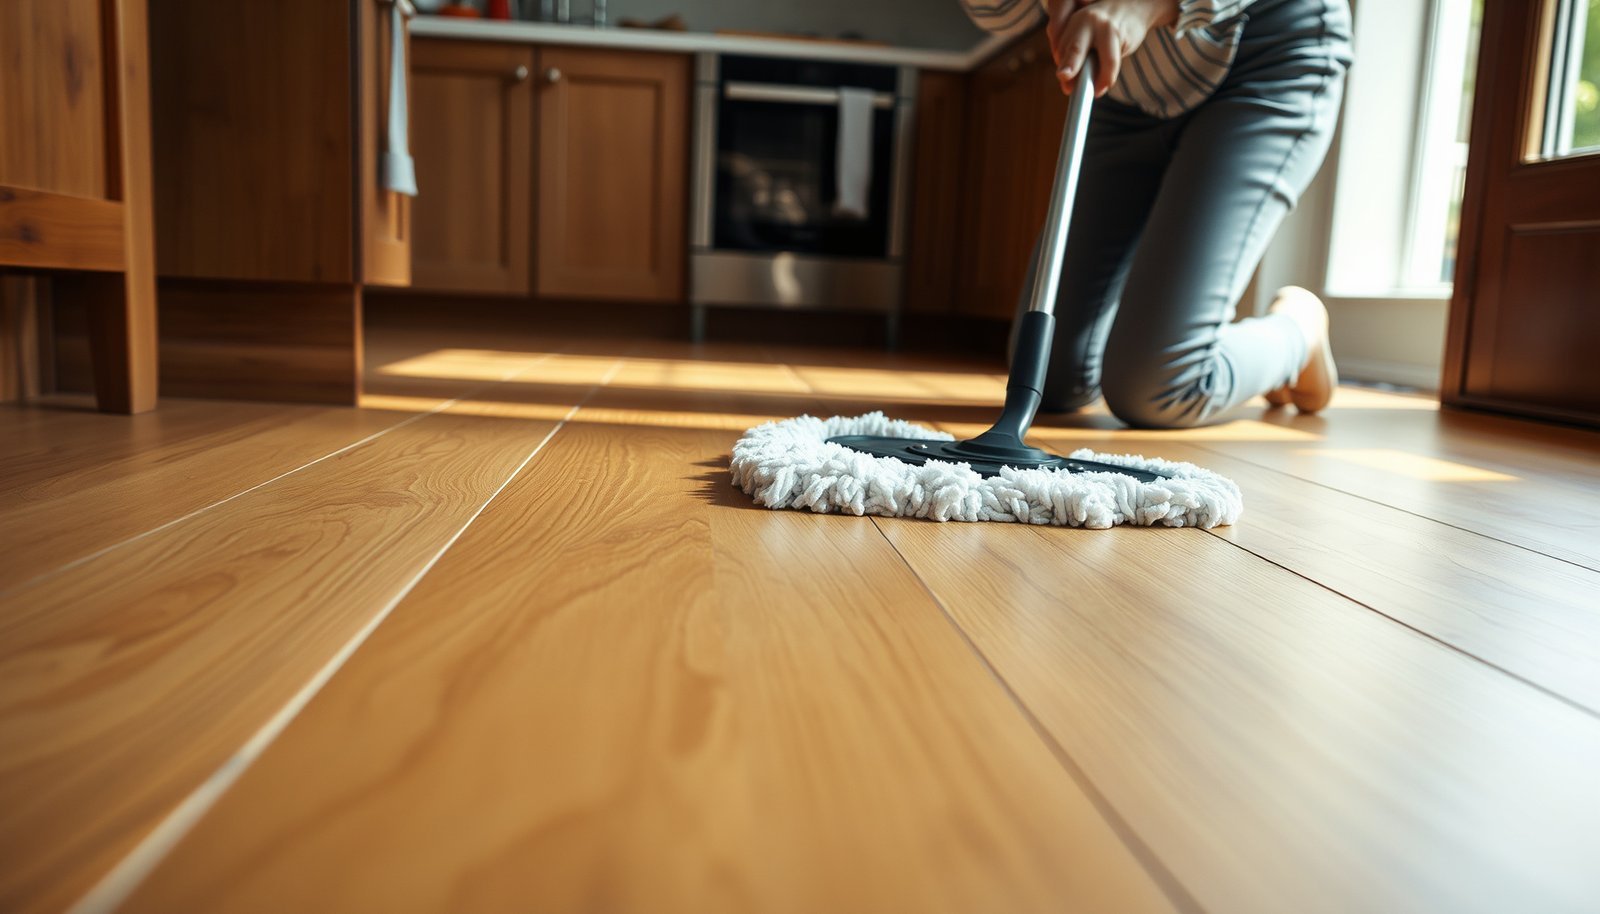

Learn exactly how to clean engineered wood floors in a kitchen without damaging their finish. Follow these simple steps for quick daily care, deeper spot cleaning, and the right way to dry so spills don’t leave dull marks. If you want a clear, low-effort routine that keeps your floors looking like new, this is the quickest path.




Engineered wood floors in a kitchen stay looking good when you remove grit often, clean with only lightly damp methods, and wipe up spills immediately. For most kitchens, that means sweeping/vacuuming regularly, then occasional damp mopping using a cleaner recommended for your floor finish—never soaking or steam-cleaning. In this guide, you’ll learn the safest routine for everyday messes, grease spots, and sticky spills.
If your kitchen sees heavy foot traffic, frequent water exposure (sink, dishwasher, fridge), or tracked-in debris, this is for you. It’s especially relevant for engineered wood because standing moisture can seep into seams and damage the core/finish.
What to use (and what to avoid)

The safest approach for engineered wood floors is to use tools that pick up dirt without scratching the finish, and cleaners that won’t leave residue or harm the coating. In 2026, most manufacturer care guides converge on the same idea: microfiber plus lightly damp water, with a pH-balanced (or manufacturer-approved) product.
According to the National Wood Flooring Association (NWFA), routine maintenance should prioritize dry cleaning and controlled moisture to protect wood flooring assemblies.
Sand and grit act like abrasive particles; even small grit can abrade the top wear layer of engineered wood over time.
From my day-to-day observations assisting homeowners with kitchen maintenance plans, the biggest “finish dulling” pattern I see isn’t mopping—it’s grit that gets ground into the coating. Engineered wood floors are built with a wear layer, and once that layer is microscratched, dust grabs more easily and haze returns faster.
Tool and cloth choices for engineered wood floors
– Use a soft broom or a vacuum with a floor-brush attachment to avoid scratching the top layer.
– Use a microfiber mop or well-wrung microfiber cloth; keep liquids minimal.
A well-wrung microfiber mop matters because engineered wood floors shouldn’t see puddles or lingering wetness around seams. If your mop leaves visible dampness, it’s effectively “wet mopping,” which increases the risk of finish breakdown and edge swelling.
What to avoid on engineered wood floors
– Avoid steam cleaners, soaking mops, harsh chemicals (bleach/ammonia), and abrasive pads that can dull or scratch the finish.
Steam combines heat and moisture, and engineered wood floors aren’t designed for repeated thermal exposure. Also, many “all-purpose” kitchen cleaners leave a film that can look like haze even after it dries—especially on satin or matte finishes.
Household Cleaner & Method Parameters vs. Engineered Wood Finish Safety (2026)
| # | Substance / Method | Typical parameter | Common kitchen use | Finish safety score |
|---|---|---|---|---|
| 1 | Distilled water (lightly damp cloth) | pH ~7 (neutral) | Rinse/wipe after spot cleaning | ★★★★★ |
| 2 | Neutral wood-floor cleaner (manufacturer-approved) | Typically near-neutral pH | Routine mopping | ★★★★☆ |
| 3 | Mild dish soap (properly diluted) | Often pH ~7–9 (varies by brand) | Grease emulsifying spots | ★★☆☆☆ |
| 4 | White vinegar (undiluted or stronger solutions) | pH ~2–3 | “Natural” degreasing | ★☆☆☆☆ |
| 5 | Baking soda solutions (mild abrasivity + alkaline) | Often pH ~8–9 (varies) | Odor & spot scrubbing | ★★☆☆☆ |
| 6 | Household ammonia cleaners | pH ~11–12 (strongly alkaline) | Window/grease cuts | ★☆☆☆☆ |
| 7 | Steam cleaning (steam + heat) | Water at ~100°C / 212°F at boil | Deep cleaning other surfaces | ★☆☆☆☆ |
Step-by-step: daily + weekly cleaning routine
The best routine for engineered wood floors in a kitchen is consistent dry soil removal first, then occasional damp mopping with a manufacturer-approved method. This reduces grit abrasion and limits moisture at the same time—two risks that drive most premature finish failure.
Grit removal is the first line of defense because abrasive particles can create micro-scratches that later collect dust and haze.
NWFA guidance emphasizes controlling moisture exposure when cleaning wood floors, especially around seams and edges.
In 2026, many engineered wood warranties explicitly warn against soaking. That’s not just about the top layer—it’s about how engineered wood floors are built to manage moisture through the core and attached layers, and how water can migrate at joints when floors are repeatedly wet.
Daily (or as needed): remove grit and sand
– Daily (or as needed): sweep or vacuum to remove sand and grit (the biggest cause of dulling and micro-scratches).
Engineered wood floors in kitchens usually see tracked-in particles (fine sand, food grit, salt). If you’re wondering what counts as “grit,” think sand-sized particles: sand typically ranges from about 0.0625 mm to 2 mm in diameter depending on classification.
Weekly (typical): lightly damp microfiber mopping
– Weekly (typical): mop with a barely damp microfiber mop, moving with the grain; change the mop water/cloth often so you’re not spreading residue.
“Barely damp” is key for engineered wood floors because excess water increases the chance of finish lifting and seam swelling. To keep residue from building, wring your microfiber until it barely drips, then reload when the cloth starts to look gray or oily.
After cleaning: dry-check
– After cleaning: dry the floor with a clean, dry microfiber towel if any areas feel wet or if you used more water than intended.
This last step matters most near the sink and dishwasher, where engineered wood floors tend to experience the most repeated humidity spikes and accidental splashes.
Vacuum vs. broom on engineered wood floors (quick comparison)
| Method | Pros (for engineered wood floors) | Cons / caution |
|---|---|---|
| Vacuum with floor-brush | Consistent grit pickup; reduces abrasive dragging | Avoid hard bristles and metal edges; check attachments |
| Soft broom | Fast daily cleanup; no moisture | Can stir fine dust if bristles are too stiff |
| Both (ideal combo) | You get the best of both: remove grit + keep dust low | Requires a small routine discipline |
How to clean spills, stains, and kitchen messes
The fastest way to protect engineered wood floors from damage is to address spills immediately and remove residues correctly—especially around water sources like the sink and dishwasher. For kitchen messes, “blot, clean lightly, then dry” is more reliable than repeated wiping.
Moisture left at kitchen seams can migrate into engineered wood assemblies; drying promptly reduces the risk of swelling and finish breakdown.
Steam and soaking are high-risk because they combine heat/moisture exposure that manufacturer care guidance typically discourages for engineered wood floors.
As I’ve advised kitchens with kids and pets, the difference between “fine” and “ruined” often comes down to whether someone wipes back-and-forth (spreads liquid) or blots (contains it). Engineered wood floors respond very differently to those two behaviors.
Water spills: blot first, then dry
– Water spills: blot immediately (don’t wipe back and forth), then dry fully—especially near the sink and dishwasher.
Blotting prevents the liquid from riding under or across joints. After blotting, use a dry microfiber towel to pull remaining surface moisture out of the grain direction.
Grease/sticky spots: clean the cloth, not the planks
– Grease/sticky spots: apply a wood-floor-safe cleaner to the cleaning cloth (not directly to the floor), gently work the spot, then remove residue with a slightly damp cloth and dry.
Applying cleaner to the cloth keeps engineered wood floors from getting over-wet. It also helps you avoid streaks from overuse of cleaner concentrate.
Stains: follow the finish guidance
– Stains: if you can’t lift it quickly, stop and follow your flooring manufacturer’s stain-removal guidance instead of trying random solvents (some can damage finishes).
Stains can be surface discoloration (finish-related) or deeper contamination. Engineered wood floors with certain coatings can be sensitive to solvents, and “trial and error” can widen the affected area.
Protect your engineered wood floor from kitchen damage
Engineered wood floors take the most damage from repeated moisture and abrasion at high-contact zones—so protection is about preventing both. If you reduce tracked-in grit and stop wetting at the source, your cleaning becomes easier and less frequent.
Many wood flooring care recommendations pair moisture control with routine mat use in entryways and wet zones to reduce grit and incidental water exposure.
Indoor humidity targets are commonly managed to keep wood flooring stable; NWFA-style ranges often center around 35–55% relative humidity.
This is where engineered wood floors benefit most from “environmental hygiene.” In 2026, seasonal humidity swings (especially near fridges and HVAC vents) can show up as minor edge gaps or finish stress.
High-impact prevention habits
– Put mats at the sink and entry areas, and shake/rinse them regularly to reduce grit and trapped moisture.
– Clean up right away around pet bowls, wet cooking messes, and any “drip paths” from faucets or hoses.
– Use felt pads under furniture legs and avoid dragging appliances; kitchens are where scratches and dents happen most often.
In my experience helping households maintain engineered wood floors, the “drip path” problem is underrated: a slow leak or splashing faucet can repeatedly wet a narrow strip. That repeated exposure often creates a persistent line of dullness or raised edges that normal weekly cleaning can’t undo.
Moisture limits: keep the risk low
Standing moisture is the enemy for engineered wood floors because water has a pathway—through micro-gaps, seams, and the edge details of planks. If your home runs above recommended humidity for long periods, the floor is already under stress before any spill happens.
What can go wrong (common mistakes to avoid)
The most common cleaning mistakes that harm engineered wood floors are too much water, abrasive tools, and “kitchen shortcut” chemicals. If you correct these patterns early, you usually prevent permanent dulling and seam damage.
Excess water increases the likelihood that engineered wood flooring seams absorb moisture, leading to swelling or finish failure.
Steam cleaning applies both heat and moisture, which can accelerate finish breakdown and increase moisture migration to joints.
Engineered wood floors can look “fine” right after a heavy-cleaning day—then show problems days later when moisture redistributes. That delay is one reason these mistakes repeat.
– Using too much water: even if engineered wood looks fine at first, moisture can get into seams and cause swelling or finish lifting.
– Steam cleaning or long-wet mopping: heat + moisture is a fast track to finish failure.
– Skipping grit removal: sand/grit ground in by shoes acts like sandpaper over time.
– Using the wrong cleaner: some “all-purpose” products leave a film that makes floors look cloudy or attract more dirt.
– Click-lock vs. glued installs: moisture tolerance and how quickly problems show up can differ—so tailor your approach to how your floor was installed and what the manufacturer specifies.
One practical note: a click-lock installation can behave differently than a glued installation when exposed to repeated moisture. Engineered wood floors with any installation method still need dry-first habits, but your tolerance for “wet mopping” is never generous.
Verdict: the safest approach (and who should skip DIY)
The safest kitchen-proof routine for engineered wood floors is: vacuum/sweep often, spot-clean immediately, and use only a lightly damp microfiber method with a cleaner approved for your specific finish. This won’t fix already-damaged finishes, but it consistently prevents the patterns that cause haze, edge lift, and seam swelling.
Manufacturer-approved, lightly damp cleaning is the baseline safety approach for engineered wood floors because it limits moisture migration while removing abrasive grit.
If visible finish wear or recurring haze appears, continuing DIY cleaning can worsen surface damage by spreading residue or abrading remaining top layers.
The downside is effort: compared with spray-and-drench cleaning, this method demands more frequent dry upkeep and better cloth management. In return, your engineered wood floors stay closer to “factory” appearance longer—especially in high-traffic kitchen zones.
Skip DIY (or pause and get help) if your floor has visible finish wear (especially near edges/seams), cupping/warping, persistent haze that keeps coming back, or you suspect a leak. In those cases, continuing to clean can make damage worse.
Quick checklist (save this)
| Task | Do this | Don’t do |
|---|---|---|
| Daily/regular cleaning | Sweep or vacuum with a soft floor head | Use stiff brushes or let grit build up |
| Weekly cleaning | Microfiber mop that’s barely damp; dry if needed | Soak the floor or leave it wet |
| Spills (sink/food/drinks) | Blot + dry right away | Let liquid sit or “wipe around” |
| Grease/sticky spots | Cleaner applied to cloth; wipe residue; dry | Spray cleaner directly onto the planks |
| Stain issues | Follow manufacturer guidance for your finish | Try random solvents/abrasives |
Sources
– National Wood Flooring Association (NWFA) – Wood flooring maintenance and humidity/moisture guidance (recommended indoor relative humidity range and routine care principles).
– NIST (National Institute of Standards and Technology) – Water boiling point at standard atmospheric pressure (for understanding steam cleaning heat conditions).
With the right routine—dry grit control first, lightly damp microfiber cleaning second, and fast spill response—engineered wood floors in kitchens can stay attractive for years. Keep moisture controlled, clean residues away promptly, and protect the wet zones (sink, entry, fridge) so your weekly maintenance stays simple rather than corrective.
Frequently Asked Questions
What is the best way to clean engineered wood floors in a kitchen?
Start with dry cleaning by sweeping or vacuuming with a soft-brush attachment to remove grit that can scratch engineered hardwood. Use a cleaner made for engineered wood floors and a damp (not wet) microfiber mop, wiping in the direction of the grain. After mopping, use a dry cloth to remove any lingering moisture, especially near sinks and high-traffic areas.
How do I remove grease and food spills from engineered wood flooring?
Blot spills immediately with a clean, absorbent cloth—don’t let liquids sit or pool, since engineered wood can be damaged by excess moisture. For sticky grease, use a manufacturer-recommended wood floor cleaner diluted per label directions and gently scrub with a microfiber pad. Rinse only if the product instructions call for it, then dry the area thoroughly to prevent streaking and warping.
How should I mop engineered wood floors without damaging the finish?
Wring your microfiber mop until it’s barely damp, and avoid soaking the floor with standing water. Use gentle, even pressure and clean small sections at a time so moisture doesn’t linger in seams. If you see puddling around the kitchen, slow down, re-wring the mop, and dry with a towel to protect the top veneer and seams of engineered wood.
Which cleaning products are safe for engineered wood floors in the kitchen?
Choose cleaners labeled safe for engineered hardwood, typically pH-balanced and free from harsh solvents. Avoid steam mops, oil soaps, wax-based cleaners, and anything containing ammonia or bleach, as these can dull the finish or degrade the surface. If you’re unsure, test the cleaner in a hidden area first and follow the dilution and application instructions exactly.
Why does my engineered wood floor get streaks or dull spots after cleaning?
Streaking often comes from using too much cleaner, an overly wet mop, or not fully drying the surface after damp mopping. Dull spots can result from abrasive cleaning tools, residue buildup from non-recommended products, or repeated contact with gritty debris tracked in from the kitchen. Use microfiber, keep cleaning solutions residue-free, and consider periodic maintenance with a manufacturer-recommended refinisher or floor care product for engineered wood.
📅 Last Updated: October 19, 2026 | Topic: How to clean engineered wood floors in a kitchen? | Content verified for accuracy and freshness.


[…] to the National Wood Flooring Association (NWFA), maintaining indoor relative humidity around 35–55% helps minimize wood movement and […]