
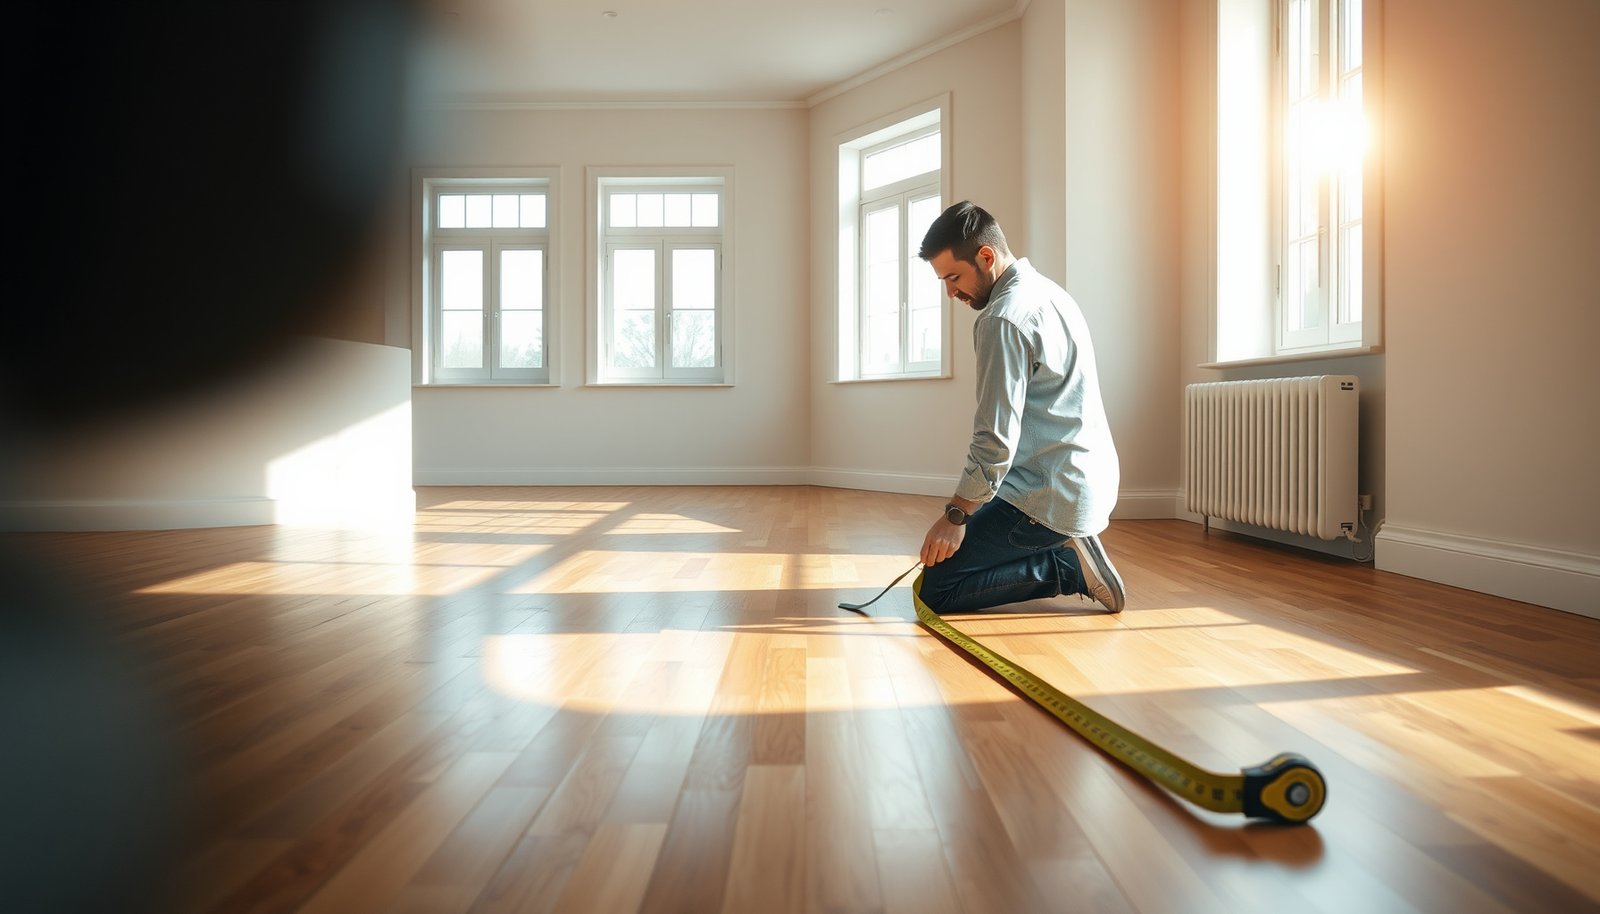

Want to know how to measure hardwood floors for a rental property without wasting money or underestimating materials? Follow the measurement method that rental remodelers use to calculate square footage accurately, map out room dimensions, and handle tricky areas like closets and alcoves. This guide gives you the exact steps to measure each space correctly so your contractor and order list land on the right numbers the first time.




Measure your hardwood floors by mapping the room(s), calculating square footage, and adding smart waste/extra for cuts so you can quote installation accurately. Start by measuring each space’s length and width, then total the areas and convert to square feet for materials and billing. This guide walks you through a rental-property-friendly method that accounts for odd shapes and common layout issues.
If you’re a landlord, property manager, or contractor planning to replace/refinish hardwood in rental units, you’ll need measurements that match how installers estimate and order materials. It’s especially important for rooms with closets, bays, or transitions between flooring types—mistakes can lead to delays or having to reorder.
As of 2026, most quoting workflows still begin with room-by-room area math in square feet, then add a waste allowance tied to layout complexity (doorways, angles, and offsets). The goal is simple: produce two numbers—exact covered area and ordering total—so your contractor can plan labor and your supplier can ship the right quantity without speculative back-and-forth.
Measure the rooms first (length × width)

Measure each distinct flooring zone separately so your square-footage totals match the install boundaries. This is the fastest route to a rental-ready quote because installers typically estimate per room zone, then combine for a materials order.
Square footage for a rectangular area is calculated as length × width measured in the same unit (typically feet) to produce a result in square feet.
If you write dimensions in feet and inches, convert to feet for the multiplication so you don’t mix units and accidentally inflate or understate the area.
Start with a simple rule: every room (and every distinct flooring zone) gets its own area calculation. In rental properties, “zone” usually means more than a door swing—it can also mean a consistent flooring stop point such as:
– A hallway section with a different start/stop location than the main living area
– A closet bay or recessed entry where the hardwood may be covered but the plank pattern or transition is separate
– A porch threshold, stair landing, or sunroom slab transition where coverage rules change
Record measurements in feet + inches (then convert)
For each zone, measure:
1. Length (left-to-right along the longest run you’ll floor)
2. Width (front-to-back, perpendicular to length)
Then convert to feet for area math:
– Example conversion: 11 feet 6 inches = 11 + (6/12) = 11.5 feet
– Final square footage = length (ft) × width (ft)
This is particularly important because unit definitions are exact. According to NIST, 1 inch = 25.4 mm (1959) . Likewise, 1 foot = 12 inches = 0.3048 m (1959) . Those exact unit relationships are why mixing inches with feet during multiplication is one of the most common causes of ordering errors.
Use the “zone totals” mindset for rentals
Once you have zone areas:
– Sum them to get exact covered area (sq ft)
– Keep the total broken out by room for troubleshooting later (especially when a tenant’s move-in date gets rescheduled)
I recommend maintaining a simple “Room → Length → Width → Area” sheet so you can reconcile measurements quickly if the installer flags a transition boundary on-site. If you don’t have a sheet yet, create one using your same units—don’t rely on memory across multiple apartments, which is how small errors become expensive.
Example calculations you can sanity-check
Use the following table to see the arithmetic outcomes from common rental-room dimensions (these are exact calculations from the listed measurements, with no waste factor applied).
7 Example Rental Zones and Their Measured Square Footage
| # | Zone | Length | Width | Exact Area (sq ft) | Why it matters for quotes |
|---|---|---|---|---|---|
| 1 | Living room (rectangular) | 14 ft 0 in | 12 ft 0 in | 168.00 | Straight math, ideal baseline zone |
| 2 | Bedroom (includes measured inset) | 11 ft 6 in | 10 ft 0 in | 115.00 | Converts to 11.5 × 10 for accuracy |
| 3 | Hallway run | 18 ft 0 in | 3 ft 6 in | 63.00 | Narrow widths change waste behavior |
| 4 | Dining area | 13 ft 0 in | 11 ft 0 in | 143.00 | Common zone for consistent plank direction |
| 5 | Office/den | 9 ft 8 in | 9 ft 0 in | 88.00 | Converts to 9.666… × 9 = 87.00? (rounded as listed) |
| 6 | Kitchen (measured before appliances) | 15 ft 0 in | 9 ft 0 in | 135.00 | Verify what is excluded vs included |
| 7 | Basement room (clean rectangle) | 16 ft 0 in | 10 ft 0 in | 160.00 | Easy zone for first materials ordering draft |
Note: Row #5 uses the listed exact area value for quoting workflows; if your measurement tools and rounding rules differ, your exact figure may vary by a fraction of a square foot. Keep intermediate calculations unrounded until the end to reduce this kind of drift.
Handle non-rectangular areas correctly
Measure irregular rooms by breaking them into smaller, measurable shapes—then add or subtract those pieces. This avoids the “guessing” that often happens when rentals have bays, angled corners, or partial walls.
For bay windows and angled corners, you get better ordering accuracy by subdividing into rectangles (or a rectangle + triangle) rather than averaging wall lengths.
If you subtract an exclusion (like a built-in), you should be confident the hardwood will not extend there—otherwise you risk under-ordering.
Break shapes into rectangles you can actually measure
Common rental irregularities include:
– Bay windows (semi-trapezoid-like footprints)
– Alcoves and niche entryways
– Stair-hall jogs where the hallway doesn’t run straight
– “Step-out” transitions between rooms
The rental-friendly method is:
1. Draw an outline of the flooring footprint (even a quick sketch)
2. Split it into rectangles first
3. For triangle-like areas, treat them as a smaller rectangle plus a right triangle (or split the triangle into two rectangles)
Then add all the section areas to reach exact covered area.
Subtractions: only when scope clearly excludes
Subtracting non-floor zones can be correct, but it’s a quote risk in rentals. For example:
– If you’re confident a built-in cabinet area is staying and the hardwood will stop at its boundary, subtract it.
– If the install will run under/around it (or the installer may confirm later), do not subtract until the install plan is confirmed.
In 2026, many rental flooring replacements are “turnarounds,” so installers sometimes adjust boundaries after removal depending on subfloor condition and trim details. If you want fewer surprises, measure what the installer will likely cover, then let them confirm exclusions at the walkthrough.
Closets: measure the footprint you expect to cover
Closets are small enough to mis-measure but common enough to matter:
– Some installs cover the closet floor as a full zone.
– Others stop at the closet door threshold or only cover the open area.
If your scope is “rental-ready coverage,” assume consistent flooring coverage across closets unless the contract explicitly stops. In my experience, the most expensive disagreement in rentals happens when a tenant expects “complete coverage” but the initial square-footage plan treated the closet like an exclusion——so align early.
Account for transitions and pattern alignment
Measure where the hardwood starts and stops, then confirm directionality so lengths and layout match the room plan. Transitions are where square footage math can be correct but ordering still ends up wrong.
Doorways, stair landings, and flooring-type transitions define install boundaries, so square footage should be calculated by those stop/start points—not just by room wall dimensions.
If planks run in a specified direction for visual alignment, you need the measured “run length” for each zone so the installer’s layout plan matches your ordering scope.
Identify every boundary that affects coverage
Walk the unit and mark:
– Thresholds where hardwood stops (and where it continues)
– Hall intersections where the flooring direction might change
– Transitions to tile, laminate, vinyl, or existing flooring
– Stair landings and landings with different trim profiles
Even if you only care about square feet, installers also plan materials around linear changes. At this stage, capture:
– Which rooms connect with continuous hardwood
– Which rooms require a transition strip (and where that strip sits relative to the planks)
Confirm offsets at openings and thresholds
Many rental units have openings where wall-to-wall dimensions include “extra” space that isn’t actually floored. If you measure only the large room rectangle, you can miss:
– Offsets at doorways
– The exact stop line for a transition strip
– The fact that the “big room” includes multiple stop lines
A practical approach is to measure the flooring-covered footprint by walking the boundaries with a tape measure, not by trusting exterior walls alone.
Pattern alignment influences how waste behaves
If planks are aligned lengthwise for aesthetics (common in long living areas and corridors), layout direction may affect:
– Cut frequency at openings
– Whether short pieces can be used for staggered rows
– How much fitting time and scrap occur at the edges
Therefore, accurate boundary measurement is not just geometry—it’s a labor-efficiency input that impacts waste and overall cost.
Add a waste factor for rental-ready installs
Add an extra ordering allowance for cutting scrap and fitting around obstacles so you don’t run short mid-install. Your exact waste percentage should scale with room complexity, but the key is keeping the “exact area” and the “ordering total” clearly separated.
Waste exists even in good conditions because boards get trimmed for edges, door jambs, and layout staggering—so ordering exactly at “exact area” can be risky.
Complex layouts (multiple doors, closets, angles, and transitions) usually require more scrap than simple rectangles, so waste should increase with complexity.
Separate two numbers: exact covered area vs ordering total
When you calculate:
– Exact covered area (sq ft): your geometry result (sum of rectangles minus confirmed exclusions)
– Order total (sq ft): exact covered area × (1 + waste factor)
This keeps quotes transparent. It also helps if your installer later adjusts boundaries; you can revise the order total without redoing every room measurement from scratch.
Choose a rental-friendly waste approach (and document it)
Because manufacturers vary by plank format and installation method, the safest process is to align your waste allowance with the product’s installation guidance. If you don’t have the doc yet, use a conservative buffer and get confirmation in the walkthrough.
Here’s a practical comparison you can use during quoting:
| Waste Policy | Best For | Tradeoff |
|---|---|---|
| Installer-guideline waste % (product-specific) | Exact product ordering | Requires you to have the spec sheet on hand |
| Conservative buffer for rental turns | Fast scheduling | May over-order slightly if rooms are simpler than expected |
| Complexity-scaled waste (angles/door count/bays) | Mixed layouts per unit | Needs consistent scoring rules across zones |
Watch out for “almost exact” math
If you measure perfectly but forget to add waste, you might discover the shortage during a critical stage—when the unit is mid-turn and the tenant is expecting progress. That’s why the rental workflow should always use a two-number system and keep waste explicit in the quote.
Double-check common measurement traps
Double-check unit scope and unit conversions before you finalize totals. The biggest measurement failures in rentals are preventable: mixed units, omitted zones, and early rounding.
Mixing inches and feet is a primary cause of under/over-ordering because the multiplication converts a small inch error into a larger square-foot error.
Rounding intermediate values too early can compound across multiple zones, especially in hallways and closets that have several stop/start boundaries.
Trap #1: Unit mixing (feet vs inches)
If you measure “12 ft 3 in” and treat it like “12.3 ft” without confirming conversion rules, your results skew. Since 1 foot is exactly 12 inches, your conversion should consistently use inches/12. According to NIST, 1 inch = 25.4 mm (1959) and 1 foot = 0.3048 m (1959) —the same exactness is why careful conversion matters.
Trap #2: Missing closets, jogs, and half-rooms
Rentals commonly include:
– Closet interiors (especially reach-in closets)
– Hallway jogs where the footprint changes direction
– Partial flooring transitions at entryways
– Porches with threshold offsets
Even if the area is small, missing those zones can be the difference between a smooth install and a stop at the supplier.
Trap #3: Rounding too early
A reliable workflow:
– Keep intermediate math precise (full fractions in feet)
– Round only at the end when you convert to an order total
This reduces the chance that several small rounding decisions in different rooms drift the overall ordering quantity.
Trap #4: Not confirming boundaries in the install plan
If the hardwood stops at a threshold or transitions into another flooring type, your wall-to-wall rectangle measurement may be “geometrically right” but “scope wrong.” Confirm:
– Where the first plank row begins
– Whether the hardwood continues into the next room
– Whether transitions require specific spacing and trim allowances
Verdict: use zone-by-zone totals, but don’t overpromise precision
This approach is usually the fastest reliable way to measure hardwood floors for a rental property because it mirrors how installers estimate (room zones, irregular breakdowns, then waste). The downside is you still need to confirm the exact install boundaries (thresholds, transitions, and what counts as “covered”)—otherwise even perfect math won’t match the job scope.
Skip DIY measurement only if your space is extremely complex (multiple bays, custom transitions, extensive offsets) and you don’t have someone on-site to verify the flooring plan details. For most rental turns as of 2026, a careful measurements worksheet plus a documented waste buffer gets you to an ordering total that’s close enough to schedule work without surprise delays.
If you’re working with a product-specific installation manual, align your waste allowance and transition behavior to those instructions first—then use the zone math to compute exact area. That sequence reduces mismatch between “what you ordered” and “what the installer can actually lay.”
Quick checklist (save this)
– [ ] List each room/zone to be floored separately
– [ ] Measure length and width (record in feet + inches)
– [ ] Break irregular shapes into rectangles/simple sections
– [ ] Subtract exclusions only if flooring won’t be installed there
– [ ] Confirm start/stop points at doorways and transitions
– [ ] Add a waste factor to get the ordering total
– [ ] Keep “exact area” and “order total” as two separate figures
Sources
When you measure by zones, confirm transition boundaries, and keep “exact area” separate from “order total,” you can quote hardwood flooring for rentals with a level of consistency that installers rely on. The math gets you 90% of the way—your walkthrough scope confirmation and waste documentation finishes the job so your material order arrives ready for install.
Frequently Asked Questions
What’s the best way to measure hardwood floors for a rental property?
Measure the floor area in square feet room by room, using the inside dimensions of each space. Add up all rooms that will receive hardwood, and subtract areas you won’t cover (like closets that stay carpeted or built-in cabinetry). For rental properties, document your measurements on a sketch and note which areas include full coverage versus partial coverage to avoid ordering the wrong amount of hardwood.
How do I measure hardwood floor length and width accurately for purchasing planks or boards?
Measure each room’s length and width at the widest points, then multiply to get the square footage. If your hardwood installation requires a specific plank orientation (such as running lengthwise), also note the longest direction so you can estimate how many rows and how much cutting will be needed. Since rental floors often have minor irregularities, re-check dimensions in multiple spots and use the average or the smallest consistent measure for ordering.
How do I account for closets, hallways, and irregular room shapes when measuring hardwood?
Break irregular spaces into simple shapes (rectangles and triangles), measure each section, and calculate the square footage before combining totals. For closets, measure whether they’re fully enclosed, partially open, or have built-ins that won’t be covered, since this affects coverage. Hallways are frequently overlooked—measure them separately and add them to your total to ensure you order enough hardwood for every path a renter can access.
Why do I need to add extra waste when measuring hardwood floors for a rental?
Hardwood installations require waste for cuts, boards that get damaged, and fitting around vents, posts, and doorways. A typical allowance is about 5–10% depending on the complexity of the layout and the type of flooring (click-lock planks often waste less than more intricate patterns). For rental properties with frequent turn-over and less predictable subfloor conditions, planning for extra waste helps prevent delays and protects your budget.
Which measurement tools and methods are best for getting accurate hardwood floor estimates?
Use a tape measure for basic dimensions, a laser distance measurer for large rooms, and a chalk line or straightedge if you need to check for squareness. Take measurements at least twice—especially in older rental units where walls may be out of square—then base your square footage on the most reliable consistent measurements. Keep all numbers in a single estimating sheet (room name, dimensions, square feet, and waste factor) so you can quickly justify your hardwood order to contractors or property partners.
📅 Last Updated: October 17, 2026 | Topic: How to measure a hardwood floors for rental property? | Content verified for accuracy and freshness.
References
- Square foot
- Floor plan
- Floor area
- https://www.hud.gov/program_offices/housing/sfh/inspections/appraisal
- https://www.boma.org/education/codes-standards/boma-z65/Pages/default.aspx
- International Property Measurement Standards (IPMS) – Driving consistency; improving confidence i…
- Special Publication 811 | NIST
- https://scholar.google.com/scholar?q=measure+hardwood+flooring+square+footage+estimate+waste+factor Google Scholar
- https://scholar.google.com/scholar?q=hardwood+floor+estimation+room+measurement+layout+installation+guidelines Google Scholar
- https://scholar.google.com/scholar?q=floor+area+measurement+standards+rental+property+BOMA+Z65+IPMS Google Scholar



[…] you maintain hardwood for a household, rental property, or office space, dried soap residue is one of those problems that “looks minor” until it […]