
Wood-look tile floors can be installed over existing flooring, but the answer depends on whether your current surface is solid, flat, and correctly prepped. This guide lays out the exact steps to determine if your subfloor qualifies, how to prep it for thinset and underlayment, and how to set and grout wood-look tile so it won’t shift or crack. If you want a durable, clean-looking floor without removing everything first, follow the process in the order that matters.



You can install wood-look tile floors over certain existing flooring, but only when the current surface is rigid, properly bonded, clean, and approved as a tile substrate. If you want wood-look tile floors over existing flooring, the key is making sure the current surface is solid, clean, and stable enough for tile—otherwise you’ll get cracked grout or loose tiles. Start by assessing what’s there (vinyl, tile, laminate, hardwood, etc.), then prep/level it per the tile + mortar manufacturer’s instructions before setting tiles.
This is best for homeowners tackling a remodel where you’d like to avoid full demo, but only if your existing floor is firmly bonded and flat enough for tile. If your floor is soft, flexes, or has moisture issues, you may need to remove it instead of “going over.”
Assess whether your existing flooring can be covered
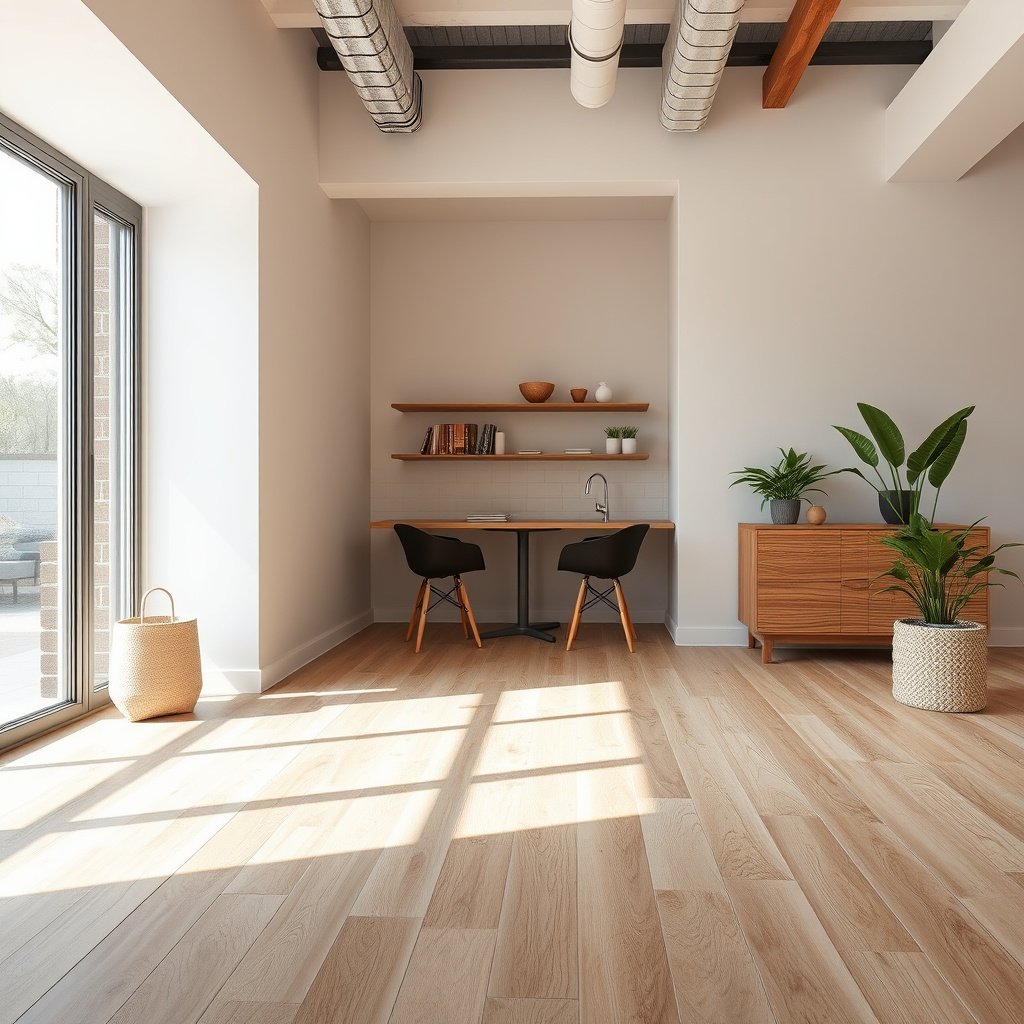
The fastest way to know whether you can go over your existing floor with wood-look tile is to evaluate stability, bonding, and moisture—not just what the material is. Here’s the practical rule: if the base moves or lets water in, wood-look tile will usually fail sooner (lippage, cracked grout, or debonding).
Start this section by answering one question: Is your existing flooring a rigid, well-bonded surface within the tile system’s substrate approval? For wood-look tile, “system” matters—tile type, mortar, grout, and substrate must be compatible per the manufacturers’ installation instructions.
Tile installation failures are most commonly linked to a substrate that flexes or isn’t properly bonded, because thinset mortar depends on a stable base.
According to TCNA Handbook guidance, tile floors require a sufficiently stiff structure (commonly expressed as a maximum deflection relative to joist span) to resist cracking.
According to ANSI A108/A118 installation requirements, mortar coverage and proper substrate prep are critical for consistent bonding under tile and plank-format tile.
Key items to check before you commit to “no demo”
– Identify the exact material and condition (e.g., loose vinyl, cracked tile, rotted subfloor, raised seams) and decide if it’s truly stable. Wood-look tile cannot “bridge” movement the way some floating systems pretend to.
– Check for moisture problems and movement—tile systems generally require a rigid, well-bonded base. If the existing floor is absorbing moisture or shows signs of bubbling, swelling, or persistent dampness, wood-look tile will not be a reliable solution.
– Confirm your tile/mortar “substrate approval” (what surfaces they allow over) in the manufacturer’s installation instructions. In practice, this is the decision-maker: some systems explicitly allow certain resilient flooring and others do not.
Three anchoring benchmarks you can use while you evaluate wood-look tile over existing floors:
1) According to TCNA Handbook guidance, tile flooring over wood framing is commonly designed to a maximum deflection limit of L/360 for ceramic tile and L/720 for natural stone (). TCNA Handbook for Ceramic, Porcelain, and Stone Installation
2) According to ANSI A108.5, mortar coverage for many interior tile installations is 80% minimum for interior floors and 95% minimum for many wet/exterior conditions (). ANSI A108.5
3) According to ANSI A108.5, thinset mortar beds are typically required to maintain a minimum thickness of 3/32 in. (about 2.4 mm) for proper cure and support (). ANSI A108.5
Prep the surface so tile can bond
Prep is the difference between “installing wood-look tile” and “guaranteeing problems.” If you want tile that stays tight and grout that doesn’t craze, you must remove adhesion blockers, flatten the substrate, and follow the mortar’s bonding requirements exactly.
For wood-look tile over existing flooring, preparation is not optional—it’s the system. As of 2025–2026, manufacturers continue to emphasize that thinset mortar is not a “fix” for dust, wax, peeling layers, or uneven planes.
Most manufacturers require that substrates be clean, sound, and free of contamination before setting wood-look tile with thinset mortar.
For some glossy or non-porous surfaces, ANSI/installation instructions may require mechanical roughening to create a bondable profile.
Proper flattening matters because plank-format wood-look tile can telegraph ridges (lippage) and concentrate stress that leads to cracked grout.
What “good prep” looks like for wood-look tile over what you already have
– Remove anything that prevents adhesion: waxes/sealants, dirt/grime, paint overspray, and any brittle/peeling layers. If you can still “smear” residue with a damp white cloth, wood-look tile bonding is not ready.
– Flatten high spots and address uneven areas (tile wants a consistent plane; follow the manufacturer’s flatness guidance). You’re aiming for a surface that stays within the tolerances listed by your tile and mortar manufacturers—especially important with plank-format wood-look tile.
– Mechanically roughen glossy finishes if the mortar instructions require it, and vacuum thoroughly before thinset. The goal is not to gouge—it’s to provide reliable mechanical contact for thinset mortar under wood-look tile.
Pros/cons reality check (so you don’t waste time)
| Approach | Pros | Cons | Best For |
|---|---|---|---|
| Tile directly over approved, stable existing floor | Faster remodel, minimal dust from demo | Only works if substrate is rigid and approved | Solid, well-bonded floors that meet flatness |
| Add approved underlayment/leveling system before wood-look tile | Better control of flatness and rigidity | Extra height, extra labor | Existing floors that are stable but uneven |
| Remove existing floor and rebuild base | Maximum long-term reliability | More demo, more cost | Soft, failing, moisture-affected, or unapproved substrates |
Pick the right materials for wood-look tile over what you have
The right answer is to match the wood-look tile system—tile, thinset, grout, and transitions—to your existing substrate’s approvals. If you mismatch even one component, wood-look tile may look great initially and then fail under normal foot traffic or seasonal movement.
As of 2026, the industry standard is “system compatibility,” meaning you should not assume that any thinset works over any existing flooring.
Wood-look tile manufacturers specify substrate approvals (and disallow others) in their installation instructions, and those rules control what you can safely install over.
ANSI A118/A108 requirements are referenced by many tile-setting products to ensure correct mortar/grout performance when used as directed.
Thinset mortar trowel size affects coverage; using the wrong trowel can leave under-supported tile edges and contribute to lippage on plank formats.
What to buy (and what to verify) for wood-look tile over existing floors
– Use a thinset mortar (and grout) that’s rated for your tile type and your substrate; when in doubt, match the system to the tile + mortar manufacturer requirements. Wood-look tile is often porcelain or ceramic in a “plank” format, and the mortar chemistry and coverage expectations differ by product.
– If the existing floor is already tile, you may need an approved method to improve bonding (some systems allow thinset bonding directly; others require specific prep). Don’t skip surface profiling—wood-look tile still needs reliable thinset contact.
– Plan your transitions (doorways, edges, stairs): you’ll want compatible reducers/trim rather than trying to “feather” tile with underlayment. “Going over” usually changes floor height, and door clearance is where remodel plans get derailed.
Plan the layout and protect the room details
A successful wood-look tile floor starts with layout planning, because plank-format tiles magnify visual errors like uneven starting points and inconsistent staggering. If you want fewer cuts and a cleaner look around baseboards and thresholds, you’ll plan the pattern before you mix thinset.
Layout planning also reduces risk: when you set wood-look tile in haste, you’re more likely to create lippage, inconsistent grout joints, and misaligned plank direction.
Dry-laying wood-look tile helps confirm pattern centering and plank staggering so the floor reads intentional rather than “accidental.”
Tile systems require perimeter expansion gaps at walls and around fixed objects; removing or shrinking those gaps can force stress into grout and tile edges.
Protecting adjacent finishes (trim, cabinets, thresholds) prevents jobsite damage that can cost more to repair than the tile installation itself.
Practical layout steps for wood-look tile
– Dry-lay key rows to keep patterns centered and reduce cuts at walls; wood-look tiles often need extra attention to plank staggering. This is where “straight lines” start—your reference line determines whether the floor feels level and true.
– Establish consistent expansion gaps at perimeter and around fixed objects per your tile system instructions. Wood-look tile still needs movement accommodation; grout is not a structural filler.
– Protect adjacent surfaces (baseboards, cabinets, thresholds) so you don’t damage finished trim while setting and grouting. Masking, corner guards, and careful thinset cleanup prevent the most common cosmetic setbacks.
Install: set the wood-look tile, grout, and finish
The surest way to get durable wood-look tile floors is to set the tile methodically: correct thinset mixing, correct trowel size, consistent coverage, and careful alignment. When installation becomes rushed, plank-format wood-look tile shows it immediately through lippage and crooked grout lines.
Spread thinset with the correct trowel size and comb direction; mortar coverage requirements depend on following manufacturer instructions and ANSI/TCNA guidance.
Back-buttering (pre-applying thinset to the back of tiles) may be required by specific wood-look tile/mortar instructions to achieve full contact.
Follow cure and traffic/wait times from the grout and mortar manufacturers before walking, moving furniture, or heavy cleaning.
The step-by-step install process (wood-look tile specific)
– Spread thinset with the correct trowel size and comb direction; back-butter tiles if the tile/mortar instructions call for it to improve coverage.
– Set tiles in small sections, maintain straight lines, and manage lippage (especially with plank-format tile); use spacers/system tools as directed. With wood-look tile, your goal isn’t only “level tile”—it’s consistent height across tile edges.
– Apply grout and seal only if required by your grout type and tile specs; follow cure times before walking, moving furniture, or heavy cleaning. Some grout types are designed to be sealed; others are not. Follow the product label/spec sheet.
A workflow tip that prevents rework
Work in zones you can complete without stopping for long interruptions—thinset that skins over is less reliable for wood-look tile bond performance. If you notice paste grabbing too quickly or ridges not collapsing into even transfer, pause and reassess your spread window and mix consistency.
What can go wrong (and when you should stop)
This is where many “no demo” wood-look tile plans fail: the existing floor moves, preparation was incomplete, or the height/transition changes were underestimated. If you see these red flags, stop and plan a proper underlayment or rebuild.
Tile over a flexing substrate commonly leads to cracked grout and debonding because thinset cannot compensate for movement.
Skipping surface cleaning and required profiling is a primary cause of bond failure when installing wood-look tile over existing flooring.
“Going over” can create elevation changes that affect door clearance, transitions, and thresholds—details that must be planned before setting tile.
Stop and reassess if you encounter any of these issues
– Don’t tile over floors that flex: loose vinyl, floating laminate, damaged subfloor, or any “spongy” surface often leads to cracking and failure. If you can feel bounce under pressure, wood-look tile is not the right overlay strategy.
– Skipping proper prep is the #1 cause of bond problems—thinset won’t fix dust, paint, wax, or peeling layers. Even premium thinset can’t bond to compromised surfaces.
– Beware of height changes and door clearance: “going over” can raise floors enough to affect transitions, doors, and thresholds. If you’re near a threshold/door, dry-fit transitions early and confirm clearances.
Verdict / tip + quick scan checklist
Go-over installation of wood-look tile over existing flooring is a viable time-saver only when the base is rigid, within flatness tolerances, clean, and explicitly approved by the tile and mortar manufacturers. If you confirm the substrate is stable and follow the prep + system instructions step-by-step, you’ll reduce the risk of cracked grout and loose tiles—but if the floor is soft or moisture-prone, plan removal instead.
Best-case results with wood-look tile over an existing floor come from rigid, well-adhered substrates and compliance with manufacturer substrate approvals.
When the existing surface is not approved or shows flex/movement, the more reliable path is removal and rebuild with an underlayment designed for tile systems.
Key Installation Numbers That Influence Wood-Look Tile Success
| # | System variable (for wood-look tile) | Target / limit | Why it matters | Risk if ignored |
|---|---|---|---|---|
| 1 | Deflection limit (ceramic tile) | L/360 | Reduces cracking by limiting movement through the floor framing | ★★★★☆ |
| 2 | Deflection limit (natural stone) | L/720 | Stone is less forgiving; stricter deflection lowers stress in grout/tile | ★★★☆☆ |
| 3 | Thinset bed minimum thickness | 3/32 in (2.4 mm) | Ensures proper mortar support and cure behavior | ★★★☆☆ |
| 4 | Mortar coverage (interior floors, many systems) | 80% minimum | Improves contact so tiles resist hollow spots and stress | ★★★★☆ |
| 5 | Mortar coverage (wet/exterior conditions, many systems) | 95% minimum | Reduces failure risk where moisture affects bonding and grout durability | ★★★★☆ |
| 6 | Perimeter movement gap | Per manufacturer spec | Allows expansion/contraction without stressing tile edges and grout | ★★★☆☆ |
| 7 | Substrate approval (resilient/wood/laminate) | Must be explicitly allowed | Determines whether the mortar can bond and perform as designed | ★☆☆☆☆ |
Scan checklist before you start (wood-look tile over existing flooring)
– [ ] Existing floor is solid, not flexing, and seams/edges are stable
– [ ] Surface is clean/ungreased and meets the mortar’s “approved substrate” list
– [ ] Flatness issues are corrected (follow the manufacturer’s tolerance guidance)
– [ ] Correct thinset + grout for your tile and conditions (dry/wet areas)
– [ ] Perimeter expansion gap and transitions/height changes are planned
Sources
– Tile Council of North America (TCNA) Handbook for Ceramic, Porcelain, and Stone Installation —
– ANSI A108 / ANSI A118 standards referenced by tile installation requirements (for mortar/grout/installation practices)
– Wood-look tile manufacturer installation instructions (substrate approvals, cure times, expansion gap guidance)
– Thinset mortar and grout manufacturer installation instructions (approved substrates, trowel size/coverage expectations, sealing requirements)
Installing wood-look tile over existing flooring can be a smart time-saver—but only when the current surface is stable, properly prepped, and approved by the tile and mortar manufacturers. If you confirm the substrate is rigid and follow the prep + system instructions step-by-step, you’ll be much more likely to get a durable, good-looking floor. If anything feels “soft,” loose, or moisture-prone, don’t force it—pause and plan for removal and a correct underlayment/subfloor rebuild.
Frequently Asked Questions
What’s the best way to install wood-look planks over existing wood-look tile flooring?
The best approach is to install the new wood-look flooring using a system designed for tile over tile, such as click-lock (floating) LVP/Laminate with an underlayment rated for hard surfaces. Start by thoroughly cleaning and checking the tile floor for flatness, because uneven grout lines can telegraph through the new planks. If the tile is very high or low in spots, you may need a leveling compound or skim coating before you install. Always follow the manufacturer’s guidance for subfloor type and required underlayment thickness.
How do you prepare tile floors before installing wood-look vinyl or laminate planks?
Begin by removing baseboards (or plan for a trim/transition solution), then clean the tile with a degreaser so adhesive or underlayment won’t fail. Measure the floor for lippage and flatness—tile edges and grout ridges are common installation problems that cause gaps or clicking noise. Lightly grind high spots, fill low grout lines with a suitable patch/leveler, and vacuum thoroughly. Finally, install the recommended underlayment or moisture barrier if the product requires it.
How can you handle grout lines and uneven spots when installing over existing tile?
Grout lines can create dips that prevent planks from locking correctly in click-lock wood-look flooring, so addressing flatness is critical. Use a straightedge to find the high and low areas, grind down high ridges, and fill low spots with a floor leveler that’s compatible with tile. Wait for full cure time before installing your wood-look tile floor covering so the surface stays stable. This step reduces common issues like weak joints, movement, and uneven feel underfoot.
Why is moisture and subfloor compatibility important when installing wood-look floors over tile?
Tile is non-porous, but moisture can still be present from below or trapped at the edges, affecting adhesives and some flooring types. Over concrete and slab areas, use a manufacturer-approved moisture barrier beneath vinyl or laminate when required. If you’re gluing down wood-look planks, moisture becomes even more critical because bond failure can lead to lifting and buckling. Checking local humidity conditions and following the installation specs helps protect your new wood-look floor long-term.
Which installation method is best for wood-look planks on tile: floating, glue-down, or nail-down?
For tile floors, floating click-lock installation is often the easiest because it doesn’t require bonding to the tile and can accommodate minor subfloor variations when properly leveled. Glue-down can work but requires the right adhesive and a thoroughly prepared, compatible surface to avoid failure, especially over glossy or uneven tile. Nail-down methods are typically not recommended over tile because nailing directly into tile isn’t feasible and can damage the surface. Choose based on your specific wood-look flooring product instructions, your tile flatness, and whether you want a low-damage installation process.
📅 Last Updated: October 16, 2026 | Topic: How to install over existing flooring wood-look tile floors? | Content verified for accuracy and freshness.