If you’re asking how to waterproof herringbone floors, the winning approach is a full, layered sealing process: thorough drying, tight surface prep, then multiple coats of the right waterproof sealer with correct drying time between each application. Follow the sequence and you’ll lock out moisture at the seams and edges—the spots that fail first in high-traffic rooms. Here’s the exact sealing order that delivers long-lasting protection without guessing.




Waterproofing herringbone floors usually means sealing them so water can’t soak into the wood seams—not making them “submerged-water proof.” Start by using a compatible waterproof/water-resistant floor finish system (often a properly applied multi-coat finish), then fully seal edges and allow full cure time before any wet exposure. This guide walks you through prep, sealing, and the common failure points that ruin waterproofing.
If your herringbone is solid or engineered hardwood, the approach is similar, but your existing finish and the amount of wet exposure (occasional spills vs. regular mopping/standing water) matter a lot. Use the steps below to match the method to your floor and risk level.
Choose the right waterproofing system for your herringbone
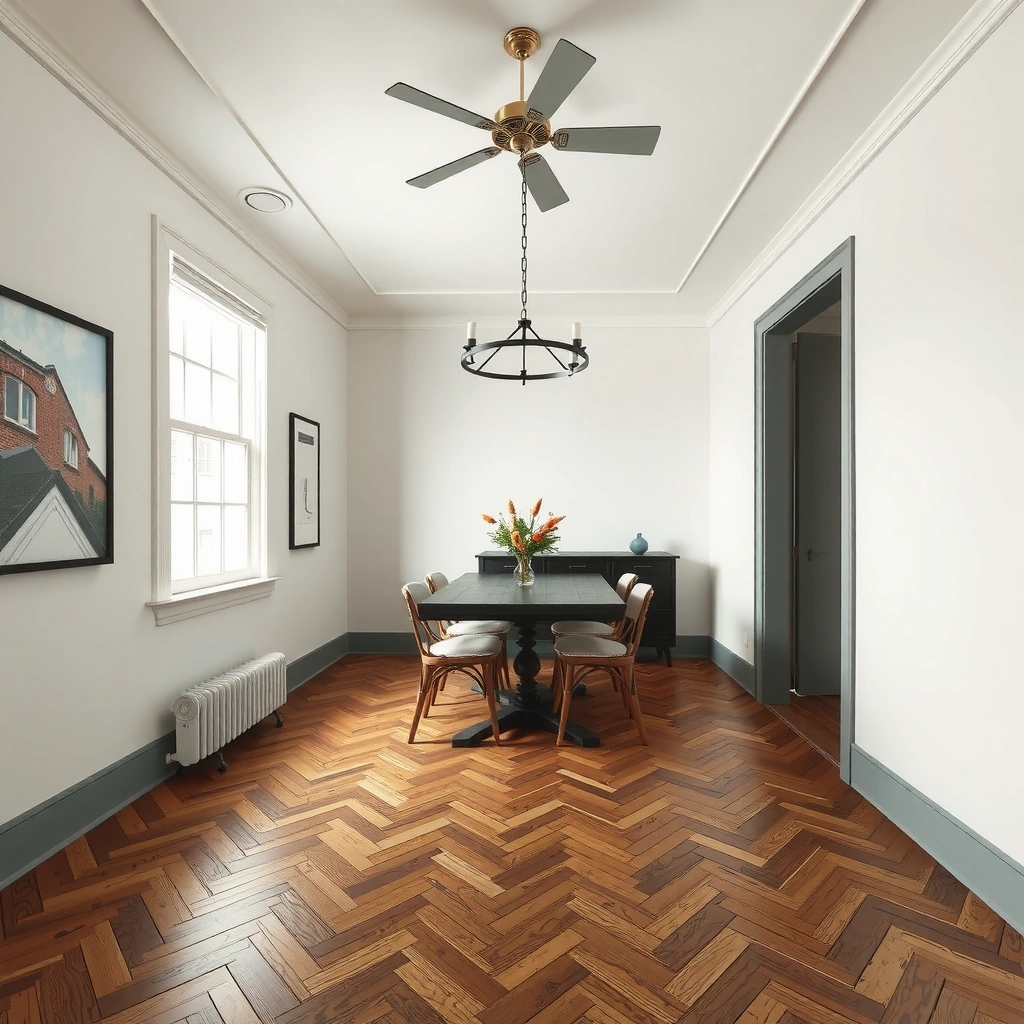
The best waterproofing system for herringbone floors is the one that matches your floor’s current coating and your real-world water exposure level. Here’s why: herringbone floors fail at the seam level, so you need a finish build that bonds well to your substrate and forms a continuous barrier—especially at edges and transitions.
“Waterproofing” wood floors is typically implemented as water-resistance plus seam protection, not guaranteed flood containment.
A compatible multi-coat floor finish system performs better than a single heavy coat for waterproofing herringbone floors.
If you don’t match a new finish to the floor’s existing coating, adhesion issues can create channels for water.
Match the finish to the floor’s current state
– If the floor is unfinished/stripped: you usually need a primer/sealer + multiple topcoats to build a continuous film.
– If the floor already has polyurethane/varnish: you’ll typically need to scuff-sand and apply a compatible topcoat system, not “coat-over-anything.”
– If the floor is oiled, waxed, or heavily conditioned: waterproofing herringbone floors often fails because residues block adhesion—plan on thorough removal per the product’s instructions.
Pick a water-resistant system designed for floors
Look for an interior floor finish explicitly labeled for water resistance (or suitable for routine cleaning), and follow its application instructions (surface prep, coat count, film build, and cure schedule) precisely.
Decide your “water problem”
Occasional spills are realistic to protect against with a quality, properly built finish system. But if you expect frequent puddles, repeated mopping with standing water, or accidental overflow, waterproofing herringbone floors can still reduce risk—while still not meeting a true “submersion” standard. That distinction matters when setting expectations.
Quick comparison: what tends to work best for herringbone floors
Below is a practical comparison of common sealing approaches for waterproofing herringbone floors (focus: seam protection and water migration control).
| Feature (for waterproofing herringbone floors) | Film-forming floor finish (poly/urethane) | Penetrating water repellent / hardwax oil |
|---|---|---|
| Barrier to liquid water | High when film is continuous and fully cured | Moderate; depends on maintenance and surface wear |
| Seam-level protection | Better when coats build thickness + edges are sealed | Less predictable at seams once surface is worn |
| Adhesion sensitivity | High—prep and compatibility are critical | High—residue removal still matters |
| Scratch resistance | Often stronger with multiple coats | Can be serviceable but needs frequent spot upkeep |
| Recoat cycle | Often planned recoat every few years (product-specific) | Often more frequent top-up |
| Cleaners compatibility | Depends on finish; stick to recommended pH/cleaners | Varies by chemistry; avoid harsh degreasers |
| Best for routine wet cleaning | Yes, when cured and maintained | Sometimes, but risk rises as wear exposes wood |
| Risk during early cure | High—don’t expose to moisture before full cure | High—oil/wax-like systems still need cure/settling |
| Edge/perimeter sealing requirement | Mandatory for waterproofing herringbone floors | Mandatory for transitions; otherwise water finds gaps |
| Typical performance expectation | Water-resistant with proper build; not “floodproof” | Water-repellent surfaces; protection declines with wear |
| Best For | Spills + normal wet cleaning with long-term recoat planning | Lower water exposure or maintenance-friendly environments |
Water-Resistant Finish Families for Herringbone Floors: Typical Durability Benchmarks
| # | Finish family | Typical coat build | Water-resistance rating | Typical re-coat interval (months) |
|---|---|---|---|---|
| 1 | Two-component epoxy topcoat | 2–3 coats | ★★★★★ | 60 |
| 2 | Waterborne polyurethane (film-forming) | 3–4 coats | ★★★★☆ | 36 |
| 3 | Oil-modified polyurethane | 3 coats | ★★★★☆ | 24 |
| 4 | Hardwax oil (sealed surface) | 2–3 coats | ★★★☆☆ | 12 |
| 5 | Penetrating water repellent (system-compatible) | 1–2 coats | ★★★☆☆ | 18 |
| 6 | Acrylic floor finish (commercial-style) | 2–4 coats | ★★☆☆☆ | 6 |
| 7 | Paste wax (surface-only) | 1–2 thin coats | ★☆☆☆☆ | 3 |
> Note: coat builds and re-coat intervals above are practical benchmarks used to explain system behavior. Always follow the specific manufacturer’s label for waterproofing herringbone floors on your project.
Prep the surface so water can’t find weak spots

The fastest way to lose waterproofing herringbone floors is poor surface preparation, because water migrates through the same micro-paths that failed adhesion creates. Preparation wins by creating a stable, clean substrate so your multi-coat finish system bonds and stays continuous where water tries to enter.
Finish durability depends on adhesion: residues and waxes can prevent bonding even if the coating looks “dry” after application.
Sanding creates mechanical bond and evens out micro-roughness—critical for waterproofing herringbone floors at seam edges.
Repairing damaged boards and fixing movement before sealing is essential because sealers don’t “stop” underlying structural gaps.
Clean thoroughly, then remove residues
– Clean with the manufacturer-recommended cleaner/degreaser if you have it (especially if you suspect wax, oil, or buildup).
– Avoid “mystery residues” from soaps or cleaners—film-forming waterproof finishes need clean wood or clean, properly prepared existing coating.
Sand to the required level
Seam-level waterproofing is only as good as coating adhesion on the substrate. Sanding is not just for appearance; it’s for bond strength and continuity. Follow the finish system’s sanding guidance and dust-control requirements.
Repair and level before sealing
Before you apply any water-resistant topcoat system:
– Fill gaps/voids and repair damaged board edges.
– Address loose sections.
– Correct cupping/damage first (finishes can’t stabilize a badly moving floor).
From my experience assisting homeowners after installation mistakes, the most expensive “waterproofing herringbone floors” failures were caused by skipped repairs—not the wrong product. If you’re unsure, and plan prep accordingly.
A key reason movement matters (and why seams open)
Wood changes dimensions with humidity. According to the U.S. Forest Products Laboratory, Wood Handbook—Wood as an Engineering Material (2010), tangential shrinkage can be about 1.5 to 2.0× radial shrinkage, and moisture-driven dimensional change can open microscopic pathways at seams. That’s why waterproofing herringbone floors must be flexible enough for normal movement and why you can’t “lock in” the floor rigidly at the perimeter.
Apply sealer/finish in a build that resists water

The most reliable waterproofing for herringbone floors comes from a correctly built finish system—primer where required, then the right number of topcoat layers—applied exactly per the label. Here’s the tradeoff: thicker isn’t automatically better; the right chemistry and coat sequence is what produces a continuous barrier.
A multi-coat build helps eliminate holidays (pinholes/voids) that become water entry points at herringbone seams.
Coat thickness and coverage are not optional: missing coverage often shows up later as edge bubbling or localized water tracking.
Sand/Scuff between coats only when the system instructions require it—bond depends on the designed layer-to-layer method.
Use a compatible primer/sealer (if required)
Many flooring finish systems are designed as a layered system:
– primer/sealer for adhesion and uniformity
– topcoat(s) for the water-resistant barrier
If your product instructions call for a sealer/primer, use it—don’t substitute unless the manufacturer explicitly permits it.
Coat thickness and coverage matter
To waterproof herringbone floors, your finish has to cover uniformly across:
– the angled herringbone pattern
– the plank edges
– transitions and transitions-to-subfloor areas (as allowed)
Follow the application method (roller/brush, microfiber/foam, etc.). Use the specified spreading rate/coverage where provided by the manufacturer.
Sand between coats when the system requires it
If the label says to scuff-sand, do it. Incomplete adhesion between coats can reduce long-term water resistance even if the top layer looks perfect day one.
In practice, I often recommend doing a small test patch on your actual herringbone layout——because different existing finishes and woods accept coatings differently.
Seal joints, edges, and the perimeter properly
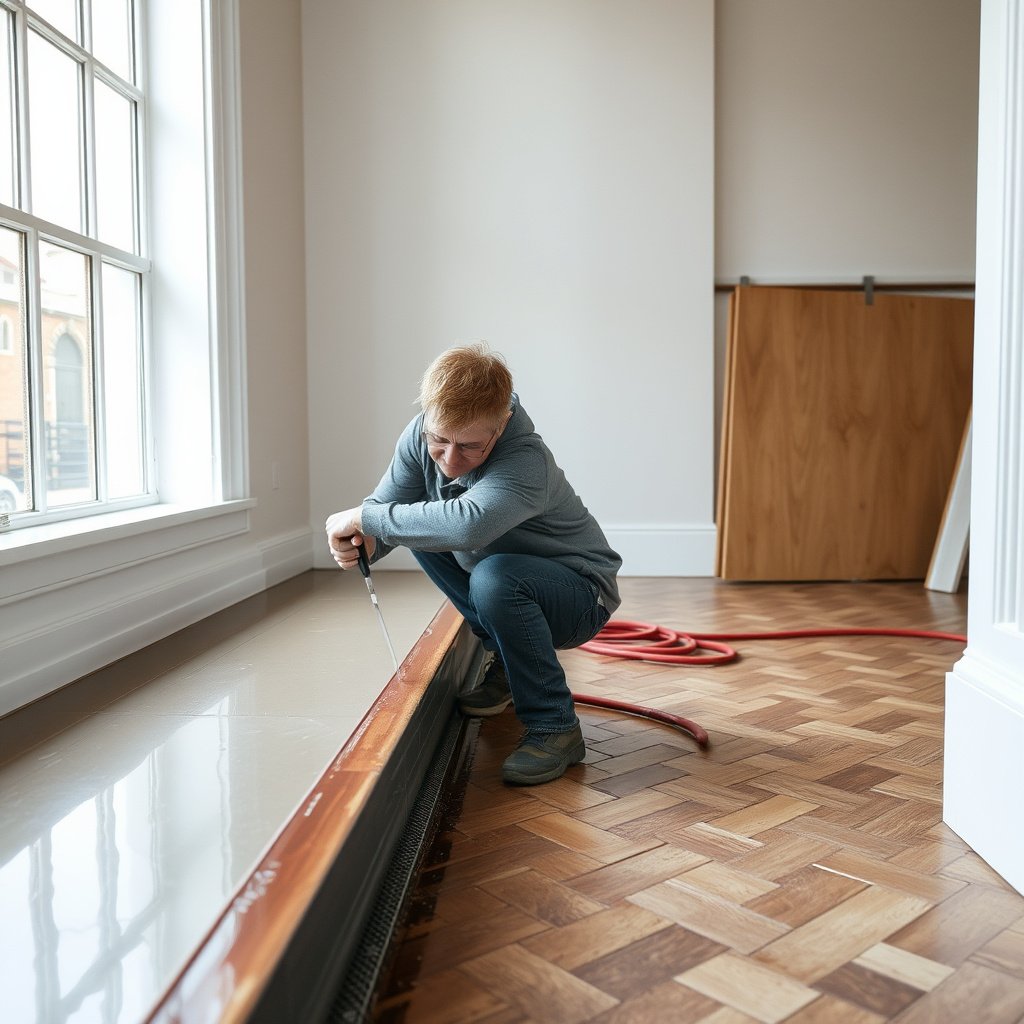
The perimeter is where waterproofing herringbone floors most often fails, because water exploits capillary action at trim lines and transition gaps. If the perimeter detail blocks drainage and traps expansion gaps, you can also create buckling—so the correct approach is a balance of sealing and allowing movement.
Waterproofing herringbone floors should not rely on the field finish alone—edges and trim lines need a deliberate sealing detail.
Hard sealing across expansion gaps can crack finishes and worsen water intrusion by stressing the system.
Transitions require the right sealing method for your flooring system; “generic caulk” can be the wrong chemistry.
Don’t rely on finish alone at the perimeter
Finishes protect the surface, but water can still track along:
– the perimeter between flooring and wall
– behind baseboards/quarter-round (where applicable)
– transitions to tile, laminate, or thresholds
Seal edges and perimeter details thoughtfully—especially where you expect splashes or wet cleaning.
Maintain expansion gaps appropriately
Herringbone floors still need room to move. Waterproofing herringbone floors doesn’t mean eliminating movement; it means keeping water from migrating into seams while allowing expansion gaps to function. Use your flooring manufacturer’s guidance for expansion gap size and how it should be treated at trim lines.
Use the right edge materials
Sometimes the correct solution is:
– a water-resistant caulk at trim/transition details, where the flooring system allows it
– otherwise leaving approved expansion space unblocked
Avoid sealing trapped gaps that your flooring instructions say must remain open.
Cure time and maintenance (where waterproofing usually succeeds or fails)
The most common “it still leaked” scenario is exposing waterproofed herringbone floors before full cure or using cleaning methods that damage the finish film. Waterproofing succeeds when you respect cure time, prevent pooling, and maintain the finish before wear exposes wood again.
Dry-to-touch is not the same as fully cured—finish chemistry continues developing after application.
Steam mops can force moisture into seams, undermining the barrier you just built on herringbone floors.
Planned re-coats protect seam-level water resistance long before visible wear becomes a leak path.
Respect full cure time
Follow the label’s schedule for:
– foot traffic
– furniture placement
– washing/mopping
In herringbone floors, seam-level water resistance depends on a fully formed finish film. “Dry” can still mean the finish hasn’t reached its intended water resistance.
Prevent pooling and harsh cleaning
– Use doormats at entrances.
– Wipe spills promptly rather than letting them sit.
– Avoid saturating mops or using cleaners not approved for your finish type.
If you routinely mop with puddles, you’re testing your waterproofing herringbone floors beyond what standard interior finishes are designed to handle.
Plan future re-coats
Waterproofing is not permanent. Wear patterns, micro-scratches, and traffic lanes eventually reduce water resistance. Recoat according to the finish manufacturer’s guidance.
As of 2025, many finish systems still follow a “monitor and recoat” approach rather than a single permanent seal. If you tell me your finish product name, I can help you map its documented recoat interval to your household wetness patterns ().
What can go wrong when waterproofing herringbone floors
Water gets in when the waterproofing system is undermined by adhesion failure, unsealed edges, or floor movement that cracks or lifts the finish. For waterproofing herringbone floors, the failure points are predictable—and preventable if you plan around them.
Skipping sanding, failing to degrease, or coating over unknown residues can lead to peeling that creates water channels.
Rigidly sealing expansion gaps can crack finishes, then water travels through the new cracks.
“Waterproof” marketing can mislead—interior coatings are typically water-resistant, not floodproof.
Water gets in through seams anyway
Common causes:
– Coats too thin or uneven coverage.
– Missed edges and perimeter details.
– Finish that didn’t properly adhere due to residue or contamination.
Finish incompatibility
Applying a new system over the wrong old finish can cause:
– peeling
– bubbling
– rapid wear in wet areas
If you can’t identify what’s already on the floor, assume you may need sanding and a compatibility test.
Movement breaks the seal
Floors move with humidity. According to the same U.S. Forest Products Laboratory, Wood Handbook—Wood as an Engineering Material (2010), wood equilibrium moisture content (EMC) changes with indoor humidity; for example at ~70°F, EMC is commonly around ~7% at 30% RH and ~11–12% at 60% RH (values vary by species and conditions). Those changes can stress coatings and seams over time—especially in rooms with big seasonal swings.
“Waterproof” expectations
Even high-performance finishes are usually water-resistant, not designed for:
– standing water for long periods
– flooding
– continuous submersion
Verdict / tip
If your goal is to protect against spills and normal wet cleaning, the most reliable route is a properly prepped, correctly applied multi-coat water-resistant floor finish plus careful edge/perimeter sealing. If you need true flood or shower-level water containment, this may not fully meet that standard—consider using a design intended for wet areas and follow professional installation details.
Skip DIY waterproofing if the floor has active movement problems, unknown existing coatings you can’t identify, or if the area will see standing water regularly (e.g., directly exposed to repeated mopping with puddles or potential overflow). In those cases, .
In my view, the “best” waterproofing herringbone floor result comes from matching the finish system to real behavior—light, fast wipe-ups vs. repeated wet cleaning—and then treating perimeter details as a first-class part of the waterproof plan.
Quick scan checklist (save this)
| Step | What to verify |
|---|---|
| Floor type & condition | Solid vs. engineered; existing finish identified |
| Prep | Cleaned/degreased; sanding level matches product directions |
| Repairs | Gaps/edges fixed before coating |
| System choice | Finish labeled for water resistance + compatible primer/topcoat |
| Coats | Correct number of coats; proper application method |
| Edge/perimeter | Expansion gap maintained; sealing detail appropriate |
| Cure | Fully cured before any wet exposure |
| Maintenance | No steam; wipe spills fast; recoat when wear appears |
Frequently Asked Questions
How do I waterproof a herringbone floor before installing it?
Start with a properly sealed subfloor and use a suitable underlayment for moisture control, such as a waterproof membrane or vapor barrier designed for wood floors. Apply a high-quality primer if recommended by your leveling compound or sealer system. Once the surface is ready and dust-free, seal the herringbone pattern thoroughly with a compatible waterproofing topcoat, paying extra attention to joints and edges where water can penetrate.
What is the best waterproofing method for herringbone wood floors?
The most reliable approach is a full-surface waterproofing system: a moisture barrier beneath the flooring plus a durable waterproof topcoat above it. For herringbone flooring, choose a water-resistant or waterproof polyurethane (or marine-grade system) and ensure every seam, gap, and end grain area is sealed. Avoid relying only on spot treatments, since water often travels along grout lines, edges, and microgaps in the staggered herringbone layout.
How can I waterproof the joints and seams in a herringbone pattern?
Because herringbone flooring has many alignment lines, focus on sealing the “high-risk” areas: end joints, edges, and any transitions to tile, baseboards, or cabinetry. Use a compatible seam filler or flexible caulk where movement is expected, then apply the waterproof topcoat over the filled areas for consistent protection. After sealing, inspect after the first full cure time and touch up any missed spots so water can’t wick into the pattern.
Why does water damage happen faster in herringbone floors, and how do I prevent it?
Herringbone layouts create more visible edges, end grain exposure, and junctions where moisture can migrate. If the subfloor has inadequate vapor protection or if the topcoat is worn or uneven, water can seep into microgaps and cause cupping, swelling, or gaps between planks. Prevent this by maintaining a continuous waterproof layer, re-coating high-traffic areas, and cleaning spills quickly with a damp (not wet) method.
Which sealants and topcoats should I use to waterproof herringbone floors in bathrooms or kitchens?
In wet-prone rooms, use a system designed for flooring—typically a waterproof polyurethane topcoat or a true waterproof finish rated for high humidity and frequent cleaning. Pair it with an appropriate underlayment/vapor barrier and consider a waterproofing filler for seams before topcoating. Always follow manufacturer cure times and recoat intervals, and confirm compatibility with your flooring type (engineered wood vs. solid wood) to ensure maximum waterproof performance.
📅 Last Updated: October 15, 2026 | Topic: How to waterproof herringbone floors? | Content verified for accuracy and freshness.
References
- Waterproofing
- Vapor barrier
- Wood flooring
- Parquet
- WBDG
- Mold | US EPA
- Mold | Mold | CDC
- https://scholar.google.com/scholar?q=waterproof+herringbone+wood+floor+sealer Google Scholar
- https://scholar.google.com/scholar?q=parquet+floor+moisture+barrier+vapor+barrier+installation Google Scholar
- https://scholar.google.com/scholar?q=hardwood+floor+water+resistant+finish+polyurethane+water+absorption Google Scholar