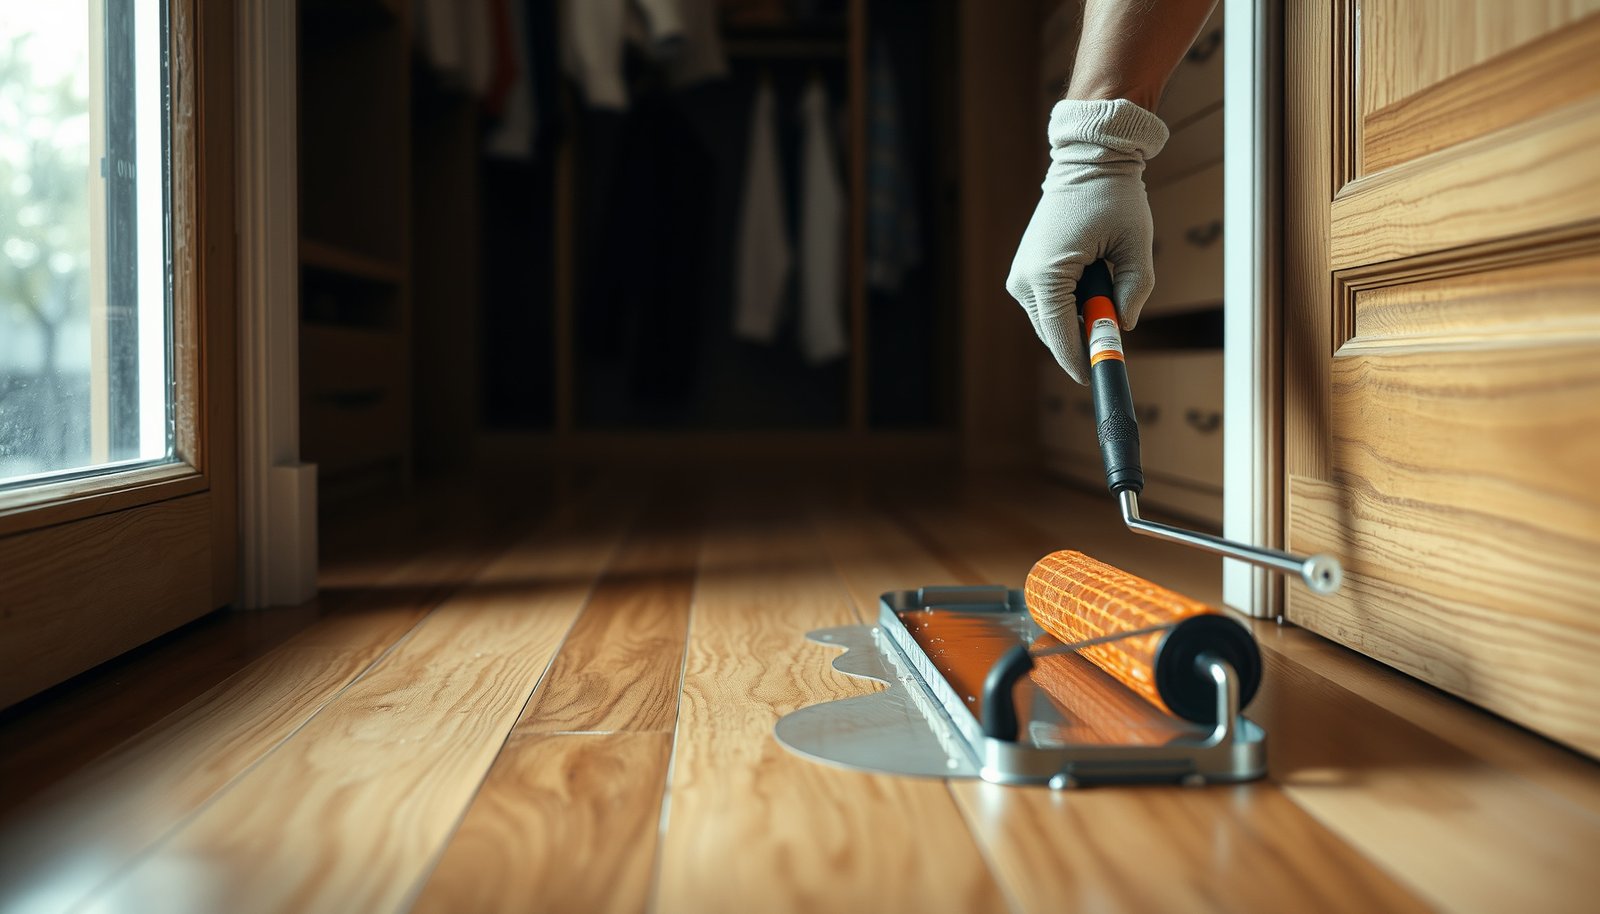
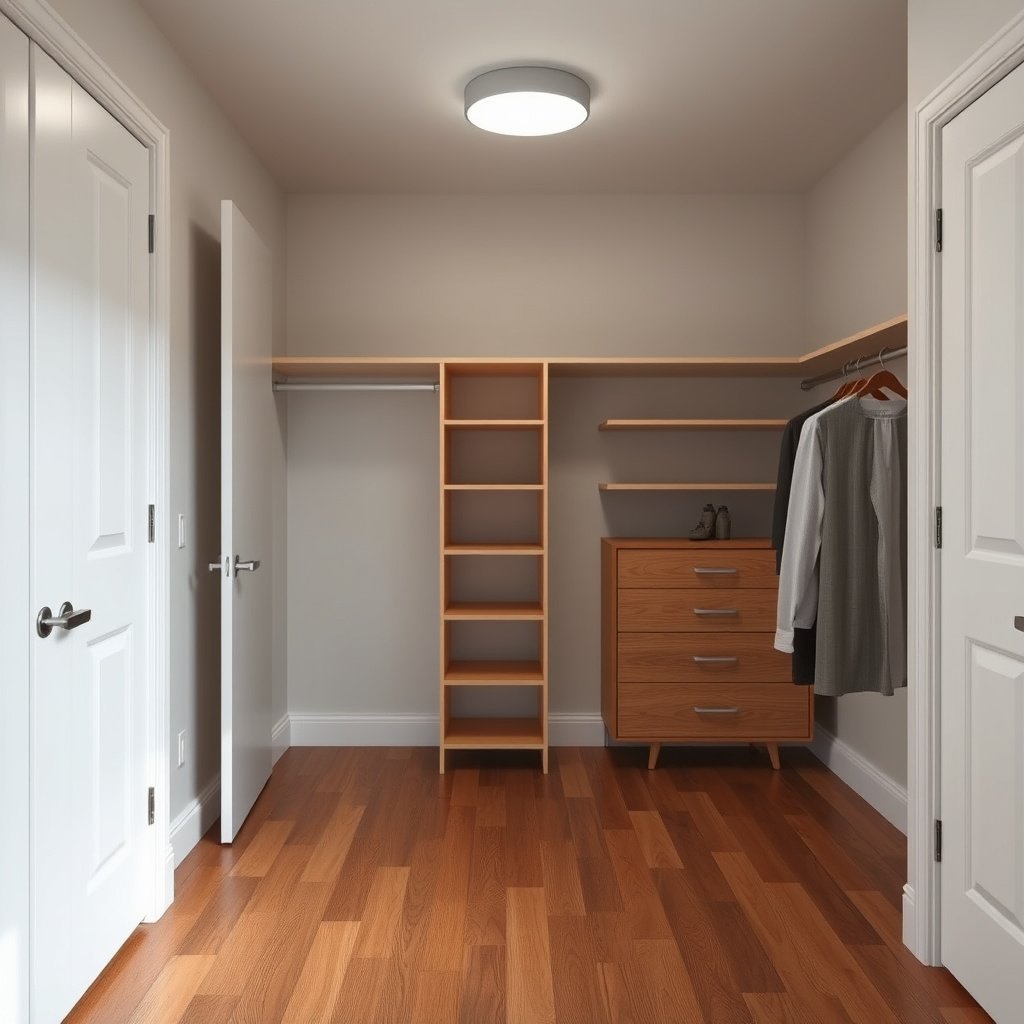
If you need to waterproof hardwood floors in a closet, this step-by-step guide shows the exact materials and process to seal the boards so water can’t seep into the wood or subfloor. You’ll learn how to prep the surface, choose the right waterproofing system for a closet environment, and apply it for full, long-lasting coverage. Follow these steps and you’ll know what to do—and what to avoid—before the first coat dries.
Waterproofing a hardwood floor in a closet starts with stopping the moisture pathway, then sealing the floor edges/seams so water can’t reach the planks. If water or high humidity is coming from your closet, you can protect hardwood by adding a moisture barrier where the floor meets the subfloor and sealing the wood thoroughly (including seams and gaps). The key is to stop moisture from reaching the planks—because hardwood is not truly “waterproof,” and trapped moisture can still cause swelling or cupping. This guide walks you through a practical closet-focused approach: prep, sealing, barrier choices, and what mistakes to avoid.
If you’re trying to waterproof hardwood in a closet (often where spills, wet items, or bathroom-adjacent humidity happen), this is for you. It’s especially useful when you want a cleaner, more durable barrier without tearing everything out—but you’ll also learn when replacement or different flooring is the safer move.
Step 1: Identify the moisture source in your closet
The fastest way to “waterproof” hardwood in a closet is to identify the actual moisture source first, because the best coating won’t fix a continuing leak. Focus on where water or vapor enters, then track whether the hardwood floor gets exposed to liquid water, condensation, or both.
Most closet failures start with moisture travel paths—baseboards, door jamb gaps, or the floor-to-wall seam—so finding the entry point matters more than adding extra coats.
If you see cupping, dark staining, or a musty smell near the hardwood, the moisture pathway has already reached the planks or subfloor—sealing alone may not be enough.
Here’s what to check first for a hardwood floor in a closet:
– Spills and wet laundry: Look for water lines, damp spots under hanging items, and areas where shoes or umbrellas sit.
– Cleaning overspray: Mopping a closet-adjacent area or using spray cleaners can drive moisture into the floor edges.
– Plumbing leaks: Check for leaks at shutoff valves, supply lines, and any drain lines that run near the closet wall.
– HVAC/condensation humidity: In many homes, “humidity” is the real risk—humid air condenses on cooler surfaces and drives moisture toward the hardwood floor.
– Seasonal or bathroom-adjacent moisture: If the closet shares a wall with a bathroom, humidity can cycle repeatedly through that wall and into the floor system.
High-value measurement to guide this step: According to the National Wood Flooring Association (NWFA), maintaining indoor relative humidity around 35–55% supports stable wood flooring (the exact target depends on your home and flooring specifications). That means your closet humidity is not just a comfort issue—it directly affects hardwood movement.
Also, as of 2026, many moisture troubleshooting workflows still start with simple observation plus spot checks (staining, swelling behavior, and temperature/humidity patterns) before deciding between “seal-top-only” vs “add a subfloor vapor barrier” for the hardwood floor in a closet.
Quick moisture “pathway” checklist
If you want a tight focus for the hardwood floor in a closet, inspect these locations methodically:
– Along baseboards and trim: Caulk lines that fail, gaps behind trim, and cracked paint.
– At door jambs: Gaps where airflow carries humid air and where spills can wick.
– At seams and transitions: Especially where planks meet each other, or where flooring abuts other materials.
Action note: If you’re seeing moisture that appears repeatedly after rainstorms, bathroom use, or HVAC cycles, treat that as evidence of a recurring pathway—not a one-time spill.
Step 2: Decide what “waterproof” means for hardwood
The practical answer for a hardwood floor in a closet is: you can make it moisture-resistant and water-exposure tolerant, but you generally can’t make it “waterproof” in the same way as true waterproof flooring. Your goal is prevention—block moisture transfer and seal surface exposure quickly so water doesn’t soak into the finish and edges.
Hardwood typically fails at the edges, seams, and underside—not because the finish “melts,” but because moisture changes wood dimensions and can create cupping.
“Waterproofing” plans should distinguish liquid water events from chronic humidity, because the right barrier strategy depends on the moisture pathway.
What you’re really trying to accomplish
For a hardwood floor in a closet, “waterproofing” usually means one (or both) of these outcomes:
1. Stop liquid water from penetrating the finish and flowing into joints (seams/gaps).
2. Reduce vapor movement so the underside and subfloor don’t stay wet, which can swell wood or warp finishes.
Hardwood behavior matters:
– Wood movement is driven by moisture content changes.
– Even when the surface looks okay, trapped moisture under/around the plank can still lead to long-term damage.
Use moisture control standards as your guide
A few standards-backed realities help keep your plan grounded:
– Wood moisture balance: According to NWFA guidance, finished hardwood installation depends on the wood being in an appropriate moisture range relative to your environment (commonly discussed as indoor equilibrium conditions). National Wood Flooring Association (NWFA)
– Vapor barrier performance classes: Vapor retarder permeance is commonly discussed using perm measurements tested under ASTM methods. For example, Class I vapor retarders are typically ≤ 0.1 perms (the category concept is widely used in building specifications and is tied to vapor transmission testing). ASTM E96 (vapor permeance testing framework)
The “closet reality” you should plan around (2026)
In 2026, most closet hardwood issues still come down to either:
– Occasional wetting (spills, wet items), where surface sealing + edge detailing often helps; or
– Chronic humidity/condensation (bathroom-adjacent walls, HVAC cycles), where you may need a barrier strategy matched to the subfloor.
If your closet has an ongoing moisture source, replacing or switching materials may be safer than trying to “outcoat” the problem.
📊 DATA
Vapor-Blocking Options for Hardwood Floors in Closets (Typical Perm Classes)
#
Moisture-control layer
Typical vapor permeance (perm)
ASTM / class context
Blocking strength
Drying potential
1
6-mil polyethylene sheet (Class I vapor retarder)
≤ 0.1 perm
ASTM E96 concept of Class I
★★★★★
Low
2
10-mil polyethylene sheet (heavier Class I retarder)
≤ 0.1 perm
ASTM E96 concept of Class I
★★★★★
Low
3
Asphalt-impregnated felt / roofing paper (often Class II)
Standard foam underlayment without vapor rating (varies widely)
Often > 1.0 perm
May fall in Class III+
★★☆☆☆
High
How to read this: Lower perm = stronger vapor blocking; however, for a hardwood floor in a closet, stronger blocking can also reduce drying, so your plan must match the actual moisture pathway. ASTM E96 is the standard testing framework used for permeance reporting across many specifications. ASTM E96
Step 3: Prep the floor so sealers and barriers actually work
The best waterproofing outcome for hardwood floors in closets comes from preparation that’s tight enough to prevent sealant failure and continued wood movement. Before you add any moisture barrier or sealer, clean, dry, and repair so the coating bonds correctly and edges/seams are ready to be detailed.
If the hardwood floor isn’t fully dry and properly cleaned, even a “waterproof” coating can fail at seams and corners—exactly where moisture enters.
Follow your sealer or finish manufacturer’s prep instructions line-by-line (surface condition, cleaning agents, and drying time) because warranties often hinge on it.
What “prep” includes (for a closet hardwood floor)
For a hardwood floor in a closet, prep usually means:
1. Remove contaminants: wax, dust, overspray residue, and any surface treatments that prevent adhesion.
2. Clean to the required standard: use the cleaner recommended by the sealer/finish instructions (or approved equivalents).
3. Dry fully, with stable conditions: in damp closets, “drying time” must be long enough for the wood to stop moving.
4. Repair finish defects: rough seams, peeling coatings, lifted boards, or damaged edges can create pathways for moisture.
As of 2026, many DIY failures happen because people treat “looks dry” as “is dry.” For a hardwood floor in a closet, moisture behind a baseboard or within a subfloor cavity can still be present even if the top looks okay.
Dryness and dimensional stability matter
Wood flooring isn’t just “a plank”; it’s a moisture-responsive system. Even when you’re waterproofing a hardwood floor in a closet, you still need equilibrium conditions consistent with NWFA-type indoor guidance (often targeting ~35–55% RH). NWFA wood flooring indoor humidity guidance
A practical, low-drama prep workflow
– Clear the closet entirely so you can reach base edges and seams.
– Remove residue that can interfere with adhesion.
– Verify dryness based on conditions, not only visible dryness.
– Fix visible defects before sealing.
Step 4: Seal the top surface, edges, and gaps
Sealing the top of a hardwood floor in a closet is necessary, but it’s only truly effective when you also detail edges, seams, and junctions where water starts. For closets, the “win” is preventing moisture from entering the plank edges and leaking through micro-gaps.
Most moisture intrusion on a hardwood floor starts at seams and floor-trim interfaces, so sealing must prioritize edges—not just the flat walking surface.
Consistent film build across the entire closet area reduces weak spots where moisture can penetrate sooner.
What to seal (in order of importance)
For a closet hardwood floor, work from highest-risk to lowest-risk areas:
1. Seams and plank joints: where water can wick.
2. Gaps at edges: perimeter where flooring meets trim/baseboards.
3. Transitions and penetrations: where pipes or fasteners create openings.
4. Entire surface only after detailing the high-risk areas.
Choosing the right product system
Use a hardwood-compatible moisture-sealing finish/liner system appropriate to your floor type (solid hardwood vs engineered, and any existing finish). Follow the manufacturer’s:
– coat count / expected coverage,
– drying/curing times,
– application temperature/humidity requirements,
– approved prep and substrates.
Key point: A “waterproof” look does not mean the chemistry is designed for moisture suppression in the exact closet condition you have. For hardwood floors in closets, compatibility is not optional.
Pros/cons: what top sealing can and can’t do
Approach
Pros for a closet hardwood floor
Cons / common limits
Top-surface + seam sealing
Helps with **occasional spills** and surface wetting; improves edge resistance
Won’t stop moisture coming from **below** or through a persistent leak
Subfloor vapor barrier + approved installation
Helps block moisture transfer and reduces chronic underside dampness
Can trap moisture if chosen incorrectly or if subfloor is still wet during installation
Both (best match)
Most resilient strategy when you’ve identified the correct moisture pathway
Requires correct prep, correct compatibility, and careful workmanship around edges
Step 5: Add a moisture barrier at the subfloor (where needed)
If moisture is coming from below, the strongest “waterproofing” move for a hardwood floor in a closet is adding an appropriate subfloor vapor barrier system—because top sealing alone can’t stop upward moisture. The barrier choice must match your subfloor conditions and product specs; otherwise, you risk trapping moisture and accelerating damage.
When a hardwood floor in a closet fails from below, sealing the top surface is often a partial fix at best—moisture still migrates up through the system.
A vapor barrier is not automatically better; if it prevents the subfloor from drying, it can worsen swelling/cupping even while “blocking” moisture.
When you likely need a subfloor barrier
Consider a moisture barrier at the subfloor if:
– you see dampness during or after rainfall,
– the subfloor feels cool or clammy compared with the room,
– moisture appears near the center and spreads outward,
– you’ve eliminated leaks and still get recurring humidity effects.
Don’t “trap” moisture—match permeance to reality
A vapor retarder’s job is to control vapor drive, but it must be selected with the moisture source in mind. ASTM vapor permeance concepts (measured via ASTM E96 test frameworks) are commonly used to classify barriers (e.g., Class I ≤ 0.1 perm). ASTM E96
So for a hardwood floor in a closet:
– If the subfloor is already wet, you may need remediation before you barrier.
– If moisture is episodic, the barrier strategy may be different than for persistent condensation.
If you aren’t installing from scratch
Closet retrofits can limit what you can do. In those cases, sealing + addressing the moisture source becomes even more critical, because barrier installation may be incomplete around perimeter edges.
Step 6: What can go wrong (and when to stop)
Top-only sealing failures and trapped moisture problems are the two biggest ways people “waterproof” a closet hardwood floor in the wrong direction. If you see evidence of ongoing moisture, stop and correct the source or reassess the flooring plan—adding coatings can delay discovery and increase damage.
If moisture is entering through a leak or from beneath, a surface sealer can’t fully protect a hardwood floor in a closet.
Using a vapor barrier that’s too restrictive for the conditions can reduce drying and contribute to swelling or cupping.
Common failure modes
– Top-only sealing failure: moisture pathway bypasses your surface layer.
– Trapped moisture risk: the wrong underlayment/barrier prevents the system from drying.
– Compatibility mistakes: sealers/finishes often require specific surface prep, humidity conditions, and approved substrates.
– Ignored perimeter details: even tiny gaps at seams and trim interfaces can undo a lot of work.
When you should stop and switch strategies
Stop DIY waterproofing a hardwood floor in a closet if:
– you have active water leaks (plumbing, roof intrusion, or persistent seepage),
– the subfloor remains consistently damp,
– the floor already shows significant cupping/staining patterns,
– you can’t confirm the moisture pathway and moisture sources.
In those cases, professional moisture assessment and targeted remediation are usually more effective than adding more coatings.
Step 7: Verdict + quick checklist you can save
Bottom line: For many closet scenarios (occasional spills, humidity control, no active leak), sealing the hardwood properly plus sealing/preventing moisture entry points is a realistic path. If the closet has an ongoing moisture source, extensive subfloor dampness, or chronic condensation, waterproofing may be the wrong goal—water-resistant flooring or professional remediation may be the safer move.
For hardwood floors in closets, the most reliable order is: stop the moisture source → correct moisture conditions → seal seams/edges → add a barrier only if the pathway requires it.
If you can’t identify where the moisture comes from, you can’t choose the right barrier—so prioritize diagnosis over additional coatings.
Verdict guidance (who should skip):
– Skip “waterproofing-by-sealer” if you suspect a hidden leak or persistent wet subfloor.
– Skip restrictive barriers if the system cannot dry and you haven’t stabilized indoor humidity.
– Consider different flooring or professional mitigation if the closet is part of a bathroom envelope with repeated condensation.
Choose barrier/underlayment only per approved specs
Trapped moisture and long-term damage
Monitor after heavy rain/humidity spikes
Catch problems early
Skip this approach if you have clear active water damage, persistent dampness beneath the floor, or you’re unsure what’s causing moisture. In those cases, correcting the source (or getting a pro assessment) is usually more effective than adding more coatings.
Sources
If you take one thing from this: stop the moisture source first, then seal and detail the floor so water can’t keep getting into seams and edges. Start by identifying where moisture is coming from in the closet, follow the sealer’s prep and application specs exactly, and use a barrier only when it matches your subfloor conditions—then monitor the area after any heavy humidity or spill events.
Frequently Asked Questions
How do I waterproof hardwood floors in a closet without damaging the wood?
Start by addressing the source of moisture—fix any leaks and ensure proper ventilation so humidity doesn’t build up under the flooring. For waterproofing, apply a high-quality penetrating wood sealer followed by a durable water-resistant topcoat rated for floors in damp areas. Use products designed for hardwood to avoid trapping moisture; follow the manufacturer’s dry-time requirements before adding coats or reinstalling the base trim.
What’s the best way to waterproof hardwood floors with a closet moisture problem?
The most effective approach is a full system: clean and dry the hardwood, fill gaps or cracks, then seal the floor with a moisture-blocking finish and protect joints where water is most likely to seep. Pay extra attention to edges, seams, and around closet door thresholds since these areas commonly collect spills and condensation. If the closet is on a slab or has concrete nearby, consider sealing the subfloor or installing a moisture barrier that’s compatible with hardwood installation.
How do I seal hardwood floor seams and edges in a closet to prevent water leaks?
Use a hardwood-safe seam filler or wood filler to close micro-gaps where liquid can migrate. Then apply a perimeter seal along baseboards and at transitions, since water often travels along edges rather than across the center of the floor. Finish with an application method that ensures even coverage—use a brush for corners and a roller or pad for the main surface to create a consistent waterproof hardwood layer.
Why is waterproofing hardwood in a closet different from waterproofing other rooms?
Closets often have less airflow, which increases relative humidity and the risk of condensation—especially with hanging wet items, humid climates, or laundry overflow. Hardwood floors can swell, cup, or develop cupping when moisture cycles occur, even if it’s not a constant leak. Because of this, waterproofing for a closet should include both a durable water-resistant floor coating and improved ventilation or dehumidification to keep moisture levels stable.
Which products and techniques work best for water-resistant hardwood floors in closet environments?
Look for “water-resistant” or “waterproof” floor sealers and finishes specifically approved for hardwood, such as polyurethane, epoxy-modified sealers, or moisture-blocking penetrating sealers paired with a compatible topcoat. Techniques that work well include spot-proofing high-risk zones first (near doorways, baseboards, and any water-exposure points), then coating the entire floor for uniform protection. Always sand and clean thoroughly before sealing, and test the finish in an inconspicuous area to confirm color and sheen compatibility.
📅 Last Updated: October 17, 2026 | Topic: How to waterproof a hardwood floors with closet? | Content verified for accuracy and freshness.