
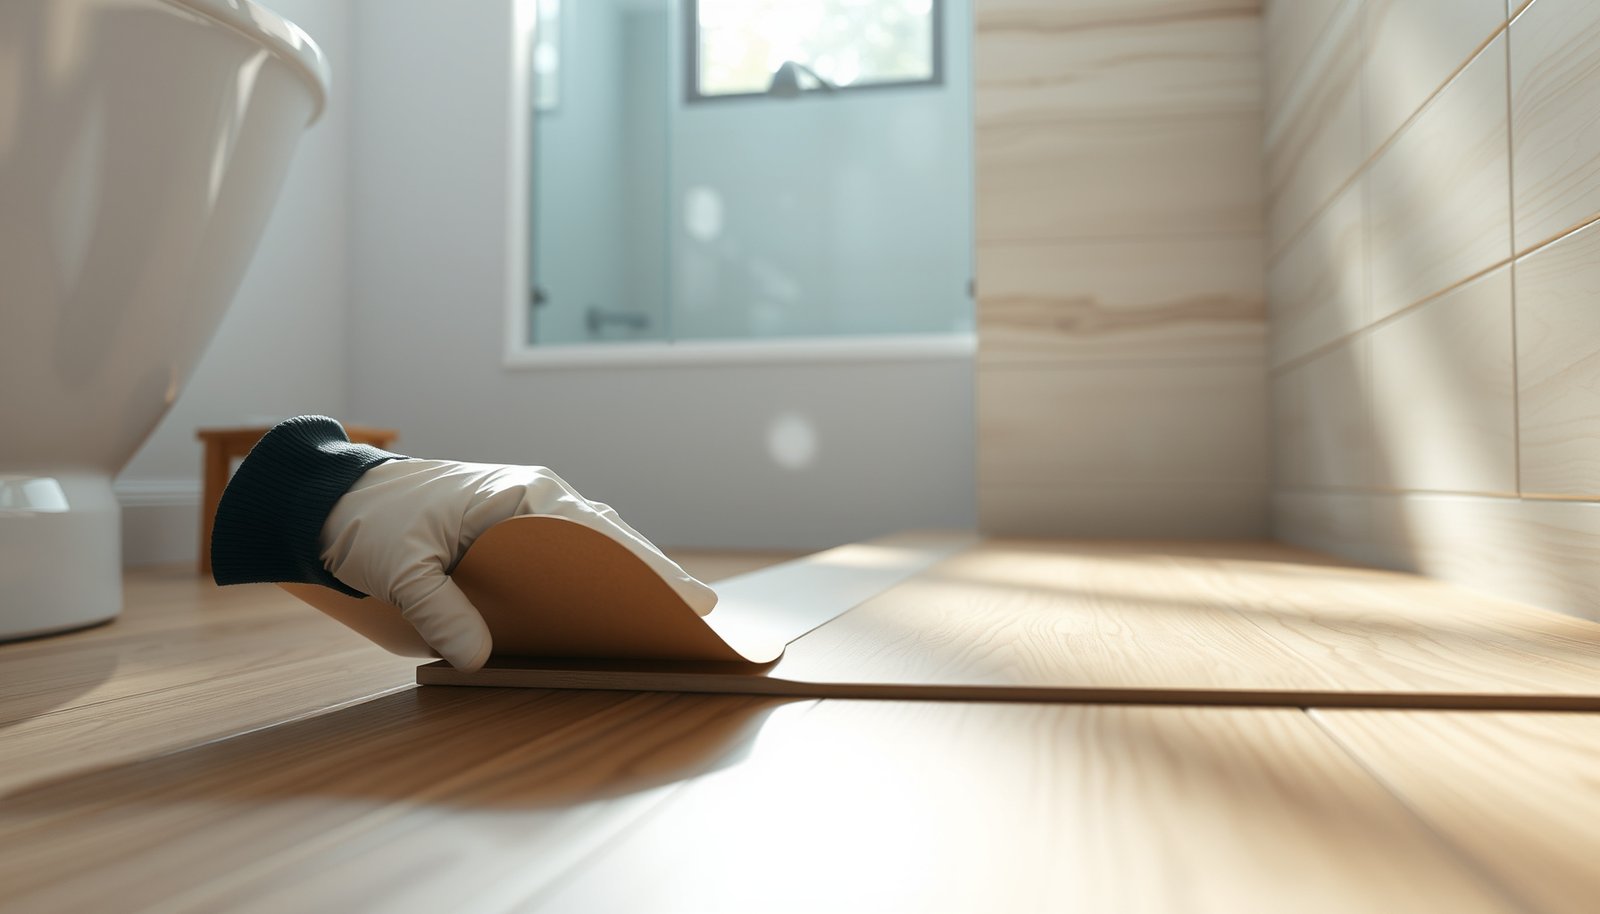

Preventing mold under wood-look tile floors is mostly about stopping moisture before it ever reaches the subfloor. Use a properly sealed subfloor, a quality underlayment/waterproofing system, and meticulous caulking and drying to keep water vapor from feeding mold. This guide shows exactly what to install and what to avoid so your floors stay clean and dry.




Mold under wood-look tile floors usually happens when moisture gets trapped inside the tile assembly and can’t dry out. The reliable fix is to stop water entry (leaks, humidity, and wet-cleaning patterns) and use a complete, manufacturer-approved waterproofing/tile system so any moisture has a safe path to escape.
Wood-look tile floors are popular because they deliver a realistic finish without real wood—but the “wood-look” doesn’t matter to mold. What matters is the moisture behavior of the subfloor and the tile system: grout joints, edges, and penetrations can become hidden entry points, especially in basements, bathrooms, laundry rooms, and areas with wood subfloors.
Find the moisture source before you “treat” mold
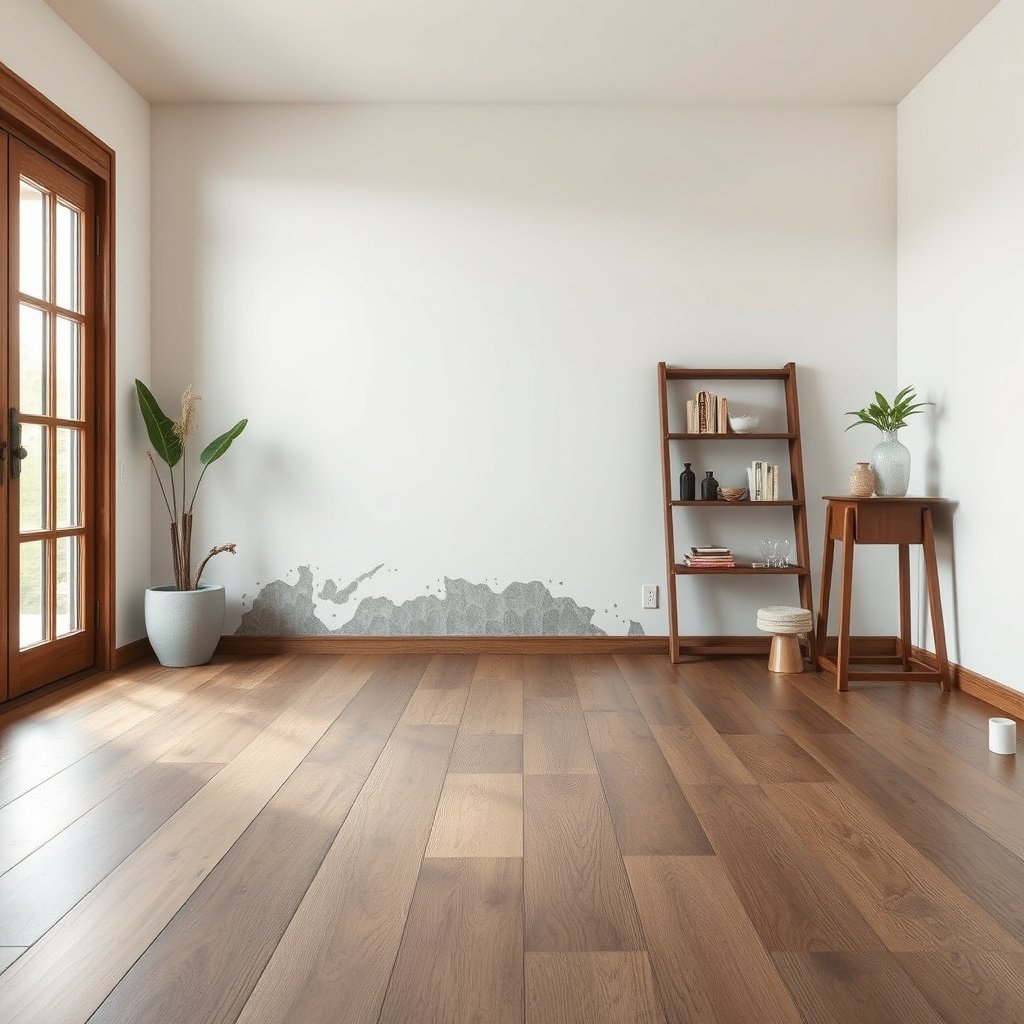
You can’t permanently prevent mold under wood-look tile by attacking mold alone—you must stop the moisture that feeds it. Most recurring problems trace back to leaks, persistent damp subfloors, or installation gaps (failed caulk/grout, penetrations, or edge transitions).
Mold can begin to grow on damp surfaces within 24–48 hours. CDC (mold and dampness guidance)
EPA emphasizes that controlling moisture is the key step in preventing mold growth. U.S. Environmental Protection Agency (EPA), Mold and Moisture guidance
Fixing the moisture problem is necessary even if you remove visible mold, because hidden mold can remain where water first entered. CDC (mold cleanup and prevention principles)
What to inspect (so you stop the *right* leak)
Start with a “water path” audit rather than focusing only on where you see staining or odor. In my inspections of tile failures on wood subfloors, the most repeatable pattern is this: water enters at an edge/penetration, migrates along the assembly, then reappears as recurring dampness near baseboards, corners, or under transitions.
– Check plumbing leaks and slow seepage
– Inspect under sinks, behind toilets, near water heater lines, and at supply shutoffs.
– Look for recurring dampness—even tiny, intermittent leaks can keep the underside of the tile system wet.
– Map wet-cleaning patterns
– Heavy mopping (especially with pooled water) can push moisture through grout joints and toward edges.
– If dampness shows up more after cleaning than after showers, your cleaning method is part of the moisture system.
– Confirm subfloor conditions before you tile
– Wood-based subfloors are especially risky when they hold moisture.
– If the subfloor is soft, swollen, has prior rot, or feels “cool and damp,” assume mold risk is already active—even if the surface looks fine.
– Look for early warning signs around the tile
– Musty odor (often strongest near corners/vents)
– Soft spots, hollow-sounding tiles, uneven areas
– Bubbling grout, cracked caulk lines, or grout that looks “pulled away”
– Signs near penetrations (toilet flanges, supply lines) and changes of plane (floor-to-wall)
Use the correct underlayment and waterproofing system
Start with a complete water-management assembly, not “just tile + grout.” Water can still move through grout joints, thickness transitions, and the edges of the installation—so your underlayment and waterproofing must be designed to work together for your substrate.
Waterproofing membranes are used to prevent liquid water from reaching the substrate in tile floor systems. ANSI/TCNA tile waterproofing and membrane guidance (system-based approach)
A tile system is only as watertight as its weakest connection—seams, penetrations, and terminations must be detailed correctly. Manufacturer waterproofing membrane installation instructions
Choose an assembly that matches your substrate (especially wood)
A common mistake is assuming that “tile is waterproof.” Tile is water-resistant; your waterproofing strategy is what controls liquid water entry. That’s why system compatibility matters:
– Follow the membrane/underlayment requirements as written
– Use the exact underlayment and waterproofing method required by your tile, thinset/mortar, and membrane manufacturers.
– If your wood subfloor is involved, prioritize a tile-underlayment/waterproofing approach intended for wet-area protection and explicitly rated for tile installations.
– Make waterproofing continuous where it matters
– Seal seams in membranes.
– Treat penetrations (pipes, electrical conduits, toilet flanges) with approved details.
– Bring waterproofing up the walls where the system calls for it—this is frequently where hidden moisture begins.
What system choices actually change the outcome
Below is a practical comparison of common approaches people consider—use it to avoid mixing “compatible in theory” products.
| Approach | Pros (what it does well) | Cons (where failures happen) | Best fit |
|---|---|---|---|
| Full sheet or liquid waterproofing membrane designed for tile | Strong barrier to liquid water; details can be built continuously | Requires correct prep and strict seam/termination detailing | Wet areas; wood subfloors; basements |
| Backer board (cementitious/fiber-cement) + proper thinset | Improves stability and tolerates moisture better than many wood boards alone | Backer board is not a substitute for waterproofing if liquid water exposure is likely | When specs allow it as part of a complete system |
| Vapor retarder sheet (only when assembly allows) | Can reduce vapor drive and help manage moisture | Wrong product/location can trap moisture rather than prevent it | Controlled environments and spec-approved assemblies |
| “Grout sealer only” | Easy and improves stain resistance | Does not replace waterproofing; movement joints/edges still leak | Low-risk dry areas, as a supplement only |
| Movement-joint sealant (ASTM-compliant) | Prevents crack-driven leakage at changes of plane | Wrong sealant type or poor bond breaks quickly | Floor-to-wall, around cabinets, transitions |
Control indoor humidity so trapped moisture can’t thrive
Humidity control is often the difference between a tile assembly that stays “dry enough” and one that becomes a mold incubator. When wood subfloors or tile edges get damp, mold depends on moisture and time—controlling indoor RH (relative humidity) slows both.CDC notes that keeping indoor relative humidity in an appropriate range helps reduce the risk of mold growth. CDC (dampness and mold prevention)
EPA recommends addressing moisture problems because persistent dampness increases mold risk. EPA (mold and moisture guidance)
Set a sensible RH target and maintain it
A practical target frequently used in public-health guidance is about 30–50% indoor RH (with many programs also using below 60% as a prevention ceiling). Your HVAC, seasonal climate, and insulation level determine what is realistic—but the principle stays the same: keep RH stable and prevent condensation.
– Use ventilation correctly
– Run bathroom and laundry exhaust fans long enough after showers or drying cycles.
– If fans recirculate indoors instead of venting outdoors, you keep moisture inside the building envelope—where it can migrate into tile edges.
– Add dehumidification when humidity spikes
– Basements and poorly ventilated bathrooms often need dehumidifiers to keep RH from overshooting, even when everyday cleaning seems “dry.”
– Fix condensation and cold-spot problems
– Exterior walls, poorly insulated corners, and colder zones can create condensation.
– That surface moisture can migrate into grout joints and edges through capillary action (water moving through tiny spaces).
Seal edges, transitions, and penetrations (these are common leak paths)
Most hidden leaks under wood-look tile start at boundaries: where the floor meets a wall, changes to another flooring type, or passes around plumbing. If these areas aren’t sealed correctly, moisture becomes a one-way journey into the assembly.
Movement joints and changes of plane need sealant systems intended for wet-area tile assemblies. Manufacturer installation instructions (sealant selection and detailing)
Improper sealing around penetrations can allow water to reach the substrate even when tile and grout look intact. Tile waterproofing detailing guidance (system-based approach)
Seal the right things (and use the right materials)
– Changes of plane
– Floor-to-wall, floor-to-cabinet toe-kick areas, and similar “plane changes” require the correct sealant type for wet-area use.
– Don’t substitute general caulk where your tile system calls for tile-grade or movement-compatible sealants.
– Plumbing penetrations
– Seal around pipe penetrations using approved details (flashing collars and sealants where specified).
– The toilet flange area is a classic failure point because it experiences both moisture exposure and movement.
– Expansion gaps and transitions
– Expansion joints are designed to move—your waterproofing plan must protect them rather than bury them.
– Transition strips to carpet or LVP can become moisture channels if they allow water to wick underneath. Ensure transitions are detailed so water doesn’t travel laterally to an unprotected edge.
Install and maintain like moisture depends on it (because it does)
Moisture prevention starts at installation and continues through maintenance. A correctly installed tile assembly prevents voids and failure at the seams; a sloppy install creates pathways for water to reach the substrate and stay there.
Proper substrate preparation and correct mortar coverage are critical to tile floor performance and long-term watertightness. ANSI A108 tile installation requirements (system performance principles)
CDC and EPA guidance consistently tie mold prevention to stopping moisture and maintaining building materials so they can dry. CDC and EPA mold prevention guidance
Installation details that influence long-term dryness
– Thinset and grout performance depends on prep + thickness + cure
– Use the correct thinset and follow the coverage guidance required for your tile and membrane system.
– Respect cure times; rushing cure/dry steps can create conditions where moisture remains trapped.
– Grout/caulk maintenance is not optional
– Re-caulk when movement joints open, crack, or pull away.
– Re-seal grout only if your grout product calls for it (and in the way it recommends). Sealer can’t replace a failed waterproofing or broken joint.
Clean without over-wetting
– Avoid soaking methods that push water into seams.
– Use cleaners that won’t degrade grout joints or sealants, and wipe up standing water promptly.
– If the floor stays damp longer than expected after cleaning, you need to adjust your cleaning method immediately.
What can go wrong (and when to stop DIY)
If you don’t fix moisture entry, prevention becomes temporary. And if you have active damage—especially on wood subfloors—DIY can miss hidden growth deeper in the assembly.
Mold remediation guidance emphasizes identifying and correcting the moisture source; removing mold without addressing moisture often leads to recurrence. EPA (mold remediation moisture control principles)
CDC advises that if water damage is significant or mold is widespread, professional assessment and remediation may be needed. CDC (mold and dampness recommendations)
Common failure points to watch for
– Skipping waterproofing on a wood subfloor
– “Water-resistant” does not equal “waterproof.”
– Wood subfloors amplify mold risk when moisture gets trapped.
– Water getting in from outside the tile plane
– Exterior water intrusion, roof/sill leaks, or recurring plumbing leaks can overwhelm underlayment strategies.
– Trapping moisture during or after install
– If the slab or subfloor isn’t dry enough, or if you ignore curing/drying schedules, you can create a mold-friendly environment.
– Assuming visible mold means the source is right there
– Mold can be hidden under edges or deeper where water first entered.
When to stop DIY and escalate
Stop DIY and treat this as a moisture investigation + remediation project if:
– You suspect ongoing leaks (plumbing or exterior intrusion).
– The subfloor is soft/sagging, shows rot, or has been wet for a long period.
– You see widespread lifting, widespread grout failure, or persistent strong odors.
Verdict: Best prevention plan + quick checklist
The best prevention plan for mold under wood-look tile floors is a complete, manufacturer-approved tile waterproofing assembly plus humidity control and consistent edge/joint maintenance. Here is why: mold doesn’t “appear” under tile randomly—it grows when moisture enters and then remains trapped long enough to feed spores.
Downsides to be aware of: the correct waterproofing approach can add cost and labor, and changing an existing floor may require partial removal if the current assembly isn’t compatible with the fix.
Skip this DIY-only approach if you have ongoing leaks, major substrate damage, or widespread odor—those cases usually require professional moisture assessment and remediation.
Scan/checklist (save this):
– [ ] Find and stop water sources (plumbing, cleaning habits, humidity/condensation)
– [ ] Confirm dry, stable subfloor before installation
– [ ] Use a compatible waterproofing/underlayment system for tile on your substrate
– [ ] Seal changes of plane, edges, penetrations, and transitions correctly
– [ ] Keep RH in check; run exhaust fans; use a dehumidifier if needed
– [ ] Inspect grout/caulk regularly; re-seal/re-caulk as products require
– [ ] Act fast when you spot cracks, gaps, odors, or recurring damp spots
Moisture-Control Measures for Tile Floors (Tile-Mold Prevention, Practical Impact)
| # | Moisture-control layer/practice | Primary purpose | Common spec/standard hook | Prevention impact |
|---|---|---|---|---|
| 1 | Full waterproofing membrane (sheet or liquid) under tile | Stops liquid water reaching the substrate | ANSI A118.10 | ★★★★★ |
| 2 | Vapor retarder sheet (only when assembly allows) | Reduces vapor drive (moisture migration) | ASTM E1745 | ★★★★☆ |
| 3 | Fiber-cement / cement backer board with taped seams | Creates a stable substrate compatible with tile systems | ASTM C1325 | ★★★★☆ |
| 4 | Correct mortar coverage (no voids) for wet-area risk | Reduces pathways that trap moisture under tiles | ANSI A108 coverage requirements | ★★★☆☆ |
| 5 | Movement-joint sealant at changes of plane | Prevents crack-driven water entry | ASTM C920 | ★★★★☆ |
| 6 | Crack isolation / uncoupling membrane (where required) | Helps manage substrate movement and cracking | ANSI A118.12 | ★★★★☆ |
| 7 | Grout sealer (supplement only, not waterproofing) | Improves stain resistance; does not stop all liquid water entry | Manufacturer hydrophobic treatment (system-dependent) | ★★☆☆☆ |
Sources
– U.S. Environmental Protection Agency (EPA) — Mold and moisture control guidance (moisture prevention and moisture problem correction).
– Centers for Disease Control and Prevention (CDC) — Dampness and mold prevention guidance (including mold growth on damp surfaces).
– ANSI — A108/A118 tile installation standards (installation and membrane category requirements) and ASTM — sealant standard ASTM C920 and backer board standard ASTM C1325 cited in waterproofing/tiling best-practice references.
– Manufacturer installation instructions for your specific tile, thinset, grout, underlayment, and waterproofing membrane system (primary source for compatibility, curing/drying, and required detailing).
If you want fewer surprises, treat mold prevention as a moisture-management system rather than a one-time repair: stop water at its entry points, install a compatible waterproofing assembly, and keep humidity and joints maintained. When you do those three things consistently, wood-look tile floors can stay clean, dry, and structurally sound for years—even in rooms where moisture is common.
Frequently Asked Questions
What causes mold under wood-look tile floors?
Mold under wood-look tile floors usually forms because moisture gets trapped between the subfloor and the tile system. Common causes include leaks from plumbing, humidity migrating from the subfloor, and poor ventilation that keeps the area damp. If the underlayment, thinset, or grout allows water intrusion—or if the subfloor isn’t properly dried before installation—mold can develop in the hidden spaces.
How can I prevent moisture buildup under wood-look tile flooring?
Start by controlling water before it reaches the tile assembly: fix plumbing leaks and ensure proper grading and drainage around the home. Use a moisture barrier or waterproof underlayment designed for tile installations, especially in basements, bathrooms, or over concrete slabs. Also verify that the subfloor moisture levels are within the manufacturer’s requirements before installation, then allow proper cure times so thinset and grout don’t trap excess moisture.
Why is a waterproof underlayment important for wood-look tile to avoid mold?
Wood-look tile often looks like wood but behaves like tile, meaning moisture can still become trapped if the system isn’t sealed correctly. A waterproof underlayment helps stop water vapor and liquid water from migrating into the subfloor where mold thrives. It also reduces the chances of microleaks around edges, transitions, and grout lines, which are typical entry points for moisture.
Best practices for sealing edges and grout to stop mold growth?
Seal grout and any relevant joints according to the product label, especially in wet areas like showers, kitchens, or entryways exposed to spills. Pay close attention to expansion gaps, floor-to-wall transitions, and penetrations (toilet flanges, pipes, vents), since those areas are more likely to allow water movement. Use proper caulking in movement joints and keep maintenance consistent—re-seal when needed to maintain a watertight wood-look tile floor.
Which installation steps reduce the risk of mold under wood-look tile on concrete or wood subfloors?
For concrete, test moisture levels, address damp slabs, and use a tile-rated moisture barrier system before installation. For wood subfloors, ensure adequate subfloor flatness, use the correct backer board or underlayment, and avoid installing over areas that show signs of prior water damage. During installation, use the correct thinset coverage, do not skip waterproofing at wet zones, and confirm that the entire system cures fully before heavy traffic or moisture exposure.
📅 Last Updated: October 16, 2026 | Topic: How to prevent mold under wood-look tile floors? | Content verified for accuracy and freshness.
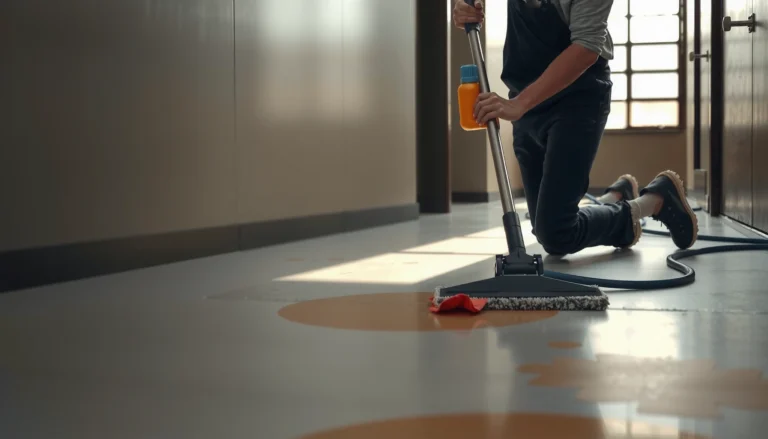

[…] finished hardwood floors—follow your floor’s care guidance rather than guessing. Also remember humidity control: wood is sensitive to indoor conditions, and dramatic swings can stress finishes and increase […]