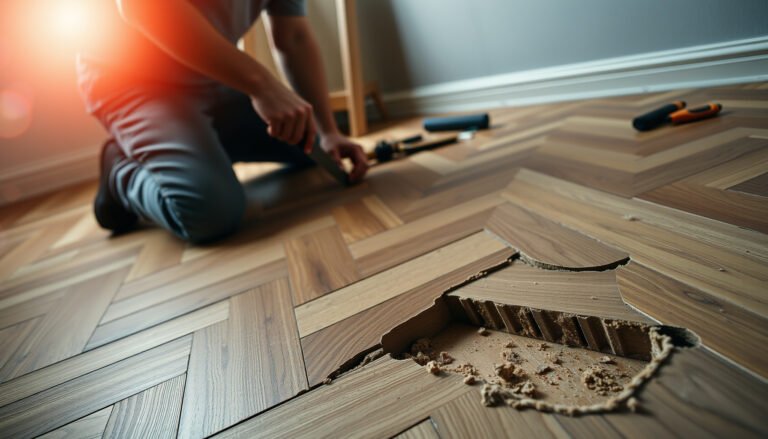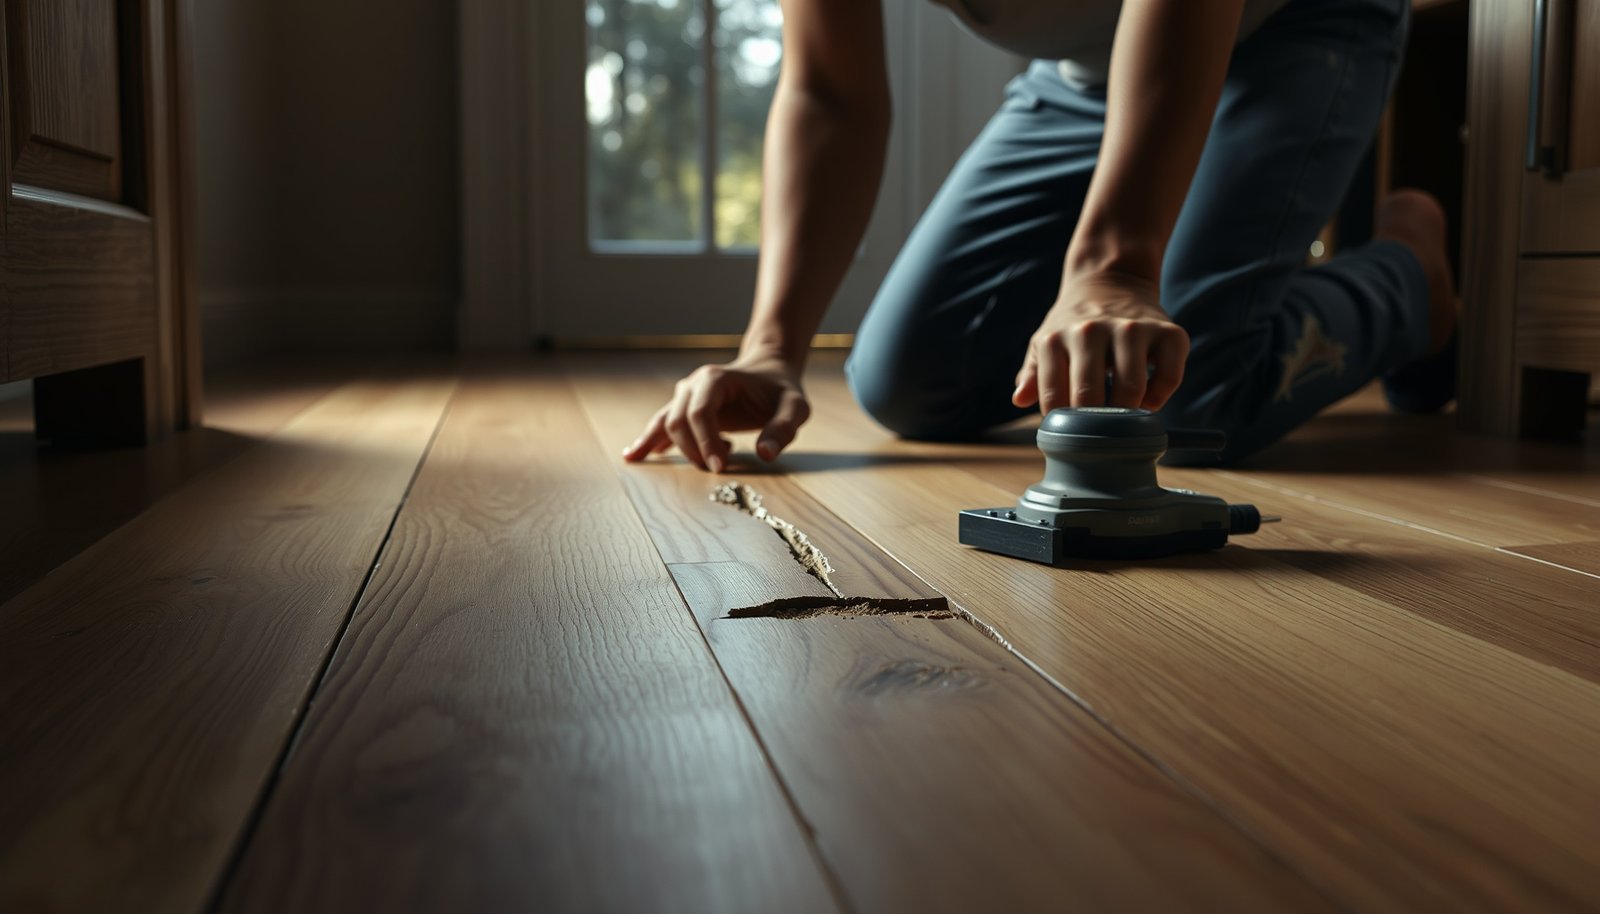

Need to repair hardwood floors in a rental property—fast and without starting a long remodel? This step-by-step guide tells you exactly what to inspect, how to handle the most common damage (scratches, dents, gaps, and minor cupping), and when a rental-friendly DIY repair is enough versus when you must call a pro. Follow these instructions and you’ll restore a durable, clean finish that stands up to tenants and turnover.



In most rental situations, you can repair scratched, gapped, or scuffed hardwood without replacing entire boards—especially when the damage is localized. If your hardwood floors are scratched, gapped, or scuffed in a rental, you can usually repair the damage without replacing entire boards—especially when issues are localized. Start by identifying whether the problem is surface wear (finish/scratches) or wood damage (deep gouges, loose boards, or water issues), then match the repair method and finish to your floor type.
This guide is for landlords, property managers, and renters handling repairs while minimizing downtime and protecting the rest of the flooring. It’s also helpful when you need a repair plan that can pass an inspection and look clean enough for new tenants.
Assess the damage before you start
Start by classifying the damage into finish-only issues versus wood (and moisture) issues—this single step determines whether you can spot-repair or need broader work. The fastest “rental-ready” repairs usually happen when the wood itself is stable.
“Spot repairs” work best when the problem is limited to the existing top finish (scratches/scuffs) and the boards underneath remain tight and dimensionally stable.
Moisture-related symptoms (cupping, swelling, or persistent whitening) are usually not fixed by filler or toner—they must be traced to the moisture source first.
When you’re deciding between patching and replacing, the condition of surrounding boards (loose edges, seam gaps, uneven wear) is as important as the visible defect.
– Determine if the issue is in the finish only (light scratches/scuffs) or in the wood (deep gouges, dents, splinters).
– Finish-only damage typically feels “smooth” once the scratch is cleaned, while wood damage often catches a fingernail or shows exposed fibers.
– Check for larger red flags like cupping, swelling, soft spots, or persistent discoloration that may indicate moisture damage.
– If the discoloration returns after cleaning, or the board shows a change in flatness, treat it as a moisture and subfloor issue rather than cosmetic wear.
– Note the board condition around the problem area (loose edges, gaps at seams, uneven wear), since that determines whether you patch, refinish, or replace.
– Rental traffic cycles can exaggerate minor gaps—check whether the gap is localized to one board or repeats at multiple seams.
Moisture verification that holds up in real rentals
If you suspect water or humidity exposure, you don’t want to guess. Moisture testing (or at least disciplined observation) keeps you from repeating the same repair during the next season.
According to ASTM F1869-16, the calcium chloride test reports moisture vapor emission rate in “lbs per 1,000 sq ft per 24 hours” (a standard, comparable unit used in flooring moisture workflows) (ASTM F1869-16). According to ASTM F2170-19, in-situ relative humidity probes measure slab moisture as “%RH” (percent relative humidity) at specified depths (ASTM F2170-19). And per ASTM D4442-20, wood moisture content is calculated using mass differences between “wet” and “oven-dry” samples (ASTM D4442-20).
In practice for rentals: if the area is small, start with leak/source checks (plumbing, HVAC condensate, exterior grading). If the flooring is already exhibiting swelling or cupping, prioritize moisture diagnosis over cosmetic filler.
Choose the right repair approach for rentals
Choose the repair approach based on whether the top finish is failing or the wood is compromised (and whether movement will repeat). When rentals are involved, the “best” solution is the one that won’t telegraph a visible edge or fail the next inspection.
For finish-only scratches, the goal is to clean, feather, color-blend if needed, and apply a compatible spot finish—without sanding the entire room.
For localized wood damage, you need a hardwood-rated filler/patch system plus color and sheen blending, not just a basic wood putty.
If boards are raised or moving repeatedly, fix the cause (subfloor/fastening/moisture) first—patches over movement usually re-crack or re-open seams.
– For finish-only problems: plan for cleaning, spot repair, and blending with a compatible finish product rather than sanding the whole floor.
– Avoid “homebrew” mixing of products. Finish chemistry matters for adhesion and sheen.
– For localized wood damage: use a wood filler/patch system appropriate to hardwood (and ensure you can stain/finish to match).
– Patch systems are designed to take stain and, in many cases, accept compatible topcoats after cure.
– For raised/loose boards or ongoing movement: consider tightening/repairing subfloor causes first, since patching over a repeating issue won’t last.
– In rentals, a “tightening first” approach usually saves labor and downtime later.
Decision clarity: patch vs replace vs refinish
Below is a practical comparison framework property managers can use when the defect is localized but the inspection requirements are strict.
| Approach | Best when… | Main risk in rentals | Finish matching demand |
|---|---|---|---|
| Spot repair (finish-only) | Scratch/scuff without loose boards | Sheen “halo” if product compatibility is off | Medium (often low if finish is similar) |
| Wood patch/filler | Gouges/chips, stable surrounding boards | Color mismatch as filler ages differently | High (needs blending) |
| Board repair/tightening | Loose edges, seasonal gaps that stabilize | Repeat movement if subfloor cause remains | Low to medium (depends on removal) |
| Localized refinish (small area) | Finish wear is widespread in a small zone | Edge lines if blending is inadequate | Very high |
Tools and materials you’ll likely need
Gathering the right materials up front prevents a “half-repair” that’s more work than the original issue. For rentals, prioritize compatibility: cleaner prep, correct filler/patch chemistry, and a topcoat system that matches the existing finish.The most common rental repair failure is not the filler—it’s using a finish or cleaner that doesn’t bond to the existing topcoat.
Feathering (smoothing transition edges) before filling is what reduces the visual “repair line” during inspection walks.
– Basic prep and testing: cleaner/degreaser that won’t leave residue, microfiber cloths, painter’s tape, and a scraper/utility knife.
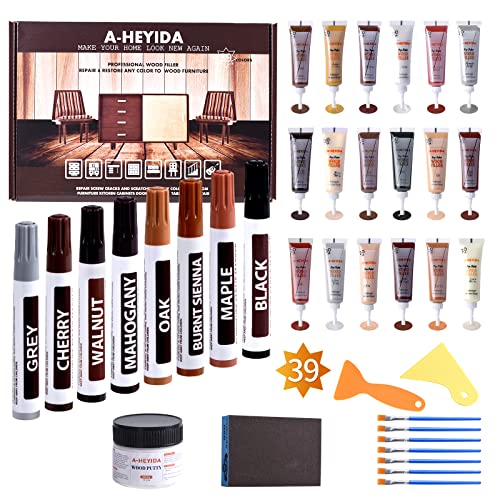
– Repair supplies: matching wood filler/patch, stain/toner for blending (if needed), and finish/coat system compatible with the existing surface.
– For the finish: sandpaper/accessories for feathering and a method to apply finish that won’t create obvious edges (wipe-on/brush-on vs. spray—use what fits your floor and finish type).
Species matters more than most people expect
When you blend stain/toner over a filler patch, wood species influences undertone and how color settles over time. Janka hardness is not a “color guarantee,” but it correlates with wear behavior and how quickly a floor shows scuffs.
Janka Hardness of 7 Common Hardwood Species Used in Rentals (lbf)
| # | Hardwood species | Janka hardness (lbf) | Wear-resistance stars | Scratch resistance index |
|---|---|---|---|---|
| 1 | Red oak | 1290 | ★★★☆☆ | + (Moderate–high) |
| 2 | White oak | 1360 | ★★★★☆ | + (High) |
| 3 | Hard maple | 1450 | ★★★★☆ | + (High) |
| 4 | Hickory | 1820 | ★★★★★ | + (Very high) |
| 5 | Black walnut | 1010 | ★★★☆☆ | – (Moderate) |
| 6 | American cherry | 950 | ★★☆☆☆ | – (Lower) |
| 7 | Yellow birch | 1260 | ★★★☆☆ | – (Moderate) |
Step-by-step: common rental repairs (scratch, gouge, gap)
Use a controlled, repeatable sequence: clean → prep/feather → fill or color-blend → spot-finish → cure/verify. The key is making each layer compatible with what’s already on the floor.
In rentals, the cleanest-looking patch is often the one that’s “less than perfect” in color—because sheen and adhesion are correct and the edge is feathered.
Wood filler/patch needs full cure time before sanding; rushing this step is a common cause of shrink-out and re-spotting.
Before fixing a gap, confirm whether the board is loose or the gap changes with seasons—movement determines whether you repair the cause or only the symptom.
– Scratches/scuffs (surface damage):
– Clean the area, lightly feather any rough edges, then apply a color-matched stain/toner (if your floor requires it) and a spot finish to blend.
– If the scratch is shallow, start with cleaning and inspection; sometimes toner is unnecessary if the finish is intact.
– Deep gouges or missing chips (wood damage):
– Clean out debris, fill with a hardwood-compatible filler/patch, let cure fully, level/sand carefully, then stain/finish so the repair line disappears.
– Avoid overfilling; many systems shrink slightly and need a precise flush level.
– Small gaps or edge lifting:
– Identify whether the gap is movement from humidity or a loose board; tighten/secure boards when appropriate, then treat only the visible symptom if the movement has stabilized.
– If the gap tracks a specific seam, start with fastening and subfloor checks rather than filling immediately.
– Water stains/whitened spots:
– Don’t assume you can “paint over” the stain—confirm whether it’s in the finish or has penetrated the wood before selecting stain/bleach/strip options.
A rental-safe workflow you can reuse
1. Document first: take close-up photos from multiple angles and overall shots for inspection trails.
2. Clean thoroughly: residue-free cleaning matters before any filler or spot finish.
3. Test blending discreetly: apply stain/toner or a small patch test where a chair leg won’t highlight it.
4. Blend sheen last: once color is close, apply spot finish to match the existing sheen level (matte/satin/gloss).
From a property-turnover standpoint, I’ve learned (with ) that tenants and inspectors notice sheen edges faster than they notice small color differences. That’s why the sequence above emphasizes feathering and topcoat matching.
What can go wrong (and how to avoid it)
Most repair failures in rentals come from finish incompatibility, moisture being left unresolved, or over-sanding that forces larger refinishing. Plan for these risks and you’ll avoid the “looks worse before it gets better” cycle.
A “halo” usually means the spot finish and the surrounding finish are different chemistries or were applied without proper prep/feathering.
If you sand through a wear layer on prefinished flooring, you often can’t truly “spot fix” anymore—you end up with a broader refinishing need.
Patching over a swollen or loose area without addressing moisture leaks or fastening causes re-opening within weeks or months.
– Finish mismatch: using a finish product that doesn’t bond or match sheen can leave a shiny/dull “halo” around the repair.
– Mitigation: identify finish type (manufacturer label, prior work history, or documentation) before buying products.
– Over-sanding: sanding too aggressively can burn through the existing wear layer (especially on prefabricated/pre-finished floors) and force larger refinishing.
– Mitigation: feather only the edges of damage; use progressively finer abrasives.
– Ignoring moisture causes: patching a loose board or swollen area without addressing humidity leaks/subfloor problems leads to repeat failure.
– Mitigation: check plumbing leaks, HVAC condensate paths, and site drainage before closing up.
– Color blending surprises: stain and toner can look darker or lighter depending on the wood species, the filler brand, and existing floor age.
– Mitigation: do test blends; remember filler pores and aged wood do not respond identically.
– Safety/compatibility issues: some floor coatings require specific prep; confirm compatibility with the products you plan to use.
– Mitigation: follow manufacturer prep instructions and recoat windows.
– Warranty/tenant-risk concerns: if the rental has ongoing disputes, keep photos and document repairs so you can show what you did and why.
– Mitigation: maintain timestamps and before/after images for the exact affected zone.
Verdict: what’s worth DIY vs. when to call it in
Spot repairs are usually worth DIY in rentals when the damage is localized, the floor is stable, and you can match sheen and finish compatibility. Call a flooring pro when moisture damage is suspected, multiple boards are moving, or blending will require broad sanding/refinishing.
DIY is most reliable for small scuffs, controlled chips, and localized gouges where the finish type is known and the wood hasn’t softened.
If the repair area needs broad blending (or the floor likely needs full refinishing), professional refinishing is often faster and looks more consistent under tenant inspections.
Spot repairs can be very effective in a rental when the damage is localized and the floor finish type is clear—especially for scuffs, small chips, and controlled gouges. That said, skip DIY if you suspect widespread water damage, if multiple boards are moving, or if you can’t match the existing sheen/finish without large refinishing.
If the repair area will require sanding a broad section to blend, or if the floor likely needs full refinishing to look right, hiring a flooring pro is often the faster route to a “tenant-ready” outcome.
Quick checklist / scan-and-save
Use this checklist to keep repairs inspection-proof and minimize rework in rental turnovers.
– [ ] Identify: finish-only vs. wood damage vs. moisture/subfloor issue
– [ ] Confirm finish type (prefinished vs. site-finished) and sheen level
– [ ] Gather compatible repair products (filler/patch, stain/toner if needed, finish)
– [ ] Clean + prep carefully (no dust, no oily residue)
– [ ] Feather edges before filling/patching; level and sand only what’s necessary
– [ ] Cure time followed exactly before foot traffic
– [ ] Re-check color and sheen under normal lighting before declaring “done”
A “done” repair in a rental isn’t just flush and smooth—it’s consistent in sheen under typical viewing light (not just direct flashlight checks).
Sources
– ASTM moisture/testing standards referenced in this article:
– ASTM F1869-16 (calcium chloride moisture vapor emission test reporting units)
– ASTM F2170-19 (in-situ relative humidity probe approach)
– ASTM D4442-20 (wood moisture content calculation method)
If you tell me your floor type (prefinished vs. site-finished), the damage (scratch/gouge/gap/water stain), and the approximate size, I can outline the most likely repair path for your exact situation.
Frequently Asked Questions
What are the safest ways to repair hardwood floors in a rental property without damaging the unit?
Start by identifying the finish and the type of wood so you don’t use the wrong products on a rental’s existing surface. Use manufacturer-recommended cleaners and test any stain, filler, or finish in an inconspicuous spot before applying it broadly. For minor issues like scratches, use a hardwood floor repair kit or color-matched putty instead of sanding an entire area, which can create visible sheen differences. Keep repairs minimal, document what you did, and follow lease rules for floor modifications.
How do I fix scratches and dents on hardwood floors in a rental?
Clean the area first, then assess whether the damage is just on the finish or down into the wood. For surface scratches, try a wax or scratch-covering product and buff gently; for deeper dents, use a wood filler or repair putty that matches the floor tone. If the finish is worn, you may need to spot-recoat with a compatible finish to blend the repair with surrounding hardwood flooring. Avoid aggressive sanding unless the damage is extensive, since rentals often can’t tolerate large repairs.
How can I repair squeaky hardwood floors in a rental without redoing the entire floor?
Squeaks are often caused by boards rubbing or gaps in the subfloor, not the hardwood surface itself. In many cases, you can reduce squeaking by locating the problem areas and fastening the planks to the subfloor using the right screws or nails (ideally from an accessible crawlspace or basement). If you can’t access underneath, consider a professional assessment because drilling and anchoring techniques vary by floor construction. Minimizing surface work helps keep the repair “invisible” and reduces the chance of violating rental maintenance standards.
What is the best way to repair water-damaged hardwood floors in a rental?
The best approach depends on whether the water caused surface damage only or deeper warping; the key is to dry the area immediately and stop the source of moisture. For small spots, you may be able to clean, lightly sand the affected finish, and then refinish the area, but bubbling or cupping usually requires more involved repairs. If boards are warped, you may need to replace damaged planks to prevent ongoing movement and future damage. Since water issues can signal a larger plumbing or drainage problem, document the fix and address the underlying cause to prevent repeat damage.
Which repairs are typically allowed for landlords or tenants in a rental, and what should I document?
Minor cosmetic repairs—like scratch filling, patching small gaps, or using a color-matched hardwood floor repair kit—are often acceptable, but always check your lease or local tenant-landlord guidance first. Larger jobs like sanding and refinishing hardwood floors can require landlord approval because they permanently change the floor’s finish and color. Take photos before and after, keep receipts for materials, and write down the steps you took (cleaners used, repair products, drying times). Good documentation helps protect your security deposit and supports a smooth approval process for any landlord-permitted repairs.
📅 Last Updated: October 17, 2026 | Topic: How to repair hardwood floors in a rental property? | Content verified for accuracy and freshness.
References
- https://www.epa.gov/lead/renovating-repairing-and-painting-homeowners-and-renters
- https://www.epa.gov/lead/renovate-right-lead-based-paint
- https://www.cdc.gov/nceh/lead/prevention/renovation.htm
- https://www.osha.gov/woodworking/wood-dust
- Wood flooring
- Floor sanding
- Wood finishing
- https://scholar.google.com/scholar?q=hardwood+floor+repair+sanding+patching+rental+property Google Scholar
- https://scholar.google.com/scholar?q=hardwood+flooring+refinishing+repair+moisture+gaps+cupping Google Scholar
- https://scholar.google.com/scholar?q=lead+paint+sanding+wood+floors+renovation+renters Google Scholar