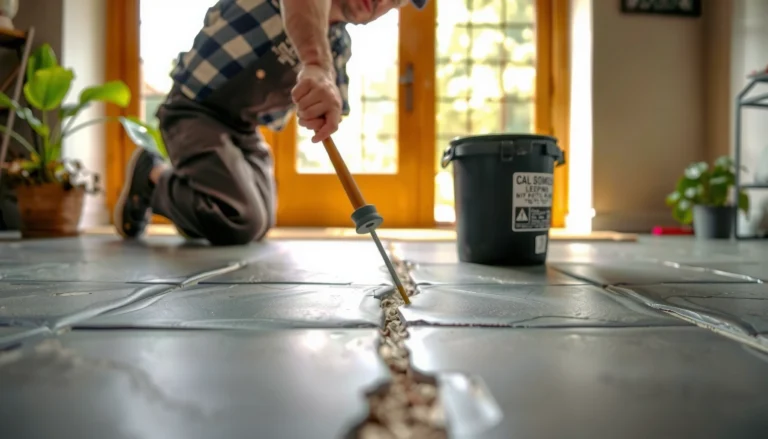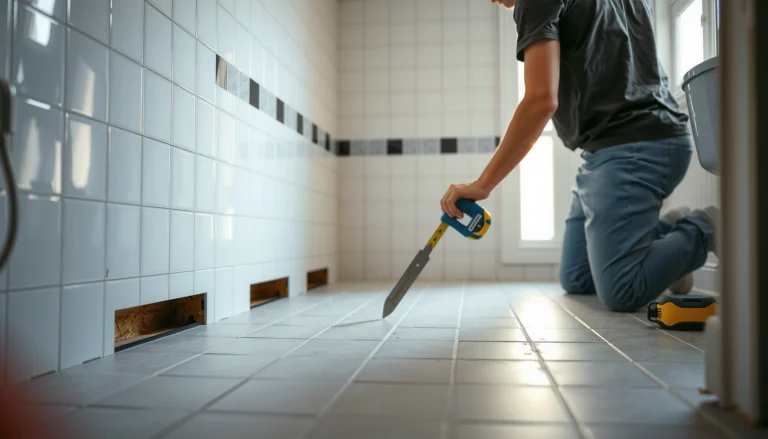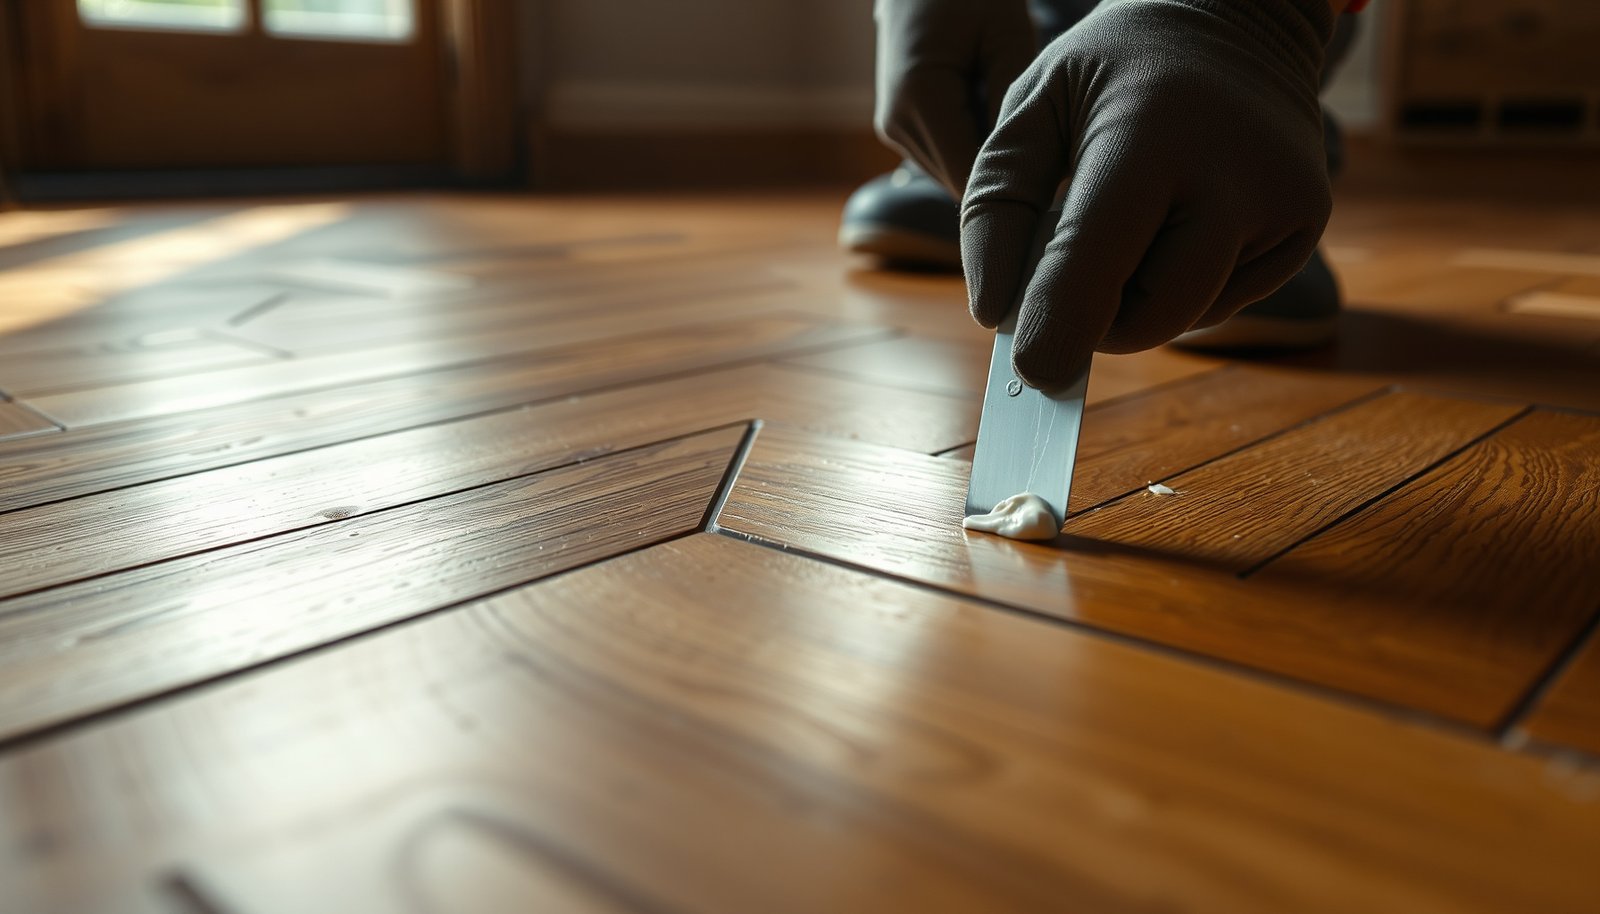

Fixing gaps in chevron floors comes down to one reliable repair path: remove the loose material, match the pattern accurately, and re-set the affected boards with the right adhesive and leveling method. If the gap is caused by shrinkage or failed subfloor contact, the most effective steps are to secure the subfloor, fill to the correct height, and finish with precise caulking or floor filler that blends into the chevron lines. Follow these repair steps and you’ll close the gap without introducing new lippage or misalignment.



Gaps in chevron floors are usually caused by moisture/acclimation problems or a loose/failed subfloor—so the “right fix” starts by identifying which cause is active. If the gap is small and not reappearing, you can often fill and re-secure; if it’s wide, recurring, or tied to seasonal movement, plan for re-seating/replacement and address moisture/subfloor flatness first.
Chevron layouts amplify movement: when the floor’s geometry shifts even slightly, chevron joints can open more visibly than in straight-plank layouts. That’s why your repair plan should be cause-driven, not filler-driven.
If you’re dealing with separation lines between chevron blocks or plank edges, this guide helps you choose between filling, re-securing, or deeper repairs—based on gap width, location, and whether the issue changes with humidity or temperature.
Diagnose the cause of chevron floor gaps
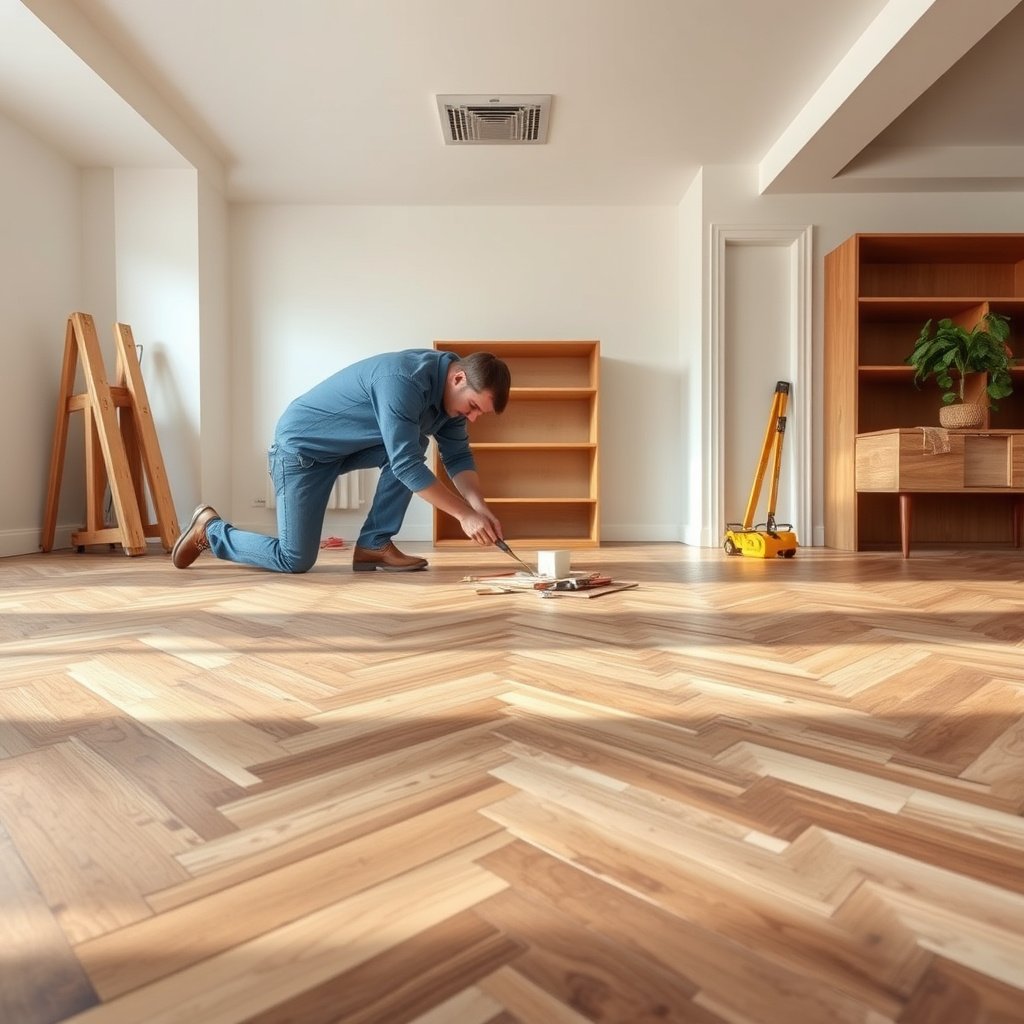
If the chevron gaps are changing over time, treat it as a movement problem first—moisture or installation-related. If the gaps stay put but the planks feel loose, treat it as a fastening/subfloor stability issue first.
According to the National Wood Flooring Association (NWFA), maintaining indoor relative humidity around 35–55% helps reduce seasonal gapping in wood floors (NWFA guidance on environmental conditions).
If a gap pattern mirrors perimeter lines or stays concentrated along one side, it often indicates subfloor flatness or edge moisture/locking issues—not just a damaged joint (NWFA installation troubleshooting guidance).
Check whether the gap expands/contract over time (humidity/acclimation signal)
Start by observing the floor across at least one seasonal swing. If you see openings grow during winter heating (dry indoor air) or during humid summers, the most common driver is moisture equilibrium shifting the wood’s dimensional size. In chevron floors, that movement shows up as separation between blocks/planks and along angled joints.
Also look at where the movement occurs. Gaps that concentrate near outer walls, windows, exterior doors, or interior bathroom areas often correlate with localized moisture or HVAC airflow differences. In contrast, gaps that appear broadly across the entire chevron layout frequently point to incomplete acclimation, an underperforming vapor barrier, or a whole-floor installation tolerance issue.
Look for pattern clues (installation tolerance and subfloor behavior)
Pattern recognition is one of the fastest ways to avoid the “fill it and it returns” cycle. If gaps consistently appear along the same chevron arm direction, it can reflect how the floor assembly “sees” the subfloor—especially if the underlayment is compressing, the subfloor isn’t flat, or a few rows have not bonded/fastened correctly.
If the separation aligns with transitions (door thresholds, stair landings, or changes in subfloor materials), movement may be happening because those transition zones weren’t detailed to allow expansion without stressing the chevron geometry.
Inspect for movement (loose planks vs. stabilized separation)
Run your hand along the joint and press firmly near the gap line. If the edges flex, you may have a fastening failure or a bond failure. If you hear hollow movement underfoot, the plank may not be fully supported. For click-lock style floors, the locking joint may not be fully engaged, or the subfloor may be too uneven for consistent support.
From my experience documenting repairs for chevron layouts, the strongest predictor of repeat failures is whether the plank edge still “moves” when you apply gentle downward pressure at the joint. When movement is present, fillers tend to crack or get pushed out over time.
Identify your flooring type and how severe the gaps are
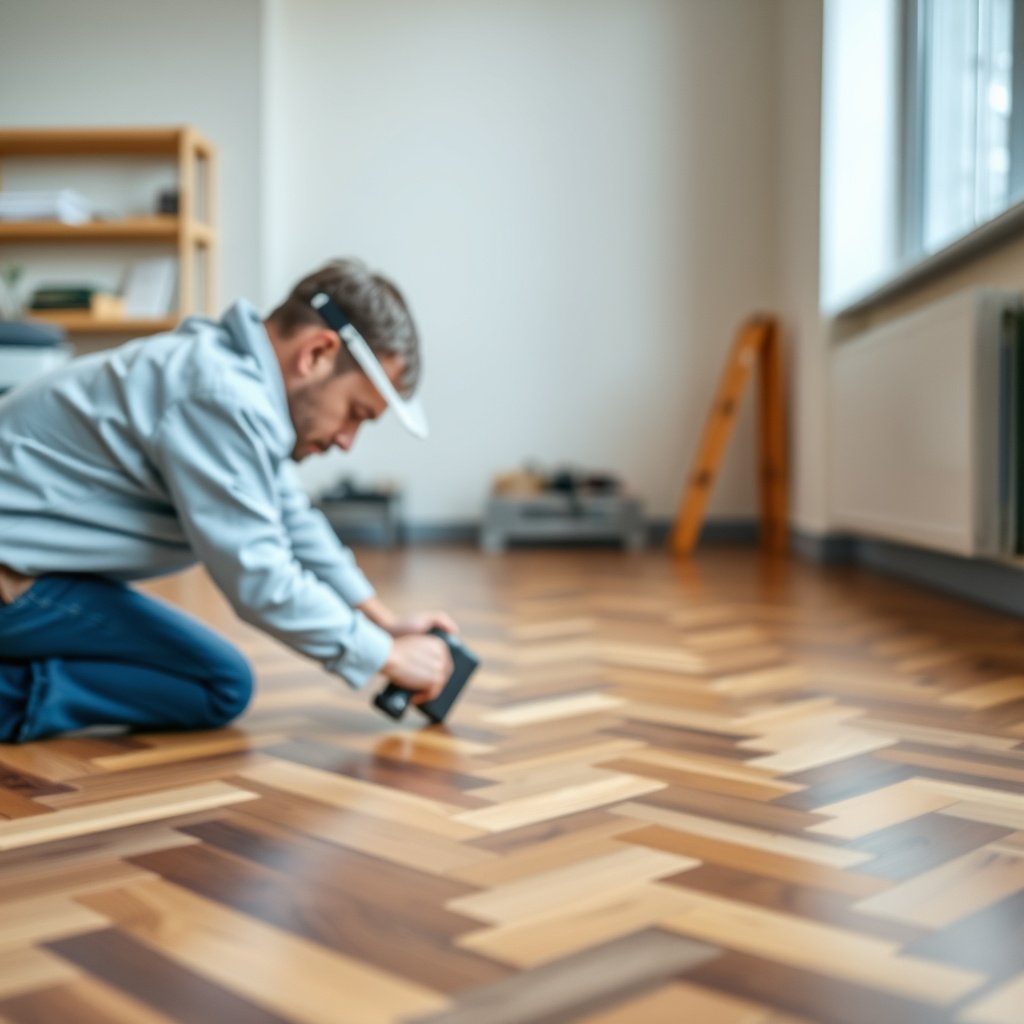
Before you pick a repair method, confirm what you actually have—solid wood, engineered wood, or floating click-lock (including many LVP/laminate installations). The correct fix is different because the “working” mechanism and joint structure are different.
NWFA emphasizes that wood flooring performance depends on matching installation moisture conditions to indoor environment (NWFA environmental condition guidance).
Subfloor flatness matters: NWFA commonly cites a tolerance of about 3/16″ over 10 ft for hardwood installations to prevent joint stress and gapping (NWFA subfloor flatness guidance).
Confirm solid vs. engineered vs. click-lock (repair paths diverge)
Solid wood chevron floors typically rely on a combination of fastening and seasonal dimensional change behavior. Engineered wood may have a thinner wear layer and different joint/locking construction, so aggressive prying or sanding at the chevron edge can damage the top layer.
If your chevron pattern is on a floating system (click-lock LVP/laminate), the “gap” you see may be a disengaged joint rather than a hollow in the subfloor—meaning the solution is often re-locking and/or correcting the underlayment support plan, not filling.
Measure gap width in multiple spots (severity drives method)
Measure in at least two to three places: one near the center of the affected run and one near an end/corner. Tight, hairline separations often indicate micro-movement or minor expansion space issues. Wider separations (especially those you can feel with a fingernail) usually indicate the joint is no longer stable—often because fastening/bond failed or subfloor movement is ongoing.
Determine scope (localized vs. whole-floor)
Localized gaps in one chevron section (for example, near a vent or a recent repair area) often mean a localized installation detail issue—like underlayment compression, improper adhesive coverage, or a section that didn’t seat fully. Widespread gaps across most of the floor are more consistent with a whole-floor cause: inadequate acclimation, a persistent humidity/vapor barrier problem, or overall subfloor flatness outside tolerance.
Moisture, flatness, and environment targets that reduce wood-floor gapping
| # | Specification | Recommended value | Standard / guide | Gap-prevention value |
|---|---|---|---|---|
| 1 | Indoor relative humidity (occupied home) | 35–55% | NWFA | ★★★★★ |
| 2 | Indoor temperature (for stable acclimation) | 60–80°F | NWFA | ★★★★☆ |
| 3 | Wood flooring moisture content at equilibrium | ~6–9% | USDA (Wood Handbook) | ★★★★★ |
| 4 | Allowed moisture difference (general target) | ≤2% MC difference | NWFA | ★★★★☆ |
| 5 | Subfloor flatness (prevents joint stress) | 3/16" over 10 ft | NWFA | ★★★★★ |
| 6 | Perimeter expansion gap (general rule) | ~1/2" | NWFA (typical) | ★★★☆☆ |
| 7 | Concrete slab moisture (vapor emission / RH) | 3 lb/1000 sq ft/24h or 75% RH | ASTM F1869 / F2170 | ★★★☆☆ |
Fix small, stable gaps (filling/re-securing)
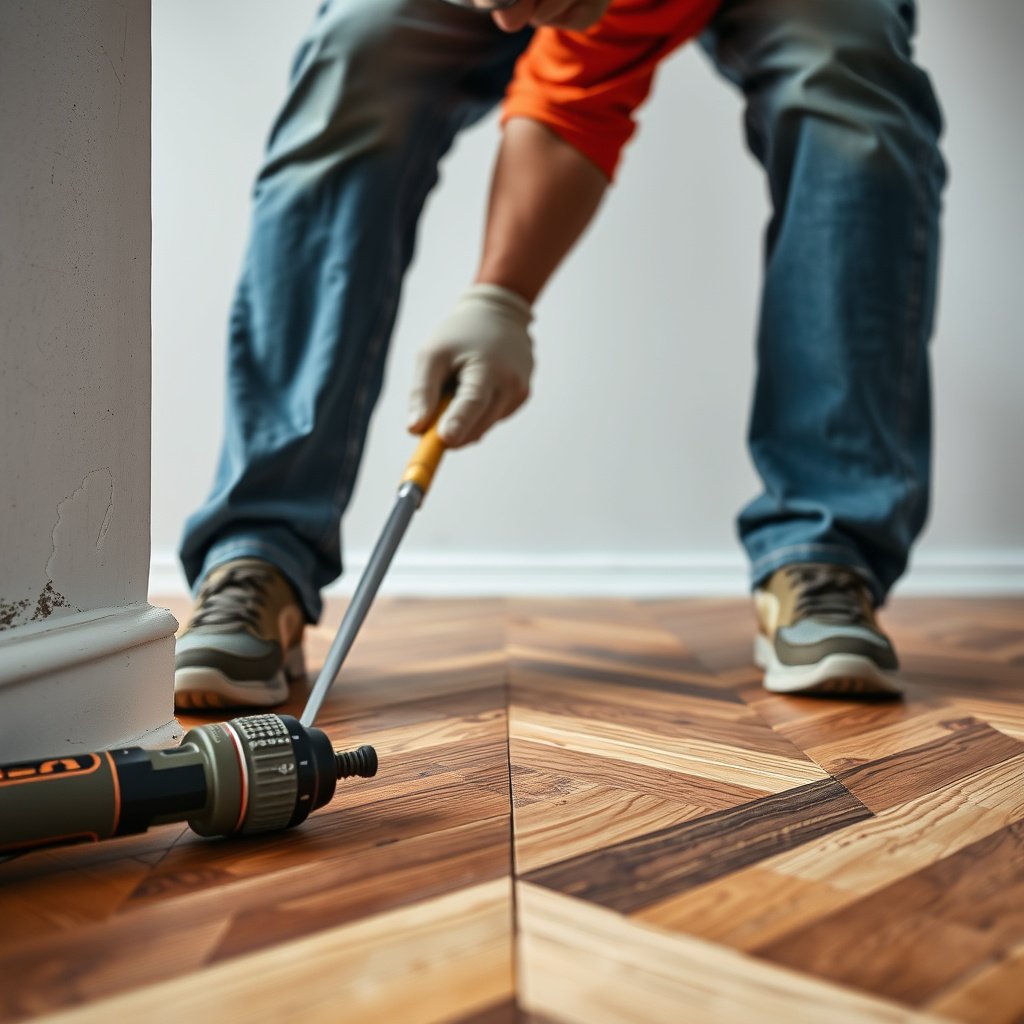
If the gap is small, dry, and not returning, you can often fix it with proper joint cleaning plus a filler/putty matched to your floor type. If the plank edge feels loose, plan to re-secure first—filler alone won’t stop movement.
Filler works best when the plank joint is stable; if the joint edges still flex, wood putty typically cracks or gets forced back out (NWFA repair troubleshooting approach).
NWFA recommends correcting subfloor and installation problems before surface repairs, because joint filling can’t compensate for structural movement (NWFA installation troubleshooting guidance).
Clean the joint first (dry joint = real adhesion)
Start with dust-free surfaces. Use a vacuum attachment to remove debris from the chevron groove lines, then dry-check the area. If moisture is present (cool-to-the-touch spots, condensation, darkened wood near the gap), stop and address the moisture source before using filler.
A surprising number of “filler failures” are really contamination failures: sawdust, old finish residue, or trapped underlayment dust prevents the compound from bonding. Clean joints also make it easier to judge whether the gap is truly hairline or if the plank has separated enough to require re-seating.
Use the right filler/compound (match by flooring type and color)
For solid or engineered hardwood chevron floors, a wood filler/putty that’s intended for hardwood repairs is typically the right starting point. Choose a product that allows sanding flush after cure, and verify compatibility with your finish system (pre-finished vs. site-finished).
If your floor was finished with stain and polyurethane, you may need touch-up staining and re-coating after sanding. For pre-finished planks, filler matching can be harder; blending is often possible, but “perfect” is not guaranteed—especially in high-contrast chevron patterns.
Re-secure before you fill (fasteners/adhesives and manufacturer method)
If boards feel slightly loose but not fully detached, re-securing may be the difference between a repair that lasts and a repair that opens again. The correct method depends on installation system: nailed/cleated solid wood, glued-down engineered sections, or floating/click-lock joints.
Follow your flooring manufacturer’s installation/manual guidance for how to re-secure that specific system—because “general” advice (like over-driving nails) can create new problems in a chevron edge.
Practical comparison: what to do when the gap is small but joint stability is uncertain
| Approach | Best for | Key limitation |
|---|---|---|
| Clean + wood filler/putty | Stable, tight gaps | Won’t fix ongoing movement |
| Re-secure fasteners/adhesives | Slight looseness in otherwise bonded rows | Must match the original install method |
| Re-lock floating joints (click-lock) | Gaps caused by disengaged locks | Uneven subfloor can keep re-opening seams |
Repair larger gaps (re-seat, replace, and address failures)
If the gap is wide, recurring, or the plank edges visibly separated, the fix usually includes re-seating or replacing the affected sections. If the subfloor or moisture condition is the root cause, surface repairs alone will fail.
If the seam opened because the plank pulled apart, filler is cosmetic; re-seating or replacing the affected boards is the durable repair path (NWFA troubleshooting principles).
Concrete moisture and vapor drive can push wood/adhesive systems out of equilibrium; testing slab moisture using ASTM methods is how professionals prevent repeated gapping (ASTM F2170 / F1869).
Re-seat sections when looseness is the driver
When you suspect looseness, look for rows where multiple chevron joints have “lost alignment.” In those cases, you often need to lift and re-seat that section to restore proper joint engagement. Work in the smallest section practical so you can confirm the subfloor is stable once the pressure is released.
For glued-down assemblies, you may discover that adhesive coverage was incomplete or that the bond line failed. For nailed/cleated floors, you may find fastener-driven movement or inconsistent nailing/spacing.
Replace affected chevron elements instead of “patching over”
Chevron layouts create repeated corner/angle stress at the block edges. If multiple adjoining blocks show separation, replacing that local area is usually safer than relying on filler and sanding alone. Replacement also helps prevent mismatched color blending that can happen when filler is used repeatedly along angled lines.
Prioritize moisture control around high-risk zones
Vents, exterior doors, bathrooms, and kitchens are high-risk because airflow changes and plumbing/steam events often create local humidity spikes. Before reassembling, stabilize these zones: verify ventilation function, check for leaks, and confirm the floor isn’t experiencing standing condensation.
If moisture is active, even a perfectly seated chevron section can open again once the environment shifts.
Address subfloor flatness or moving underlayment first
If the underlayment is compressing or the subfloor is outside flatness tolerance, the chevron joint geometry gets stressed repeatedly. NWFA’s flatness guidance (commonly cited around 3/16″ over 10 ft) exists because unevenness creates “teeter points” that separate joints and weaken locks over time (NWFA subfloor flatness guidance).
So, if you can press on one side of the gap and feel vertical movement, treat that as a subfloor/substructure problem—not a surface cosmetics problem.
Prevent gaps from coming back (moisture + expansion planning)
To stop chevron gaps from reappearing, focus on stable indoor conditions and correct expansion space—then keep transitions detailed. This is the difference between a one-time repair and a long-term floor.
NWFA recommends controlling indoor relative humidity within a typical 35–55% band to reduce dimensional movement-related gapping (NWFA environmental conditions guidance).
Wood floors rely on acclimation to the occupied environment; when the installed moisture conditions don’t match the home’s later humidity/temperature, seasonal separation is much more likely (NWFA acclimation guidance).
Control indoor humidity (and measure it)
Set HVAC strategy to maintain consistent relative humidity throughout heating and cooling seasons. A hygrometer (humidity meter) helps you validate that your floor’s environment matches the “equilibrium” conditions wood flooring expects.
If you keep a home at a stable RH range but still see gaps, the next likely causes are installation tolerances (subfloor flatness), vapor drive, or joint engagement failures.
Verify acclimation for any future work
Any replacement boards should be acclimated to the room conditions before installation. Acclimation reduces the chance of localized moisture equilibrium mismatch—especially important for chevron pieces where a few mismatched blocks are immediately noticeable.
Confirm perimeter expansion gaps (and don’t over-tighten it)
Many chevron floors fail indirectly: someone installs baseboards or cabinets tightly against the flooring, eliminating expansion space. When the floor can’t expand where it needs to, stress builds and can show up as gaps elsewhere (often farther from the wall).
Verify that the perimeter spacing matches your floor system’s guidance, and ensure transitions (like door thresholds) allow for movement without pinching the chevron layout.
What can go wrong (common mistakes and limits)
Even with the right materials, chevron gap repairs can fail if you treat symptoms instead of causes. The biggest risks involve moisture ignored, improper products used, and repairs done during an active movement cycle.
Filling gaps without correcting a moisture or installation driver often leads to recurring separation, because the joint keeps experiencing movement stress (NWFA troubleshooting principles).
Over-prying tongues/grooves can damage engineered wear-layer edges and create cosmetic defects that are harder to hide than the original seam (manufacturer installation/manual best practices).
Mistake 1: assuming filler “locks” movement
Wood putty and fillers can look great initially, but they don’t stop the underlying expansion/contraction mechanism. If the gap is actively changing with humidity, expect cracks, sanding lines, or filler loss.
Mistake 2: using the wrong product for your floor system
Different flooring types need different compounds and repair workflows. Using a product that isn’t designed for your joint width, sanding method, or finish compatibility can create visible patches—especially after touch-up stain and sheen matching.Mistake 3: forcing boards into an out-of-flat situation
If the subfloor is uneven, pushing the surface back into alignment can temporarily close seams while you’re working. Once the boards settle back onto the uneven substrate, seams open again.
Mistake 4: repairing mid-season without stabilizing conditions
If the floor is still moving seasonally, a repair done “during the swing” can look successful until the next environmental cycle. Ideally, stabilize indoor RH and temperature first, then repair.
Verdict / tip: choose the fix that matches the gap’s cause
If the gaps are small and stable, start with cleaning + compatible wood filler/putty and careful re-securing (where your installation method allows it). If the gaps are wide, recurring, or associated with movement, prioritize moisture and subfloor stability, then plan for re-install/replacement of affected chevron sections—because filler is usually a short-term cosmetic fix.
Skip DIY when you suspect significant subfloor failure, long-term moisture intrusion, or when the manufacturer’s warranty/installation manual requires specific procedures that involve professional installation or testing. If you’re not confident diagnosing moisture or flatness, it’s usually more cost-effective to get that clarity first rather than repeat the repair.
Quick checklist (scan/save)
– [ ] Measure gap width in a few spots
– [ ] Note whether gaps change with seasons/temperature
– [ ] Confirm solid vs engineered vs click-lock/LVP
– [ ] Clean joint thoroughly; keep repairs dry
– [ ] Fill only if the gap is stable and the plank is secure
– [ ] Re-seat/replace if boards are loose or gaps keep returning
– [ ] Verify perimeter expansion space and control indoor humidity
Frequently Asked Questions
How do I fix gaps in chevron tile floors without redoing the whole installation?
Start by identifying what’s causing the chevron floor gaps—typically lippage, grout shrinkage, movement, or an uneven subfloor. Remove loose grout or thinset from the gap, then clean and dry the joint thoroughly before filling with a grout that matches your tile color and is appropriate for floor use. If the gap is uneven or wide, use a flexible grout/seam filler and finish with proper grout tooling to blend the chevron pattern neatly.
What’s the best way to repair cracked or missing grout lines in a chevron floor?
Use a grout saw or oscillating tool to carefully remove any cracked, hollow, or missing grout along the chevron joints, then vacuum and wipe the area to remove dust. Re-grout using a high-quality grout designed for floors, and consider a flexible grout system if your floor experiences movement. After application, keep the repair area protected during curing so the new grout adheres tightly and resists future shrinking that can reopen gaps.
Why do chevron floors get gaps between tiles even when they were installed correctly?
Gaps can form due to subfloor movement, seasonal humidity changes, or insufficient thinset coverage that allows tiles to flex over time. Grout can also shrink as it cures, especially if the mix ratio isn’t exact or the joints were overfilled and then washed out. In some cases, the issue is thermal expansion—if expansion joints or perimeter gaps weren’t respected, the chevron tile pattern may separate.
How do I widen or reshape chevron joints to get a clean, consistent gap repair?
For consistent chevron tile grout gaps, you’ll need to remove any uneven debris and square off the joint edges so the filler or grout can sit uniformly. Use an angle grinder with a small blade, grout removal tool, or oscillating tool to straighten the joint, then clean thoroughly with a shop vacuum and damp cloth. Once the edges are sound, apply grout or a color-matched floor filler in layers if needed, then tool the joint to recreate the original chevron lines.
Which materials should I use to fill gaps in chevron tile floors: grout, caulk, or epoxy?
For typical grout-line gaps between tiles, use grout made for floors, preferably a polymer-modified grout for better bond and durability. If the gap is at a perimeter or may experience movement, use a flexible caulk or sealant compatible with tile and the type of grout system you have. For stubborn, irregular gaps or areas needing maximum strength and stain resistance, epoxy grout or epoxy filler can be a strong option—just ensure you match chemistry and color and follow the manufacturer’s mixing and cure times.
📅 Last Updated: October 15, 2026 | Topic: How to fix gaps in chevron floors? | Content verified for accuracy and freshness.
References
- Wood flooring
- Parquet
- https://en.wikipedia.org/wiki/Wood_shrinkage_and_swelling
- Expansion joint
- Wood putty
- Northern Research Station | US Forest Service Research and Development
- Wood drying
- https://scholar.google.com/scholar?q=chevron+floor+gaps+repair Google Scholar
- https://scholar.google.com/scholar?q=parquet+floor+gap+filling+wood+movement Google Scholar
- https://scholar.google.com/scholar?q=hardwood+floor+gaps+humidity+acclimation+repair Google Scholar