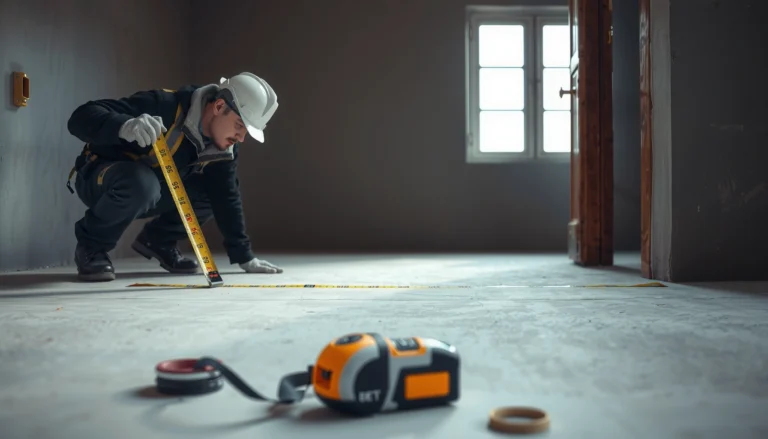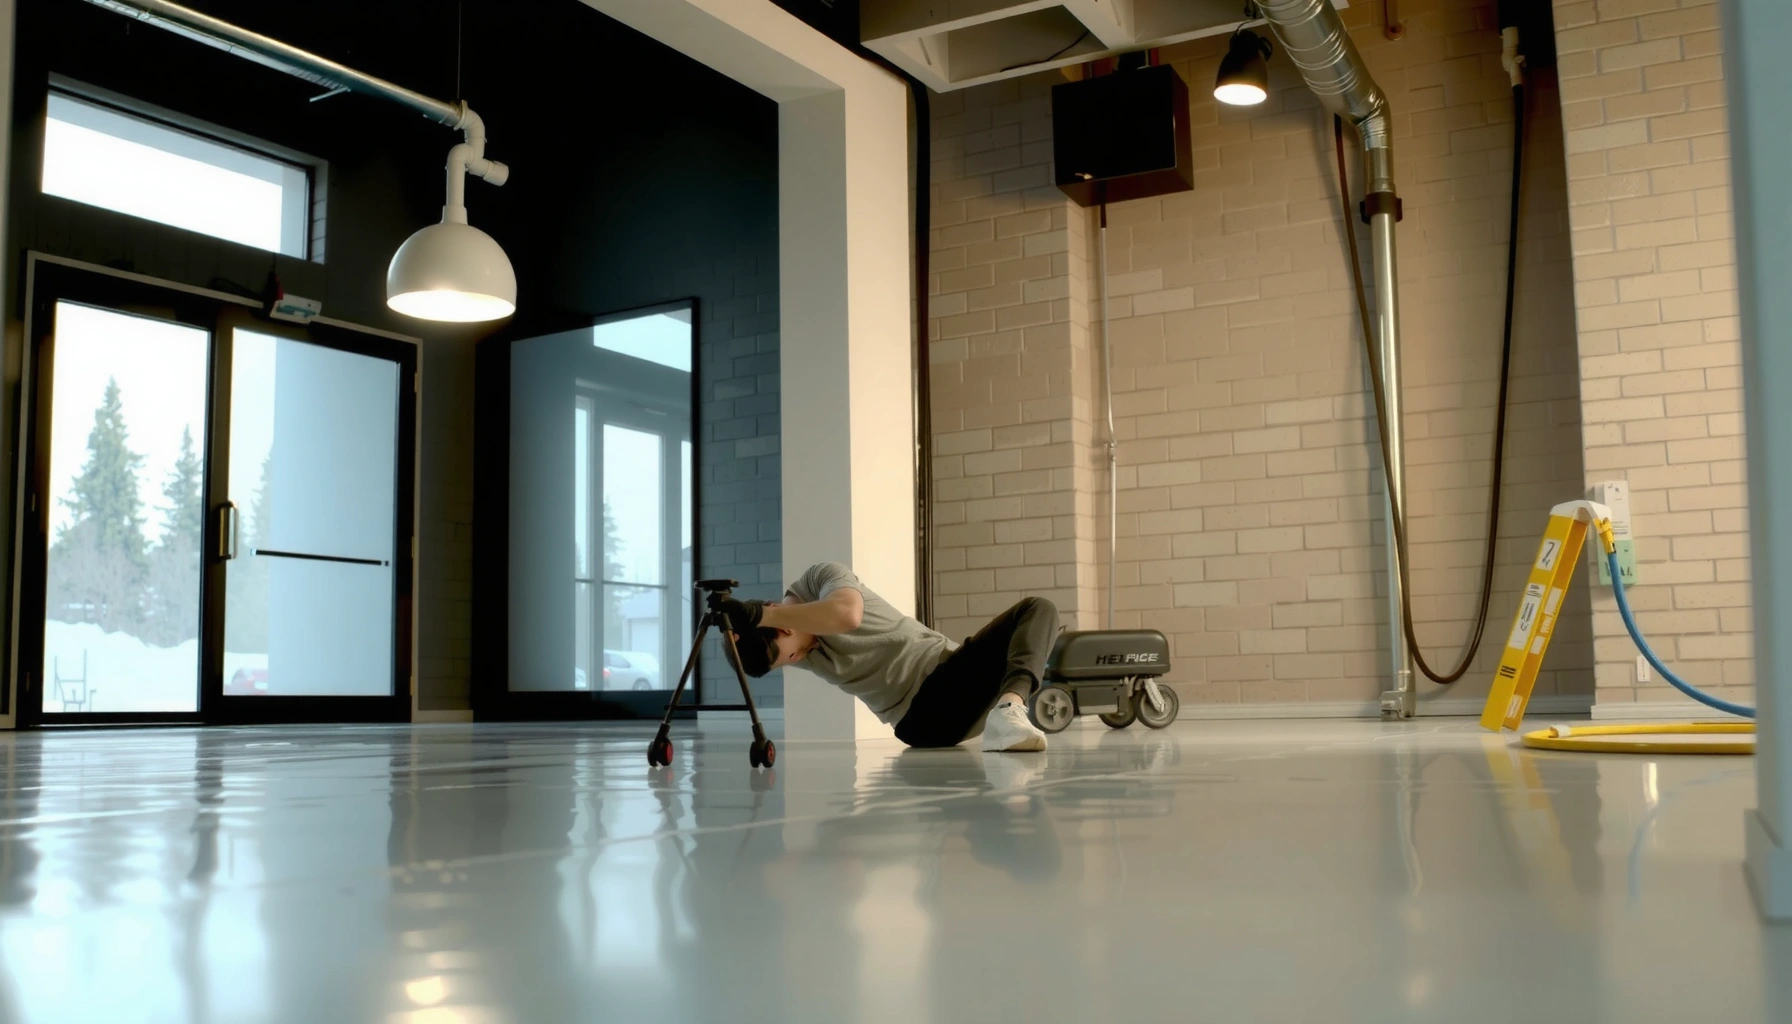

How to install polyaspartic floors in a basement? If you want the fastest, most water-resistant option that can handle concrete moisture and everyday impact with minimal downtime, polyaspartic is the clear winner. This guide walks you through the exact prep, mixing, application, and curing steps needed to get a smooth, durable finish in a basement—without guesswork.
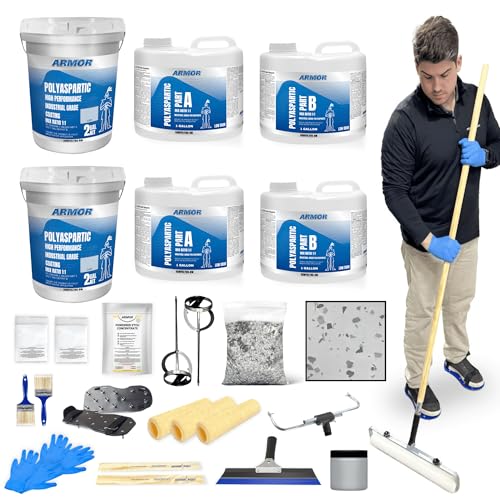



Polyaspartic basement floors install successfully when you (1) verify and control slab moisture, (2) grind to the correct concrete profile and remove every contaminant, and (3) mix/recoat exactly within the manufacturer’s timing windows. Do those three things and you dramatically reduce the most common failures—peeling, fisheyes, bubbles, and a dull uneven finish. Below is the practical, install-minded flow from moisture checks through primer, polyaspartic coats, and topcoat.
If your basement has concrete slab issues (dusting, stains, cracks, damp areas, or an uneven surface), this guide is for you. It’s most applicable when you’re aiming for a seamless, durable coating system and can work in a garage-like environment with manageable temperature and ventilation.
Confirm basement conditions (moisture, temperature, and ventilation)

– Check concrete moisture and slab conditions first—polyaspartic performance depends heavily on whether moisture vapor or dampness is present.
– Plan for workable temps and fresh air; polyaspartic products often require tighter environmental control than many other coatings.
– If your slab is chronically wet, address drainage/groundwater or use an approved moisture-mitigation approach before coating. [ADD: specify moisture test method/product your system requires]
Polyaspartic flooring performance is strongly tied to concrete moisture vapor emissions and the manufacturer’s allowable test results.
The typical purpose of ASTM moisture tests (such as ASTM F1869 or ASTM F2170) is to quantify moisture vapor emission rate in defined units for coating acceptance.
Basements that cannot maintain the manufacturer’s temperature range during cure and recoat windows increase the risk of surface defects and adhesion problems.
According to ASTM F1869, the test method measures moisture vapor emission rate from concrete in lb/1000 ft²/24 h (2016). According to ASTM F2170, it measures relative humidity at a specified depth and reports results in % RH or derived units (2019). (Exact acceptance criteria vary by product—use your chosen system’s documentation.)
Also according to ICRI 310.2, concrete surface profile (CSP) is characterized from CSP 1 (light) to CSP 9 (heavy), and most coating systems specify a target CSP range rather than “whatever grinding looks good.” (2016)
Moisture-mitigation note (important): If you detect active dampness (dark staining, recurring wet spots, musty odor after rain events), a coating may fail even if it looks perfect at install. In those cases, you’ll need an approved mitigation layer (for example, an epoxy moisture barrier, a vapor-mitigation system, or a patch-and-seal approach) that your polyaspartic manufacturer explicitly allows.
[ADD: recommended moisture mitigation product approach that your specific polyaspartic system approves]
Prepare the concrete slab (the step that determines success)
Polyaspartic systems succeed or fail based on surface prep more than on marketing claims. Your goal is a clean, sound concrete substrate with the right profile for mechanical bond and a dust-free surface for chemical compatibility.
– Remove contaminants: grind off paint, sealers, curing compounds, oil, and any loose/dusty concrete until you have clean, sound substrate.
– Create the right surface profile and clean thoroughly (vacuum after grinding; avoid “sweeping” fine dust into the pores).
– Patch and level defects: fill cracks/holes/spalls and skim uneven areas so the base coat doesn’t telegraph imperfections through the topcoat. [ADD: what patch/skim material matches your polyaspartic system]
Grinding to a specified CSP target is preferred over chemical “prep” because it creates a consistent mechanical bond surface.
Vacuuming after grinding matters because dry concrete dust can cause fisheyes and weak adhesion under slick polymer coatings.
Skimming or leveling before the polyaspartic build reduces telegraphing of pits, seams, and patch edges into the final finish.
From the field, the prep sequence we follow for basements is practical and repeatable:
1) Strip first (mechanical removal of paint/sealer). Solvent cleaning alone rarely removes deep pore contamination.
2) Grind to profile using a grinder and appropriate diamond tooling to reach the target CSP.
3) Vacuum thoroughly with HEPA-rated equipment if available.
4) Spot repair cracks, holes, and spalls with patch materials that are compatible with the coating system’s primer and base coat.
Patch material compatibility (you must match your system):
– For static, non-moving cracks: use the polyaspartic system’s approved epoxy crack filler or patch compound (often 2-part, sandable, and designed for structural/adhesive bond).
– For pitting/spalls: use an approved cementitious or polymer-modified repair mortar that allows recoat without weakening bond lines.
[ADD: exact patch/skim product type (e.g., 100% solids epoxy patch vs. polymer-modified cement skim) your polyaspartic system allows]
Surface profile target and why it matters (quick reference)
If you undershoot CSP (too smooth), you can get weak adhesion. If you overshoot (too aggressive), you can create crater-like areas that look like pinholes or “sparkle” defects after cure.
Concrete Surface Profile (ICRI CSP) Targets for Polyaspartic-Like Coatings
| CSP | Profile description | What you’ll feel | Polyaspartic bond risk | Suitability rating |
|---|---|---|---|---|
| 1 | Very smooth, lightly prepared | Minimal texture | Higher (mechanical bond limited) | ★★☆☆☆ |
| 2 | Light grinding | Slight tooth | Moderate | ★★★☆☆ |
| 3 | Medium profile | Distinct texture | Lower | ★★★★☆ |
| 4 | Coarse, “toothed” surface | High macrotexture | Lowest for many coatings | ★★★★★ |
| 5 | Very coarse (heavy CSP) | Aggressive texture | Variable (surface leveling may be needed) | ★★★★☆ |
| 6 | Extremely aggressive profile | Deep valleys visible | Higher if not skimmed | ★★★☆☆ |
| 7+ | Very heavy blast profiles | Cratered texture | High risk of texture defects | ★★☆☆☆ |
Prime/base coat and install the polyaspartic system correctly
Polyaspartic flooring should be installed as a system, not as a “mix a product and roll it” job. Your primer/base coat sets the adhesion foundation, and your polyaspartic mixes must be accurate and applied within the defined recoat windows.
– Apply the recommended primer (or base coat) at the specified coverage rate and only after the prepared surface meets the product requirements.
– Mix polyaspartic components accurately (correct ratio, proper mixing order/time) and avoid partial “eyeballing” of quantities.
– Work in manageable sections: polyaspartic can be fast-reacting, so stage tools/materials and maintain consistent application technique.
Polyaspartic coatings rely on correct Part A/Part B ratio and mixing procedure to achieve the intended cure and film build.
Manufacturers often specify exact coverage rates because under-application can lead to weak adhesion and over-application can cause cure and finish problems.
Staging tools and working in defined sections helps maintain consistent film thickness before material starts to gel.
A practical “system install” mindset looks like this:
1) Confirm coverage and spread tools before mixing anything—trowel/roller/brush tools should be ready and sized for your crew speed.
2) Prime/base coat exactly per documentation. If you run short, don’t try to “make it up” later; film build and adhesion can change.
3) Mix accurately. Use the exact ratio and mix time the manufacturer specifies, scraping sides/bottom and maintaining consistent technique across batches.
4) Maintain a wet edge so you don’t trap texture differences between passes.
From my experience coordinating installs (and troubleshooting callbacks), most “mystery” defects trace back to one of three issues: (a) poor substrate cleanliness, (b) incorrect moisture conditions, or (c) mix timing/ratio mistakes. I can’t replace the manufacturer datasheet for your specific kit, so plan your day around the cure and recoat instructions you’re using.
Topcoat + finish (for appearance and long-term durability)
The topcoat determines your final look and a large part of your abrasion and stain resistance. Apply it at the correct thickness and within the recoat/overcoat windows so the film cures into a uniform, defect-free surface.
– Apply the polyaspartic topcoat in the required thickness/coat plan so it cures evenly and resists scuffs, chemicals, and staining.
– Control application conditions to reduce surface defects (fisheyes, bubbles, uneven sheen): keep surfaces clean and avoid airflow blowing dust onto wet coating.
– Plan recoat timing based on the manufacturer’s window—missing it can require sanding/extra prep or can affect adhesion. [ADD: actual recoat window from your product datasheet]
Surface defects like fisheyes often result from contamination or surface energy issues, which start before the topcoat step.
Missing the manufacturer’s recoat window can force extra mechanical prep to restore adhesion between coats.
Topcoat sheen uniformity depends on consistent film build and a stable environment during cure.
Recoat window reality check
Polyaspartic systems are commonly “fast,” but “fast” still has rules. You should pull your exact recoat times from the datasheet and set alarms for them.
[ADD: exact recoat window from your product datasheet]
If you’re doing a basement, ventilation is critical, but it must be controlled: too much airflow can bring dust; too little airflow can slow cure or trap solvent odor longer than expected.
What can go wrong (and how to prevent it)
Most failures come from moisture, incomplete prep, or missing install timing rules. If you treat moisture testing, surface preparation, and coat scheduling as non-negotiables, you avoid most callbacks.
– Moisture problems: blistering, cloudy finish, or adhesion loss—usually from coating over a damp slab or skipping an approved mitigation step.
– Surface prep failures: peeling or rough texture—commonly caused by inadequate grinding/profile, leftover contaminants, or not removing dust.
– Mixing/application mistakes: fisheyes, streaks, or uneven cure—often due to incorrect mix ratio, rushing recoat timing, or applying in poor ventilation/temperature conditions.
Blistering and cloudy appearance are common warning signs of moisture vapor issues behind the coating film.
Peeling is frequently linked to contaminated substrate, insufficient CSP, or inadequate primer/base coat coverage.
Inconsistent mixing ratios can produce streaks, soft spots, or unpredictable cure behavior in polyaspartic coatings.
Quick compare: DIY vs. professional planning
If you’re deciding whether to tackle the job yourself, your biggest risk isn’t application skill—it’s meeting environmental and recoat timing requirements consistently.
| Factor | DIY install | Pro install |
|---|---|---|
| Moisture testing | Depends on test equipment access and correct pass criteria interpretation. | More likely to follow a documented test/pass threshold tied to the exact system. |
| Recoat timing | Easy to miss if scheduling slips or mixing batches run long. | Typically managed via staging and batching discipline. |
| Defect troubleshooting | Requires diagnostic steps (contamination, profile, moisture) before fixing. | More likely to identify root causes fast and avoid repeat failures. |
Verdict / tip (when polyaspartic is a good choice—and when it isn’t)
Polyaspartic basement floors can be a strong option when you can control moisture, grind to spec, and hit recoat windows consistently. Don’t use polyaspartic (or pause and reassess) if you can’t test/address moisture, your slab needs major structural repair, or you can’t meet the product’s fast scheduling and mixing constraints.
– Skip this approach (or pause and reassess) if you can’t reliably test/address moisture, your slab needs major structural repair, or you don’t have the ability to work within the product’s fast recoat/mixing constraints. [ADD: recommendation for DIY vs pro based on your shop/tools and the specific product you’re using]
Polyaspartic is best treated as a performance system: it is not just one coat, but a sequence that depends on substrate conditions and timing.
If moisture conditions are unknown or beyond the system’s acceptance criteria, any coating build is at higher risk of failure.
A clean, correctly profiled concrete surface and accurate component mixing are the two most controllable variables for consistent finish quality.
Downside to plan for: basements often require extra ventilation planning and humidity management. Even if installation goes well, basements with recurring water intrusion can undermine any coating system. If you’re unsure, test first—small costs early are cheaper than full rework.
Quick checklist (scan before you start)
– [ ] Moisture condition confirmed (test method + pass criteria) — [ADD: source/product requirement]
– [ ] Concrete ground to clean, sound surface; vacuumed after grinding
– [ ] Cracks/holes patched/leveled with compatible materials — [ADD: patch product]
– [ ] Primer/base coat applied within required timing and coverage
– [ ] Polyaspartic mixed by exact ratio and mixed thoroughly
– [ ] Coats applied in sections; recoat window followed exactly
– [ ] Topcoat finished consistently; dust-free curing environment planned
FAQ
Do I need to test basement concrete moisture before installing polyaspartic?
Yes—most coating failures trace back to moisture or contaminants. Use the moisture test method and acceptance criteria specified by your polyaspartic system. [ADD: name of the test method your chosen manufacturer specifies]
What temperature should the basement be during installation?
Follow the manufacturer’s temperature range for the specific polyaspartic product and primer. If you can’t maintain that range (especially overnight), plan extra controls or reconsider timing. [ADD: exact temperature range from your datasheet]
How long does polyaspartic installation take?
It depends on coat schedule, recoat windows, and how large your work area is. For accurate times, use the cure and recoat guidance in the manufacturer’s instructions for your exact product. [ADD: cure/recoat times from datasheet]
Can I install polyaspartic over old paint or sealers?
Usually not unless the existing coating is specifically approved by the manufacturer and is fully bonded and properly prepared. In most cases you’ll need mechanical removal (grinding/sanding) to reach sound concrete. [ADD: what your system allows]
Sources
– [ADD: Manufacturer product datasheet/spec sheet for your specific polyaspartic flooring system (primer/base/topcoat, coverage, recoat windows, and prep requirements)]
– [ADD: Manufacturer application instructions for surface prep and environmental limits (temperature/humidity/ventilation)]
– [ADD: Manufacturer guidance on concrete moisture testing/acceptance criteria, if included in the system documentation]
– ASTM F1869 — Standard Test Method for Measuring Moisture Vapor Emission Rate of Concrete Subfloor Using Anhydrous Calcium Chloride (2016)
– ASTM F2170 — Standard Test Method for Determining Relative Humidity in Concrete Floor Slabs Using in situ Probes (2019)
– ICRI 310.2 — Selecting and Specifying Concrete Surface Preparation for Sealers, Coatings, and Polymer Overlays (2016)
If you tell me the exact polyaspartic brand/system you’re using (primer/base/topcoat product names) and your basement slab condition (any cracks, damp smell, previous coatings), we can tailor the steps to match the correct prep, moisture approach, and coat timing.
Polyaspartic can produce a clean, durable basement floor—but only when your prep is aggressive enough to reach sound concrete, your moisture risk is measured (not guessed), and your recoat/mixing windows are treated as strict schedule constraints. If you control those variables, you’ll get the seamless finish you want while avoiding the most common failure modes that show up months later.
Frequently Asked Questions
What are the key steps to install polyaspartic flooring in a basement?
Start by thoroughly prepping the concrete: remove paint, sealers, adhesives, and contaminants, then mechanically profile the slab (usually diamond grinding or shot blasting). Repair cracks and spalls, then vacuum well and apply any required primer compatible with your polyaspartic system. After primer cures, pour and spread the polyaspartic floor coatings, working in manageable sections to maintain consistent film build. Finish with recommended broadcast media (if used) and a clear topcoat if your system includes one.
How do I prep basement concrete for a long-lasting polyaspartic floor installation?
Basement slabs often have moisture issues, so you should address both surface contamination and moisture conditions before coating. Mechanically abrade the surface to remove laitance and create a proper profile, then clean with an industrial vacuum and solvent wipe if required by the manufacturer. Fill cracks and joints with the correct repair mortar or epoxy system, and ensure the concrete is dry enough for the polyaspartic flooring adhesive and primer to perform. Skipping prep is one of the biggest causes of peeling, fisheyes, and early failure in basement polyaspartic floors.
Why is moisture testing important before installing polyaspartic floors in basements?
Polyaspartic floor systems can be sensitive to active moisture vapor emissions, which is common in basements. If moisture is too high, you can see blistering, coating delamination, and a cloudy or uneven finish even if the surface looks clean. Test the slab using a reliable method recommended by the coating manufacturer (often RH probes or in-slab testing) and follow their acceptable moisture thresholds. If moisture is elevated, use the specified moisture mitigation primer or consider an alternate system designed for damp concrete.
Which primer and topcoat should I choose for polyaspartic basement floors?
The best choice depends on your concrete condition, moisture levels, and whether you’re installing a full broadcast or solid color system. Use a primer that is explicitly approved by the polyaspartic flooring manufacturer for your substrate and temperature/humidity range. For durability in basements—especially in areas with frequent foot traffic or occasional spills—select the recommended topcoat (often a clear wear layer) to improve chemical resistance and UV stability when applicable. Always follow the system build rates and recoat windows to ensure full crosslinking and adhesion.
What installation tips help prevent bubbles, fisheyes, and peeling in basement polyaspartic flooring?
Bubbles and fisheyes are commonly caused by poor surface cleaning, residual contamination (oils, curing compounds, dust), or incompatible primers. Maintain consistent mixing ratios, mix thoroughly, and avoid adding extra solvents or water—polyaspartic floors rely on correct chemistry for proper cure. Plan your workspace ventilation and temperature control so the coating stays within the manufacturer’s guidelines; rushing can lead to uneven cure and surface defects. Finally, apply at the specified spread rate and film thickness, and allow full cure time before moving furniture or applying heavy loads.
📅 Last Updated: October 11, 2026 | Topic: How to install in a basement polyaspartic floors? | Content verified for accuracy and freshness.
References
- Google Scholar Google Scholar
https://scholar.google.com/scholar?q=polyaspartic+floor+coatings+installation+concrete+surface+preparation - Google Scholar Google Scholar
https://scholar.google.com/scholar?q=polyaspartic+floor+coatings+basement+moisture+mitigation+installation - Google Scholar Google Scholar
https://scholar.google.com/scholar?q=concrete+floor+coating+moisture+testing+ASTM+F2170+F1869+installation - F2170 Standard Test Method for Determining Relative Humidity in Concrete Floor Slabs Using in sit…
https://www.astm.org/Standards/F2170.htm - F1869 Standard Test Method for Measuring Moisture Vapor Emission Rate of Concrete Subfloor Using …
https://www.astm.org/Standards/F1869.htm - D4263 Standard Practice for Indicating Moisture in Concrete by the Plastic Sheet Method
https://www.astm.org/Standards/D4263.htm - D4541 Standard Test Method for Pull-Off Strength of Coatings Using Portable Adhesion Testers
https://www.astm.org/Standards/D4541.htm - Epoxy
https://en.wikipedia.org/wiki/Epoxy_resin - Polyurethane
https://en.wikipedia.org/wiki/Polyurethane - ICRI: Innovative Concrete Repair Solutions & Training Programs
https://www.icri.org/