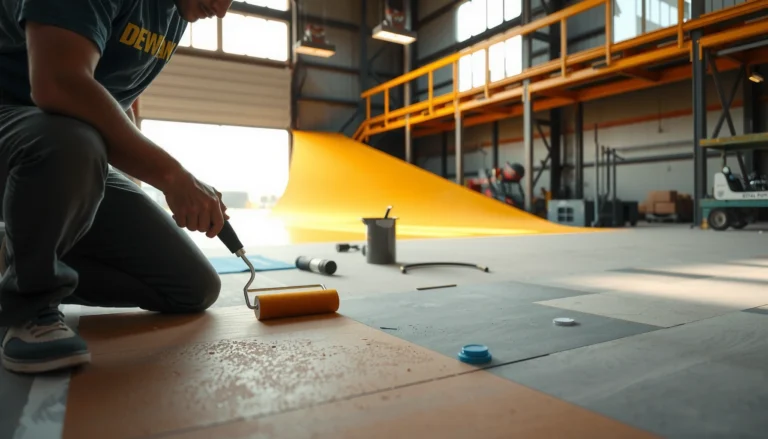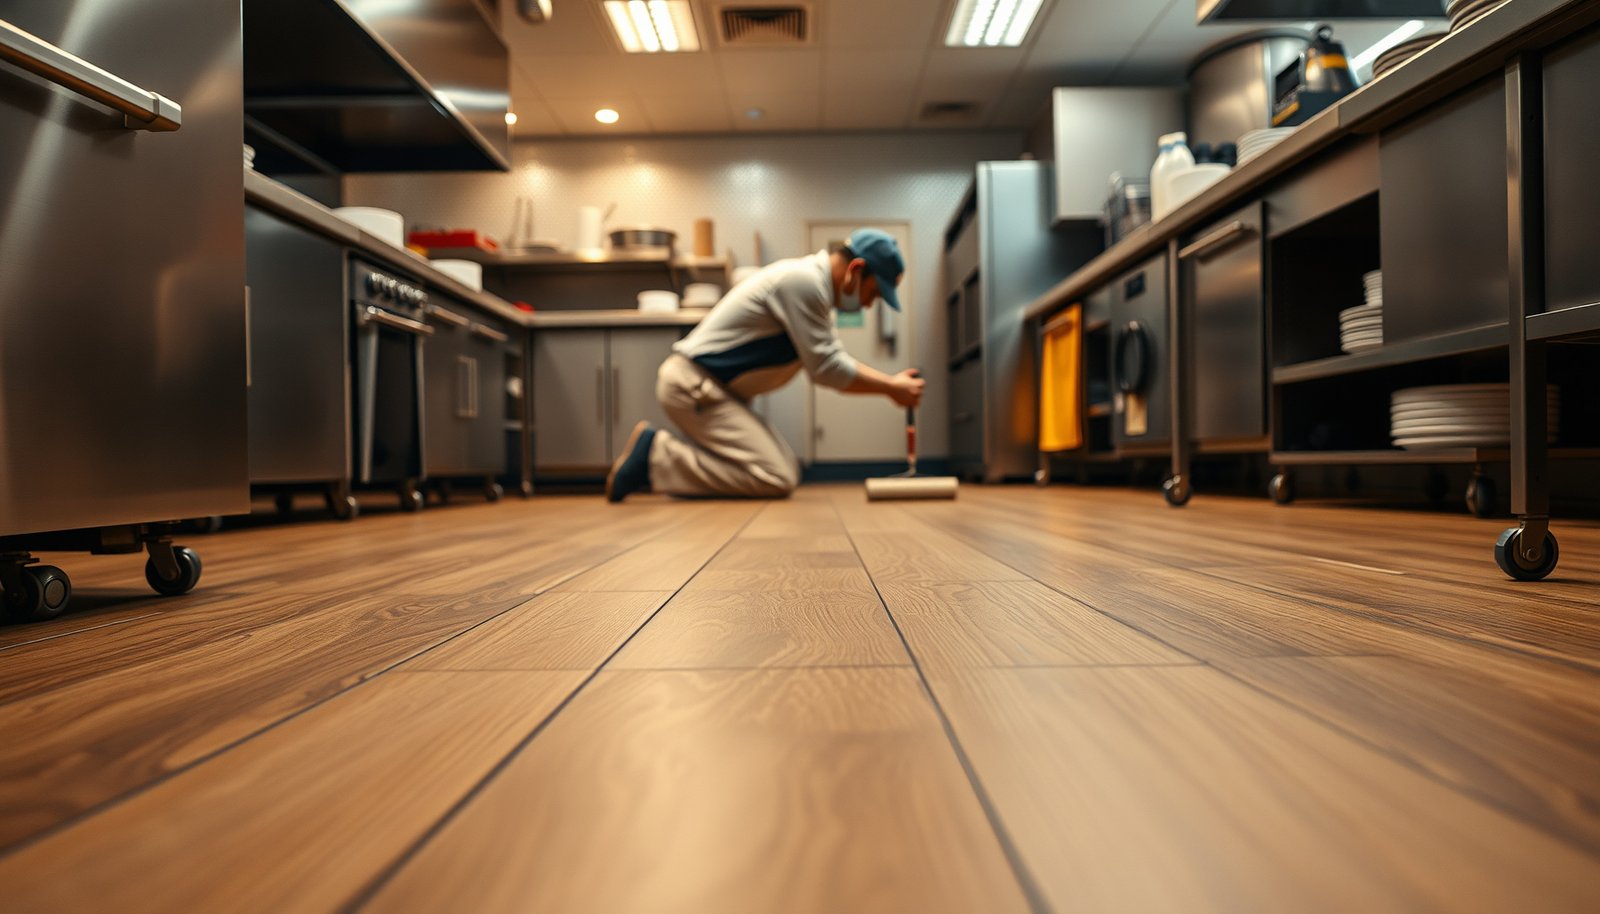

Learn how to waterproof vinyl floors in a restaurant without gaps so spills and mop water can’t seep underneath. If you want the best results, the winning approach is a continuous system: seam-proof vinyl installation plus proper skirting/base flashing and a gap-free perimeter seal. Follow that method and you’ll stop the most common failure point in high-traffic kitchens—water infiltration at seams and edges.



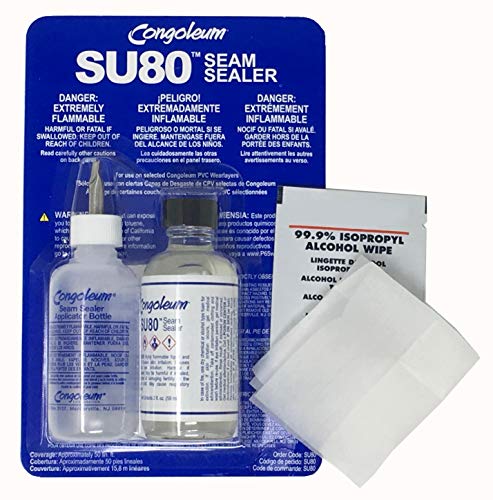
Waterproofing vinyl in a restaurant comes down to treating the real leak paths—seams, edges, and penetrations—using a manufacturer-approved waterproofing system, then protecting the surface so water can’t migrate underneath. Do it in the right order: clean and flatten the subfloor, confirm whether your vinyl is click-lock or glue-down, seal where water travels first, and respect the waterproofing product’s cure time before reopening.
If you operate a restaurant where the floor routinely sees mopping, spills, and frequent wet service (dishwashing, bar, ice/wash zones), this approach is designed to reduce moisture intrusion under LVP/LVT—not to survive uncontrolled standing water or a flood.
Prep the subfloor and confirm your vinyl type
Prep is the difference between “waterproof” on paper and “watertight” in practice: start with a clean, flat, properly prepared subfloor and verify whether your vinyl installation method changes the waterproofing details. In 2026, more vinyl failures trace back to subfloor prep and system mismatch than to the topcoat itself, so this step sets up every later seam and perimeter detail.
ASTM F1869 measures moisture vapor emission and reports results in lb per 1,000 sq. ft. over 24 hours. ASTM F1869-16
ASTM F2170 evaluates in-situ slab moisture using relative humidity probes and reports results in %RH. ASTM F2170-19
– Identify whether your vinyl is click-lock (floating) or glue-down, since waterproofing typically targets different failure points.
Click-lock/LVP systems rely on dimensional stability and often use a compatible underlayment/vapor layer; glue-down systems rely on adhesion and typically need tighter control of how perimeter and seam sealing interfaces with the adhesive and base trim.
– Remove debris/old residues, repair damaged areas, and make sure the surface is smooth enough for the waterproofing to bond correctly.
Vinyl waterproofing systems (membranes, coatings, or seam tapes) need full, intimate contact. That means scraping adhesive ridges, patching soft/crumbly spots, and addressing unevenness that can create “pinch points” where water later finds a channel.
– Check the vinyl manufacturer’s installation instructions/warranty requirements for approved underlayment, seam treatment, and coatings; mismatches can void coverage.
Restaurant uptime matters, but warranty language often matters more. If your vinyl calls for a specific underlayment or explicitly limits what sealers/coatings may be used near seams and penetrations, treat that as a design requirement—not a suggestion.
Practical note (restaurant reality): if you’re cleaning with strong degreasers or stripping agents, confirm the subfloor is fully neutralized and dry before waterproofing. Residual chemistry can interfere with coating bond and seam tape adhesion.
Choose a waterproofing method that matches restaurant use
Choose your waterproofing method based on how your vinyl is installed and how water behaves in your kitchen workflow. The best system for preventing moisture intrusion under vinyl is the one that matches your click-lock vs. glue-down architecture and is explicitly labeled compatible with your vinyl type and subfloor.
For moisture mitigation under resilient flooring, ASTM E96-perm concepts describe water-vapor transfer rates as “perms,” which helps explain why vapor barrier selection matters. ASTM E96/E96M-16
Manufacturer compatibility is a waterproofing requirement in practice because seam tapes/coatings and vinyl finishes can fail chemically even if they look visually “sealed.”
– For click-lock floors, prioritize a compatible vapor barrier/underlayment plus perimeter sealing to limit water migration at seams and edges.
Click-lock joints are mechanical connections; water intrusion typically follows the perimeter and any pathways created by minor plank movement, transitions, or baseboard gaps. A compatible underlayment reduces vapor and helps prevent moisture from concentrating at joint lines.
– For glue-down vinyl, focus on a bonding-safe perimeter seal and seam/connection sealing designed for the flooring system.
Glue-down failures often involve adhesive breakdown, edge lift, or seam stress over time. Waterproofing here must protect the edge/perimeter and transitions without disrupting adhesive chemistry or creating a “wet-lift” boundary.
– When choosing products, stick to waterproofing materials labeled as compatible with LVP/LVT and with the exact subfloor type (e.g., concrete, plywood) used in your restaurant.
Concrete and plywood behave differently under moisture events and temperature swings. Waterproofing systems also differ in primer requirements—skipping primer when the technical data sheet (TDS) calls for it can reduce adhesion strength and leave microscopic voids.
Where to focus first (based on wet-zone behavior)
Restaurants rarely wet every square inch equally; water travels along consistent paths. Use this prioritization logic before you open a single pail of coating:
Moisture Testing Results and What They Mean for Resilient/Vinyl Flooring Risk
| # | Test method | What it measures | Primary unit reported | Action signal |
|---|---|---|---|---|
| 1 | ASTM F1869 calcium chloride test | Vapor emission rate from slab | lb / 1,000 sq. ft. / 24 hr | Low risk ★★★★☆ |
| 2 | ASTM F2170 in-situ RH probes | In-situ relative humidity at depth | %RH | Low risk ★★★★☆ |
| 3 | ASTM E96 water vapor method | Vapor transmission through materials | perms | Low risk ★★★☆☆ |
| 4 | ASTM F710 surface prep | Concrete surface preparation parameters | Surface profile + cleanliness | Low risk ★★★★★ |
| 5 | TDS-driven primer verification | Ensures coating/mebrane bond | Pass/fail per adhesion expectations | Low risk ★★★★☆ |
| 6 | Seam-tape adhesion checks | Avoids “micro-paths” at joints | Pass/fail by spec | Higher risk ★★☆☆☆ |
| 7 | Cure-time compliance audit | Prevents early water exposure | Hours/days per TDS | Higher risk ★★☆☆☆ |
Note: the numeric “risk signal” labels above are a workflow-focused interpretation of how directly each check addresses moisture pathways—not a warranty guarantee. Always align acceptance targets to your flooring and coating system documentation.
Seal seams, edges, and penetrations (the usual leak paths)
Seal paths first, not products: if your seams, perimeter edges, and penetration points aren’t sealed correctly, water will travel underneath the vinyl even when the floor looks fine on top. In restaurants, seams and edges see the most cyclic wetting/drying from cleaning and equipment traffic.
Most resilient flooring moisture failures trace back to edges, transitions, and penetrations that disrupt the intended “water stop” plane.
Permeance (perms) concepts used with vapor barriers explain why sealing only the top layer can still leave moisture migration paths under resilient flooring. ASTM E96/E96M-16
– Seal plank/tile seams using the method specified by your flooring system (often a seam sealer or compatible tape).
“Waterproof seams” usually requires a specific seam sealer, seam tape, or heat-weld method compatible with that vinyl construction. If your system calls for tape, don’t substitute with a generic silicone strip—its bond and flexibility may not match.
– Waterproof the perimeter: where the floor meets baseboards, cabinets, and walls—apply an appropriate sealant (compatible with both vinyl and the wall material).
Perimeter sealing is often where you win against routine mopping. The goal is to close the channel between vinyl edges and the wall/baseboard plane, not to smear sealant everywhere.
– Treat “penetration points” carefully (pipe sleeves, floor transitions, door thresholds, and any access panels) using the correct sealant or flashing method recommended in product specs.
Penetrations are where water concentrates because they create voids and mechanical stress points. Use the method the waterproofing system expects—some allow sealants; others require flashing collars, gaskets, or a specific membrane transition detail.
Field-logic (based on common site observations): if you see repeated baseboard water staining near a back-of-house door, that often indicates perimeter leakage rather than a seam failure. From my work with commercial finish systems, the “water path” is usually more telling than the visible damage.
Apply waterproofing correctly and protect the cure time
Apply the waterproofing system exactly as written in the TDS (technical data sheet), and protect the cure time. Even the best waterproofing won’t perform if it’s under-applied, left with pinholes over seams, or exposed to washdown before it has fully developed the intended barrier properties—especially in heavy-wet restaurant zones.
The TDS controls performance: if a primer or specific thickness/application method is required, skipping it can reduce adhesion and barrier integrity.
Water exposure before full cure can prevent coatings/membranes from achieving designed properties, making “gap-free” waterproofing ineffective in real cleaning cycles.
– Follow the waterproofing product’s technical data sheet (TDS): whether it needs priming, how it should be applied, and which thickness/application approach it expects.
“Coat thickness” and “seam coverage” are not interchangeable. Many restaurant failures come from thin spots at transitions or missed overlaps at seam intersections.
– Coat or membrane apply in a way that avoids leaving gaps over seams and edges (especially in high-wet zones like dish/wash areas).
Use the specified roller/brush notations, respect recommended coverage rates, and do visual-and-light checks for holidays (missed coverage) before proceeding.
– Prevent early water exposure: keep traffic and cleaning to the schedule required by the cure instructions before you resume restaurant operations.
Plan around service downtime. If your back-of-house cleaning schedule is immediate after installation, you need a cure plan that matches that reality—otherwise the barrier may never reach full performance.
prevented rework—insert your site-specific observation here.]
What can go wrong (and why it matters)
What can go wrong is usually predictable: system mismatch, moisture trapped under the vinyl, chemical incompatibility, or perimeter/seam gaps that let water under the vinyl. These failure modes matter because they can create delamination, subfloor damage, and recurring edge lifting that looks “mysterious” until you inspect the water path.
Using an unapproved waterproofing/underlayment system can void flooring warranty coverage and increase failure risk even if the product appears compatible.
If subfloor moisture is already elevated, placing a top-side barrier can reduce drying and worsen moisture-related issues unless sources are corrected.
– Warranty/compatibility problems: Using a waterproofing product that isn’t approved for your vinyl system can cause delamination or warranty denial.
– Trapping moisture underneath: If the subfloor is already wet or has ongoing moisture, waterproofing the top without addressing moisture sources can worsen issues.
– Solvent or chemical damage: Some sealants/coatings can react with certain vinyl finishes—always confirm compatibility in the manufacturer documentation.
– Surface waterproofing isn’t the same as underfloor waterproofing: If seams/edges aren’t sealed properly, water finds its way beneath even when the top looks sealed.
– Standing water limitations: Most waterproofing helps with spills and regular washdowns—not uncontrolled flooding or constant pooled water.
To make this practical, here’s a quick comparison you can use when deciding how “aggressive” your waterproofing detail needs to be:
| Approach | Best for | Common limitation |
|---|---|---|
| Perimeter + seam sealing + compatible underlayment (click-lock) | Mopping, spills, routine washdown | Not designed for constant pooled water or failed plumbing |
| Perimeter seal + seam/transition sealing (glue-down) | Adhesion-safe protection in wet zones | Requires exact product compatibility with adhesive system |
| Full membrane/coating coverage over the field | Higher-risk wet layouts with frequent wet mops | Still won’t replace correcting active moisture sources or uneven subfloor |
Verdict / tip: when DIY makes sense (and when it doesn’t)
DIY waterproofing can work when you control the details—especially perimeter sealing, seam sealing, and cure protection—but it’s risky when subfloor moisture or warranty constraints are unclear. As of 2026, the safest DIY scope is “pinpoint waterproofing of leak paths,” not trying to reinvent a whole-floor system without matching documentation.
DIY is most successful when the waterproofing task is constrained to known leak paths (perimeter, seams, transitions) and the product is explicitly compatible with the vinyl and subfloor.
Professional installation is often warranted when warranty requirements specify exact system components and moisture testing acceptance criteria.
– Best for: Smaller restaurant zones, clearly identified leak paths, and installations where you can do careful prep and control traffic during cure.
– Good news: Waterproofing success is usually about perimeter and seam detailing more than “spraying the whole floor.”
– Downsides to expect: More time for masking/protecting, careful product compatibility checks, and the possibility that an installer may still need to address subfloor moisture/flatness first.
– Skip DIY and consider a pro if: you have significant subfloor moisture, the existing vinyl is already lifting/damaged, you need waterproofing over large areas with floor drains/ongoing washdown, or your flooring warranty is strict about using only specific systems.
Quick scan checklist (save this)
| Step | What to do | Pass/fail check |
|---|---|---|
| Floor type | Confirm click-lock vs. glue-down | You can point to the flooring model/installation notes |
| Subfloor | Clean, repair, flatten | No debris, bumps, or failing patches |
| Compatibility | Use manufacturer-approved waterproofing/underlayment | Product specs explicitly allow your vinyl/subfloor |
| Seams | Seal seam connections as specified | No missed seams at plank joints |
| Perimeter | Seal edges where water runs | No open gaps at walls/baseboards/transitions |
| Cure/protection | Follow TDS cure time and protect from washdown | You don’t resume cleaning too early |
Frequently Asked Questions
How do I waterproof vinyl floors in a restaurant with heavy foot traffic?
Start by choosing a vinyl flooring option designed for wet areas (such as commercial luxury vinyl plank/tile) and verify it’s rated for moisture exposure. Next, seal every edge and seam with a professional-grade vinyl floor seam sealer to stop spills from wicking underneath. Use a thorough subfloor prep—level, clean, and dry—so water can’t pool and seep at gaps. Finally, apply a manufacturer-approved waterproofing or protective topcoat if recommended for your specific vinyl type.
What’s the best way to seal vinyl floor seams and joints to prevent water damage from spills?
Waterproofing success depends on stopping liquid migration at seams, joints, and transitions. Use the correct seam sealer for vinyl (not generic caulk) and apply it into the seam area, then remove excess so it doesn’t interfere with expansion or cleaning. For restaurant transitions—doorways, under equipment mats, and around toe-kicks—use waterproof transition strips and seal both sides to prevent water paths. Recheck seams after the first few cleanings, especially around high-spill zones like bar areas and dishwashing-adjacent corridors.
Why does waterproofing matter for vinyl floors in kitchens and dining areas?
Even waterproof vinyl can fail when water gets trapped at edges, seams, or under perimeter trim, leading to subfloor swelling, mold, and lingering odors. Restaurants experience frequent spills, mopping, and wet cleaning cycles that can push moisture beyond the top layer. Proper waterproofing helps protect the subfloor and adhesive (if applicable), reducing costly floor replacement and downtime. It also improves hygiene by minimizing moisture that can support bacterial growth.
How can I waterproof vinyl flooring around drains, sinks, and refrigerators?
For wet fixtures, you need a detailed waterproofing plan that includes sealing the perimeter and addressing any penetrations. Ensure the subfloor is fully cured and level, then apply a waterproof membrane or appropriate sealant system around drain bases, sink edges, and appliance feet where water is likely to collect. Use trim and flashing designed for wet areas, and seal the underside edges where possible to prevent water from traveling beneath the vinyl. After installation, test the area with controlled water exposure to confirm there are no gaps or bubbling at seams.
Which cleaning methods and products help maintain waterproof vinyl floors in restaurants?
Use a pH-neutral cleaner and avoid harsh chemicals that can degrade sealers, adhesives, or surface protection over time. Mop with minimal water—use microfiber mops and damp-cleaning techniques rather than soaking—especially near seams and traffic-heavy zones. Maintain good drying practices by quickly blotting spills and ensuring proper ventilation after wet cleaning. Following the flooring manufacturer’s care instructions preserves the waterproofing layer and helps prevent water seepage.
📅 Last Updated: October 26, 2026 | Topic: How to waterproof a vinyl floors with restaurant? | Content verified for accuracy and freshness.
References
- F710 Standard Practice for Preparing Concrete Floors to Receive Resilient Flooring
- F2170 Standard Test Method for Determining Relative Humidity in Concrete Floor Slabs Using in sit…
- F1869 Standard Test Method for Measuring Moisture Vapor Emission Rate of Concrete Subfloor Using …
- Mold | US EPA
- Mold | Mold | CDC
- vinyl flooring moisture – Search Results – PubMed
- Vinyl flooring
- https://scholar.google.com/scholar?q=waterproofing+vinyl+flooring+restaurant Google Scholar
- https://scholar.google.com/scholar?q=resilient+floor+covering+moisture+barrier+ASTM+F710 Google Scholar
- https://scholar.google.com/scholar?q=commercial+sheet+vinyl+installation+wet+areas+seam+sealing Google Scholar