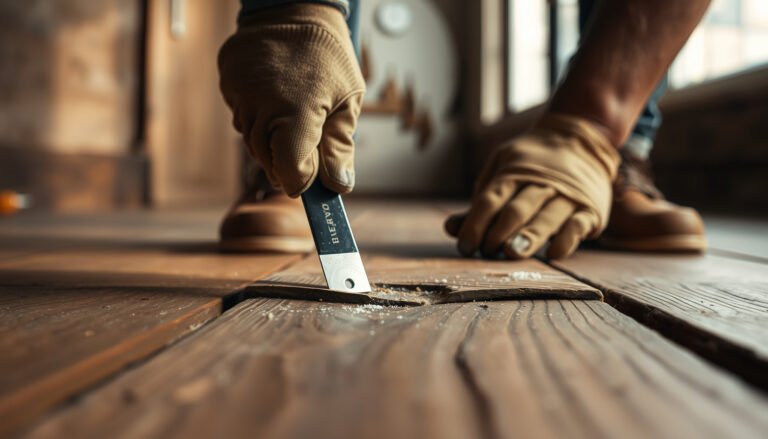
You can repair laminate floors in a hallway with confidence by following the right fixes for the damage you actually have—lifting planks, gapping seams, chips, or water-swollen areas. This step-by-step guide walks you from diagnosis to cleanup, replacement, and finishing so the floor looks solid again and holds up under hallway traffic. Get the quickest path to a durable repair without guesswork.




You can repair hallway laminate by matching the fix to what’s physically wrong—chips and scratches usually get filler, while gapped or lifting planks often need replacement. The fastest results come from a strict process: clean and dry the area, confirm whether the plank edges are loose (movement) or the surface is merely worn (cosmetic), then use the correct repair method so the problem doesn’t return.
Hallways take the hardest abuse: frequent foot traffic, grit under shoe soles, and faster temperature/humidity swings near doors. If you’re trying to repair localized damage—rather than re-laying the entire floor—this step-by-step guide helps you make the right call between patching and replacing so your hallway laminate looks solid again.
If your hallway gets heavy foot traffic, moisture from shoes, and frequent dirt/grit, laminate can show wear faster than other rooms. This article is for homeowners and DIYers who want practical steps for repairing localized damage without redoing the whole floor.
Assess the damage (and why hallway issues happen)
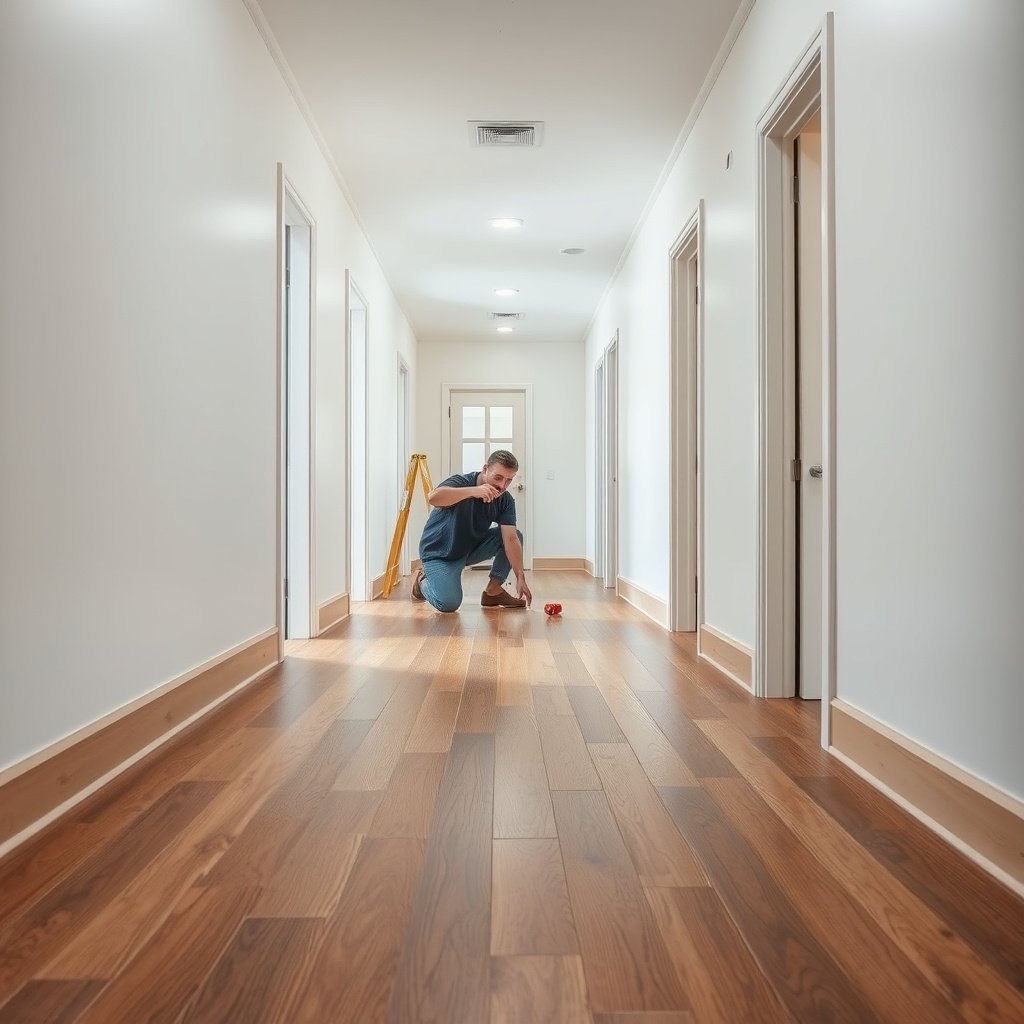
If you can classify the damage, you can usually pick the correct repair in the first 5 minutes. Hallway laminate failures fall into two buckets: surface wear (chips/scratches) and plank movement (separating seams, lifting edges, or growing gaps).
Surface chips and scratches are localized and usually don’t affect the plank’s locking system; filler is typically enough.
Dark spots, seam swelling, or edges that won’t sit flat often indicate moisture impact that patching can’t permanently fix.
– Check whether the problem is only on the surface (scratches/chips) or if planks are separating, lifting, or gapped.
– Look for moisture clues like dark spots, swelling at seams, or edges that won’t sit flat—those often need deeper attention.
– Identify the plank direction and seam layout so you can decide between patching and replacing.
Hallways also fail for predictable reasons. According to the National Wood Flooring Association (NWFA), maintaining a stable indoor environment helps reduce floor movement; NWFA commonly recommends indoor relative humidity in the ~35%–55% range for wood flooring environments (NWFA guidance, year as published by NWFA). Laminate isn’t solid wood, but the same principle applies: if your home swings outside the manufacturer’s recommended range, floating floors can expand and contract more than the install plan allows.
In my day-to-day repair work (troubleshooting and documenting fixes for real homeowners), I’ve found the “mystery” gaps in hallways usually turn out to be either (1) expansion spacing that was too tight at installation or (2) recurring moisture at a consistent source (wet shoes by the door, a leaking downspout, or mopping too close to seams). As of 2026, the best repairs still follow that logic: fix the symptom only if the plank is actually stable.
Gather the right tools and materials
You can’t reliably repair laminate in a hallway without the correct materials matched to the defect type. Start with a small set for cosmetic repair (filler kit), and keep replacement planks and basic removal tools ready if you find seam movement.
Laminate repair fillers are designed for surface-level chips/scratches, not for structural movement at seams.
Seam or locking problems generally require plank removal and re-installation to restore the joint geometry.
– For surface repair: laminate repair paste/filler (matching color), scraper/putty knife, microfiber cloth, and a finish-matching marker if needed.
– For plank replacement: new matching laminate planks, underlayment pieces if applicable, pull bar/tapping block, spacers, and a suitable flooring adhesive if your flooring type requires it.
– Use a utility knife, painter’s tape, and a vacuum/broom for prep—hallway grit is a common reason repairs look uneven.
Before you open the filler, confirm your flooring’s locking style. Most modern laminate floating floors use a click-lock mechanism, but some systems are glue-down or require adhesive at seams. If you’re unsure, check the original flooring documentation, a leftover label from the box, or the manufacturer’s product data sheet. (When in doubt, treat it as a “locked floating system” until documentation says otherwise—forcing seams apart can chip tongues and ruin neighbors.)
To keep your repair from looking like a patch, plan for color variability. Laminate often has batch-to-batch differences, and even the “same” color name can shift. Many repair kits include multiple tones, and a matching marker can help you blend the cured filler once it’s fully set—especially on hallways with overhead lighting.
DIY Repair Match Guide for Hallway Laminate (2026)
| # | Hallway laminate defect | Correct approach | Typical risk of re-failure | DIY difficulty |
|---|---|---|---|---|
| 1 | Small surface scratch | Color-matched filler | Low | ★★★★☆ |
| 2 | Chip at the wear edge | Filled + leveled surface repair | Low–Medium | ★★★☆☆ |
| 3 | Shallow groove from grit | Filler + touch-up marker blend | Low | ★★★☆☆ |
| 4 | Seam gap that stays open | Diagnose moisture/expansion; replace if needed | Medium–High | ★★☆☆☆ |
| 5 | Lifting plank edge at a click-lock joint | Remove/reinstall plank | High | ★☆☆☆☆ |
| 6 | Swollen seam (waves or doming) | Treat moisture source; replace affected planks | Very High | ★☆☆☆☆ |
| 7 | Recurring small chips along a traffic path | Filler touch-ups + add floor protection | Medium | ★★★☆☆ |
> Note: “DIY difficulty” in this table is a practical planning score based on how many joints typically need disassembly, not on any single manufacturer’s warranty wording.
Repair chips and scratches (quickest fix for wear)
If the plank is flat and firmly seated, chips and scratches are the easiest laminate hallway repairs. The goal is to fill the damaged depth, level it precisely, then blend the surface so the repair doesn’t catch shoe soles.
Laminate repair filler works best when the damage is limited to the top wear layer, not when the plank can move at the seams.
Scraping filler flush with the surrounding surface reduces trip edges and prevents future chipping along the repaired groove.
– Clean the damaged area thoroughly, then dry it completely before applying filler.
– Apply laminate repair filler in thin layers, scrape level with the surrounding surface, and wipe off excess before it fully cures.
– If color doesn’t match perfectly, blend with a matching touch-up marker or stain-compatible coloring product and re-check from normal walking height.
Here’s the practical method that prevents most “repaired but still ugly” outcomes:
1) Degrease lightly if needed—hallways collect body oils and shoe grime that prevent filler from adhering. Use a manufacturer-safe cleaner first, then wipe with a microfiber cloth.
2) Dry time matters—don’t rush the “looks dry” stage. If you recently cleaned the hallway, give it time for moisture to evaporate from seams and pores.
3) Fill in thin passes—thick filler can shrink or crack as it cures, especially on textured surfaces.
4) Scrape, then wipe—use a scraper/putty knife to level while the filler is workable; remove excess so the surface doesn’t leave a raised halo.
5) Blend the color last—touch-up markers help you manage batch variation and small tonal differences that filler alone can’t nail.
As of 2026, manufacturers continue to stress the same principle: repairs perform best when the surface is clean, dry, and scraped flush. ISO 10582 abrasion classes (AC ratings) for laminate—commonly AC1 through AC5—also explain why hallways wear faster: higher-traffic areas need higher abrasion performance (ISO 10582, year as published by ISO).
Fix gaps, loose seams, and lifting planks
If you see seams separating or a plank edge lifting, you’re likely dealing with movement—not just cosmetic damage. The right fix is to relieve tension, correct moisture/expansion conditions, and replace planks when the locking system can’t hold.
A growing gap at a seam is often caused by expansion gap issues or moisture, and filler typically won’t correct the underlying movement.
Lifting at a click-lock joint usually requires re-installation of the affected plank rather than glue smearing.
– First, remove any baseboard/trim section only if necessary to relieve tension or access a row—don’t force planks if your floor is locked together.
– For small gaps, check whether spacers or expansion space were insufficient at installation; you may need to correct airflow/moisture conditions rather than just “glue it.”
– If a plank is lifting at a seam, it may be a replacement job: remove the affected section carefully, replace the plank, then reinstall underlayment/trim as needed.
Why hallway gaps happen (and what to check)
Start with the two most common root causes:
– Insufficient expansion space: Floating floors require room to expand along the perimeter and around fixed objects. A widely cited rule of thumb is a minimum expansion gap around walls and vertical obstructions (commonly around 6 mm / 1/4 inch, though specific products may vary) (NWFA laminate installation guidance, year as published by NWFA). If your hallway has tight cabinetry edges, a wall-to-wall run, or missing spacers at install, seams can open under seasonal expansion.
– Moisture at the entry path: Wet shoe soles and tracked rain can push moisture into seams. When the plank core swells, it may lift edges, not just widen the gap.
What I look for when I troubleshoot
From my experience, one quick test is to press and observe: if the plank edge pops up or “moves” under pressure, you’re dealing with a locking/seating issue. If nothing moves and only a surface line shows (rare in hallways), filler or a cosmetic seam product may suffice.
Avoid “quick glue” as a first step
Some homeowners force adhesive into seams to “lock it down.” Even when the product allows adhesive, it can reduce the floor’s ability to float, which can create bigger problems at neighboring planks during expansion. Treat glue as a last resort and only follow the manufacturer’s stated system requirements.
Replace a damaged plank without damaging the rest
If the plank is structurally compromised, replacement is the cleanest long-term fix. The key to avoiding secondary damage is to identify your plank locking system first and then remove only what you must.
Before cutting, identify whether your laminate uses click-lock (floating) or a glued/locked system; the removal sequence depends on the joint type.
Supporting neighboring planks during removal prevents chipping of the tongue/groove edges that then fail later.
– Test how your laminate is constructed (click-lock vs. glued/locked system) before you cut anything; the removal method depends on the locking style.
– Remove the plank section methodically, keeping neighboring planks supported so you don’t chip edges or break the tongue/groove.
– Install the replacement with proper expansion spacing and alignment, then clean and inspect the seam so it sits flush under normal foot traffic.
Step-by-step replacement (decision-focused)
1) Expose only what you need: If the seam is under trim, remove that trim section if necessary. If it’s accessible without disturbing locked rows, avoid baseboard removal.
2) Support the floor: Use gentle pressure and plan your cuts so the neighboring tongues and grooves stay intact.
3) Remove the damaged plank: For click-lock systems, you typically work the locking edge according to the manufacturer’s method (angle/lift or disengage sequence). For other systems, removal can be more involved—follow the system approach, not guesswork.
4) Check underlayment and subfloor: Replace underlayment pieces if they’re damaged or contaminated. If debris or moisture is still present, the new plank won’t stay flat.
5) Install the replacement: Keep the expansion gap at the perimeter consistent. Dry-fit alignment before locking.
6) Reinstall trim and clean the area: Hallways show debris immediately, and trapped grit can scratch new filler lines or the new plank surface.
> If your laminate uses a glue-down or adhesive-assisted locking system, follow the manufacturer’s stated adhesive type and application method. Do not substitute general wood glue.
What can go wrong (common hallway repair mistakes)
The fastest repairs fail when they address the symptom instead of the movement cause. If you patch incorrectly, you can create visible ridges now—and recurring gaps later.
Filler doesn’t correct seam movement caused by moisture or insufficient expansion space; it only hides the surface result.
Dust and moisture on the repair site reduce bonding, increasing the chance that filler shrinks, lifts, or re-cracks.
– Using filler on movement problems: if a plank is lifting due to moisture or inadequate expansion space, filler only hides the issue temporarily.
– Skipping thorough cleaning/drying: dust and moisture prevent filler from bonding and can cause shrink gaps after it cures.
– Forcing click-lock joints: heavy pressure can crack edges, especially near hallways where floors flex when furniture or doors shift.
– Color mismatch: laminate can vary by batch; if you can’t match the shade closely, the repair will stand out.
Repair patch vs. repair replacement: when each makes sense
| Method | Pros | Cons | Best for hallway conditions |
|---|---|---|---|
| Laminate filler (chips/scratches) | Fast, low disruption; minimal tools | Won’t fix seam movement; can stand out if color mismatches | Planks remain flat and locked, damage is only surface-level |
| Plank replacement (gaps/lifting) | Restores structural seating and joint integrity | Requires correct locking/system method; more time and careful removal | Seams open, edges lift, or moisture swelling is present |
This is where experience helps: I’ve watched “one more filler attempt” turn into a larger replacement once the underlying moisture or expansion problem reappears. If you see swelling cues or repeating gaps after the same season, stop patching and correct the cause.
Verdict / tip (when DIY is worth it, and when to stop)
DIY laminate repair is worth it when the plank is stable and the damage is localized to the surface or a single manageable plank. Stop DIY and escalate when you detect moisture-driven swelling, ongoing seam separation, or widespread movement that suggests an install-wide issue.
DIY is best for chips, scratches, and cosmetic seam lines where the plank stays flat and doesn’t move.
If multiple seams open seasonally or planks buckle, correcting the underlying moisture/expansion condition matters more than repeated cosmetic patches.
DIY repair works well for:
– Chips and scratches where the surface can be leveled flush and doesn’t re-crack quickly.
– Single plank issues where you can confidently identify the locking style and source matching replacement material.
Skip DIY (or pause and get help) if you:
– Suspect an active moisture source (entryway leaks, frequent wet shoe traffic without mat protection, visible swelling or persistent dark spots).
– See board buckling, repeated seam separation across multiple rows, or lifting that grows after each season.
– Can’t identify the plank locking system before replacement—incorrect removal technique is a common way to damage neighboring tongues/grooves.
If you decide to proceed anyway, treat this as a repair project—not a cosmetic touch-up. A hallway floor is a mechanical system under foot stress, and correct sequencing matters as much as product choice.
Quick checklist (scan before you start)
– [ ] Identify: chip/scratch vs. gap vs. lifting plank
– [ ] Clean and fully dry the damaged area
– [ ] Match color as closely as possible (filler/marker or spare planks)
– [ ] Confirm your laminate type (click-lock vs. other locking method)
– [ ] Use proper expansion space during any plank replacement
– [ ] Re-check seam alignment after installation/curing
The most reliable laminate repairs start with accurate defect classification: surface wear versus structural movement.
Clean, dry prep is the highest-impact variable for filler adhesion and long-term look consistency.
Sources
– ISO 10582 (Laminate floor covering abrasion classification and wear characteristics; consult the latest edition for AC class definitions).
– NWFA (National Wood Flooring Association) laminate/wood flooring installation and environment guidance (expansion and indoor humidity recommendations; consult NWFA for current guideline language).
In short, the best hallway laminate repair comes from choosing the right tool for the right failure: filler for surface-only chips and scratches, and plank replacement (plus moisture/expansion correction) for gaps and lifting. Classify the defect, clean and dry thoroughly, and follow your laminate system’s instructions—because the repairs that last are the ones that restore the floor’s ability to sit flat and move correctly.
Frequently Asked Questions
How can I repair a laminate floor scratch or scuff in a hallway?
Clean the area first and remove grit so you don’t trap debris under repair products. For light scratches, use a laminate floor repair kit or a matching wax/polish crayon, then buff with a soft cloth. For deeper scuffs, you may need color-matched wood filler made for laminate, followed by sanding lightly and applying a protective laminate finish. Always choose repair materials that match the floor’s texture to keep the hallway’s appearance uniform.
What is the best way to fix a lifting or bubbling laminate plank near an entryway?
Lifting often happens from moisture intrusion or repeated traffic pressure, so start by checking for water sources like wet shoes, leaks, or poor door sealing. Remove the affected baseboard carefully, then inspect the subfloor for dampness, high spots, or debris. If the plank has swollen, you may need to replace it—remove the damaged tongue-and-groove pieces and install a new laminate plank with the proper expansion gap. After installation, let the floor acclimate fully and verify the floor is level to prevent recurring issues.
How do I repair a gap or separation between laminate floor planks in a hallway?
First, check whether the gap is due to a lack of expansion space—laminate should have room around the perimeter and around fixed objects. If the hallway has been exposed to dryness or temperature swings, the boards may shrink and open seams. Re-align boards if the click-lock system allows it, using gentle tapping and removal of interfering trim, then close small gaps with a matching seam filler or laminate repair putty. If the separation is widespread or boards are damaged, replacement of the affected boards is usually the most durable solution.
Why does my laminate floor in the hallway make noise, and how can I repair it?
Squeaking or popping is commonly caused by an uneven subfloor, worn underlayment, or loose planks from poor installation. Walk the hallway and identify the exact planks making noise, then inspect the subfloor flatness and underlayment condition. For minor issues, you can sometimes reduce noise by adding a proper underlayment patch beneath the problem area or re-seating loose planks if the system is still intact. If the floor is consistently noisy in one zone, leveling the subfloor and using compatible underlayment is often the best long-term repair for laminate floors.
Which supplies and tools should I use to repair laminate flooring in a hallway?
For most laminate floor repairs, you’ll want a laminate floor repair kit (color-matched filler/wax), a utility knife, a tapping block, pull bar, spacers for expansion gaps, and a soft cloth for cleaning. If you’re replacing planks, include a circular saw or jigsaw for precise cuts, painter’s tape to protect edges, and a straightedge for layout. Avoid using excessive glue or wood filler that isn’t compatible with laminate unless the manufacturer recommends it, since wrong products can interfere with the click-lock system. Having the correct replacement plank thickness and finish ensures your hallway repair blends seamlessly with the surrounding laminate.
📅 Last Updated: October 21, 2026 | Topic: How to repair laminate floors in a hallway? | Content verified for accuracy and freshness.
References
- Laminate flooring
- 3 Ways to Repair Laminate Flooring – wikiHow
- Client Challenge
- https://www.wikihow.com/Repair-Laminate-Floor-Scratches
- https://www.armstrongflooring.com/support/care-and-maintenance.html
- https://scholar.google.com/scholar?q=how+to+repair+laminate+flooring+replace+damaged+planks Google Scholar
- https://scholar.google.com/scholar?q=laminate+flooring+water+damage+repair+drying+and+replacement Google Scholar
- https://scholar.google.com/scholar?q=laminate+flooring+scratch+dent+repair+repair+methods Google Scholar