
Need quick, reliable steps to repair vinyl floors in a retail store? This guide gives a direct fix plan for the most common damage—scrapes, gouges, and loose seams—so your floor looks right and stays safe for customers fast. You’ll learn exactly what to clean, what to patch, and how to blend repairs for a near-seamless result.




Repairing vinyl floors in a retail store comes down to matching the fix to the damage—clean and prep the area first, then either patch the top layer, re-seat/adhere lifted edges, or replace the affected plank/tile. If the damage goes through the wear layer or the seams/edges have separated, replacement is usually faster and looks cleaner than “spot” repairs. This guide will walk you through diagnosing common issues and choosing the right repair approach with minimal disruption.
If your store has heavy foot traffic, rolled carts, or frequent chair/wheel movement, small cuts and lifted seams can turn into bigger problems quickly. These steps are aimed at facility managers, maintenance staff, and flooring contractors handling LVP/LVT (luxury vinyl plank/tile) or similar vinyl sheet/tile floors in occupied retail spaces.
Diagnose the vinyl floor damage first
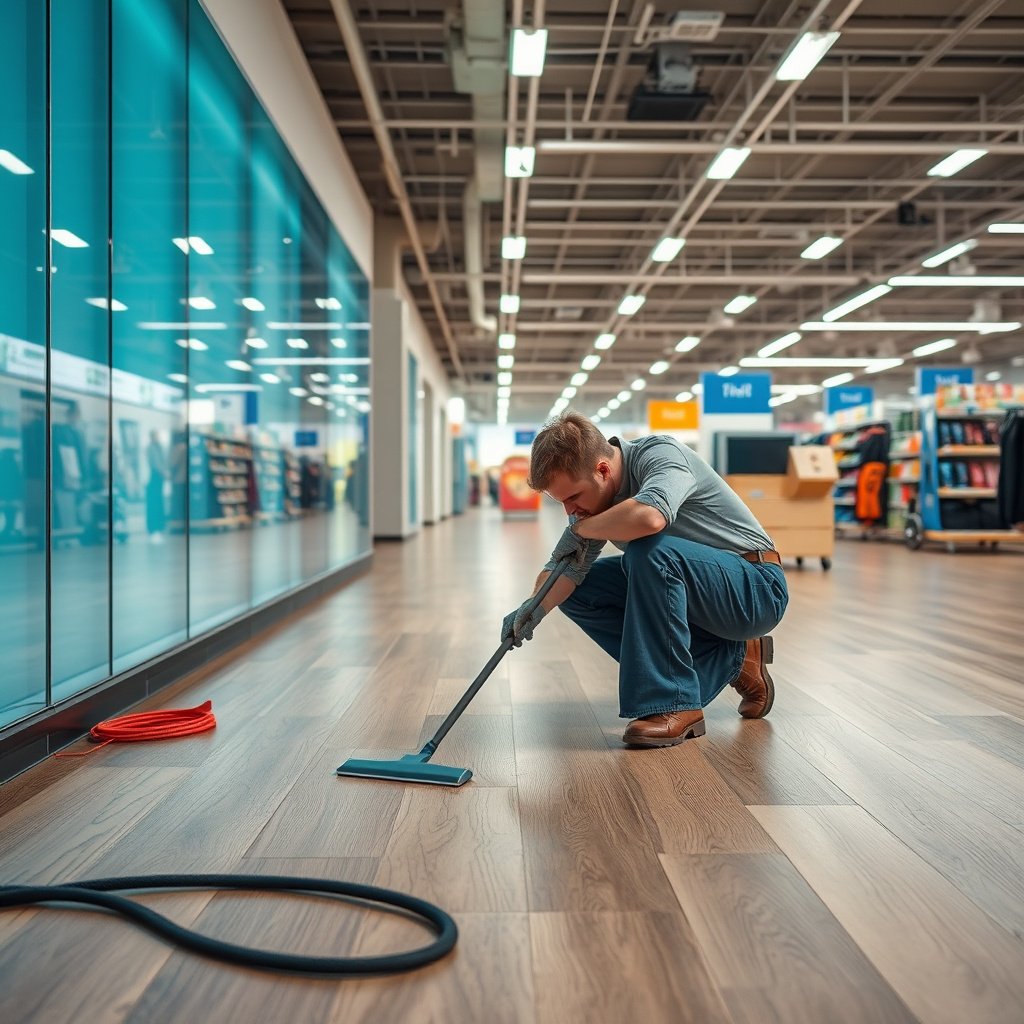
If you start by identifying what’s actually failing on your vinyl floors, you avoid wasting time on repairs that can’t hold. The fastest path is to match the fix to the failure mode—surface wear, localized damage to the wear layer, or movement/edge separation.
A surface scratch on vinyl floors is mainly cosmetic unless it penetrates the wear layer, so depth determines whether you patch or replace.
When a plank or tile is loose (movement is visible or felt), vinyl-floor “patch” products can hide the hole but won’t stop ongoing motion.
Decide what kind of failure you’re seeing
– Identify what’s actually failing: surface scratches/cuts, dents/tears, lifting edges, gapped seams, or water-related swelling.
– Check how deep it goes: if the wear layer is compromised or the plank/tile is loose, plan on a patch or replacement rather than just cleaning.
– Locate the “pattern” (near doors, under racks, along traffic lanes) to predict what repair will last.
Use retail-specific clues to predict repeat failures
In my experience coordinating repairs in occupied retail spaces (without shutting the store down for days), the same vinyl-floor issue often repeats in the same “geometry” of the store: entry paths, cart staging areas, and the boundary line where equipment wheels turn. That pattern usually points to a mechanical cause (carts/chairs) or a housekeeping cause (grit tracked into seams). On vinyl floors, those causes can reopen patching quickly even when the patch itself initially looks correct.
Practical depth checks (without damaging surrounding vinyl floors)
– Use bright side lighting and a fingertip to feel the edge of the damaged area—lifted seams feel “catchy.”
– If you suspect wear-layer penetration, compare the damage to the rest of the plank/tile finish under normal and oblique light; deep cuts usually expose a different surface appearance.
– If water intrusion is involved (swelling, cupping, or edge lift that spreads), treat it as a root-cause problem on vinyl floors, not only a surface repair.
Prep the store area and gather repair supplies
Prepping vinyl floors properly is what makes the repair stick in the real world of retail foot traffic. Clear the area, remove grit, and use adhesive/patch products that match your vinyl system so bonding and leveling behave predictably.
Patch compounds and adhesives bond best to clean, dust-free vinyl floors because grit and film layers interfere with wetting and cure.
Retail repairs depend on controlling traffic timing, because most vinyl-floor adhesives require a manufacturer-specified hold time before normal movement.
Protect the space while you work
– Protect the space: block traffic, clean thoroughly, and remove grit around the damaged spot (grit prevents patch/adhesive bonding).
– Use the right tools for the floor type: a utility knife/razor for trimming (only if your product allows), a utility putty knife/spreader for patching, and adhesive appropriate to your vinyl system.
– Have your materials ready before you start: matching color/patch kit for your vinyl, seam/adhesive products specified by the manufacturer, and clean rags (avoid lint).
Confirm the vinyl system before choosing products
Vinyl floors in retail are often one of two families: click-lock floating LVP/LVT, or glue-down installations (sometimes with an attached backing). On vinyl floors, the repair method changes depending on the installation system:
– Click-lock vinyl floors typically rely on locked edges; if edges are lifting, you may need an approved repair that addresses the subfloor or locking area rather than just “gluing the top.”
– Glue-down vinyl floors typically depend on correct adhesive and bond coverage for seam/edge adhesion.
If you don’t know your system, pull the original spec sheet or ask the installer for the installation method used. That single step prevents incorrect adhesive choice—one of the most common causes of repeat seam failure on vinyl floors.
Moisture and flatness checks for occupied retail environments
Before you adhere or patch vinyl floors, verify the basics of the substrate. If moisture is driving edge lift, repairs can re-fail even when you used the “right” compound.
– According to ASTM F1869 (2016), moisture vapor emission rate from concrete slabs is reported in lb/1,000 sq. ft. per 24 hours.
– According to ASTM F2170 (2018), in-situ slab moisture is commonly expressed as relative humidity (% RH) at specified depths.
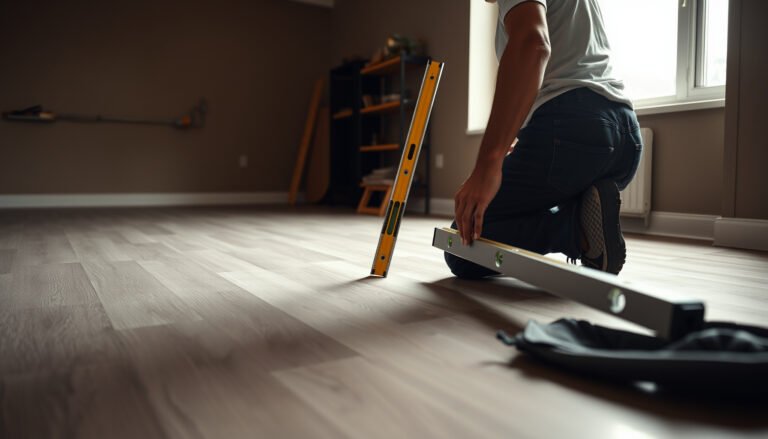
– According to RFCI resilient flooring installation guidance (2014), resilient flooring substrates are expected to meet stringent flatness tolerances (commonly cited as 3/16 inch over 10 feet) so movement doesn’t telegraph through vinyl floors.
(If your store uses raised flooring, overburden, or non-concrete subfloors, follow the applicable manufacturer guidance instead of general rules.)
What I watch for in real repairs on vinyl floors
From my experience, the “prep” step is where schedule risk lives: teams rush cleaning, leave micro-dust in seams, or rush traffic control. When we take the extra 10–15 minutes to remove surface film and confirm the area is dry and stable, vinyl-floor patches and seam re-adhesion last far longer in the same retail locations.
Repair by damage type (most common retail problems)
Patch strategy for vinyl floors works best when the damage is localized and the plank/tile is stable. If the wear layer is missing but the surrounding piece won’t move, patching can restore a smooth, safe surface; if the piece is loose, plan on re-adhering or replacing.
Vinyl floors can often be repaired “on the surface” when damage doesn’t compromise the piece’s stability or edge adhesion.
A level patch matters in retail: carts and shoes repeatedly catch on raised edges, so vinyl-floor repairs must be flush with surrounding finish.
Match the repair approach to the damage type
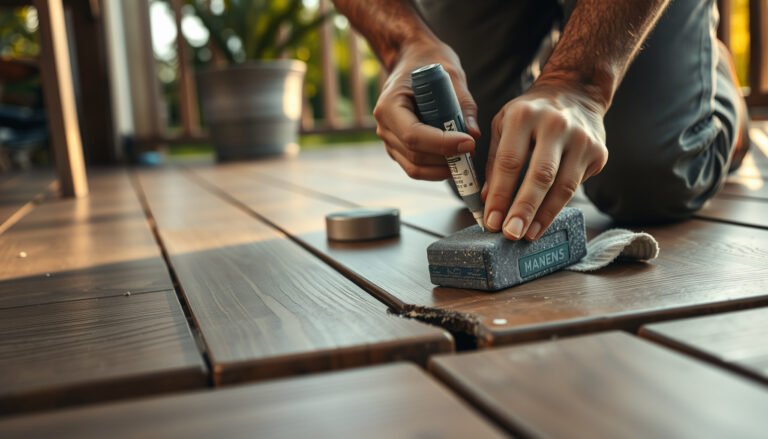
– Surface scratches/scuffs: clean first, then use an approved vinyl repair method (often a color-matched filler/repair compound designed for resilient/vinyl surfaces).
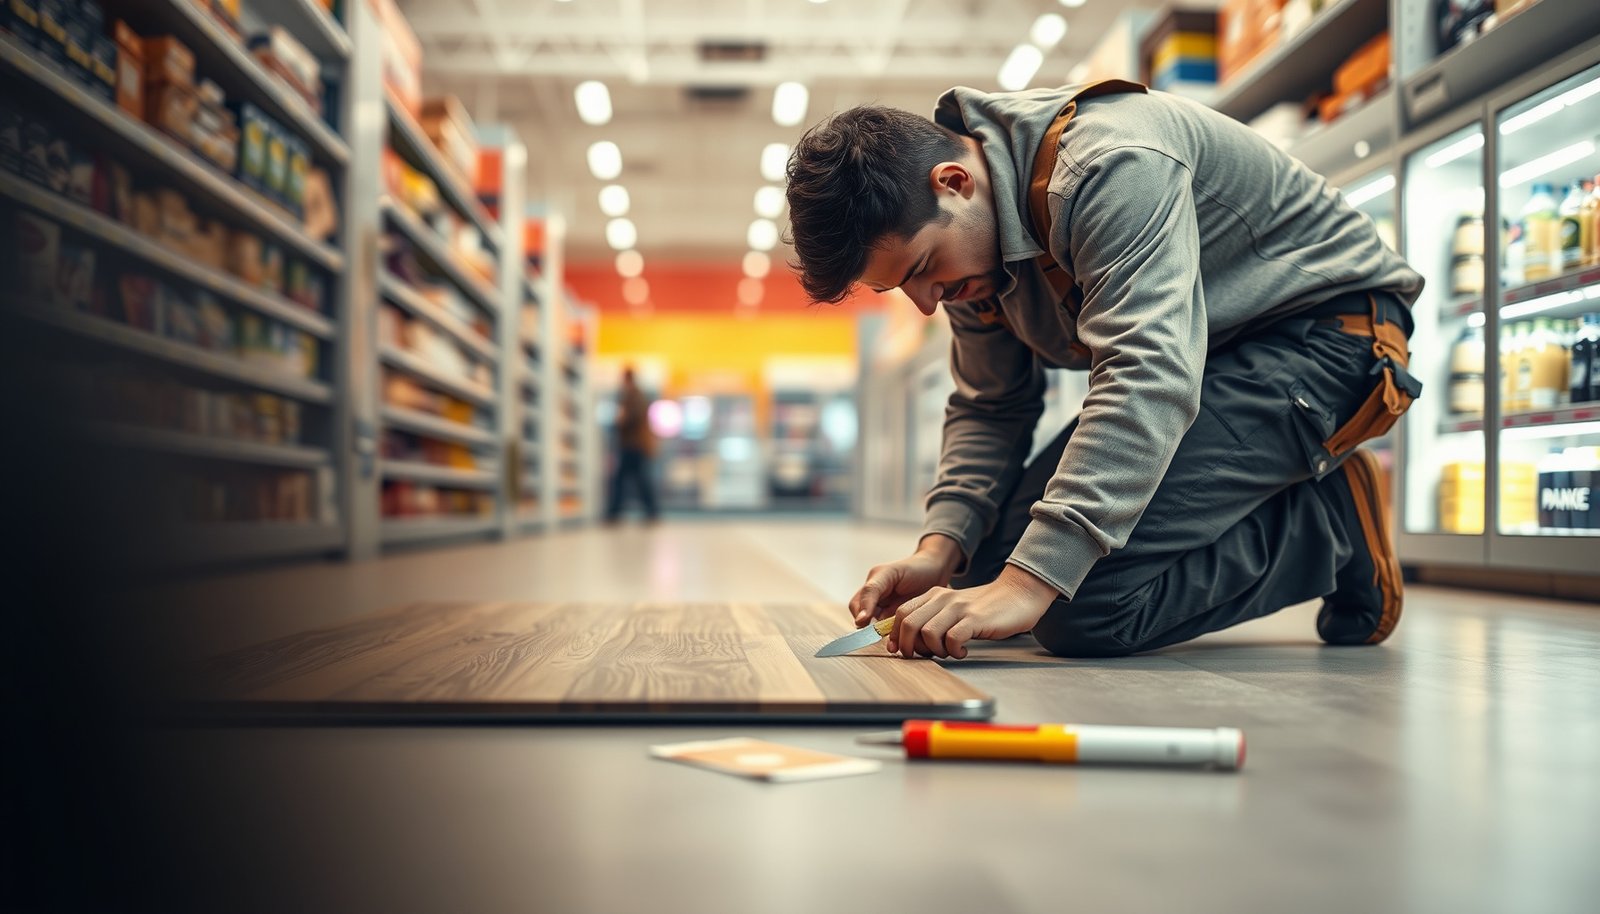
– Cuts or gouges in the wear layer: trim/clean the edges of the damaged area (only to the depth recommended for your product), then apply a matching patch/compound and level it so the area won’t “catch” on shoes or carts.
– Lifting edges or loose seams: clean the underside/edge area if accessible, then re-adhere using the correct adhesive/seam method for your flooring type; press and hold as directed.
H3: Surface scuffs—restore finish, don’t “overwork” the area
For scuffs on vinyl floors, your goal is cosmetic smoothness, not structural repair. After cleaning, apply an approved filler only where it’s needed and avoid sanding aggressively unless the manufacturer explicitly allows it. Over-sanding can thin the wear layer and create a new weak spot that retail foot traffic then expands.
Common retail example: a heel scuff near checkout. In these cases, we usually patch after cleaning and then protect the area until the patch cures and is flush—because the next cart path will repeat the same contact.
H3: Wear-layer cuts—remove loose material, then level
When cuts reach into the wear layer, vinyl floors need a patch that’s designed to sit flush and resist repeated abrasion. Trim only as far as the patch system requires so you don’t create an oversized cavity that’s difficult to level. The leveling step is critical: even a thin ridge becomes a “catch point” under wheels.
H3: Lifting seams and edges—re-adhere with system-approved products
Lifted edges on vinyl floors typically fail for two reasons: adhesive breakdown or bond interruption from grime/water. If accessible, clean the bond surface; then use the seam/edge adhesive system recommended by the vinyl manufacturer. Press and hold per the spec, because retail access timing often conflicts with cure time.
Tip: If seam lift keeps returning, look for the cause (wheel load, loose subfloor, moisture, or grout/soap residue). Re-adhesion without cause correction usually becomes a repeating work order on vinyl floors.
Replace damaged planks/tiles (when patching won’t hold)
Replacement for vinyl floors is usually the cleanest long-term solution when the plank/tile is moving, cracked through, or permanently deformed. Even if patching looks good initially, movement and stress often reopen the repair in high-traffic retail zones.
If a vinyl plank or tile is loose or deformed, replacing it typically outlasts patching because patch products don’t stop mechanical movement.
For retail vinyl floors, replacement often looks better because it preserves the continuity of seams and edge geometry.
When to replace instead of patch
– Use replacement when the plank/tile is loose, cracked through, or permanently deformed. Patch compounds can look good initially, but movement and stress often re-open the repair.
– Match materials carefully: replace with the same design/thickness/format (and ideally the same batch). If you don’t have spare pieces, plan ahead for ordering from the supplier/manufacturer.
– Re-set transitions and seams: after replacement, ensure edges sit flat and seams are aligned so carts and wheels don’t create repeat damage.
H3: Click-lock vs glue-down—replacement steps differ
For click-lock vinyl floors, the key is achieving a stable base and correct alignment so the locking system seats without creating new stress. For glue-down vinyl floors, the key is achieving correct adhesive transfer and full contact under the replacement piece.
H3: Match and blend for real-world retail visibility
Replacement seams are more visible than patched wear marks, especially under fluorescent lighting. That’s why matching the same visual design and batch (when available) matters. If you must substitute from another batch, the safest approach is to plan replacement locations where slight shade variation is less noticeable—like behind fixtures or in less visible aisle edges.
H3: Keep joints safe from carts and wheels
After replacement on vinyl floors, check that:
– edges sit flat with no lip
– seams are aligned and not gapped
– the surface is continuous under a wheel test (a gentle push with a cart wheel or a spare chair caster—done carefully to avoid adding new damage)
In busy retail layouts, “almost flat” still catches. That’s why replacement must be followed by seam/edge inspection and short-term traffic protection.
Prevent recurring damage in high-traffic retail areas
Prevention is what stops vinyl-floor repairs from becoming a recurring line item. In retail, the best results come from reducing repeat impacts (wheels, rolling carts, and grit) and controlling moisture and cleaning chemistry.
Protecting vinyl floors at wheel paths (mats, protectors, and caster controls) reduces seam stress that otherwise reopens patches.
Using cleaners approved for your vinyl type helps prevent residue buildup that can weaken adhesives and interfere with bonding.
Reduce the “repeat hits”
– Reduce the “repeat hits”: use floor protectors under racks/fixtures, wheel/caster upgrades where possible, and entry matting to stop grit abrasion.
– Control moisture and cleaning chemistry: use cleaners approved for your vinyl type and avoid soaking (water intrusion can drive edge lifting).
– Do routine checks: inspect seams and transitions monthly so small failures get caught before they spread.
Pros/cons comparison: patching vs replacement for vinyl floors in retail
When you’re deciding under time pressure, use a simple framework:
| Option | Best for | Pros | Trade-offs |
|---|---|---|---|
| Patch/compound | Small surface damage on stable vinyl floors | Fast turnaround, minimal visual disruption | Won’t stop movement; bond depends on prep and cure |
| Re-seat/re-adhere edges | Seams lifting without piece deformation | Keeps the same plank/tile in place | Can re-fail if moisture or subfloor instability persists |
| Replace plank/tile | Loose, cracked-through, or deformed areas | Most reliable in retail stress zones | More labor and requires matching spare material |
Preventing moisture-driven problems on vinyl floors
As of 2026, many retail facilities are also tightening cleaning protocols and slip-prevention routines. That change is good for vinyl floors, as long as the cleaning remains within the manufacturer-approved chemistry and does not leave standing water near seams.
What can go wrong (common mistakes and edge cases)
Vinyl-floor repairs fail when the fix doesn’t address the real cause—especially moisture, subfloor instability, or incorrect chemistry. If you skip prep, choose incompatible products, or patch over movement, the repair may look fine initially but fail quickly under retail traffic.
Using the wrong adhesive or patch chemistry for your vinyl system can cause weak bonds and future seam separation.
If the plank/tile is already moving, patching hides the surface damage but doesn’t stop the stress that reopens vinyl-floor repairs.
Common mistakes to avoid on vinyl floors
– Wrong product chemistry: using an adhesive/repair compound not intended for your specific vinyl system can cause poor bond, discoloration, or future seam failures.
– Skipping the cleaning/prep step: dust and residue are the most common reason patches don’t bond or edges don’t re-seat.
– Patching over structural lifting: if the plank/tile is already moving, a patch may “hide” the surface damage but won’t stop ongoing motion.
– Underestimating underlayment conditions: if the subfloor isn’t flat/dry/stable, repairs may fail even with correct materials—see manufacturer guidance for your installation system.
Edge cases that change the plan
1) Water-related swelling on vinyl floors
If water got under the vinyl floors, the “repair” is incomplete until the moisture source is corrected and the subfloor returns to a stable condition. Otherwise, the repaired seam can lift again—sometimes weeks later, when the area dries and stresses re-balance.
2) Subfloor flatness issues
Even perfect patching won’t hold if vinyl floors flex repeatedly over an uneven substrate. This is a frequent cause when older retail slabs are rough or when renovations create transitions that aren’t smooth.
3) Visible patching on high-visibility aisles
Some repair compounds are designed to be stable but not perfectly invisible under retail lighting. If aesthetics matter, replacement may be the better business choice.
H3: Pros/cons recap for decision-makers
Patch (pros): lower labor, minimal downtime, good for stable vinyl floors with superficial wear.
Patch (cons): limited durability if the piece is moving or bond prep is imperfect.
Replace (pros): best long-term outcome for loose/deformed vinyl floors.
Replace (cons): needs matching material and careful seam alignment.
Verdict: choose patching for small surface damage, replacement for movement
For minor scuffs and small wear-layer cuts, patching/color-compound repairs can be a practical, low-disruption option for vinyl floors. If the area is lifting, cracked through, or the plank/tile is deformed, replacement is usually the cleaner long-term solution—but it takes more time and depends on having matching spare material.
Skip DIY (and involve a qualified installer) if you can’t confirm the flooring type, don’t have spare matching pieces, or suspect subfloor issues like moisture or instability. In most retail environments, the best repairs are the ones that stay quiet under carts and chair/wheel movement—meaning the cause and the surface are both addressed.
Quick checklist (print/save)
| Step | What to verify |
|---|---|
| 1 | Identify damage type (scratch vs lift vs cut vs dent) |
| 2 | Confirm floor type (LVP/LVT/sheet; click-lock vs glue-down) |
| 3 | Clean thoroughly; remove grit around the area |
| 4 | Use manufacturer-approved repair/adhesive/patch products |
| 5 | Patch only when the plank/tile is stable; replace when it’s moving |
| 6 | Protect the area from traffic until fully cured |
| 7 | Fix the “cause” (casters, mats, grit control) to prevent repeats |
| # | Testing/verification check used in vinyl floor repairs | What it measures (typical unit) | Where it matters | Practical impact ★ |
|---|
Top 7 Verification Checks for Resilient/Vinyl Floor Repairs (Used for LVP/LVT in retail)
| # | Check | Measure (unit) | Common failure it prevents | Impact ★ |
|---|---|---|---|---|
| 1 | Slab moisture vapor (MVER) test | lb/1,000 sq. ft./24 hr | Adhesive bond loss from moisture | ★★★★★ |
| 2 | In-situ relative humidity test | % RH | Edge lift after installation/repairs | ★★★★★ |
| 3 | Subfloor flatness verification | straightedge tolerance (in/ft) | Telegraphing and repeat seam damage | ★★★★☆ |
| 4 | Surface cleanliness check (no dust/film) | visual + tack-wipe inspection | Patch/adhesive debonding | ★★★★★ |
| 5 | Bond/adhesive compatibility verification | manufacturer system match | Seam re-lift from wrong chemistry | ★★★★☆ |
| 6 | Repair compound/patch cure timing | hours to required cure | Footfall causes crater/peel | ★★★★☆ |
| 7 | Post-repair traffic protection | restricted-access window | Repeat damage before bond stabilizes | ★★★☆☆ |
FAQ:
– Can I repair vinyl floors without replacing planks/tiles? Often yes for surface scratches and small wear-layer damage—if the plank/tile is stable and the repair products are compatible with your vinyl system.
– What if the seam is lifting—should I just glue it back? Usually re-adhere with an approved method, but if the subfloor isn’t flat/dry or the plank is deformed, replacement may be the more reliable fix.
– How do I match the color for a vinyl patch? Use the same repair kit/products intended for your flooring line, or match from spare pieces if available; exact matching is difficult once wear patterns differ.
– When is it better to call a pro? If you suspect moisture, widespread hollowing/looseness, incompatible adhesives, or you can’t get matching replacement material.
Sources:
– ASTM F1869 (2016) — Moisture vapor emission rate test method (used to evaluate slab moisture before resilient/vinyl repairs).
– ASTM F2170 (2018) — In-situ relative humidity test method (used to evaluate slab moisture conditions).
– ASTM F710 — Practice for preparing concrete floors to receive resilient flooring (used for substrate preparation requirements).
– RFCI resilient flooring installation guidance (2014) — Subfloor preparation and flatness expectations for resilient flooring systems.
A reliable vinyl-floor repair in retail comes from doing the basics correctly: diagnose whether the vinyl floors are only cosmetically damaged or actually moving, prep the substrate until it’s bond-ready, then patch, re-adhere, or replace based on that diagnosis. If you treat the root cause—wheels, grit, moisture, and cure-time traffic control—you’ll reduce repeat callouts and keep the area safe for customers and staff.
Frequently Asked Questions
What are the most common ways vinyl floors get damaged in retail stores?
In retail settings, vinyl floors are often damaged by rolling loads, heavy foot traffic, dropped merchandise, and grit that causes surface scratching and wear. Common issues include scuffs, cuts, tears, loose seams, lifting planks, and water damage around entry doors or sinks. Identifying the type and location of damage early helps you choose the right vinyl floor repair method and avoid expanding the problem.
How do you repair small scratches or scuffs on vinyl flooring in a store?
For light scuffs and scratches, clean the area thoroughly and remove any grit with a vinyl-safe cleaner so the repair product can bond properly. Use a vinyl floor repair kit (filler/polish system) matched to your floor’s color, and apply it in thin layers for a natural blend. After curing, buff gently to restore shine and reduce the visibility of the repaired area—this is ideal for high-traffic retail zones where downtime must be minimal.
How can you fix a lifted seam or loose vinyl tile without replacing the whole floor?
Start by lifting only the loose edge and cleaning beneath it—dust and residue can prevent proper adhesion. For glue-down vinyl, reapply manufacturer-approved vinyl floor adhesive and press the seam firmly, using a roller or heavy flat weight for the recommended time. If it’s a loose vinyl plank system, check for subfloor moisture and re-seat or replace the affected plank using the correct underlayment and locking mechanism.
Why is it important to address water damage on vinyl floors quickly in retail?
Moisture can seep at seams and edges, causing vinyl to swell, cup, or separate from the subfloor, which leads to larger repairs and potential safety hazards. In a retail store, ongoing foot traffic can spread water damage faster than you’d expect, increasing the risk of lifting edges and trip points. Dry the area thoroughly, investigate the source of moisture, and then perform the appropriate vinyl floor repair—sometimes a localized section replacement is necessary.
Which tools and products are best for repairing vinyl floors in commercial spaces?
The best approach is to use a vinyl floor repair kit designed for your surface type (sheet vinyl vs. click-lock vinyl planks vs. glue-down tiles) and to follow the manufacturer’s color-matching guidance. Typical tools include a utility knife with sharp blades, vinyl-safe cleaner, seam roller or press weight, a scraper for residue removal, and the correct adhesive for vinyl floor repairs. For retail environments, also consider floor protection film, heat-safe curing options, and fast-drying products to minimize downtime and keep the area safe for customers.
📅 Last Updated: October 26, 2026 | Topic: How to repair vinyl floors in a retail store? | Content verified for accuracy and freshness.
References
- Vinyl flooring
- 1910.22 – General requirements. | Occupational Safety and Health Administration
- Asbestos | US EPA
- https://www.cdc.gov/asbestos/
- Asbestos and Your Health | ATSDR
- https://www.cdc.gov/niosh/topics/asbestos/
- https://www.armstrongflooring.com/commercial/en-us/support/care-maintenance.html
- https://scholar.google.com/scholar?q=how+to+repair+sheet+vinyl+floor+patching Google Scholar
- https://scholar.google.com/scholar?q=how+to+repair+vinyl+composition+tile+vct+replacement Google Scholar
- https://scholar.google.com/scholar?q=resilient+flooring+maintenance+repair+commercial+retail Google Scholar