
Need a step-by-step plan to repair commercial floors without guessing? This guide walks you through diagnosing the damage, prepping the surface, and installing the right patch or resurfacing system for a lasting, code-ready finish. You’ll learn the correct tools, common failure points to avoid, and how to verify the repair before reopening the space.




Repairing commercial floors is usually a targeted “diagnose → prep → rebuild the surface” job, not a cover-up. Identify the floor type and the exact defect first (cracks, lifting, holes, delamination, or wear), then use a compatible patch/resurfacing system with strict substrate prep—because most repair failures are caused by skipping preparation or using the wrong product for the material and environment.
If you manage a retail space, warehouse, office, school, or any facility with foot or forklift traffic, this is for you—especially when floors look worse but you don’t want to replace them immediately. It’s also useful for maintenance teams and contractors who need a practical checklist for diagnosing issues and planning repairs.
Assess the damage (don’t start patching yet)
You get better repairs when you treat damage assessment as the first—and most important—phase of the job. The goal is to determine not only what’s visible (cracks, lifting, holes, delamination, worn surface) but also what’s causing it so the fix doesn’t fail again.
A successful floor repair starts with identifying the flooring system (e.g., concrete, epoxy coating, VCT/LVT, rubber, terrazzo) and confirming whether the issue is cosmetic or structural.
If the subfloor is moving, the top layer will usually fail again even when the patch compound itself is “correct.”
Moisture-related failures often show as bubbling, dark staining, or recurring delamination in the same zones.
Determine the floor type and defect severity
Determine your commercial flooring type (e.g., concrete, epoxy-coated concrete, vinyl composite tile, LVT/LVP, rubber, terrazzo, carpet tile) and whether the issue is cosmetic or structural. In practice, this means you’re matching your repair method to the system—not just the finish.
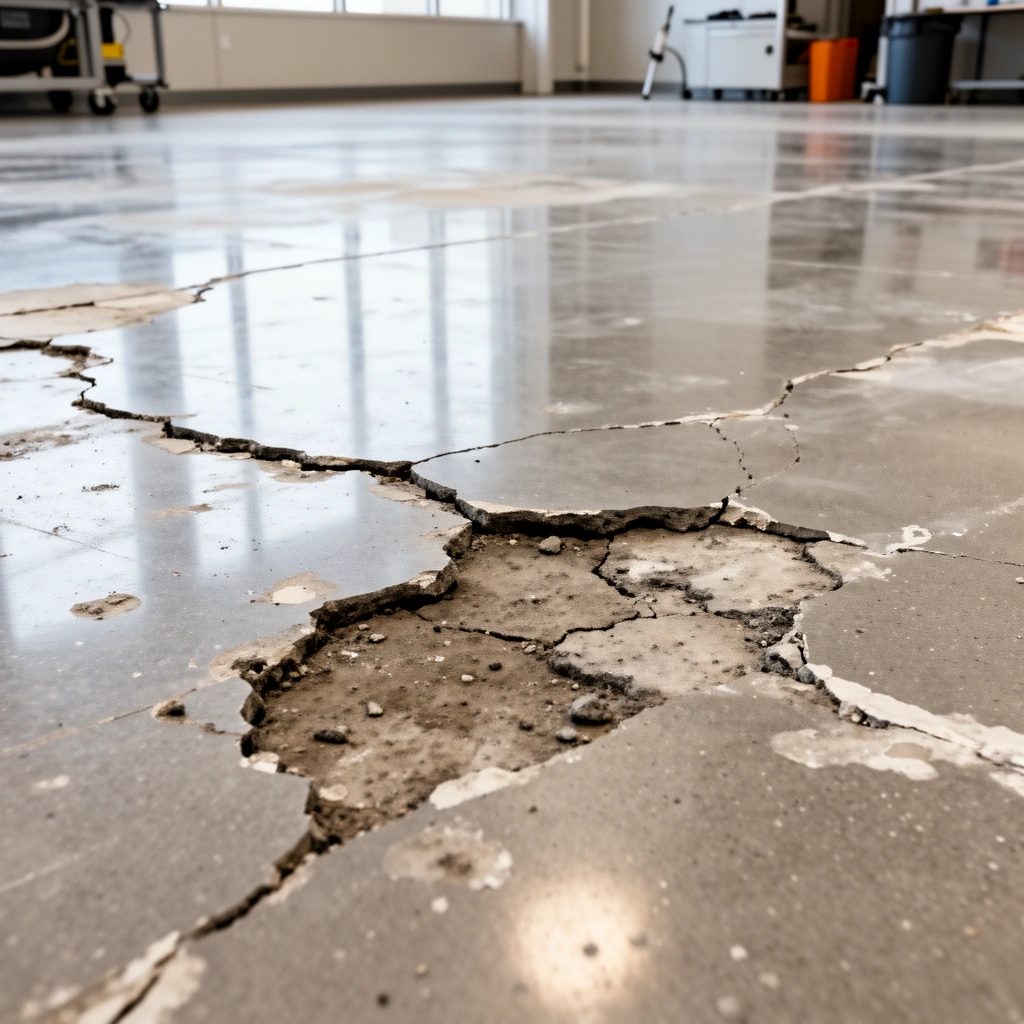
– Concrete defects often fall into: surface scaling, hairline cracking, cracks with voids, and spalls (broken edges).
– Coated concrete defects often involve coating failure like flaking, peeling, or delamination from moisture or contamination.
– Sheet/vinyl/LVT/LVP failures often show as lifting, curling edges, seam separation, or localized damage from impact.
– Rubber tends to reveal indentation from rolling loads and wear bands near loading points.
– Terrazzo can crack or chip around aggregates and edges, exposing underlying voids.
Identify the failure pattern (what the “map” tells you)
Identify the failure pattern: surface wear vs. cracks, seams lifting, water-related bubbling, flaking, or indentation from rolling loads. Patterns are clues:
– Random cracks can suggest shrinkage or point load stress.
– Linear cracking near drains or doorways can suggest restraint, water intrusion, or repeated thermal movement.
– Seam lifting in vinyl and tile frequently points to moisture, inadequate bonding, or substrate irregularity.
– Bubbling/flaking in coatings is a strong sign of moisture vapor transmission or contamination.
Check the “why” before you select the patch
Check the “why” by looking for traffic causes, drainage leaks, subfloor movement, moisture, or loose adhesive—repairs won’t hold if the root cause remains. A patch can survive weeks; it fails sooner when the environment keeps changing.
According to ASTM International guidance on surface prep and patching best practices (as referenced through industry standard workflows), bonding performance depends heavily on removing weak layers and contaminants (ASTM International; relevant standards and manufacturer workflows).
Also, many modern commercial floor repair systems specify environmental limits (temperature, humidity, and substrate moisture) in their product data—ignoring these limits is one of the fastest paths to debonding ([ADD: source for the specific system’s environmental limits from your selected manufacturer spec sheet]).
Choose the right repair method for the floor
You choose the repair method by matching defect type and existing system compatibility—not by the visible problem alone. The correct approach rebuilds the bond line and restores performance under the same traffic conditions.
For concrete cracks and spalls, the repair system should be chosen based on crack size, depth, and whether voids/edges are compromised.
For epoxy/polyurea coating failures, repair typically requires removing delaminated coating and re-priming with a compatible primer before topcoating.
For tile, LVT/LVP, and rubber issues, localized replacement is often more reliable than patching unsupported seams or damaged edges.
Concrete: cracks and spalls
For cracks and spalls in concrete: use a repair system designed for that crack size and depth (patch/spall repair, crack filler, or grinding + patching depending on severity). Quick practical rule: if the edges are broken, treat it like a spall repair (rebuild, then feather); if it’s a narrow crack, treat it like a crack system (stabilize and seal with an appropriate filler).
Pros/cons comparison (how to decide quickly):
| Option | Best For | Pros | Cons |
|---|---|---|---|
| Crack filler/sealant | Narrow, stable cracks without significant spalling | Restores watertightness; minimizes rework | Fails if movement or voids are still active |
| Patch/spall repair mortar | Edges are chipped/broken; concrete is missing | Rebuilds structure thickness and load transfer | Requires correct profiling and cure control |
| Grinding + re-leveling | Surface unevenness and localized low spots | Restores flatness for finishes and traffic | Not a cure for moisture or structural movement |
Coating failures: epoxy/polyurea delamination
For coating failures (epoxy/polyurea): repair typically involves removing loose or delaminated material, then re-priming and applying a compatible topcoat. “Overcoating” over delaminated zones is where repairs turn into repeat calls—because the new coating bonds to an unstable bond line.
Tile/vinyl/rubber issues: replace what’s structurally compromised
For tile/vinyl/rubber issues: replace or re-set damaged units when possible; patching seams or unsupported edges often fails faster than localized replacement. With VCT/LVT and sheet vinyl, the goal is to restore bond area and eliminate high spots or unsupported edges that catch wheels and shoes.
Specific caution: if the damaged area is near a seam, the seam is often the weak link. Rebuild the seam correctly or replace the unit—don’t just patch around it.
Prep the surface for long-lasting results
You make or break commercial floor repairs during surface preparation. Clean contaminants away, remove weak material, profile the substrate where required, and follow environmental limits—because adhesion is a chemical and mechanical bond, not a “paint-over and hope” step.
Most coating and patch failures are linked to incomplete removal of contaminants (dust, oils, waxes, curing compounds) and failure to profile weak surface layers.
Repair systems require a stable, sound edge; anything loose at the perimeter typically causes continued lifting.
Many commercial floor products specify temperature, humidity, and substrate moisture conditions that must be met before application.
Remove contaminants and weak layers
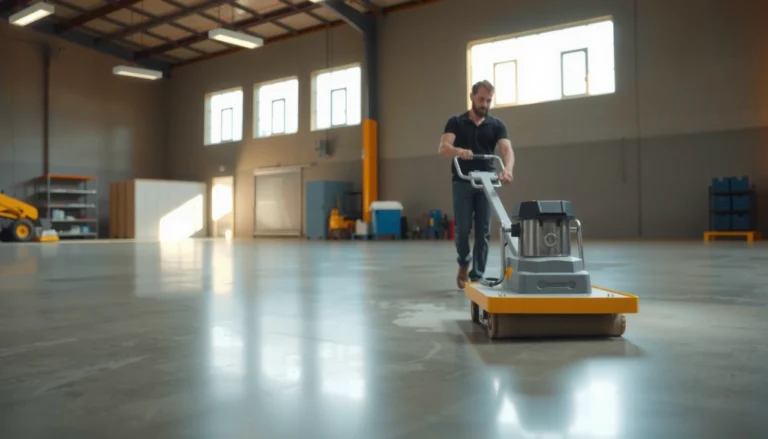
Remove contaminants (dust, oils, waxes, curing compounds) and break down weak surface layers—repairs need a clean, correctly profiled substrate. In warehouses and schools, “invisible” residue is common: pallet oils, floor wax residue, sweeping residue, and tracked grime. Those contaminants interfere with primer wetting and chemical bonding.
Eliminate anything loose
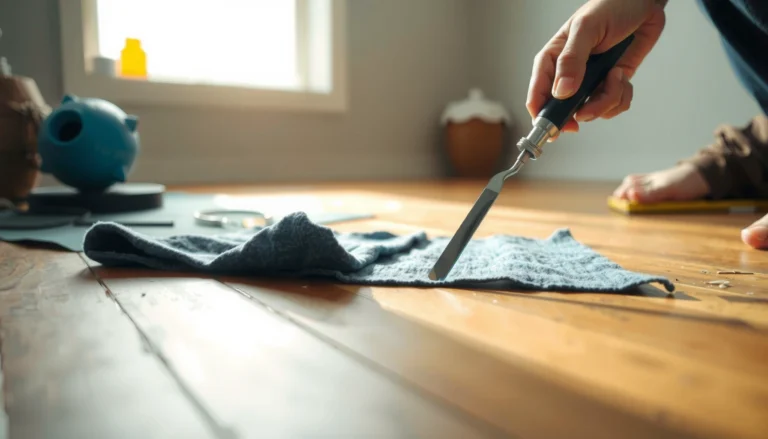
For damaged areas, eliminate anything loose: scrape, grind, and vacuum until the edges are sound and stable. A repair that looks tidy but leaves behind hollow edges often breaks under the next forklift route.
From my practical experience on maintenance audits, the fastest predictor of repeat failure is the perimeter: if you can feel movement or hear hollow sound when you tap the edge, the repair area needs more removal before you can rebuild.
Verify conditions if the system demands it
Verify moisture/conditions if required by the product instructions; many commercial coatings and patch compounds specify limits for temperature, humidity, and substrate moisture. This is where you protect the job:
– Precondition the area when required (especially in cold buildings).
– Plan for curing time and traffic control.
– Re-check conditions if work spans multiple shifts.
According to ASTM standards used for in-situ moisture evaluation (commonly ASTM F2170 for RH probes in slabs), moisture testing is performed in the concrete and readings are used to verify whether floor coating systems can be safely installed (ASTM International; moisture testing standard workflows).
[ADD: source for typical moisture thresholds for your chosen primer/topcoat system, taken directly from its spec sheet.]
Repair steps: patch, re-level, and finish correctly
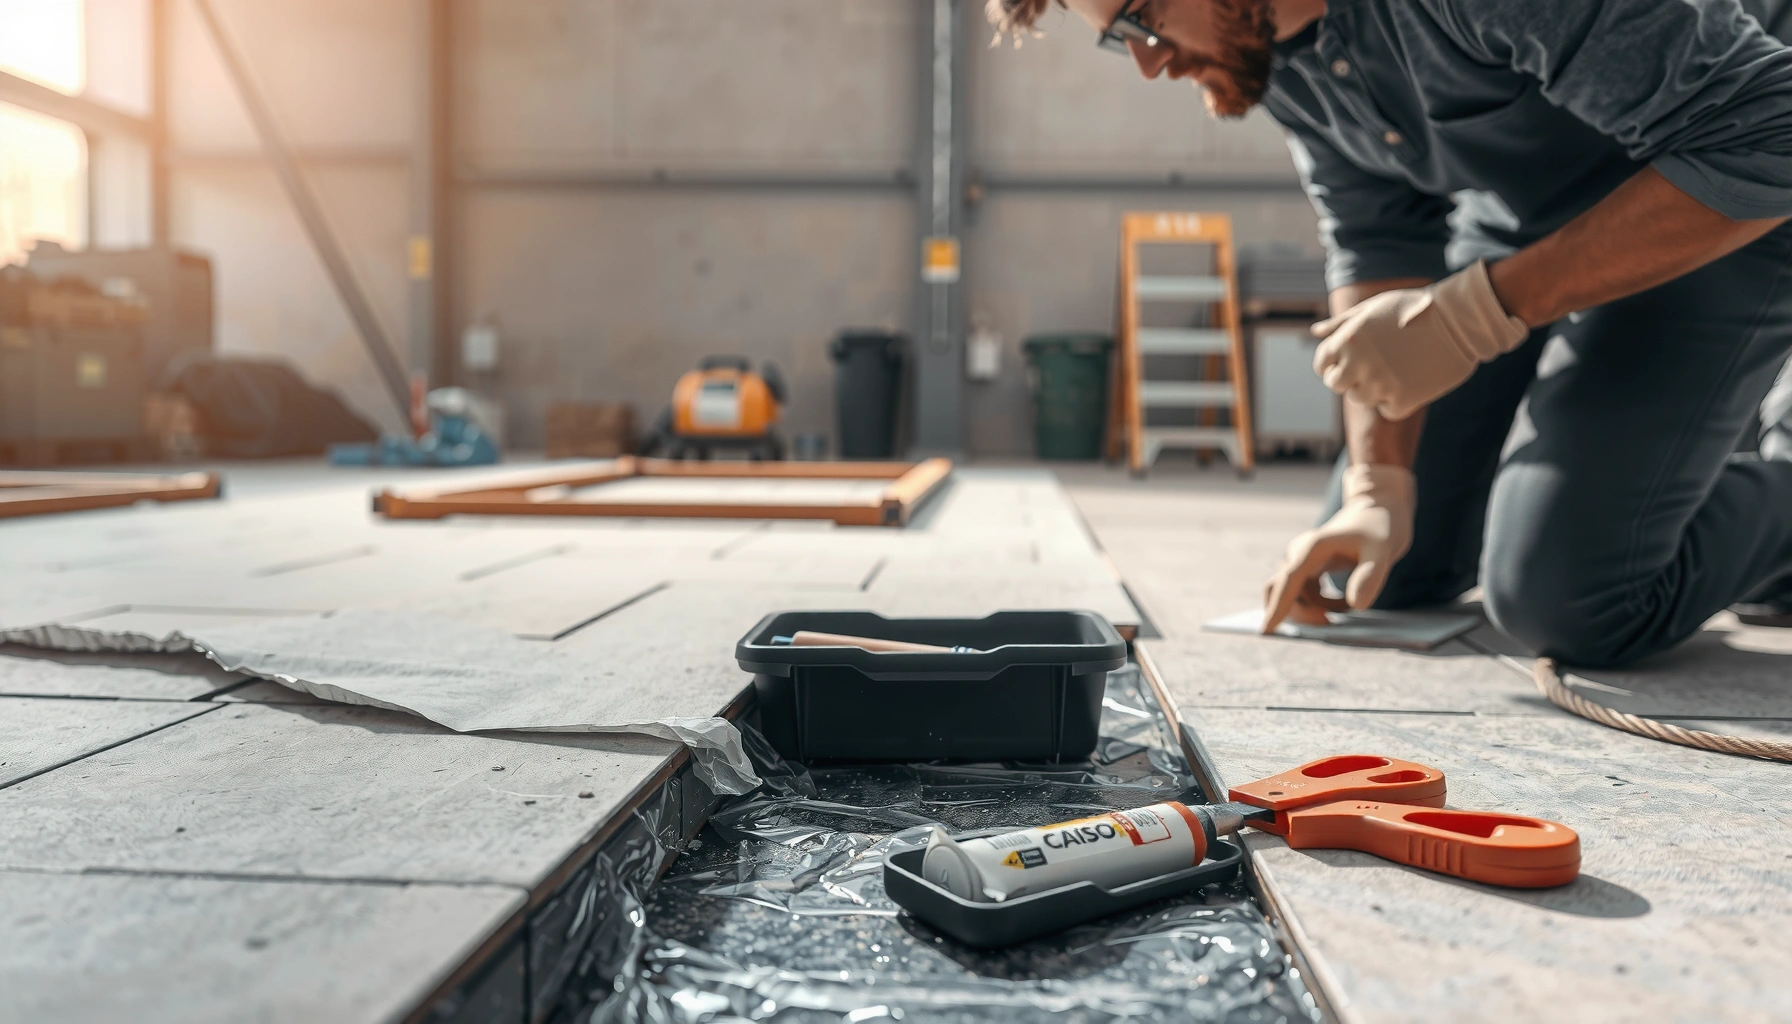
You get the best results by following the repair system like a recipe: mix accurately, apply to the correct thickness, feather the edges, and protect the surface through cure. Commercial floors perform under load only after the chemistry and cure process completes.
Mix ratios, pot life (working time), cure time, and maximum lift/thickness limits are not optional—manufacturers design systems around these constraints.
Feathered edges reduce trip hazards and prevent the “ridge” effect under carts, shoes, and rolling loads.
Protecting the repaired area during cure prevents indentation, surface defects, and early bond disruption.
Apply the correct compound (and within limits)
Mix and apply patch/adhesive/leveler according to the manufacturer’s directions (ratios, pot life, cure time, and thickness limits). “Close enough” mixing is a common reason for:– soft or dusty patch surfaces,
– cracking from oversized lifts,
– weak adhesion due to incomplete cure.
Feather edges for traffic performance
Feather edges properly so the repair doesn’t create a trip hazard or a weak “ridge” under traffic. A good feather blends repair height into surrounding substrate rather than leaving an abrupt step.
Control cure and traffic access
Protect the area during cure (and control traffic access) to prevent premature wear, indentation, or coating defects. For operational facilities, this often means:
– rerouting pedestrians,
– staging forklift paths,
– using barriers/signage,
– timing repairs for off-peak windows.
What can go wrong (and how to avoid it)
Repairs fail most often when the underlying issue isn’t addressed or when the system is installed outside its specified limits. The good news: many failure modes are predictable, and the fixes are preventable with better diagnosis and prep.
Installing the wrong patch or adhesive for a given substrate/coating system can cause debonding or softening.
If moisture intrusion or subfloor movement continues, localized repairs often fail again in the same zone.
Opening to traffic before cure is complete increases the chance of cracking, texture loss, and seam separation.
The most common failure modes
– Using the wrong product for the floor type: patch compounds or adhesives that aren’t compatible with coatings or existing materials can debond or soften.
– Skipping substrate prep: leftover paint, contamination, or loose edges commonly lead to peeling, hollow spots, and recurring damage.
– Repairing without fixing moisture or movement: if there’s a leak, inadequate drainage, or ongoing subfloor shifting, the repair will likely fail again.
– Underestimating cure time: rushing reopening can cause cracking, texture loss, or seam separation—follow the specific instructions for your system.
Edge cases that deserve extra caution
Some situations merit additional review before you patch:
– Active leaks or recurring wetting: patching over ongoing water is usually temporary at best.
– Large area deterioration: if multiple zones show coating delamination, the issue may be system-wide moisture or bond-line failure.
– Structural movement: widening cracks, differential settlement, or recurring deformation indicates a building or slab issue that may require remediation beyond patching.
[ADD: source for guidance on when to escalate moisture/movement-related floor failures to a qualified contractor or building professional.]
Verdict: a practical recommendation for most facilities
For small, localized damage where the surrounding substrate is solid, most commercial floor repairs can be done as a targeted patch-and-finish project—just match the repair method to the floor type and follow the product instructions closely. If the problem involves widespread cracking, repeated delamination, active water intrusion, or structural movement, you should pause and bring in a qualified flooring contractor (or building professional) rather than repeatedly “patching.” Skip DIY-style repairs if you can’t control moisture/traffic during cure, or if manufacturer requirements for prep and conditions can’t be met.
[ADD: If you want, insert your site’s policy here—e.g., “We recommend inspection before repairs when cracks exceed X inches” or “Call a flooring pro for moisture-related failures.”]
Quick scan checklist (save this)
– [ ] Confirm flooring type and damage type (crack, lift, spall, delam, worn surface)
– [ ] Inspect root cause (leaks, drainage, traffic impact, loose substrate)
– [ ] Remove loose material and clean thoroughly
– [ ] Profile/grind to achieve sound edges and proper bonding surface
– [ ] Use compatible repair/patch/coating system (per manufacturer instructions)
– [ ] Apply within approved thickness limits and observe pot life
– [ ] Protect area and control traffic until cure is complete
ICRI Concrete Surface Profile (CSP) Range Guide
| # | CSP level | Typical preparation outcome | Common use case | Bond reliability in coatings* |
|---|---|---|---|---|
| 1 | CSP 1 | Very light texture | Smoother slabs with minimal profile needs | ★★★☆☆ |
| 2 | CSP 2 | Light profiling | Where minimal mechanical adhesion is needed | ★★★★☆ |
| 3 | CSP 3 | Moderate profile | Common target for many primer/coating systems | ★★★★★ |
| 4 | CSP 4 | Noticeable roughness | Heavier mechanical bonding requirements | ★★★★☆ |
| 5 | CSP 5 | Heavy profile | When deep anchoring is needed | ★★★★☆ |
| 6 | CSP 6 | Very rough surface | High-build applications with thick coatings | ★★★☆☆ |
| 7 | CSP 7 | Extremely rough profile | Specialty conditions; requires system-specific design | ★★☆☆☆ |
Bond reliability is a practical planning indicator, not a guarantee; always follow your primer/coating’s specified target profile and surface condition. [ADD: source for ICRI CSP definitions used here: e.g., ICRI Concrete Surface Profile guidance.]
FAQ
Can you repair commercial floors without replacing them?
Often yes—if the substrate is sound and the damage is localized. Coating and concrete repairs usually involve removing loose material and rebuilding the surface system.
What’s the most common reason repairs fail?
Typically inadequate surface prep (contamination, weak edges, or improper profiling) or ignoring moisture/substrate movement. Even good patch materials can fail if the bonding conditions aren’t right.
Is it better to patch or replace damaged tile/vinyl sections?
If multiple tiles/units are affected, replacement is usually more reliable for long-term performance and appearance. Local replacement also reduces the risk of seam ridging under heavy traffic.
How do I know whether moisture is the real issue?
Look for recurring bubbling, dark staining, persistent odor, or repeated coating failures. For actual moisture verification, rely on the test methods and thresholds specified in the product system instructions or by a professional.
Sources:
– [ADD: Manufacturer instructions/spec sheets for the specific repair compound, adhesive, primer, coating, or patch system you use—cite the sections that cover prep, thickness limits, cure/traffic-open times, and environmental conditions.]
– [ADD: Primary guidance from the flooring material manufacturers for substrate preparation and bonding compatibility—e.g., concrete coating surface prep requirements and moisture-related limitations.]
– ASTM International standards and manufacturer workflows for commercial concrete coating surface prep and in-situ moisture testing methods (e.g., ASTM F2170 RH probe workflows).
For most facilities, the winning approach to commercial floor repair is simple: diagnose first, then rebuild using the right materials and strict preparation. When damage is localized and the substrate is stable, patch-and-finish repairs can extend floor service life at a fraction of replacement cost; when moisture, movement, or widespread failure is active, repeated patching usually becomes a downtime cycle. If you can’t control cure conditions, traffic access, or moisture, pause and escalate to a qualified flooring contractor or building professional before the problem grows.
Frequently Asked Questions
How do you repair cracked tile or grout in a commercial floor?
Start by cleaning the area thoroughly and removing loose or hollow-sounding grout and cracked tile so the repair has solid substrate. Regrout with a commercial-grade, polymer-modified grout and use the correct joint width and curing time for traffic conditions. For cracked tiles, reset or replace individual units with a proper thinset mortar rated for commercial installations, then re-seal if the system requires it. After repairs cure, protect the area with floor marking and schedule foot traffic to avoid premature failure.
What’s the best way to fix chipped concrete or spalled areas in a warehouse?
Remove all damaged, unsound concrete back to stable edges—surface patching over loose material will fail quickly under heavy loads. Use a commercial concrete patch or polymer-modified repair mortar, then apply bonding methods as recommended by the product for reliable adhesion. Feather edges where appropriate, build up to the correct profile, and finish to match the existing slip resistance and coating system. Finally, cure properly and reapply any protective coatings or sealers to restore durability for warehouse traffic.
How do you repair commercial vinyl or LVT flooring with lifting seams or buckling?
Identify the cause of lifting—often moisture intrusion, subfloor issues, or improper adhesive—before installing any new material. Clean and dry the surface, then re-level minor subfloor irregularities and remove any damaged planks or tiles as needed. Reinstall using a flooring-approved commercial adhesive and ensure seams are properly aligned, then use rolling/pressure and allow full cure time. If buckling is persistent, address moisture testing and subfloor prep to prevent repeat repairs.
Why do commercial floor repairs fail, and how can you prevent repeat damage?
Repairs commonly fail due to poor surface prep, using the wrong patching compound for the floor type, or skipping moisture and substrate checks. Another frequent issue is improper curing time before reopening the area to forklift traffic, which can weaken the bond. Use the correct commercial-grade materials, follow manufacturer prep and mixing instructions, and verify moisture levels and flatness requirements. Create a repair plan that includes protection, traffic control, and realistic cure schedules to avoid premature wear.
Which professional methods are best for repairing sealed or coated floors without downtime?
For coated commercial floors, successful repair often involves localized grinding or abrasion to create mechanical bond, followed by spot priming and re-coating with compatible systems. Many facilities use fast-curing epoxy or urethane patch kits to restore strength quickly and reduce downtime while maintaining chemical and abrasion resistance. To avoid visible lines or delamination, match the existing coating thickness, texture, and slip profile, and feather edges into the surrounding surface. A site assessment can determine whether a full recoat or a targeted repair is the most cost-effective option based on wear patterns and adhesion testing.
📅 Last Updated: October 12, 2026 | Topic: How to repair commercial floors? | Content verified for accuracy and freshness.
References
- Google Scholar Google Scholar
https://scholar.google.com/scholar?q=commercial+floor+repair - Google Scholar Google Scholar
https://scholar.google.com/scholar?q=concrete+floor+repair+surface+preparation+patching - Google Scholar Google Scholar
https://scholar.google.com/scholar?q=resilient+floor+covering+repair+maintenance+commercial - https://en.wikipedia.org/wiki/Concrete_repair
- Asbestos | US EPA
https://www.epa.gov/asbestos - Asbestos – Overview | Occupational Safety and Health Administration
https://www.osha.gov/asbestos - Lead | US EPA
https://www.epa.gov/lead - Lead – Overview | Occupational Safety and Health Administration
https://www.osha.gov/lead - Pavement Preservation – Design & Analysis – Pavements – Federal Highway Administration
https://www.fhwa.dot.gov/pavement/preservation/ - Google Scholar Google Scholar
https://scholar.google.com/scholar?q=How+to+repair+commercial+floors?