
To remove stains from hardwood floors in a staircase, use the right cleaner for the stain type—and you’ll get the floor looking even again without clouding or damaging the finish. Water-based spots respond to a carefully diluted wood-safe solution, while darker rings and oil-based stains require a stronger, finish-safe degreaser. Follow a simple test-in-anout-of-sight spot first, then clean, rinse lightly, and dry fast for the fastest, safest results.




Water stains on a hardwood staircase usually come off by gently cleaning first (with a wood-safe cleaner) and then drying thoroughly—never soaking. For darker or stubborn marks, identify whether the stain is from moisture, grease, pets/organic material, or finish wear, then use the least aggressive method that still works, ideally after a spot test in an out-of-sight area.
This is for homeowners dealing with marks on stair treads, nosings, and risers, where spills and foot traffic often cause stubborn discoloration. It also fits if you want to avoid dulling or stripping the finish while you clean.
Identify the stain type (so you don’t make it worse)

The fastest way to remove stains from a hardwood staircase without damaging it is to identify the likely source first, because different contaminants respond to different cleaners. In practice, the “same-looking” dark spots often come from water intrusion, oils, pet residue, or the finish being abraded—not the wood itself.
“Fiber saturation point” is typically around 25–30% moisture content, meaning once water drives beyond that threshold, wood movement and damage risk rise sharply.
According to the National Wood Flooring Association (NWFA), indoor relative humidity should generally be maintained around 35–55% to help prevent excessive wood expansion and contraction.
According to ASTM D4442, wood moisture testing uses oven-drying at 103 ± 2°C until mass is constant, underscoring how moisture content is central to wood behavior.
Quick visual triage on your hardwood staircase
– Look for clues: water rings often appear after moisture sat; dark smudges can be oil/grease; “shadow” spots may indicate finish wear or dye transfer.
– Check whether it’s on top or in the wood: if the stain lifts slightly with gentle cleaning, it’s more likely surface-level; if it stays, deeper treatment may be needed.
– Consider the finish: sealed/polyurethane finishes behave differently than unfinished or oiled surfaces, so your approach should match what’s there.
What “on top vs. in the wood” looks like
If the mark is mainly surface residue, you’ll usually see transfer on a cloth—then gradual lightening after you wipe and dry. If the discoloration remains sharply outlined even after careful wiping, the hardwood staircase may have deeper tonal change or finish disruption. That distinction is important because sanding or aggressive solvents can create a larger problem on stair treads and nosings where blending is difficult.
Gather the right tools and do a spot test first
Before you remove stains from a hardwood staircase, set yourself up to control moisture and abrasion—because stairs get walked on immediately, and liquids can run. The safest workflow is wood-safe supplies, minimal liquid application, and a spot test in a hidden area near the stair edge or along a riser line.
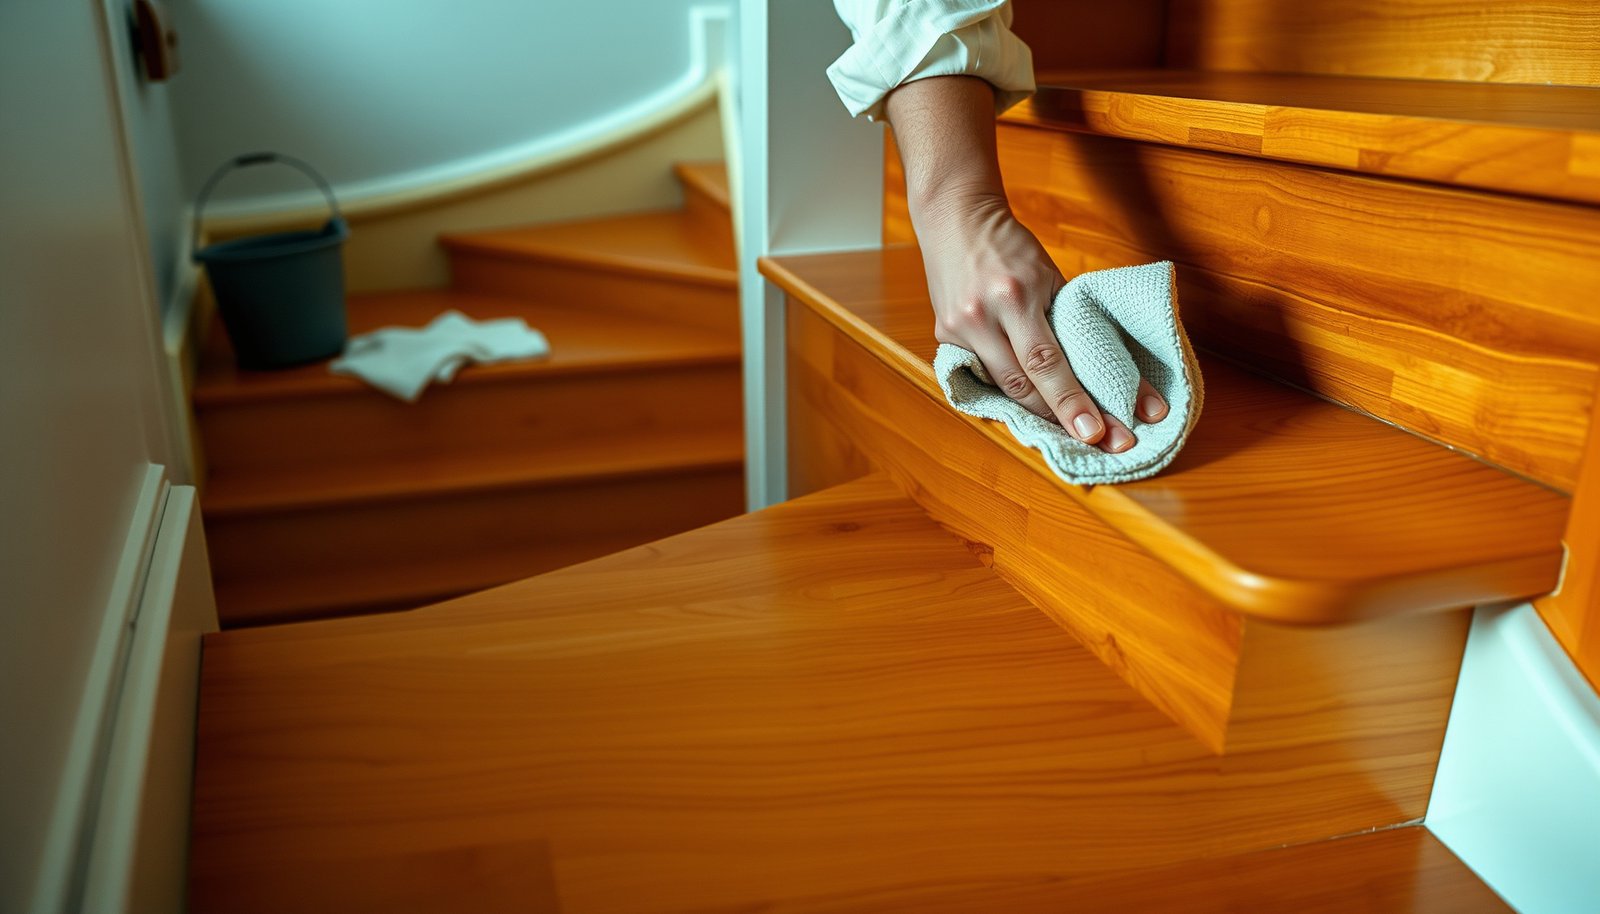
Applying cleaner to a cloth (not directly to the hardwood staircase) reduces runoff risk into seams and down risers.
Microfiber cloths are widely recommended for finish-preserved cleaning because they lift soil without the deep scratching risk of abrasive pads.
Many floor-care guidelines stress “follow-label directions” for dilution and dwell time to avoid dulling or streaking on finished hardwood.
What to use on your hardwood staircase
– Use wood-safe supplies: soft microfiber cloths, a cleaner recommended for your floor finish, and plenty of clean water for rinsing only as needed.
– Avoid abrasive pads and harsh chemistry: these can scratch stair treads and damage the gloss/sheen pattern.
– Spot test on the staircase edge/nosing: try your chosen cleaner in a hidden area first, then wait for it to fully dry before judging results.
What you should not “improvise” on stairs
Staircases don’t forgive mistakes. Even if a cleaner works on a flat room, it may leave a different sheen on treads where shoes repeatedly abrade the surface. If the spot test produces cloudiness, stickiness, or a lighter patch, stop and switch to a gentler, finish-appropriate method.
Least-Aggressive First Steps for Common Hardwood Stair Stain Types
| # | Stain type | Typical source on a staircase | Finish-appropriate first step | Finish-safety (higher is better) | Key control step |
|---|---|---|---|---|---|
| 1 | Water ring / light moisture mark | Spill, condensation, or wet boots sitting briefly | Damp cloth wipe with pH-neutral, wood-safe cleaner | ★★★★★ | Dry immediately with clean microfiber |
| 2 | Dirt/foot-traffic haze | Ground-in soil and shoe residue | Dry soil removal, then minimal-moisture cleaner wipe | ★★★★☆ | Avoid “wet-mopping” on treads |
| 3 | Grease/scuff smears | Oily footwear, hand marks, or tracked cooking residues | Wood-safe degreaser only if label approves your finish | ★★★☆☆ | Use cloth-applied product, not pooled liquid |
| 4 | Pet/organic staining | Urine, vomit, or organic drips | Remove residue first; then finish-safe enzymatic cleaner if recommended | ★★★☆☆ | Repeat only after full drying |
| 5 | Finish haze / gloss mismatch | Too much water, residue, or prior cleaner buildup | Cleaner wipe per label, then thorough dry buff | ★★★☆☆ | Stop if sheen changes during spot test |
| 6 | Ink/marker transfer | Pen marks from kids or supplies | Use label-approved wood-safe spot remover (finish safe) | ★★☆☆☆ | Do not extend dwell time beyond label |
| 7 | Water intrusion beyond finish | Long-standing spills or repeated wetting | Assess for finish damage before any chemistry escalation | ★☆☆☆☆ | Consider professional refinishing guidance |
Clean gently for light stains and finish haze
For light stains on a hardwood staircase, gentler cleaning usually removes surface soil and residual film faster than aggressive scrubbing. The key is controlling moisture: you want to clean the finish without soaking the treads, nosings, and riser edges.
Dry soil removal first helps prevent grit from turning into a scratching paste when cleaner is introduced.
Many finish manufacturers recommend applying cleaner to the cleaning cloth rather than directly to the wood to avoid runoff and staining at seams.
Immediate drying after cleaning reduces the chance of new rings or edge darkening on stair treads.
A controlled first pass on your hardwood staircase
– Start with dry cleaning: blot or wipe first to remove loose dirt that can “spread” when you add moisture.
– Use minimal moisture on stair treads: apply cleaner to the cloth (not the floor) so liquid doesn’t run into joints or down risers.
– Dry immediately and thoroughly: use a clean dry cloth to remove residual moisture and prevent lingering marks.
What “light stains” typically respond to
If the discoloration looks like a ring, smudgy haze, or dull patch without obvious finish chipping, start with finish-safe cleaner + microfiber. After drying, reassess under normal lighting from the side of the tread—stairs often hide streaks until you view them at an angle.
Tackle common stain categories on hardwood stairs
Once you know the stain category, you can target the cause instead of forcing the finish to “take more punishment.” On a hardwood staircase, this matters because stairs experience constant foot traffic, so incomplete cleaning can keep the same area looking dirty even after it dries.
Water marks typically lighten after surface cleaning and aggressive drying, because the finish is involved even when the wood tone looks unchanged.
Grease and oily smears are residue problems, so cleaners must be compatible with the floor finish; wiping only spreads oily film.
Organic stains (including pet urine) often require residue removal first, since odor and discoloration can persist even after visible wet spots disappear.
Category-by-category guidance for hardwood stairs
– Water marks / light rings: re-clean gently, then focus on complete drying; if the ring remains, you may need finish-specific restoration rather than stronger scrubbing.
– Grease, scuffs, or dark smears: remove contaminants with a wood-safe cleaner suitable for your finish (don’t automatically reach for degreasers).
– Pet or organic stains: treat as a contamination issue first (remove residue), then proceed cautiously—some stain types respond only after deeper cleaning, and others may permanently alter the wood tone.
Comparison: escalation paths that protect a hardwood staircase finish
| Task | Best first approach | Why it works on a hardwood staircase | Main downside |
|---|---|---|---|
| Light water ring | Minimal-moisture cleaner on cloth + immediate drying | Prevents runoff and reduces ring visibility | May not remove finish alteration |
| Grease smear | Finish-approved cleaner per label + cloth control | Lifts oily film without roughening treads | Wrong chemistry can dull sheen |
| Pet/organic discoloration | Residue removal, then finish-safe enzyme/spot treatment (label-approved) | Addresses both residue and lingering staining | Some damage can be permanent without refinishing |
| Finish haze from prior cleaning | Label-directed cleaner wipe and buff-dry | Restores uniform appearance without sanding | Over-cleaning can create more blotches |
What can go wrong (and how to prevent it)
Most “hardwood staircase stain removal failures” come from excess liquid, product mismatches, or abrasion that changes the tread’s appearance. If you’re trying to remove stains from hardwood floors in a staircase, the risks are higher than on a large flat area because seams, riser edges, and traffic amplify errors.
Soaking and runoff can drive moisture into seams and down risers, creating new discoloration rather than removing the original mark.
Mixing cleaners (or using solvent-type products) can soften or dull finishes, making a stain area look more pronounced during drying.
Over-scrubbing can produce shiny patches where abrasion changes the surface texture under the satin or gloss layer.
Common mistakes to avoid on stair treads
– Soaking and runoff down the stairs: excess liquid can seep into seams and create new staining or swelling—especially on stair risers.
– Mixing the wrong products: combining cleaners or using solvent-type products can soften or dull the finish and make the stain area look worse.
– Over-scrubbing the treads: abrasion can leave shiny “clean patches” that don’t match the surrounding wear pattern.
Edge cases where you should slow down
If the stain aligns with a crack, chipped edge, or worn finish spot, treat it as a finish/entry-point issue. In those situations, repeated cleaning can keep wetting the same weakened area, gradually enlarging the visible mark.
Verdict / tip: use the least aggressive method that works
If you’re trying to remove stains from hardwood floors in a staircase, the safest path is: identify the stain type → spot test → clean gently with the correct wood-safe product → dry completely → only escalate if needed. Skip aggressive chemistry or sanding unless you’re certain about your floor’s finish and condition, since stairs are more difficult to “blend” afterward than large flat areas.
Choosing a finish-appropriate cleaner and minimizing moisture is typically the lowest-risk method for restoring appearance on sealed hardwood stair treads.
If a discoloration doesn’t lift after gentle, label-directed cleaning, the remaining change may be finish wear or deeper tonal alteration rather than surface dirt.
Downsides (so you don’t get surprised)
– Some stains are “structural” to appearance: water damage beyond the finish may require refinishing, not just cleaning.
– Spot treatments can create uneven sheen: even wood-safe products can differ slightly in how they affect gloss.
– Pet/organic stains can be stubborn: some discoloration may not fully recover without deeper restoration.
Who should skip DIY escalation
If you see finish delamination, deep swelling, or multiple recurring darkening areas near joints, it’s smarter to pause and consult your floor/finish manufacturer guidance (or a qualified refinishing professional). DIY solvent escalation on a hardwood staircase can make blending more expensive than a controlled repair.
Scan/Save checklist (quick workflow)
– [ ] Identify likely stain type (water, grease, pet/organic, scuff transfer)
– [ ] Clear loose debris without spreading it
– [ ] Spot test cleaner in an out-of-sight area
– [ ] Clean using minimal moisture (apply to cloth, not floor)
– [ ] Rinse lightly only if the product label requires it
– [ ] Dry immediately (treads + riser edges)
– [ ] If still visible, reassess: surface stain vs deeper discoloration vs finish wear
– [ ] If unsure, stop and follow the floor/finish manufacturer’s guidance
Sources
Start by identifying what caused the stain, then clean with the least aggressive wood-safe method you can confirm—using spot tests and drying fast to protect stair treads and risers. If the discoloration doesn’t lift after gentle, finish-appropriate cleaning, don’t keep escalating blindly; re-check the stain type and follow your floor’s finish manufacturer guidance.
Frequently Asked Questions
How can I remove water stains from hardwood floors on a staircase?
Start by blotting the area with a clean, dry cloth to remove any remaining moisture. If the stain is light and the wood isn’t damaged, try rubbing with a hardwood floor cleaner and a microfiber cloth. For stubborn white or cloudy marks, gently use a 1:1 mix of white vinegar and water, then wipe dry and buff—avoid soaking the steps. If the stain doesn’t lift, you may need an oxygen-based wood stain remover or light sanding followed by refinishing.
How do I remove dark urine or pet stains from hardwood stairs?
First, clean the area with an enzymatic cleaner designed for urine and pet messes to eliminate odor at the source. After it dries completely, use a hardwood-safe stain remover or a paste of baking soda and a small amount of hydrogen peroxide to target the discoloration—apply lightly and don’t flood the stair. Wipe residue, let the wood dry fully, and then reassess the stain; repeat once if needed. If the discoloration penetrated deeply, you may need sanding and refinishing to fully restore the finish.
What’s the best way to lift oil-based stains (like grease or scuffs) from hardwood stairs?
Blot excess oil immediately with a paper towel, then clean with a pH-neutral hardwood floor cleaner. For sticky residue, use a slightly damp microfiber cloth with a small amount of mineral spirits on a cloth (test in an inconspicuous spot first), then wipe with a clean cloth and allow it to dry. For scuff marks, try a hardwood floor polish or a specialty scuff remover that matches your finish type. Avoid harsh solvents and abrasive pads that can strip the sheen or damage the protective coating.
Why do some stain removal methods make hardwood stains worse on staircases?
Many DIY methods oversaturate the wood, causing moisture to spread the stain deeper into the grain—especially on narrow stair treads where spills linger. Using the wrong chemical (like bleach, steel wool, or strong degreasers) can react with the existing finish and create light spots, haze, or uneven discoloration. Also, scrubbing too aggressively can remove the topcoat, making the stain more visible. Always test any cleaner on a hidden area first and follow up with thorough drying and gentle buffing.
Which products should I use to remove hardwood floor stains without damaging the finish on stairs?
Choose hardwood-safe cleaners labeled for finished wood floors and, when needed, enzymatic cleaners for organic stains like urine. For water rings or light discoloration, use methods like diluted vinegar solutions, hydrogen peroxide (sparingly), or oxygen-based wood cleaners that are designed for wood surfaces. Avoid ammonia, bleach, steam mops, and abrasive scrubbers unless the stain removal requires sanding and refinishing. If your staircase has a known finish (polyurethane, varnish, or wax), use products formulated for that finish type for safer, more consistent results.
📅 Last Updated: October 17, 2026 | Topic: How to remove stains from hardwood floors in a staircase? | Content verified for accuracy and freshness.
References
- Wood stain
- Wood flooring
- Varnish
- 404 Error
- 404 Error
- 404 Error
- 404 Error
- https://scholar.google.com/scholar?q=remove+stains+from+hardwood+floors Google Scholar
- https://scholar.google.com/scholar?q=wood+finish+water+stain+removal+varnish+polyurethane Google Scholar
- https://scholar.google.com/scholar?q=pet+urine+stains+wood+floor+finish+removal Google Scholar