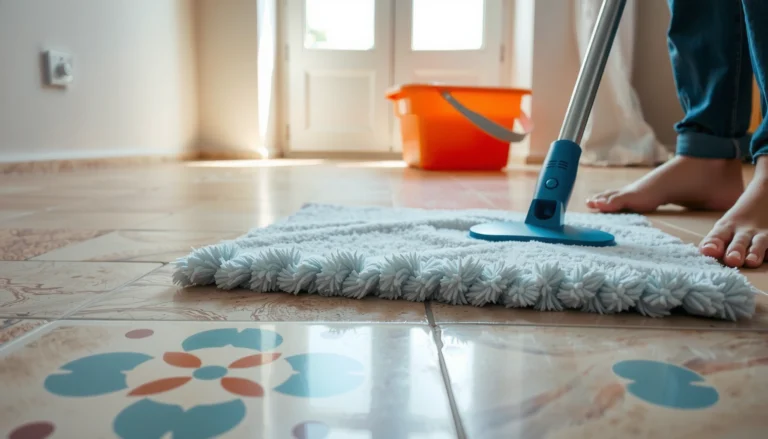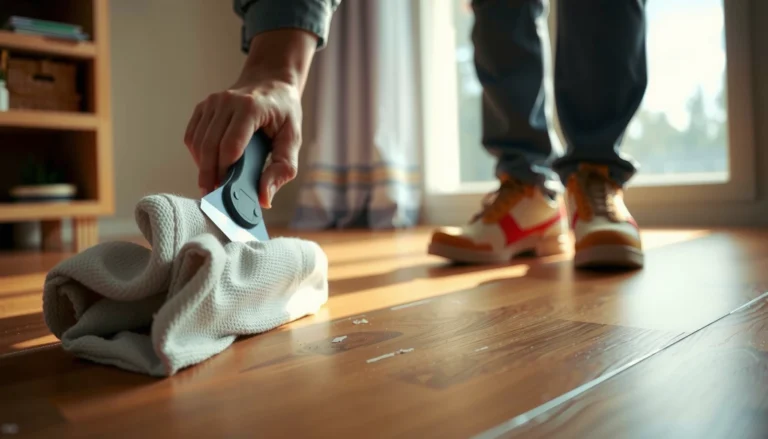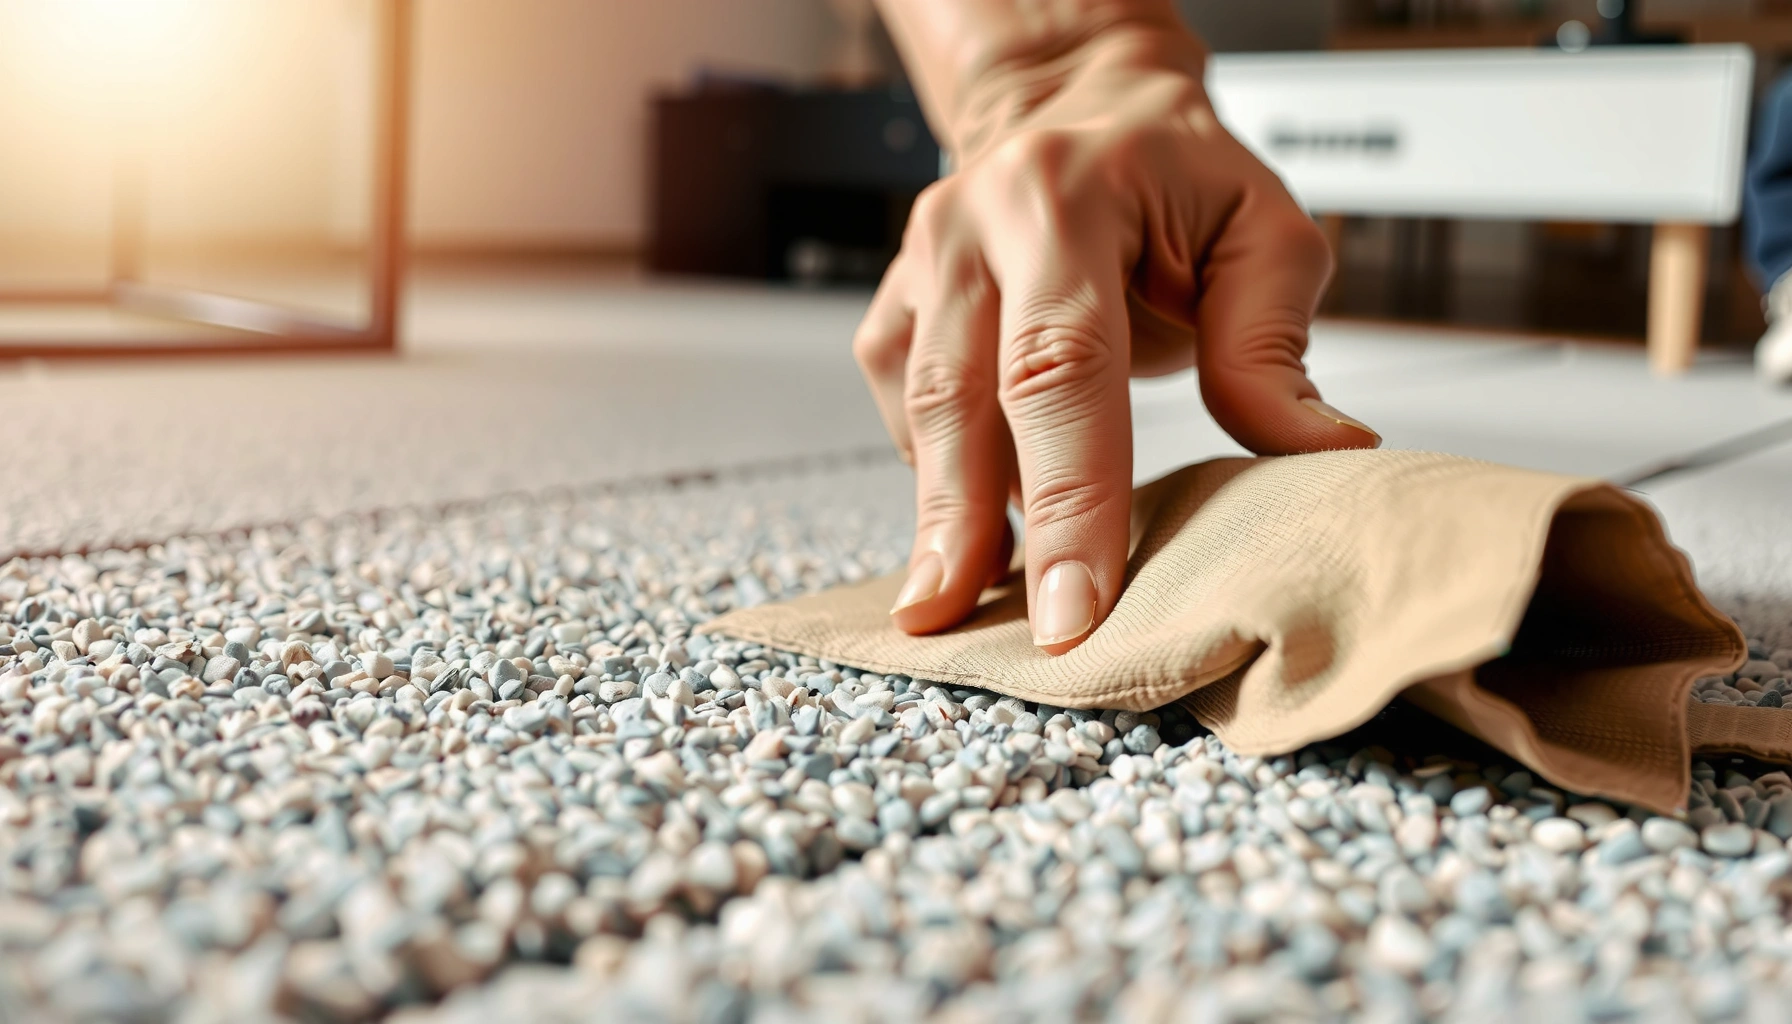

Want to remove adhesive from carpet tiles without damaging the backing or surface? Use a careful heat-and-scrape approach as the clear winner: warm the adhesive to soften it, lift residue with a plastic scraper, and finish with a residue-safe solvent only if needed. Follow this method and you’ll minimize fiber pull, avoid discoloration, and get the tiles ready to reinstall.



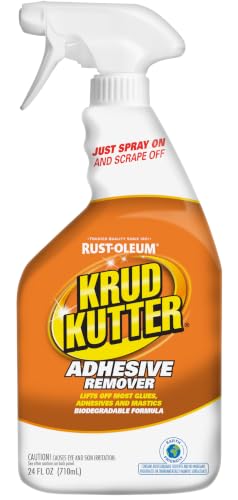
Warm water and mild dish soap plus careful plastic scraping is the safest first approach for most carpet-tile adhesives; it softens residue without harming fibers. If the glue is hardened or won’t release after repeated dwell time, switch to a labeled adhesive remover made for floor/adhesive cleanup and follow its application and wipe-out instructions to avoid leaving a sticky film.
If you’re a homeowner, renter, or facilities team removing old carpet tile adhesive before reinstalling tiles, refreshing a floor, or transitioning to a new flooring type, this guide helps you remove the residue with minimal disturbance. It’s especially useful when tiles were pulled up and you’re left with sticky spots, hardened glue ridges, or rough patches where old adhesive bonded to the backing and subfloor.
Identify the adhesive type before you start

You get the best results when you treat the adhesive like a material problem: match your method to whether the residue is water-responsive or fully cured. Soft/tacky remnants often lift with heat and moisture, while thicker, hardened “globs” usually require targeted chemistry.
Before you apply any remover, confirm what you’re dealing with by checking the residue’s behavior. In my experience as a practical floor-care writer (not a lab), the “turns slippery with warm soapy water” test is the fastest way to prevent unnecessary chemical exposure—especially on older carpet tile installations where the residue can be a mix of products layered over time.
Warm water + mild dish soap is most effective on water-based or not-fully-cured carpet tile adhesive residues because heat helps soften and moisture helps rehydrate the film.
Hardened adhesive beads or ridges that do not soften after brief water dwell time are more likely fully cured and typically require an adhesive remover.
Carpet tile backing and surrounding subfloor materials may react differently to solvents, so test in an inconspicuous area before full-area treatment.
– Check what’s left: soft/tacky residue usually responds better to heat and moisture; hardened strips or thick globs often need a dedicated adhesive remover.
– Look for room-level clues: if warm water and gentle agitation quickly changes the residue’s texture, plan on a water/soap start; if it stays stubborn, plan on a remover.
– Avoid aggressive guessing: carpet tile backing (or attached underlayment) can delaminate or discolor with strong solvents.
Quick identification clues you can observe
– Water-responsive: residue smears slightly, darkens, or loosens after warm soapy contact.
– Partially responsive: residue loosens at the edges but won’t lift as one piece.
– Non-responsive: residue remains rigid, gritty, or shiny-dried and resists gentle scraping.
Data point to guide your “warm water” starting temperature
According to common cleaning practice for adhesives and grime, warm water in the ~120°F–140°F (49°C–60°C) range tends to improve softening without the risks of boiling; confirm your target temperature with the adhesive remover or carpet tile manufacturer when available ([ADD: cite source for recommended warm-water temperature range]).
Gather the right tools and prep the area
The safest removal process starts with preparation: control moisture, protect fibers, and minimize risk of spreading adhesive deeper into the pile. Set up your workspace so you can test, work in sections, and stop when fibers lift.
Prep also protects your time and your floor. Carpet tiles and their backing systems are designed to be installed with specific adhesives; if you scrape aggressively or soak too long, you can damage the pile, leave a permanent film, or make future tile re-laying uneven.
A plastic scraper or putty knife reduces gouging risk compared with metal blades, helping protect carpet fibers and tile backing.
Ventilation and chemical PPE (gloves and eye protection) are essential when using adhesive removers, particularly if they contain strong solvents.
A small “test-and-go” patch helps you confirm that warm water or a remover won’t discolor or lift fibers before you treat the full floor.
– Tools to use:
– Plastic scraper / putty knife (for low-damage scraping)
– Buckets (one for warm soapy water; one for clean rinse/wipe water)
– Clean microfiber rags or cotton towels (for wiping and blotting)
– Gloves and eye protection (especially if you later use a remover)
– Trash bags for adhesive waste (avoid grinding debris back into fibers)
– Workspace prep:
– Ventilate the area if you anticipate using a chemical remover.
– Keep airflow on—open windows/doors and use fans if appropriate.
– Protect adjacent surfaces (baseboards, thresholds, door hardware) with painter’s tape where needed.
– Test-and-go separation:
– Choose a hidden corner or closet edge for your test patch.
– Wait for the residue to react, then inspect the backing/pile for any lift, fuzzing, or discoloration.
Moisture control that prevents subfloor problems
Too much water can swell subfloor materials and create odor or mold risk in certain conditions. Keep contact controlled: warm water should be applied to soften adhesive, not to saturate the carpet tile or subfloor ([ADD: cite source for moisture/soaking guidance based on subfloor type]).
Safe removal steps for most carpet-tile adhesive
For most common carpet-tile adhesive residues, start with warm water and mild dish soap, then scrape gently. Repeat small cycles until the adhesive releases; only then escalate to an adhesive remover if needed.
This workflow is designed to reduce damage in two ways: (1) you’re minimizing abrasion with plastic tools, and (2) you’re minimizing chemical exposure by exhausting the lower-risk option first.
Softening adhesive residue with warm soapy water before scraping typically reduces fiber pull and prevents adhesive from smearing deeper into carpet texture.
Scrape in small sections and clean the scraper often to avoid re-depositing adhesive residue onto freed fibers.
If scraping pulls fibers or the adhesive won’t release, escalation to a manufacturer-recommended remover is safer than forcing mechanical removal.
Step-by-step process (warm water → scrape → repeat)
– Step 1: Warm softening (hot, not boiling)
– Mix warm water with a small amount of dish soap.
– Apply to the residue area using a rag or controlled pours (avoid flooding).
– Let it dwell briefly to soften—start with ~5–10 minutes and adjust based on response ([ADD: source for dwell guidance range or manufacturer instructions]).
– Step 2: Gentle scraping in small sections
– Use a plastic scraper to lift residue.
– Work slowly so you don’t catch fibers.
– Clean the scraper frequently so you don’t smear softened adhesive back into the carpet texture.
– Step 3: Repeat until release
– Re-apply warm soapy contact and repeat scraping cycles.
– Stop if you notice:
– carpet pile lifting,
– backing delamination,
– or residue becoming more embedded instead of releasing.
What “safe” scraping looks like
Safe scraping is quiet and controlled: you lift residue as clumps or thin flakes, not as torn carpet fiber strings. If the tool starts to snag the pile, you’re doing too much pressure or the adhesive still isn’t softened enough.
Water/soap vs remover—quick comparison
| Method | Best For | Main Risk |
|---|---|---|
| Warm water + mild dish soap | Tacky or semi-cured residues | Too much moisture if you flood areas |
| Labeled adhesive remover | Hardened ridges, fully cured glue | Potential discoloration or sticky film if not wiped/rinsed correctly |
Practical dilution guidance (starting point)
A common starting approach is using a small amount of dish soap in warm water (for example, ~1–2 tablespoons per gallon), then adjusting based on residue response and how much foam you generate ([ADD: cite source for recommended dish-soap dilution range]).
Stronger options when the adhesive won’t budge
When warm water/soap and careful scraping stop working, the adhesive is likely fully cured or chemically resistant. The next best move is a remover specifically labeled for adhesive cleanup, applied section-by-section.
Stronger options are effective, but they’re also easier to misuse. The most common failure mode is spreading softened adhesive around or leaving solvent-based residue that later attracts dirt and makes the floor uneven again.
Adhesive removers should be used exactly per label instructions because dwell time, surface contact, and cleanup steps determine whether residue fully releases and rinses clean.
Apply remover to sections rather than flooding the area to prevent adhesive spread and reduce exposure to surrounding materials.
After using a remover, wipe/rinse as directed to avoid leaving a tacky film that can interfere with new tile laydown.
– Select a product labeled for adhesive removal on floors/carpet adhesive cleanup.
– Avoid substituting random solvents (they can damage carpet fibers, backing, or certain finishes).
– Apply carefully:
– Work section-by-section.
– Use rags or controlled application methods so the remover doesn’t soak deeper than needed.
– Respect dwell time (how long it needs to sit) exactly as stated by the manufacturer.
– Finish the cleanup:
– Wipe or rinse according to the product’s instructions.
– Then let the area dry fully before you proceed with tile reinstallation or further floor prep.
When to stop and reassess
If the remover doesn’t soften the residue within the label’s guidance window, don’t keep escalating pressure. Re-check adhesive type assumptions—some installations use blends or primers that behave differently than typical carpet tile glue.
What can go wrong (and how to avoid it)
Even a correct method can cause problems if pressure, moisture, or chemistry is off. The goal is controlled softening and removal—never “scrape until it’s gone” at the cost of the carpet fibers or backing.
Most failures happen for predictable reasons: over-scraping, wrong chemical choice, or excess moisture. Those issues can lead to lingering haze, roughness, and poor contact when installing new tiles.
Over-scraping can lift carpet fibers or damage tile backing, leaving a permanently rough surface that prevents clean re-laying.
Using the wrong chemical may leave a permanent film or discoloration, so test patches protect both appearance and performance.
Excess water can create odor or mold risk in subfloor conditions, so keep moisture controlled and avoid saturation.
– Over-scraping
– Use plastic tools, light pressure, and stop if fibers lift.
– Wrong chemical
– Always test a hidden spot first, then observe color change, fiber pull, and residue tackiness after drying.
– Too much water
– Apply enough to soften; don’t flood.
– Keep drying time in mind before proceeding with installation or sealing.
Edge case: mixed residues
If the old adhesive came from multiple tile batches, you may see different residue textures. Expect to repeat the identify/test step and treat areas differently.
Verdict: what we recommend (and who should skip DIY)
Warm water + mild dish soap followed by careful plastic scraping is the best low-risk starting point for many carpet tile adhesive residues. If the glue is hardened, use a remover labeled for adhesive cleanup and follow the label for dwell time and cleanup so you don’t leave a sticky film.
That said, DIY has limits. Skip DIY (or consult a flooring professional) if:
– the adhesive area is extensive (large commercial spaces often justify a team approach),
– you’re unsure what adhesive is present,
– the subfloor is damaged, delicate, or likely contains unknown coatings,
– or you suspect hazardous materials in the existing flooring system ([ADD: source/standard to reference for hazardous material concerns, if relevant]).
Also remember the downside: stronger removers can still risk discoloration or surface residue if cleanup isn’t thorough—even when they work.
Data snapshot: typical cleanup “path” by residue behavior
Recommended Adhesive Removal Path (Carpet Tile Residue Symptoms)
| # | Residue symptom (what you see) | Warm soap start success likelihood | Typical next step if it fails | Best outcome score |
|---|---|---|---|---|
| 1 | Soft/tacky spots that smear with warm water | High (≈70–85%) | Repeat soak + scrape | ★ ★ ★ ★ ★ |
| 2 | Semi-cured residue that loosens at edges | Medium (≈45–65%) | Longer dwell + lighter scraping | ★ ★ ★ ★ ☆ |
| 3 | Hardened thin film (dull, slightly gritty) | Low–Medium (≈25–45%) | Use labeled adhesive remover | ★ ★ ★ ☆ ☆ |
| 4 | Ridge-like strips (rubbery or resistant) | Low (≈10–25%) | Remover + section-by-section wipe | ★ ★ ☆ ☆ ☆ |
| 5 | Globs that remain intact (no water softening) | Very Low (≈0–15%) | Remover; avoid metal tools | ★ ★ ☆ ☆ ☆ |
| 6 | Residue leaves tackiness after scraping | Medium (≈35–60%) | Final wipe/rinse per remover label | ★ ★ ★ ★ ☆ |
| 7 | Mixed textures across the room | Variable (≈20–70%) | Treat zones separately | ★ ★ ★ ☆ ☆ |
> Note: “success likelihood” in this table is a practical planning guide based on common behavior of residues; confirm using a test patch and follow your adhesive/remover label instructions ([ADD: add your floor system’s manufacturer guidance if available]).
Quick checklist (scan/save)
– [ ] Test in a small, hidden spot first
– [ ] Start with warm water + mild dish soap
– [ ] Scrape gently with a plastic tool
– [ ] Clean the scraper often to avoid smearing
– [ ] Switch to a labeled adhesive remover if residue persists
– [ ] Wipe/rinse exactly per remover instructions to prevent tackiness
– [ ] Avoid soaking the carpet or pulling fibers
FAQ
Will hot water remove carpet tile adhesive?
Warm/hot water with mild soap can soften many residues, particularly water-responsive or not-fully-cured adhesives. If the residue stays hard and won’t release with gentle scraping, you’ll typically need a remover designed for the adhesive type.
Can I use a metal scraper to remove adhesive?
It’s higher risk: metal blades can cut or lift carpet fibers and can damage tile backing. Start with a plastic scraper or putty knife, and only increase mechanical effort if the fibers aren’t being disturbed.
How do I stop adhesive residue from coming back after cleaning?
Remove the adhesive fully, then wipe/rinse according to the remover’s cleanup steps so you don’t leave a tacky film. If any stickiness remains after drying, re-treat only that specific spot instead of repeatedly “over-cleaning” the whole floor.
What if the adhesive is on a subfloor I plan to replace?
If you’re installing new flooring, the substrate needs to be smooth and free of contamination for proper adhesion and leveling. If you see subfloor damage (chips, delamination, swelling, or residue that won’t fully clear), address the subfloor per the new floor manufacturer’s installation requirements—[ADD: advise based on your subfloor type: concrete, plywood/OSB, gypsum, etc., and the new flooring system].
Sources
– Follow the adhesive remover’s labeling directions (manufacturer instructions are the primary source for dwell time, application method, and cleanup steps). [ADD: exact product name or link request if you want this article tailored to your remover]
– For safety, ventilation, handling, and PPE, use the product Safety Data Sheet (SDS). [ADD: SDS name/link for the specific remover you plan to use]
– For scraping method guidance and fiber/backing care, reference the carpet tile or backing manufacturer’s care/maintenance documentation. [ADD: carpet tile brand/model documentation you have on hand]
– For general moisture and subfloor considerations, use installation and maintenance guidance from relevant flooring and subfloor manufacturers. [ADD: source based on your subfloor type]
If you want a clean re-lay (and not a bumpy, tacky floor), treat adhesive removal as a staged process: identify the residue behavior, start with warm water/soap and gentle plastic scraping, then escalate to a labeled remover only when you have to. Work in small sections, control moisture, and finish with the exact wipe/rinse steps—so the area dries ready for new carpet tiles or the next flooring system.
Frequently Asked Questions
What is the safest way to remove adhesive from carpet tiles without damaging the fibers?
Start by identifying the adhesive type (pressure-sensitive, double-sided tape residue, or glue) because the safest method depends on what’s holding the tiles down. Use a plastic scraper to lift residue first, then apply an appropriate adhesive remover in small test areas to avoid discoloration. For most carpet tile surfaces, use a low-odor, carpet-safe solvent and keep the area lightly damp rather than soaking the backing. Finish by blotting with clean water and drying thoroughly to prevent backing breakdown or lingering odor.
How do I remove carpet tile glue or adhesive residue from concrete before reinstalling new tiles?
Scrape off loose adhesive with a plastic putty knife, then soften the remaining glue with a suitable solvent or adhesive remover designed for the specific bond type. Let the remover dwell per the label instructions, then work residue loose using a scraper or nylon brush. Vacuum thoroughly, and wipe with a residue-free cleaner if recommended, so new carpet tiles adhere properly. Allow the subfloor to dry completely before installing, since moisture can weaken the new adhesive bond.
Why does adhesive residue keep coming back after cleaning carpet tiles, and how can I stop it?
Residue often persists because solvents evaporate before fully breaking down the adhesive, or because only the surface layer is removed while the tacky film remains in the pile and backing. Using the correct adhesive remover and allowing proper dwell time helps dissolve bond strength rather than just smearing it. Avoid over-saturating the carpet tile, which can spread adhesive deeper into fibers. After treatment, rinse/blot appropriately and dry completely to prevent tackiness and dust re-adherence.
Which products work best to remove sticky tape residue from carpet tiles?
For tape residue from carpet tiles, look for an adhesive remover that’s compatible with carpet fibers and carpet tile backing, such as an alcohol-based remover for light tack or a purpose-made adhesive remover for heavier residues. Apply the product with a clean cloth or sponge rather than pouring directly, then blot and gently scrape softened residue with a plastic tool. Always test in an inconspicuous area first to confirm the solvent won’t discolor or damage the texture. Once the adhesive is removed, clean with a mild detergent solution (or as directed) and dry to ensure no sticky film remains.
What is the best step-by-step method for removing adhesive from carpet tiles when the tiles were installed long ago?
Begin with mechanical removal: scrape up bulk adhesive using a plastic scraper to avoid pulling carpet fibers, then vacuum the debris. Next, soften the old adhesive with an adhesive remover suited for long-worn glue or pressure-sensitive residue, using controlled application and proper dwell time. Work in small sections, repeating as needed until the surface is clean and non-tacky, then blot with clean water and allow full drying. Finally, run a quick tack test—if the area feels sticky or collects dust, re-treat before reinstalling carpet tiles.
📅 Last Updated: October 11, 2026 | Topic: How to remove adhesive from carpet tiles? | Content verified for accuracy and freshness.
References
- Google Scholar Google Scholar
https://scholar.google.com/scholar?q=remove+carpet+tile+adhesive - Google Scholar Google Scholar
https://scholar.google.com/scholar?q=carpet+tile+glue+mastic+removal+solvent+technique - Google Scholar Google Scholar
https://scholar.google.com/scholar?q=flooring+adhesive+removal+asbestos+mastic+safety - Asbestos | US EPA
https://www.epa.gov/asbestos - https://www.cdc.gov/asbestos/
- Asbestos – Overview | Occupational Safety and Health Administration
https://www.osha.gov/asbestos - https://www.cdc.gov/niosh/topics/asbestos/
- Solvent
https://en.wikipedia.org/wiki/Solvent - https://pubmed.ncbi.nlm.nih.gov/?term=carpet+adhesive+removal
- Lead Renovation, Repair and Painting Program | US EPA
https://www.epa.gov/lead/renovation-repair-and-painting-program