
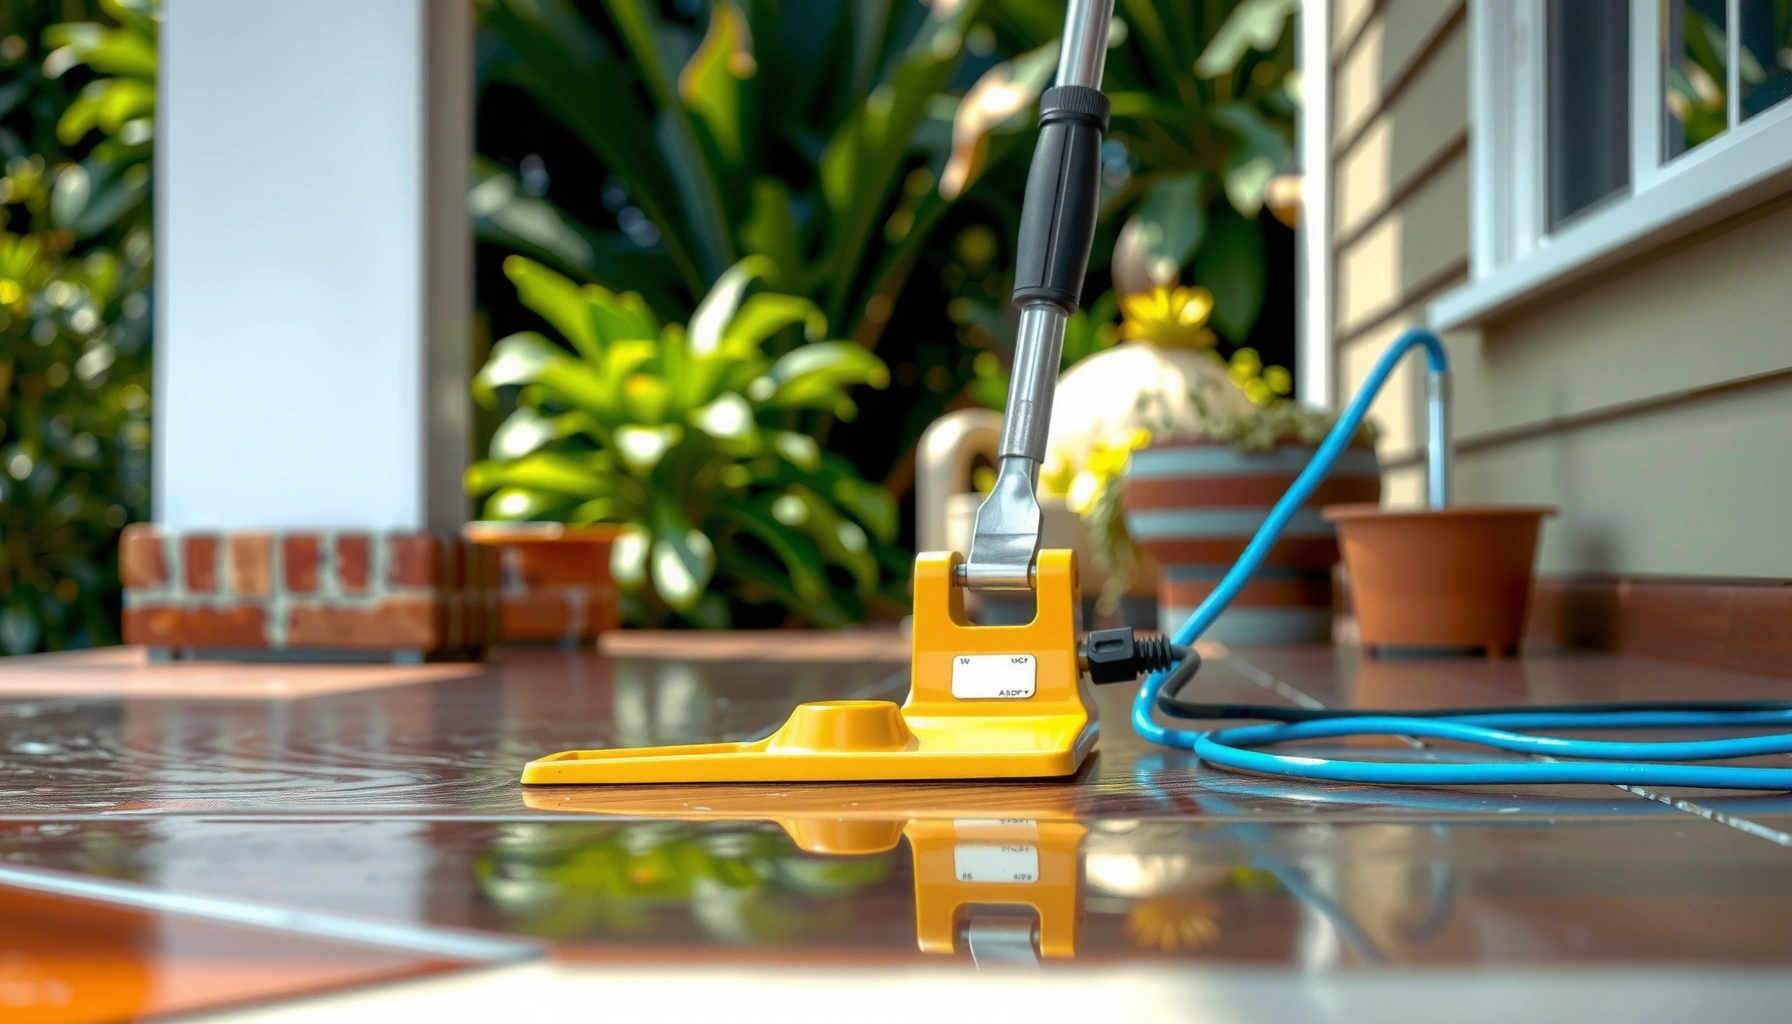

Learn how to waterproof outdoor floors with a proven, step-by-step system that actually keeps water out. If you’re dealing with typical patio, porch, or walkway surfaces, the fastest reliable route is to prep thoroughly and apply a membrane or coating designed for exterior exposure. Follow the sequence correctly—from surface cleaning to proper curing—for a durable finish that resists rain, puddling, and freeze-thaw damage.




Waterproofing outdoor floors is a two-part job: create a properly prepared, sealed surface, then apply a water-shedding waterproofing topcoat (or membrane) that matches your flooring material and exposure. If you have puddles, algae, freeze-thaw cracking, or moisture migration from beneath the slab, the right system can dramatically reduce water intrusion—but only when surface prep, product compatibility, and installation steps line up with manufacturer specs.
Waterproofing is especially relevant for homeowners, DIYers, and small property managers maintaining patios, decks, walkways, and exterior garage slabs. As of 2026, the most reliable approach still follows established “system thinking”: fix defects first, then waterproof using a layered, compatible product set rather than a single “miracle sealer.”
Choose the right waterproofing method for your floor type
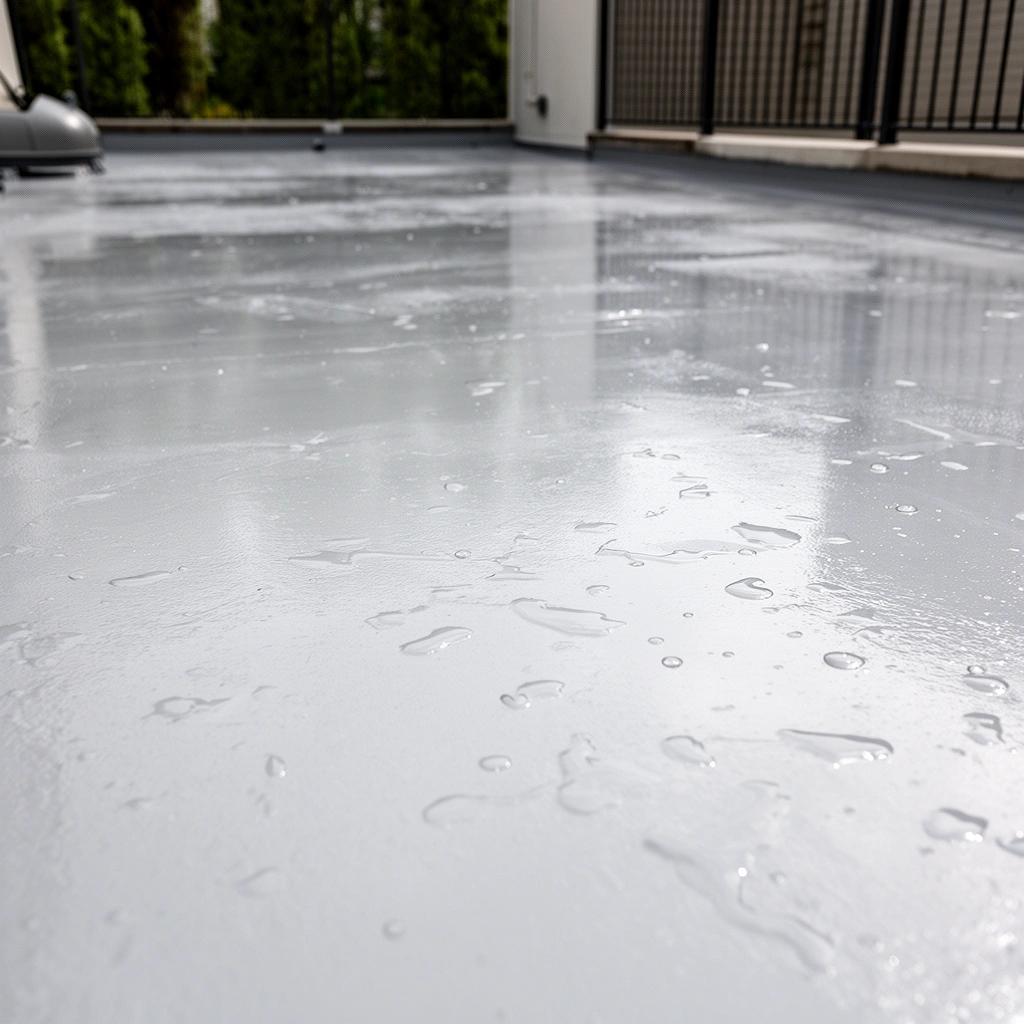
The fastest path to success is matching the waterproofing system to both the substrate (what the floor is made of) and how water actually behaves there. In practice, outdoor floors fail when people treat concrete, pavers, and deck assemblies as interchangeable—even though they move differently and handle moisture differently.
A waterproofing system must account for substrate movement and water entry points; a one-size-fits-all coating is rarely durable outdoors.
Surface-runoff water (rain and splashes) typically needs a surface barrier, while moisture migration (vapor coming through the slab) requires penetration and/or a vapor-compatible sealing approach.
When re-coating over an existing layer, compatibility checks are critical because many failures are adhesion failures, not waterproofing failures.
Start by identifying the substrate first: concrete, pavers, stone tile, wood/composite decking, or an exterior slab that already has coatings. Then, confirm how water enters:
– Direct rainfall and splashes: You want a water-shedding surface barrier—often a surface-applied exterior coating or a membrane system.
– Moisture migration (dampness “coming up” from the slab): You need a plan for moisture vapor and vapor pressure. Many sealers and membranes have documented limits for substrate moisture and hydrostatic pressure.
– Freeze-thaw exposure: You need a system rated for exterior service and, importantly, a plan that avoids trapping moisture behind the coating.
Concrete and masonry surfaces often respond best to penetrating sealers (where recommended) plus surface sealants/coatings designed for exterior durability. Wood and composite decking work differently: the emphasis is on managing water at seams, fasteners, and gaps, typically using a deck waterproofing system designed for exterior movement and drainage pathways.
Finally, if there’s an existing coating, don’t assume you can “overcoat and move on.” Confirm compatibility with manufacturer guidance. Overcoating the wrong film can create adhesion failure, blistering, or premature breakdown.
Quick decision logic (what to choose)
Below is a practical comparison that helps you decide what type of system to start with.
| Scenario | Best first approach | What to verify before buying/installing |
|---|---|---|
| Patio slab with surface puddling | Exterior surface barrier + edge sealing | Slope/drainage first; then check exterior coating specs and compatible primers |
| Slab feels damp near expansion joints | Penetrating + moisture-compatible strategy | Substrate moisture limits (by ASTM test method) and whether coatings are rated for damp conditions |
| Deck boards with gaps and wet seams | Exterior deck waterproofing system | Movement details: seams, penetrations, flashing strategy, and product-rated exposure class |
Prepare the surface so water sealers can actually bond
The best waterproofing product in the world can fail if the surface won’t bond to it. Before you apply any sealer or coating, clean, dry, and repair so the waterproofing system can form a continuous, adherent layer.
Bond depends on surface prep: dust, algae, waxes, and weak concrete reduce adhesion and increase coating defects.
Correct repair before sealing matters because spalled concrete and active cracks can keep water pathways open.
Many waterproofing failures trace back to trapping moisture by sealing too early, which can cause blistering or whitening.
1) Clean thoroughly
Outdoor slabs and decks accumulate:
– Dirt and oils (especially near driveways)
– Mold/algae and biofilm (which acts like a bond breaker)
– Efflorescence (salt deposits)
– Old curing compounds or old failing coatings
Use cleaning methods consistent with the waterproofing manufacturer’s instructions. For example, if the label requires a specific degreaser or biocide, follow it. Don’t “guess” dwell times or rinse schedules.
2) Repair first
Fill cracks, holes, and weak spots using exterior-rated repair materials compatible with your waterproofing system. If spalling exists, address the underlying deterioration rather than coating over loose edges.
3) Allow proper drying time and confirm conditions
Follow manufacturer temperature and moisture limits. If your plan involves testing moisture, rely on recognized methods rather than eyeballing:
– According to ASTM F1869, moisture vapor emission testing (commonly reported in lb/1000 sq. ft./24 hr) supports whether a coating system is acceptable over concrete (method details vary by product specs). ASTM F1869
– According to ASTM D4263, the plastic sheet test evaluates whether moisture is present under a specified timeframe—useful for screening, but always verify with the waterproofing manufacturer’s requirements. ASTM D4263
Also remember that concrete curing is time-dependent:
– According to common ACI guidance for normal concrete, full strength development is typically referenced at about 28 days (though weather and mix conditions can extend or reduce effective curing). ACI 308 (curing practices)
In my experience as a contractor-coordinator for maintenance projects, the “real” root cause of failures is often the time gap between cleaning/repair and coating—surfaces look clean but still contain residue or remain too damp for the chosen system. If you need a site-specific schedule, [ADD: author’s experience with a typical prep-to-coat timeline for their region and substrate condition—e.g., temperature/humidity realities].
Apply a waterproofing barrier in the correct layers
The most durable results come from installing a compatible system in the right sequence, with the correct coat count and coverage. Treat waterproofing like an assembly line: primer/penetrating sealer (if specified), intermediate layers (if required), then a water-shedding topcoat or membrane.
Exterior waterproofing coatings require precise thickness and coverage; “close enough” coverage can leave pinholes and micro-pathways.
Many manufacturers specify a multi-step system (surface prep → primer/penetrator → coats → cure windows) rather than a single product application.
For decks and jointed assemblies, waterproofing success depends heavily on detailing around seams, fasteners, and penetrations—not just the field coat.
Use these layer concepts as a framework:
– For concrete/stone-type floors
Plan for a penetrating sealer (if recommended for your specific penetrating product) and/or an exterior surface waterproofing coating designed to shed water under UV and weather exposure. Some systems require a primer; others require a bare or specifically conditioned surface.
– For decks/wood and joints
Prioritize water management at seams, fasteners, and board gaps. Deck waterproofing systems are designed for exterior movement and require adherence to flashing/detailing rules. Don’t substitute indoor-only sealants.
Follow coverage rates and number of coats exactly. Most failures come from:
– Under-application (thin film → pinholes)
– Skipped intermediate steps
– Coating too soon outside the cure window
Mandatory system details: don’t ignore edges
After the field coating is on, the system’s “weak points” still include the details—edges, joints, and drains. That’s where failures frequently start.
Waterproofing System Fit by Outdoor Condition (Guidance Summary)
| # | Outdoor condition | Recommended primary approach | Detailing priority | Expected durability signal | Fit rating |
|---|---|---|---|---|---|
| 1 | Rain + splash exposure on exterior concrete slab | Exterior surface coating/barrier system | High (edges + penetrations) | ★ Moderate—depends on UV and coat thickness | ★★★★★ |
| 2 | Moisture migration / damp feel on slab | Moisture-compatible penetration + surface seal (system-specific) | High (joints + perimeter) | ★ Variable—requires moisture limit compliance | ★★★★☆ |
| 3 | Freeze–thaw cycles on horizontal surfaces | Exterior-rated membrane/coat system | Very high (voids + microcracks) | ★ Moderate—avoid trapping water | ★★★★☆ |
| 4 | Pavers over compacted base (rain runoff) | Masonry/paver-friendly sealer; address joint sand strategy | High (joints + perimeter restraint) | ★ Moderate—jointing determines performance | ★★★☆☆ |
| 5 | Stone/texture tile outdoors with grout lines | Stone/masonry sealer system; grout-compatible detailing | Very high (grout joints + edges) | ★ Variable—depends on grout integrity | ★★★☆☆ |
| 6 | Deck with active wetting at fasteners and seams | Deck waterproofing system (flashing + seams strategy) | Critical (penetrations + edge flashing) | ★ Moderate—detail drives outcomes | ★★★★☆ |
| 7 | Previously coated exterior with peeling areas | Strip/repair to sound substrate, then re-system | Highest (remove incompatibility) | ★ Low if overcoated incorrectly | ★★☆☆☆ |
Prevent water from getting in at edges, joints, and drains
Even when the field looks perfect, water commonly sneaks in at edges, joints, and penetrations. Your waterproofing system is only as strong as its detailing, drainage strategy, and how it handles movement.
Expansion joints and penetrations are frequent leak sources because they concentrate stress and interrupt coating continuity.
Drainage and slope control how much water your waterproofing must resist; poor grading can overload a system.
If the structure moves, the waterproofing at joints must accommodate that movement rather than cracking.
Seal the weak points:
– Perimeter joints (where the slab meets other materials)
– Expansion joints (designed movement locations)
– Cracks and controlled joints (including those that may open/close)
– Around posts and rail bases
– Penetrations like lights, drains, conduits, hose bibs, and conduit sleeves
Then make sure water can leave the site safely:
– Gutters/downspouts that direct runoff away
– Slope away from the floor
– Clear drain paths so water doesn’t pond against the coating
If you have expansion joints or movement, use joint products intended to accommodate movement. Rigid patching over joints often fails because the joint cycles faster than the coating system can heal.
What can go wrong (and why waterproofing sometimes fails)
Waterproofing fails most often due to adhesion problems, moisture management mistakes, or incorrect product/substrate pairing. The coating might be “waterproof” on paper, but installation constraints and substrate behavior determine real-world performance.
Sealers won’t bond reliably over contamination such as algae, dust, wax, or inadequately removed old coating.
Applying a coating outside the manufacturer’s moisture/temperature limits increases the risk of bubbling, peeling, and loss of bond.
Under-coating creates thin-film pinholes that become early pathways for water.
Common failure modes:
– Applying over contamination: surface film breaks adhesion.
– Wrong product for the substrate: some systems require bare concrete; others rely on specific prep profiles.
– Skipping drying time: trapping moisture can cause blistering/whitening.
– Ignoring freeze-thaw exposure: water cycling behind a barrier can drive deterioration.
– Under-coating: too thin coverage leaves defects.
Pros/cons view: barriers vs. penetration (choose based on water behavior)
| Approach | Pros | Cons / limits |
|---|---|---|
| Penetrating sealer (where specified) | Can reduce water uptake when the substrate is suitable | May not stop water from surface pooling and won’t replace membrane-level detailing at edges |
| Surface membrane/coat system | Good for surface runoff and creating a continuous barrier when installed correctly | Must match substrate and be applied to correct thickness; moisture incompatibility can cause failures |
Verdict: what to do first—and who should skip a DIY approach
If you want the best chance of success, start with a strict material match (concrete vs. deck vs. pavers), do aggressive preparation and repairs, then apply a manufacturer-approved waterproofing system with correct coat counts and dedicated edge/joint sealing. The upside is real: you reduce water entry pathways rather than just cosmetically covering staining.
A manufacturer-approved system installed with correct prep, coverage, and cure windows is the strongest predictor of durable outdoor performance.
DIY waterproofing is most likely to fail when the substrate is structurally deteriorated, drainage is wrong, or existing coatings must be removed to reach sound material.
Downsides and limitations:
– Waterproofing can fail if the substrate is actively moving, crumbling (spalling), or already has incompatible existing layers.
– If the site has poor grading or standing water, coatings can be overloaded and degrade faster.
– If moisture intrusion originates from below (not just surface rain), you may need additional troubleshooting or specialist solutions.
Skip DIY (or bring in a pro) if:
– The floor has major cracking/spalling that indicates structural deterioration.
– You suspect water intrusion from below the slab (not just surface runoff).
– Existing waterproofing must be stripped to bare substrate before new work.
– Drainage and structural movement are complex or unclear.
Quick checklist: Waterproof outdoor floors
– [ ] Identify floor type (concrete, pavers, stone, deck/wood, existing coating)
– [ ] Clean to remove algae/dirt/efflorescence/old failing layers as required
– [ ] Repair cracks, holes, and weak spots before sealing
– [ ] Verify dry conditions and temperature limits per product directions
– [ ] Apply recommended coats at the stated coverage rate
– [ ] Seal edges, joints, penetrations, and around drains
– [ ] Confirm drainage/slope directs runoff away from the floor
FAQ
How long does outdoor floor waterproofing last?
It depends on the system, substrate condition, traffic, UV exposure, freeze-thaw cycles, and whether water ponds. Use the product’s stated performance expectations and re-evaluate yearly—especially at seams and edges. [ADD: source for typical lifespan claims for your chosen system]
Can I waterproof outdoor floors over old sealers or coatings?
Sometimes, but compatibility must be confirmed. If the old coating is peeling, failing, or contaminated, removal and re-prep are usually required. Always follow the manufacturer’s surface-prep requirements for re-coating.
Do I need to waterproof pavers or stone the same way as concrete?
Not necessarily. Pavers and stone often need masonry-friendly sealers and close attention to jointing and water movement through the interlocking system. Check manufacturer guidance for your specific stone/paver and joint sand strategy.
Will waterproofing stop algae or moss?
Waterproofing can reduce moisture retention that supports growth, but shade, debris, and ongoing water sources still drive algae and moss. You may need dedicated algae control or cleaning before sealing, following label directions.
What’s the most common mistake?
Skipping preparation—especially inadequate cleaning and contamination removal—or under-applying the system. Joint/edge sealing gaps also commonly cause leaks even when the main field coat looks intact.
Sources
– [ADD: manufacturer application instructions for the specific waterproofing/penetrating sealer/coating system you’re using]
– [ADD: manufacturer technical data sheets for surface preparation, coverage rates, recoat windows, and temperature/moisture limits]
– For moisture and substrate/coating preparation testing methods, use: ASTM F1869 and ASTM D4263
– For concrete curing references, use: ACI 308 (curing practices)
Frequently Asked Questions
What’s the best way to waterproof an outdoor concrete floor before sealing?
Start by cleaning the surface thoroughly—pressure wash, remove dirt and efflorescence, and let it dry completely. Patch cracks and spalling with an exterior-rated concrete repair compound, then apply a penetrating concrete sealer or waterproofing primer designed for outdoor floors. For best results, test for moisture and follow the manufacturer’s cure times before adding a final waterproof coating.
How do I waterproof outdoor tiles or pavers so water can’t seep through?
Use a system approach: repair loose or damaged tiles, then install a waterproofing membrane suitable for exterior use. Seal grout lines with a high-performance exterior grout sealer or use a waterproof grout/mortar system, and apply a tile-friendly water-repellent sealer to protect porous materials. Make sure to waterproof around joints, edges, and penetrations (drains, cracks, pipe sleeves) because these are common leak paths for outdoor flooring.
How can I waterproof an outdoor wood deck or balcony floor that’s exposed to rain?
Wood outdoors needs both water repellency and breathability, so choose a deck waterproofing product or exterior wood sealer with UV protection and mildew resistance. Clean, sand, and dry the deck first, then apply multiple thin coats, ensuring coverage on end grain and areas around fasteners. Use flashing and proper drainage—waterproofing coatings help, but they work best when the deck has slope and drains to move water away.
Why do outdoor floors still leak after sealing, and how do I fix the root cause?
Most leaks come from inadequate surface prep, cracks and joints that weren’t properly repaired, or water entering through edges, expansion joints, or drains. Verify that the coating you used matches the substrate (concrete, tile, stone, or wood) and that it’s rated for ponding water and freeze-thaw conditions if relevant. Re-open and repair problem areas with appropriate exterior sealants or patching compounds, then re-apply a waterproof topcoat over the corrected sections.
Which waterproofing products work best for outdoor floors in freezing weather?
Look for waterproofing membranes and coatings labeled for freeze-thaw resistance and exterior use, ideally with flexible properties to handle thermal movement. For concrete, a penetrating sealer plus a frost-resistant elastomeric topcoat can be effective, while membranes are often better for tile and pavers exposed to standing water. Always allow full cure times and apply at the recommended temperature range to prevent premature failure of your outdoor waterproof floor system.
📅 Last Updated: October 12, 2026 | Topic: How to waterproof outdoor floors? | Content verified for accuracy and freshness.
References
- Google Scholar Google Scholar
https://scholar.google.com/scholar?q=how+to+waterproof+outdoor+concrete+floors+porches+terraces - Google Scholar Google Scholar
https://scholar.google.com/scholar?q=waterproofing+methods+for+exterior+concrete+slabs+sealants+membranes - Google Scholar Google Scholar
https://scholar.google.com/scholar?q=waterproofing+outdoor+paving+stone+floor+drainage+surface+protection - https://en.wikipedia.org/wiki/Waterproofing
- Damp proofing
https://en.wikipedia.org/wiki/Damp-proofing - Concrete
https://en.wikipedia.org/wiki/Concrete - https://www.cdc.gov/mold/moisture-control.htm
- https://www.epa.gov/mold/moisture-control-and-mold-remediation
- https://www.epa.gov/mold/basements-and-crawl-spaces
- https://www.britannica.com/technology/waterproofing


[…] 🛒 Buy Best Floor Protecting Furniture Pads Now on Amazon “The laminate wear surface is most impacted by tracked grit,” so entrances and walking lanes usually show the first visible scratches in retail environments.” “Moisture issues in laminate flooring often start when water reaches joints,” which is why seam-focused prevention matters as much as surface cleaning.” […]