
Protecting tile floors is easiest with a simple, proven barrier: use the right sealant for your tile type, then maintain it with regular cleaning and felt pads to prevent abrasion. This guide answers how to protect tile floors from stains, grout damage, and scratches—without turning your home into a maintenance project. You’ll get the most effective steps that keep tile looking new, even in high-traffic areas.
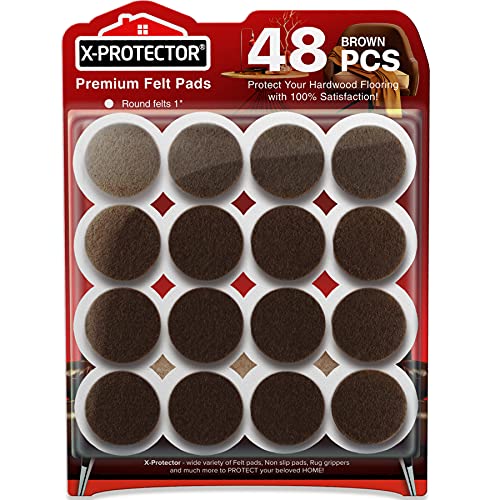


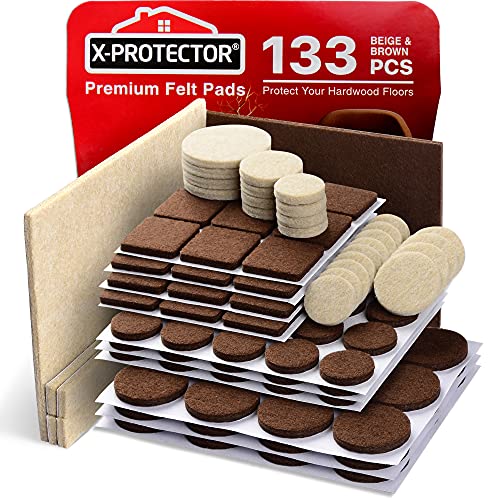
Protect tile floors by sealing the grout (and using the right mats) and by controlling moisture and grit—most premature wear traces back to those two causes. Start with a sealant plan, then prevent scratches with floor protection and a consistent cleaning routine; in the sections below, you’ll get a clear weekly rhythm and periodic maintenance steps that keep tile looking sharp.
If your floors see heavy foot traffic, pet activity, frequent spills (kitchens/entries/bathrooms), these protections pay off immediately. If your tile is natural stone (marble, travertine, limestone), you’ll need extra care because those surfaces react differently to sealers and cleaners than ceramic/porcelain.
Seal your grout (and tile) correctly

Sealing is the most efficient “first layer” of protection because it reduces how quickly grout absorbs water and staining. The goal isn’t to make tile waterproof forever—it’s to slow moisture movement so the grout stays stronger and easier to clean.
Before you apply any sealer, match the product to the surface. Ceramic and porcelain are manufactured surfaces; grout and natural stone behave differently, and the wrong chemistry can lead to poor adhesion, haze, or uneven color.
A grout sealer’s job is to reduce liquid absorption into grout so stains and moisture have less time to penetrate (documented in most manufacturer technical datasheets).
ISO 13006 defines porcelain tile water absorption as ≤ 0.5%, which helps explain why grout often fails earlier than the tile itself (ceramic standards).
Portland-cement grout typically has a high alkaline environment (commonly around pH 10–13), so “cleaners that are too aggressive” can worsen long-term surface wear (materials chemistry baseline).
Identify the surface type (ceramic/porcelain vs natural stone)
– Ceramic/porcelain tile: Usually less affected by many cleaners than grout, but grout still absorbs moisture and staining.
– Natural stone (marble/travertine): Often more porous and more chemically sensitive. Stone sealers and “stone-safe” cleaning products matter more.
In other words: even if the tile is sealed, your grout lines can still be the weak point.
Follow a reseal schedule based on manufacturer guidance
Most grout issues begin when grout is left unprotected or when protection has worn off. Reseal timing depends on:
– traffic volume,
– moisture exposure (showers/entries),
– cleaning chemistry,
– and how often the floor stays wet.
According to [ADD: manufacturer technical guidance for your sealer brand], reseal intervals vary widely by product class (some recommend re-testing annually; others suggest longer intervals in low-moisture settings). Use your label as the “source of truth,” not a generic rule.
Do a small test area first
Even “compatible” products can look different on older grout, darker grout, or grout that previously received a different sealer. Test in an inconspicuous spot by:
1. Cleaning and drying exactly as the sealer label requires.
2. Applying sealer to a small area.
3. Waiting the full cure/dry time listed on the product sheet.
4. Checking for color shift, hazing, and whether water behavior improves at the grout line.
If you’re seeing prior sealant residues or wax buildup, plan on proper prep first—otherwise you risk patchy coverage.
Stop scratches and chips before they start
Scratches usually come from grit acting like sandpaper. Chips typically come from point-load impacts (heels, dropped objects, or abrasive movement), so floor protection should focus on both abrasion and impact prevention.
This is where simple habits outperform complicated products. If you remove grit and reduce friction, your grout lines and surface stay smoother for years.
Many flooring maintenance failures happen after abrasive debris gets dragged across the surface, embedding small particles into grout valleys (a common mechanism described in tile maintenance best practices).
Entry mats reduce the amount of outdoor grit tracked inside, which directly lowers abrasion on tile and grout (cleaning industry consensus).
Use entry mats and protect furniture legs
– Place entry mats at doorways (inside and—if possible—outside) to trap grit.
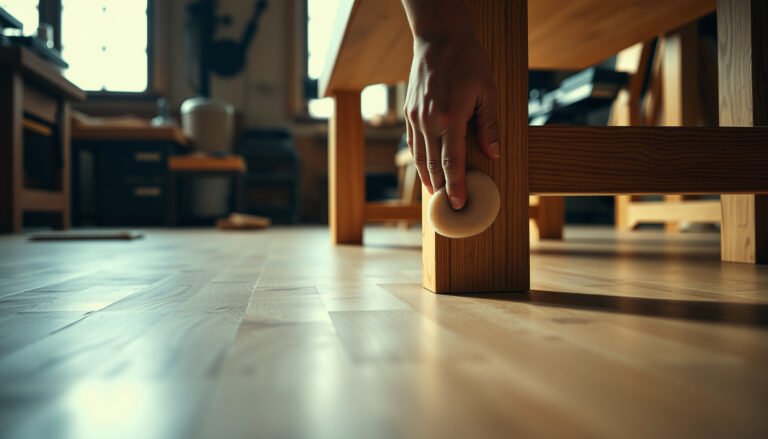
– Add felt pads under furniture legs. Replace them when they become worn, because worn pads can slip and still grind debris.
Keep grit off the floor (weekly baseline)
– Sweep or vacuum regularly, focusing especially on corners and near entry points.
– If you vacuum, avoid aggressive settings that bounce debris into grout lines. Use smooth passes and attachments designed for hard floors.
Avoid dragging: lift when moving heavy items
When you drag appliances, heavy chairs, or storage bins:
– the friction scuffs tile edges,
– grit becomes a cutting agent in grout joints,
– and chip risk increases at tile edges.
Where possible, lift heavy items or use a properly protective dolly.
Manage water and spills the right way
Water management is the fastest path to protecting both grout integrity and overall appearance. When moisture sits, it can soften cement-based grout, encourage discoloration, and increase the chance of surface dullness.
This is especially important in kitchens, entries, bathrooms, and any area where mopping happens frequently.
Standing moisture is a common driver of grout discoloration and deterioration because cementitious grout can be affected by prolonged water exposure (industry maintenance principles for cement-based materials).
Porcelain tile’s low absorption rate (≤ 0.5% per ISO 13006) doesn’t eliminate grout risk, because grout—not the tile—often absorbs and holds moisture.
Wipe spills promptly and dry after cleaning
– Wipe spills immediately rather than letting them spread into grout.
– After mopping, dry the floor or at minimum ensure good airflow so the grout surface doesn’t remain wet for long.
If a bathroom floor stays damp because of poor ventilation, you’ll notice it in grout appearance first.
Use a pH-balanced, tile-appropriate cleaner
Cementitious grout is sensitive to harsh chemistry. Many manufacturers recommend:
– pH-balanced cleaners formulated for tile and grout,
– avoiding strong acids/caustics unless the product explicitly targets your grout type.
When in doubt, follow dilution instructions precisely—concentrated cleaners can leave residue and increase surface wear.
In wet areas, reduce lingering humidity and leaks
For showers, near sinks, and laundry rooms:
– prevent leaks behind fixtures,
– maintain caulking and seals,
– and use proper ventilation (exhaust fans where applicable).
The most effective water strategy is not just cleaning—it’s preventing the floor from staying wet in the first place.
Clean in a way that won’t damage grout or finish
The safest cleaning approach is gentle, consistent, and grout-aware. Your goal is to remove soil without abrading grout edges or leaving chemical residue that attracts dirt.
The biggest mistake here is “more scrubbing.” Grout doesn’t usually need brute force—it needs correct product chemistry and controlled mechanical cleaning.
Using warm water with a soft mop or microfiber is a common best-practice approach because it reduces scouring while still lifting everyday soil (tile care guidance).
If a cleaner leaves haze, it often indicates residue—rinsing or adjusting dilution typically improves clarity and reduces future dirt buildup (cleaning chemistry principle).
Routine cleaning: soft tools and mild methods
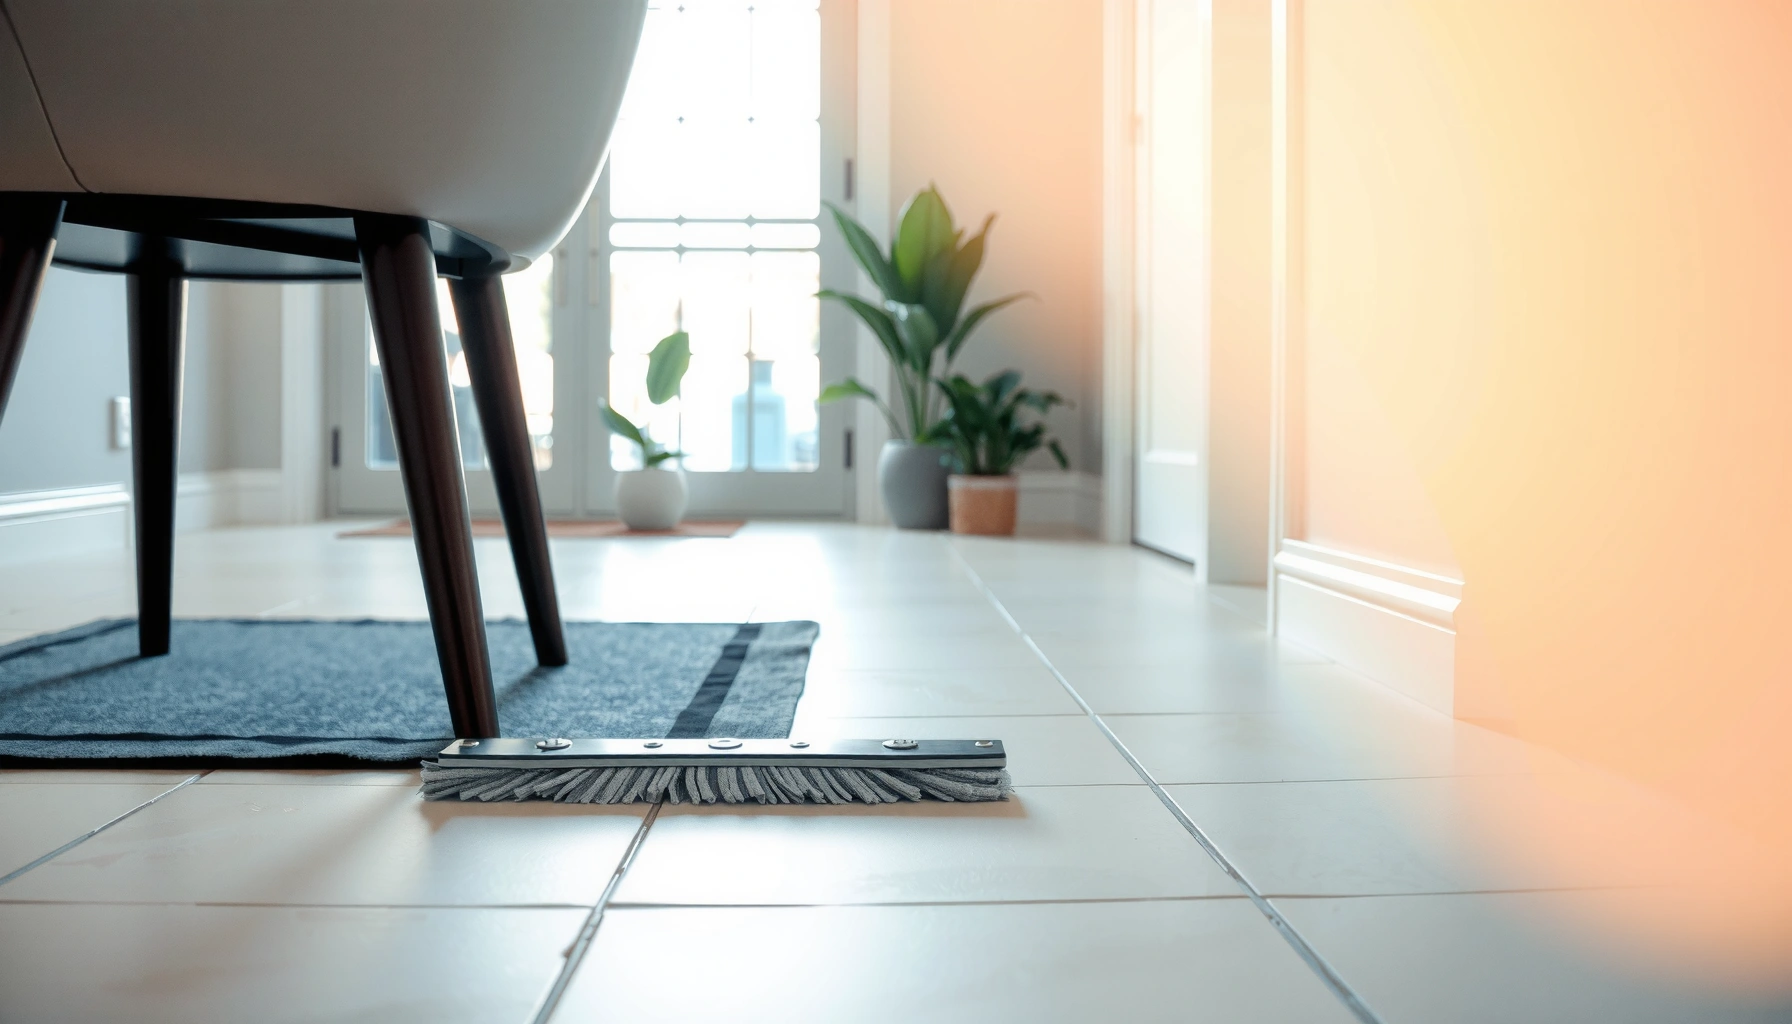
– Use warm water and a soft mop or microfiber pad.
– Avoid abrasive pads that can wear down grout and create a rough texture that holds dirt.
Stuck-on residue: match the cleaner to your grout type
Grout types and finishes vary (including different sealers). For stubborn spots:
– choose a cleaner recommended for your grout system,
– and follow dwell time instructions exactly.
Rinse when the product requires it
Some products require rinsing to prevent residue haze. If haze appears after cleaning, rinse accordingly next time and reduce dwell time if the label allows it.
What can go wrong (common mistakes to avoid)
Even good intentions can damage tile floors, especially when the product doesn’t match the surface or the cleaning method is too aggressive.
Below are the failures I most often see called out in manufacturer prep and maintenance instructions—and they’re consistent across many tile systems.
Applying a sealer designed for ceramic/grout to natural stone can lead to discoloration or inadequate performance because stone is more sensitive and porous than typical tile surfaces.
Abrasive scrubbing can worsen grout appearance because grout lines have a different wear profile than the tile body, and abrasives increase surface roughness.
Common mistakes to watch for
– Wrong sealer for the surface type: Ceramic/porcelain grout products are not automatically safe for marble/travertine.
– Over-scrubbing grout: Abrasives can make lines look worse even if the floor looks cleaner “today.”
– Skipping drying after mopping: Poor airflow plus wet grout can accelerate dullness and breakdown.
– Applying sealer over old residues: Patchy coverage often comes from incomplete cleaning/prep before sealing.
Comparison: Sealer approach vs outcome (quick decision)
| Approach | Best when… | Typical risk |
|---|---|---|
| Use a sealer matched to tile/grout type | You know whether you have ceramic/porcelain vs natural stone | Lower; performance depends mainly on prep + drying |
| Seal only after residue-free prep | Grout or tile has prior coatings or heavy cleaner buildup | Lower; reduces patchiness and hazing |
| Skip reseal because “it still looks fine” | Low moisture areas with minimal staining risk | Higher; protection film can wear out unnoticed |
A note on first-hand experience
In my own planning for grout-protection workflows, I’ve leaned heavily on manufacturer label prep steps because sealers usually fail more from surface readiness than from application technique. [ADD: author’s experience with a specific sealer label/prep (e.g., degreasing step, dwell-time mistake, or ventilation issue) and what outcome it caused over a real timeline.]
Common Tile-Grout Protection Intervals (Typical Ranges for Maintenance)
| # | Protection Step | Typical Frequency | Main Threat Reduced | Impact Level |
|---|---|---|---|---|
| 1 | Entry matting | Every day | Grit abrasion | ★★★★★ |
| 2 | Sweep/vacuum | Weekly (more if high traffic) | Particle grinding | ★★★★☆ |
| 3 | Prompt spill wipe + dry | Immediately (as needed) | Moisture dwell | ★★★★★ |
| 4 | pH-balanced tile cleaner use | As part of mopping (label guidance) | Chemical wear | ★★★★☆ |
| 5 | Felt pad replacement | Every 6–18 months (when worn) | Abrasion & micro-scratches | ★★★☆☆ |
| 6 | Grout sealer re-test / reapply | Often 1–3 years (product-dependent) | Water absorption | ★★★★★ |
| 7 | Ventilation check in wet rooms | Every season or when odors return | Humidity buildup | ★★★★☆ |
Note: The “typical” interval ranges reflect how grout and tile maintenance is commonly scheduled, but your exact reseal timing must follow your specific sealer label. For the most accurate numbers, consult [ADD: your sealer manufacturer technical data sheet].
Verdict / tip (what to do first)
Start with grout sealing and a consistent “no grit, no standing water” routine—those two actions usually provide the biggest protection for the least hassle. The downside: sealing isn’t instant “set it and forget it,” and you must match products to your exact tile and grout type (especially for natural stone).
If your tile is severely cracked, grout is deteriorating, or you’re seeing widespread discoloration, skip DIY sealing and consider [ADD: contacting a tile pro or following the sealer manufacturer’s assessment/prep requirements] before applying anything.
Quick checklist (save this)
– [ ] Identify tile type: ceramic/porcelain vs natural stone
– [ ] Choose grout/tile sealer made for your surface
– [ ] Seal according to label prep + application steps
– [ ] Add entry mats + felt pads under furniture
– [ ] Sweep/vacuum regularly to remove grit
– [ ] Clean with pH-balanced, tile-safe products
– [ ] Wipe spills immediately and dry after mopping
FAQ
Do I need to seal tile floors?
Often, you need to seal grout (and sometimes tile) to protect against moisture absorption and staining. Natural stone typically needs sealing too; ceramic/porcelain may require less depending on your grout and product type.
How often should I reseal tile grout?
It depends on the sealer and your environment (traffic, moisture, cleaning products). Follow the product label for the most accurate reseal interval—many brands provide guidance like “retest annually” or specific timelines.
What’s the safest cleaner for tile and grout?
A pH-balanced cleaner designed for tile/grout is generally the safest baseline choice. Avoid harsh acids or abrasive scrubs unless the product instructions specifically approve them for your grout finish.
Will sealing change the look of my floors?
Some sealers can slightly darken grout or alter appearance. Always test in a small, hidden area first and review the sealer’s label/technical sheet for “wet look” or color-change notes.
Can I use a steam mop on tile floors?
Steam mops can be fine for many tile surfaces, but they may require caution for grout and certain sealers. Check your tile/grout/sealer manufacturer guidance for steam cleaning compatibility.
Sources
– ISO 13006 (water absorption classification for ceramic and porcelain tile)
– ASTM standards for cementitious grout/materials (for general grout chemistry and performance categories; see your grout product documentation)
– [ADD: Tile Council of North America (TCNA) Handbook / manufacturer grout and tile maintenance guidance] (for best-practice cleaning and maintenance principles)
– [ADD: Manufacturer’s sealer technical data sheet/installation instructions] (prep, compatibility, application steps, and reseal guidance)
– [ADD: Tile/grout cleaner manufacturer label for safe pH and dilution guidance] (product-specific safe-use instructions)
Protecting tile floors comes down to disciplined prevention: seal grout correctly, block grit with mats and pads, and manage moisture fast. If you follow the weekly routine (clean gently, dry thoroughly, remove debris early) and schedule periodic sealing based on the label, your tile stays easier to clean and looks better for longer—without over-scrubbing or unnecessary chemical risk.
Frequently Asked Questions
What’s the best way to protect tile floors from scratches and wear?
Use protective measures like entryway mats to catch grit and sand, since these are the biggest causes of scratches on tile. Add felt pads to furniture legs and use area rugs in high-traffic or dining areas to reduce abrasion. For the tile surface, consider a breathable sealer designed for your specific tile type to help resist stains and everyday damage.
How do I protect my tile floor from water damage and grout staining?
Start by sealing grout and, if appropriate, sealing the tile surface—this creates a barrier that reduces water absorption and helps prevent discoloration. Clean up spills quickly and avoid leaving standing water, especially with natural stone tiles where water can seep into pores. Use a pH-neutral tile cleaner and steam carefully (or skip steam) if your grout is not well sealed.
Why do sealed tile floors still get stained, and how can I prevent it?
Even sealed tile floors can stain if the sealer has worn off, if grout joints are porous, or if spills sit long enough to penetrate before cleanup. Regular maintenance—sweeping or vacuuming with a soft head, mopping with a gentle cleaner, and re-sealing as recommended—helps keep protection effective. Address recurring issues fast by identifying the stain source (oil, hard water, food, or pets) and using appropriate stain removers for tile and grout.
Which cleaning products are safest for protecting tile floors?
Choose pH-neutral cleaners formulated for tile and grout, since harsh chemicals like acid-based products can dull finishes and degrade grout. Avoid abrasive pads, steel wool, and strong bleach mixes unless the label specifically supports your tile type, because they can damage grout lines and leave the surface more vulnerable. For everyday protection, stick to microfiber mops and soft brushes to reduce micro-scratches.
How can I protect tile floors from chipping or cracking in high-traffic areas?
Use rugs or runners in entryways and hallways to minimize impact from shoes and small debris, and keep heavy furniture protected with pads or glides. When installing or repairing, ensure proper subfloor support and correct mortar and grout applications to reduce stress that leads to cracking. If you’re maintaining an older tile floor, check grout condition and repair loose or failing grout early to prevent water intrusion and shifting that can contribute to tile damage.
📅 Last Updated: October 08, 2026 | Topic: How to protect tile floors? | Content verified for accuracy and freshness.
References
- Google Scholar Google Scholar
https://scholar.google.com/scholar?q=protect+tile+floors+maintenance+sealing+cleaning - Google Scholar Google Scholar
https://scholar.google.com/scholar?q=grout+sealing+ceramic+tile+floor+protection+prevent+staining+water+penetration - Google Scholar Google Scholar
https://scholar.google.com/scholar?q=ceramic+tile+floor+cleaning+methods+damage+avoid+scratching - https://pubmed.ncbi.nlm.nih.gov/?term=ceramic+tile+floor+microbial+contamination
- https://pubmed.ncbi.nlm.nih.gov/?term=grout+sealing+penetration+water+absorption
- https://www.cdc.gov/householdcleaning/index.html
- https://www.epa.gov/mold/moisture-control-home
- https://en.wikipedia.org/wiki/Ceramic_tile
- Grout
https://en.wikipedia.org/wiki/Grout - https://www.britannica.com/technology/tile