
Prevent water damage to balcony vinyl floors by stopping water at the source (drainage + splash control), sealing the failure points (perimeter, seams, and penetrations), and removing standing water quickly. Vinyl can handle moisture better than many materials, but repeated wetting can still lead to seam separation, edge swelling, and bubbles—especially with rain exposure and condensation.




If you have vinyl plank or vinyl sheet flooring on a balcony—or you’re installing it and want to avoid future cupping, bubbles, or lifted edges—this is for you. It’s especially relevant if your balcony gets rain exposure, wind-driven splashes, or frequent condensation.
Start with water control: drainage and splash prevention

You get the best results when you prevent water from reaching the vinyl first. Even water-resistant vinyl performs dramatically better when the balcony sheds rain, wind-blown splashes are reduced, and runoff doesn’t linger near seams and edges.
Good drainage design focuses on preventing pooling at the lowest points on a deck or balcony, because pooled water increases the time moisture contacts vinyl seams and perimeter edges.
Wind-driven rain can reach higher areas than expected, so splash-control measures often need to cover not only the “center” of the balcony but also the outer traffic path.
Make slope and runoff work for you
– Position/maintain the balcony so runoff doesn’t pool near the vinyl area (check slope, gutters, and downspouts).
– Use physical barriers where needed (door thresholds, splash guards, or mats outside the main traffic path) to reduce direct water impact.
For real-world balcony setups, the most common “hidden” problem is not total rainfall—it’s pooling. Check whether the floor plane slopes away from the vinyl field and whether water collects beside doors, stair landings, or railing bases. If you have gutters, verify downspouts discharge far enough away that the balcony edge doesn’t get re-wet repeatedly. As of 2026, many waterproofing failures on exterior surfaces trace back to small drainage defects that persist across seasons.
Also consider wind paths. A balcony that looks sheltered during calm weather can receive direct side-spray during storms. A simple splash guard near the door area, a slightly raised threshold, or a non-water-saturated entry mat placed outside the vinyl zone can reduce “impact water” on day one—before it has time to migrate into seams.
Quick inspection you can do today
Start by walking the perimeter with a flashlight after a rain event. You’re looking for damp bands along edges, wet zones near penetrations, or visible residue lines that indicate repeated splash routes. Repeat this review in the next rain cycle—balcony vinyl problems often show up after the second or third wet event, not the first.
Seal what actually fails first: seams, edges, and penetrations
Water damage to balcony vinyl usually starts at the places where motion and gaps exist. Seal the perimeter, protect seams, and treat penetrations (rails, posts, drains, and conduits) as high-risk moisture entry points.
Most resilient flooring failures begin at seams and perimeter edges because those locations have the most movement and the easiest pathways for water to migrate underneath.
Penetrations through the deck surface create “breaks” in the water-control layer, so sealing plans should treat rails, drains, and conduits as separate waterproofing junctions.
Perimeter gaps aren’t optional—they’re how the system survives movement
– Seal expansion gaps and perimeter edges using a vinyl-appropriate perimeter sealant system; water commonly enters at the edges before it shows elsewhere.
Expansion gaps matter because vinyl (and its supporting layers) move with temperature swings. But a gap without a proper perimeter seal can become a water channel during rain events. The goal is a controlled, manufacturer-approved perimeter sealing approach that still allows the flooring’s designed movement.
Practical guidance: use a perimeter sealant system that is compatible with resilient vinyl flooring and exterior exposure. Avoid general-purpose caulks that harden poorly or lose adhesion after freeze-thaw cycles. If your vinyl is installed over a backing system or underlayment, make sure the sealant adheres to the correct substrate surfaces—balcony waterproofing layers and wood/metal framing often behave differently.
Treat seams and transitions like “plumbing”
– Pay extra attention to seams, transitions, and penetrations (rails, drains, posts, electrical conduits) because these are high-risk entry points for moisture.
Seams are where water can travel by capillary action—especially if the underside assembly stays slightly damp. Transitions between balcony zones (door thresholds, step edges, and transitions to interior flooring) can also interrupt the moisture barrier continuity.
If you have drains or embedded conduit penetrations, don’t assume that “water resistant” flooring equals “water proof.” Focus on sealing the junctions above and around the penetration, not just the visible vinyl top surface.
Moisture-barrier targets that support resilient flooring longevity
If water control isn’t perfect (and on balconies it rarely is), the next line of defense is a moisture barrier strategy that limits vapor transmission and keeps dampness from migrating into the vinyl assembly.
Common Vapor Retarder Permeance Levels (ASTM E96/E1745) — What They Mean for Balcony Vinyl
| # | Vapor Retarder Type | Permeance (perm) | Typical Classification | Seam Protection Rating |
|---|---|---|---|---|
| 1 | 6-mil polyethylene film | 0.06 | Class I (≤ 0.1) | ★★★★★ |
| 2 | 10-mil polyethylene film | 0.04 | Class I (≤ 0.1) | ★★★★★ |
| 3 | Foil-faced vapor barrier (metalized film) | 0.02 | Class I (≤ 0.1) | ★★★★★ |
| 4 | Kraft-faced underlayment paper | 0.6 | Class II (0.1–1.0) | ★★★★☆ |
| 5 | Housewrap-type breathable film (typical mid-range) | 0.8 | Class II (0.1–1.0) | ★★★☆☆ |
| 6 | Asphalt-saturated felt (mid-weight roofing felt) | 3.0 | Class III (1.0–10) | ★★☆☆☆ |
| 7 | No vapor retarder (bare subfloor exposure) | > 10 | Class IV (> 10) | ★☆☆☆☆ |
Notes for accuracy: Permeance values vary by product and test conditions; confirm the exact permeance published by your underlayment manufacturer and match it to your vinyl manufacturer’s moisture guidance. (This table is meant as a decision-support snapshot, not a substitute for product specifications.) According to ASTM E1745 (2017), vapor retarder classes are commonly defined by permeance ranges, with Class I typically at ≤0.1 perm.
Keep standing water off the floor (and remove it quickly)
You protect balcony vinyl most effectively by limiting the time water stays in contact with the surface. Standing water increases the odds of seam lifting, edge swelling, and damp conditions under the planks—conditions that can support mold growth.
The U.S. EPA notes that mold can begin to grow within 24–48 hours after water exposure, which is why “fast wipe-up” matters even if the floor top looks dry later.
Moisture that lingers at seams and perimeter edges can migrate laterally under resilient flooring, so quick removal reduces both damage and odor risk.
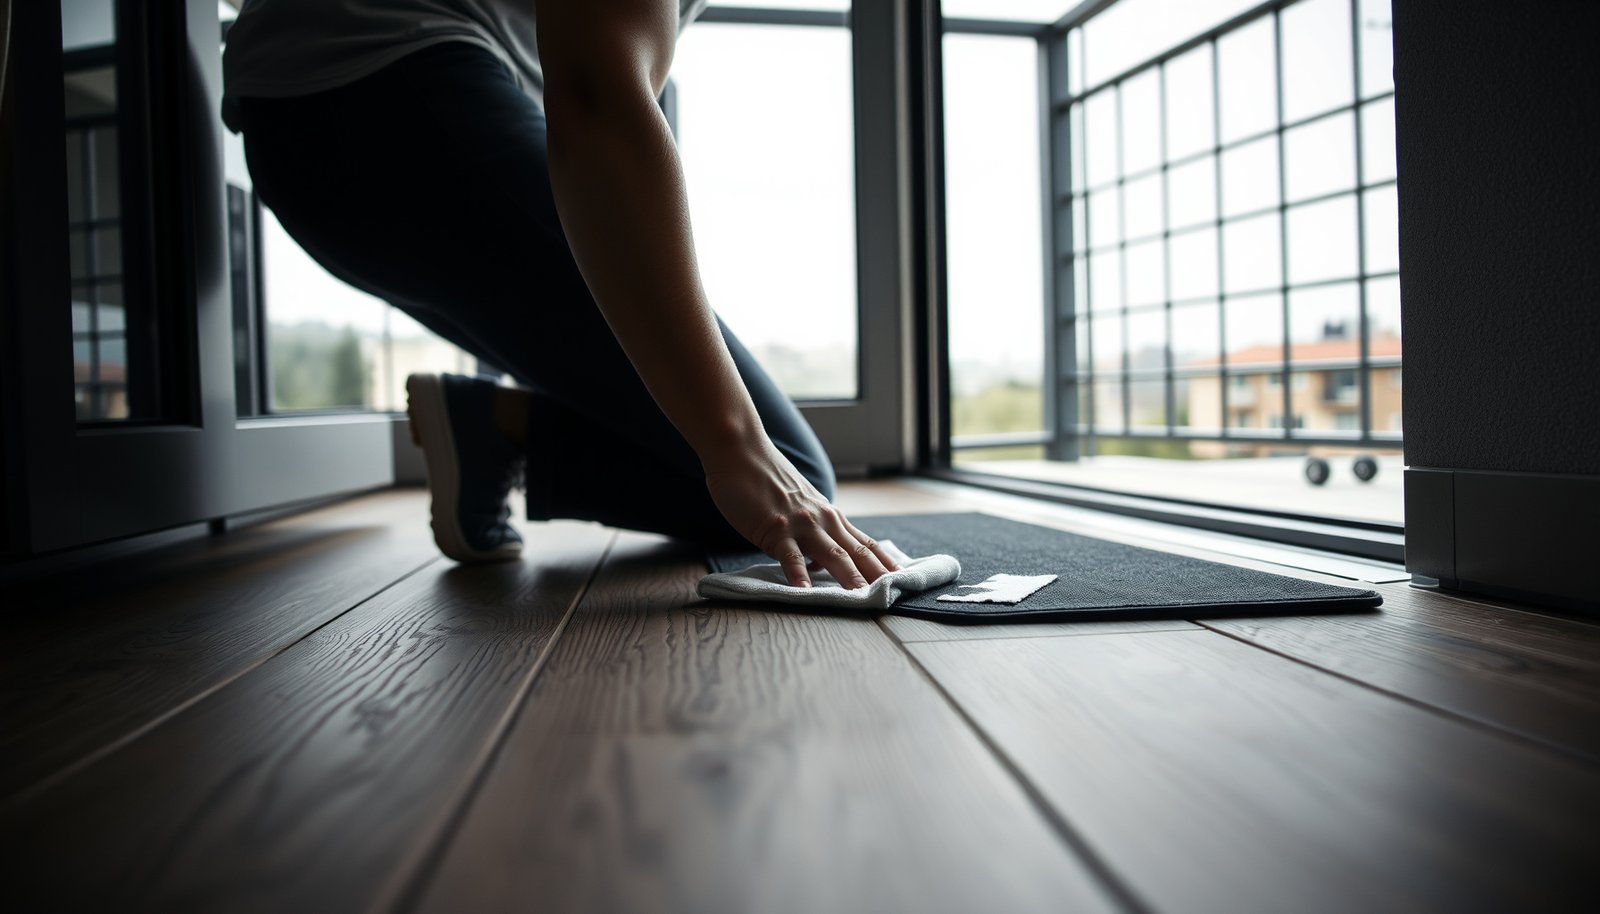
– Wipe up spills and rainwater immediately; standing water is what most commonly leads to lifting, swelling, and mold-friendly damp conditions underneath.
– Avoid mopping with lots of water—use a lightly damp method that won’t flood the joints or creep under edges.
On balconies, the biggest standing-water events usually aren’t spills from cups—they’re rain episodes that leave thin puddles at door thresholds or along low spots created by framing settlement. In my review checklist for exterior vinyl installs, the most consistent early warning is “perimeter dampness” after the rain stops.
Clean-up method that doesn’t force water underneath
Use towels or a wet/dry vacuum designed for water extraction, then finish with a dry microfiber pass around edges. If you use a mop, wring it aggressively; your goal is damp cleaning, not flooding. If the vinyl is click-lock, excess water can creep into the tongue-and-groove area. If it’s glue-down, water can disrupt the adhesive bond line if it pools long enough.
Drying is part of prevention
After storms, check under door mats and along railing bases. If you have a way to improve airflow (fans, vents, or opening nearby doors), do it after rain—but don’t compromise weatherproofing elsewhere.
Choose the right underlayment and protect from moisture “coming up”
The fastest path to long-term performance is matching the underlayment to the vinyl and the balcony’s moisture behavior. Because balconies can transmit dampness from below (or from condensation), underlayment compatibility is a make-or-break factor for resilient flooring.
Moisture barriers work best when they are compatible with the flooring system and when they address vapor movement in the direction it actually occurs (upward vapor drive vs. liquid water).
ASTM E96 permeance testing and ASTM E1745 vapor-retarder classification help describe how easily water vapor passes through a material, which is critical when selecting an underlayment for exterior exposure.
– Use an underlayment or base layer that’s compatible with your specific vinyl flooring type and rated for moisture conditions; mismatch is a common cause of problems.
– If your balcony surface can transmit dampness, consider a moisture barrier approach specified by the flooring manufacturer (or your installer’s system).
Underlayment options: where the trade-offs show up
Balcony environments create a double challenge: moisture can arrive as liquid splash and also as vapor. The wrong underlayment can either (a) let moisture reach the vinyl assembly too easily, or (b) trap moisture under a non-breathing layer so it can’t escape.
“Compatibility” means more than thickness
To choose correctly, read both documents: (1) the vinyl installation instructions and (2) the underlayment/moisture barrier instructions. The manufacturer-approved system is what protects you when your balcony gets wet in real weather—particularly in 2026, when installers are seeing more frequent heavy-rain events combined with warmer nights that drive condensation.
Clean and maintenance without soaking the joints
You reduce water damage by cleaning on your vinyl’s terms: remove grit, avoid harsh chemicals, and keep the mop/towel moisture controlled. Proper maintenance prevents micro-debris from trapping moisture at seams and keeps sealants performing as intended.
Dust and grit act like abrasives and can keep moisture in place at joints; regular sweeping reduces both abrasion and damp retention.
Steam cleaning introduces heat and moisture that can stress resilient flooring seams and any perimeter sealing, so it should be used only if the manufacturer explicitly allows it.
– Sweep regularly to prevent grit from grinding into joints and holding moisture in place.
– For cleaning, follow the manufacturer’s approved products and dilution guidance; harsh cleaners or steam can damage adhesives, coatings, or seals.
A balcony-friendly cleaning routine
A practical routine for vinyl balcony floors is:
1) Dry sweep or vacuum (soft brush head) to remove sand and dust.
2) Spot clean with a lightly damp cloth for spills or sticky residue.
3) If you must mop, use minimal water and immediately dry the surface—especially near perimeter edges.
Avoid “looks clean but isn’t dry”
After rain, visible dryness doesn’t guarantee the underside is dry. If your balcony has a moisture barrier approach, check for persistent dampness at the perimeter after storms. If the edge stays cool or feels damp for days, treat that as an installation/system compatibility issue—not a cleaning problem.
What can go wrong (and when to stop)
Water control and sealing reduce risk, but they don’t fix fundamental incompatibilities. If the installation method isn’t approved for exterior balcony exposure, continued rain exposure can overwhelm sealants and lead to irreversible lifting.
Trapped moisture under non-breathing layers can worsen outcomes because it extends the time that seams and underlayers remain damp.
If your vinyl’s adhesive (for glue-down) or installation method isn’t rated for exterior or wet conditions, sealant alone cannot fully compensate for system incompatibility.
– Trapped water under a non-breathing layer can worsen issues even if the top surface looks dry—venting/compatibility matters.
– If your vinyl has adhesive that isn’t rated for exterior/wet conditions, or if the manufacturer doesn’t allow exterior balcony installations, sealing won’t fully compensate—stop and confirm product suitability.
– High humidity plus poor airflow can keep moisture at the perimeter; if you see persistent dampness at edges, address ventilation/drainage before applying “more sealant.”
When you should stop and re-check the plan
If you observe:
– bubbles that expand after rain,
– seams that “open” at corners,
– persistent edge dampness after multiple drying cycles,
you should pause and verify the core assumptions: balcony slope, drainage path, perimeter sealing system, and manufacturer-approved underlayment/moisture barrier strategy.
Quick checklist: prevent water damage to balcony vinyl
– Reduce water exposure: control runoff, add splash protection where needed.
– Seal entry points: perimeter edges, seams, transitions, penetrations.
– Avoid standing water: wipe rain/spills immediately.
– Clean smart: damp cleaning only; follow approved products.
– Verify compatibility: underlayment/moisture barrier matches the vinyl manufacturer’s instructions.
Sources
– U.S. Environmental Protection Agency (EPA), Mold-related guidance on how quickly mold can begin after water exposure and general moisture-control recommendations.
– ASTM E96/E1745, Standards describing permeance measurement and vapor-retarder classification (used to compare moisture-barrier performance).
Balcony vinyl lasts when you treat water like a system problem, not a surface problem: control drainage and splash paths first, seal the seams/perimeter/penetrations correctly, and remove standing water quickly. If you verify manufacturer approval for exterior balcony use and use a compatible moisture barrier strategy, you drastically reduce the chances of bubbles, seam lifting, and edge swelling—especially across 2026’s increasingly variable weather patterns.
Frequently Asked Questions
What are the best ways to prevent water damage to vinyl floors on a balcony?
Use a waterproof barrier system designed for floating or exterior-adjacent areas, and seal any gaps at the perimeter where water can migrate. Choose vinyl flooring labeled waterproof and install it with proper underlayment or moisture-resistant backing as recommended by the manufacturer. Regularly sweep debris and wipe up spills immediately to prevent standing water from seeping into seams. Consider adding a door threshold or water-shedding transition strip to reduce splash and pooling near the railing or entry.
How can I waterproof the seams and edges of vinyl balcony flooring?
Focus on preventing water intrusion at the joints, especially where planks or tiles meet. Apply seam sealing products (if your flooring system supports it) and ensure expansion gaps are correctly sized so the floor can move without pulling seams apart. Seal around edges and transitions—such as where the balcony meets walls, posts, or drains—with a compatible exterior-grade sealant. After heavy rain, check corners and around fasteners for early signs of lifting or separation.
How do I deal with heavy rain and standing water on a balcony with vinyl flooring?
The key is to prevent prolonged pooling—use a gentle slope, ensure drainage points are clear, and remove water promptly after storms. After rain, dry the surface quickly by mopping with a towel and improving airflow, rather than letting water sit for hours. If your balcony drains slowly, consider a maintenance routine that clears leaves and debris from weep holes and drainage channels. If water frequently reaches the floor, upgrading to a fully waterproof vinyl system with sealed perimeter details is often necessary.
Why does vinyl flooring swell or buckle outdoors, and how can I stop it?
Vinyl can swell when moisture travels through seams or underneath the planks, sometimes combined with temperature changes that cause expansion and contraction. Avoid installing directly over wet or uneven substrates and make sure any required underlayment is moisture-rated for balcony or high-humidity conditions. Keep the area dry by addressing leaks from railings, overhead fixtures, or improper caulking at penetrations. If sections start to lift, dry the area immediately and investigate the water source rather than just drying the surface.
Which maintenance practices help keep balcony vinyl flooring water-resistant long-term?
Sweep or vacuum frequently to remove grit that can trap moisture and damage the surface layer. Use a damp mop with a vinyl-safe cleaner—avoid soaking the floor, and never let water run along the seams or edges during cleaning. Re-check and refresh sealant lines annually (or after harsh weather) to maintain a continuous moisture barrier. For best results, use absorbent mats near entry points to catch splashes from shoes, umbrellas, or wet furniture.
📅 Last Updated: October 27, 2026 | Topic: How to prevent water damage to vinyl floors in a balcony? | Content verified for accuracy and freshness.
References
- Vinyl flooring
- Waterproofing
- Water damage
- Mold
- https://www.cdc.gov/mold/default.htm
- https://www.epa.gov/mold/moisture-control-prevent-mold-growth
- Mold – Overview | Occupational Safety and Health Administration
- https://scholar.google.com/scholar?q=vinyl+flooring+standing+water+damage Google Scholar
- https://scholar.google.com/scholar?q=vinyl+flooring+moisture+barrier+installation+guidelines Google Scholar
- https://scholar.google.com/scholar?q=lvp+outdoor+balcony+water+resistance Google Scholar