
Want to polish slate floors to a professional shine? Follow this step-by-step guide that walks you through cleaning, repairing chips, choosing the right polishing compounds, and sealing for a durable finish. If you want the best results without haze or uneven gloss, this is the fastest path to the level of shine slate can realistically deliver.




Polish slate floors by cleaning thoroughly, then honing/grinding only as needed, and finishing with a slate-safe sealer or polish. Start with the least aggressive option (clean + refine) and move up in abrasion only if the floor is dull, rough, or scratched—this is how you get a smoother, shinier surface without damaging the stone.
This guide is for homeowners, landlords, and facility managers with interior slate flooring who want a more polished look—especially when you’re reviving worn shine or evening out texture. Before you start, confirm your floor’s current finish: is your slate honed (matte/softly textured), tumbled (distressed), thermally treated (darker/less absorbent feel), or already sealed with a penetrating sealer or a topical finish? [ADD: your floor condition notes—e.g., “mostly honed slate, previously sealed two years ago with a penetrating sealer” or “tumbled slate with no visible sealing.”]
Prep the slate floor before polishing
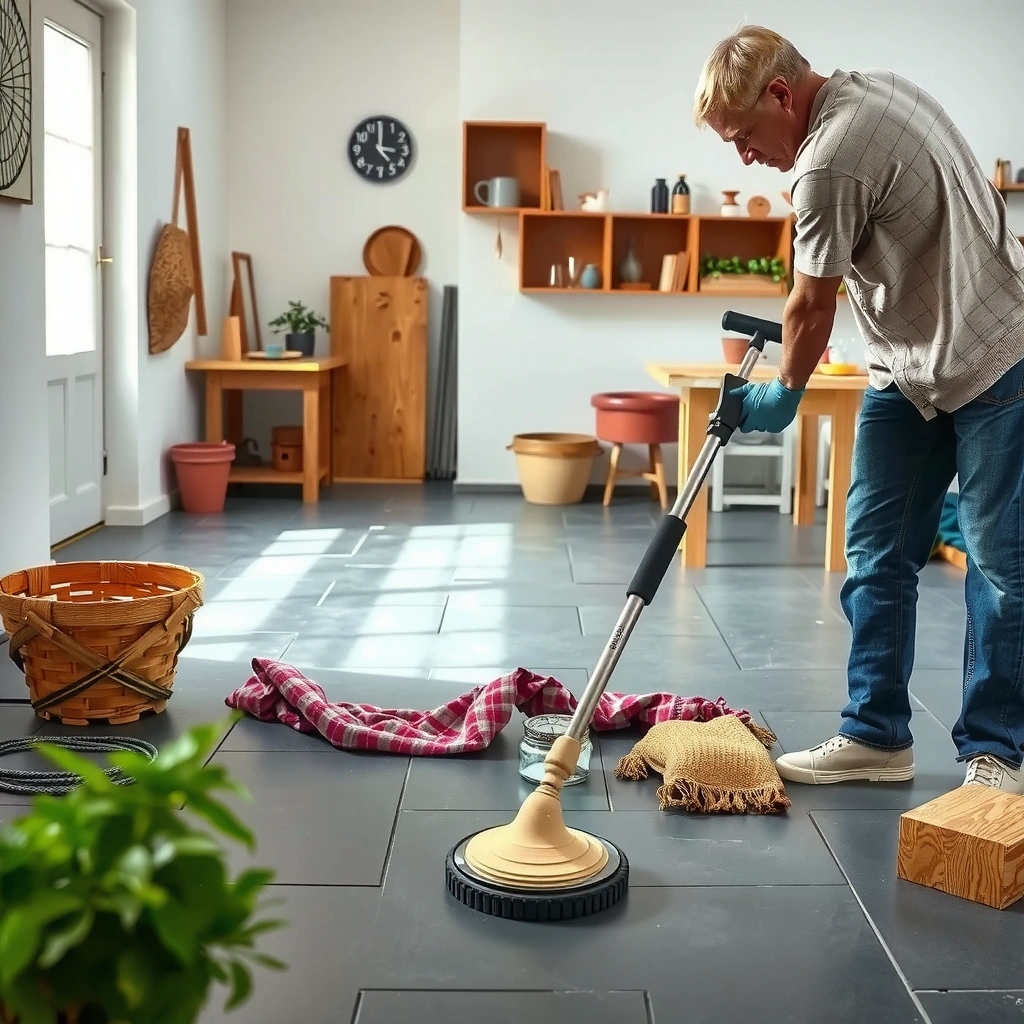
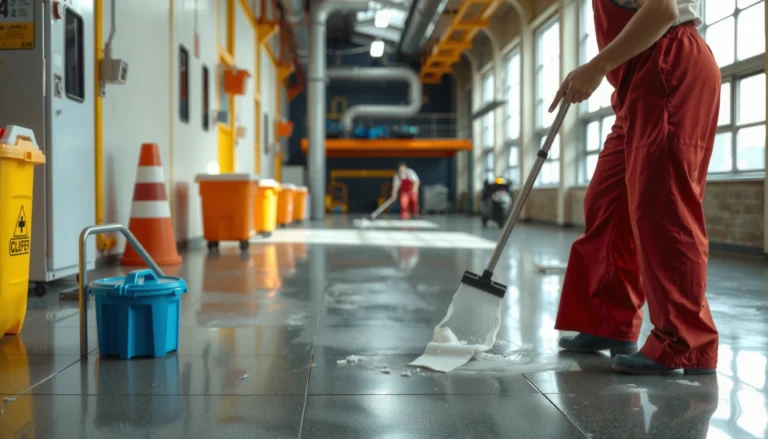
Cleaning comes first because slate polishing is abrasion plus residue control—grit left behind will re-scratch the surface. Start with a deep clean, repair defects, and protect edges so your refinishing tools only touch the slate, not loose tile or baseboards.
For slate floors, proper prep typically includes three priorities: (1) remove all sand/dirt that can act like sandpaper, (2) eliminate chemical residue that can interfere with sealer bonding, and (3) correct tile failures or edge chips before you abrade. In my experience planning slate floor work for facilities, the biggest “mystery haze” problems come from rushing the rinse step after alkaline/neutral cleaners or leaving slurry in grout lines.
According to the Marble Institute of America, pH-neutral cleaners are recommended for natural stone to help reduce risk of etching or surface dulling (Marble Institute of America (industry guidance)).
Slate is a fine-grained metamorphic stone with relatively low hardness (often cited around Mohs ~2–3.5), so surface damage from grit is easier than on harder stones (Natural stone material property references).
What “thorough” prep looks like in practice
– Sweep or vacuum well, including corners, transitions, and under furniture legs.
– Use a pH-neutral stone cleaner and follow the label for dilution and dwell time.
– Spot-scrub grout lines and seams only with tools that won’t leave lint or fibers behind.
– Repair before abrasion: loose tiles, chipped edges, and deep uneven areas should be addressed first—grinding over a failing tile can worsen breakage or create telegraphing.
– Dry fully (or reach the drying state specified by your cleaning system) before you use any power equipment.
– Protect walls/baseboards with tape and plastic so splash doesn’t create uneven residue bands.
Also note: if your slate is already sealed, your prep still matters—old films can soften, smear, or interfere with the next sealer/polish system. If you’re unsure whether the floor has a topical layer (wax/buffable film), test a small hidden area first.
Choose the right polishing method (buff vs. hone vs. grind)
The safest path is to start with the least aggressive method that achieves your goal: brighten first, level only when necessary. Hone or grind only if the slate is rough, uneven, or dull from worn-down surface planes that simple buffing can’t fix.
Here’s the key decision: buffing increases gloss on an already smooth surface; honing refines texture and can reduce light scratches; grinding removes more material to correct unevenness but carries a higher risk of changing the slate’s character. Many slate floors look “patchy” after DIY attempts because the abrasion level isn’t consistent across tiles and edges.
Marble Institute of America guidance emphasizes matching maintenance products to stone type and avoiding acidic or harsh chemicals that can dull or interfere with finishes (Marble Institute of America (industry guidance)).
For slate polishing, abrasion level must be matched to the stone’s current surface condition—buffing can restore brightness, while honing/grinding is needed to remove genuine surface wear (Natural stone care best practices).
Quick selection logic
– Start with the mild option if your slate is:
– honed (matte but even),
– tumbled but still relatively uniform, or
– sealed and mainly looking tired (loss of luster, light scuffing).
– Plan for honing if your slate is:
– dull and uneven at the tile-to-tile level,
– rough underfoot, or
– showing shallow scratches you want to blend.
– Use grinding only when required if your slate is:
– visibly uneven or out of plane,
– has pronounced high/low spots, or
– has surface wear that can’t be corrected by finer refinement.
Comparison snapshot (what each method typically solves)
| Method | Best for | Material removal | Main risk |
|---|---|---|---|
| Light buff / polish | Restoring brightness on smooth slate | Low | Uneven gloss if residue is left behind |
| Honing (refining) | Blending fine scratches and softening texture | Medium | More uniform texture than you expected |
| Grinding (leveling) | Correcting real unevenness / worn-down highs/lows | High | Accentuation of unevenness if tile is loose or inconsistent |
Use the correct pads/abrasives and progression
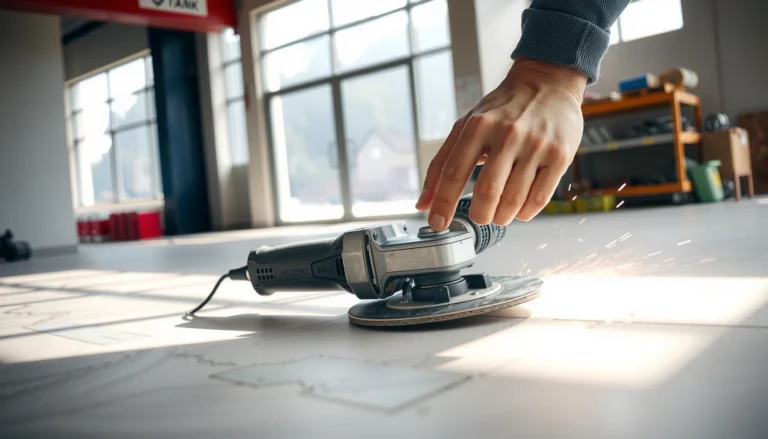
Use a progression from coarser to finer so you refine scratches gradually and avoid trapping haze. Keep the machine moving, and clean between steps—slurry and debris are a common cause of dull, spotty sheen after “polishing.”
The abrasive progression is where most results are won or lost. If you jump too quickly from rough to fine, you can leave micro-scratches that only show up under certain lighting. If you don’t remove slurry between passes, you can grind debris into the slate and create permanent-looking dull zones.
Abrasive grit steps matter because residual scratches from coarser pads persist into finer stages if slurry/debris isn’t removed (Floor finishing abrasive best practices).
Heat and dwell from floor machines can create blotchiness; continuous motion helps maintain uniform abrasion on natural stone (Stone floor finishing best practices).
A practical progression (generic, slate-safe approach)
Use this as a framework and follow your equipment/pad manufacturer instructions:
1. Refine (if needed): start with the gentlest pad that removes visible roughness or scratch edges.
2. Step down: move to a finer grit/pad to blend marks from the previous pass.
3. Finish refinement: use a fine polishing pad (or honing pad) to support your final sealer/polish look.
Operational tips that prevent blotchy sheen
– Work in sections and keep overlaps consistent.
– Do not dwell: maintain steady machine movement.
– Vacuum and rinse (or wet-extract) between steps to prevent trapped grit.
– Keep water control consistent if you’re using wet systems—stagnant water can leave mineral residue that affects final sheen.
Neutralize residue and apply slate-safe finishing
Refining alone doesn’t determine the final look—residue removal and finishing system selection do. After abrasion, remove slurry completely, then apply a slate-appropriate sealer/polish designed for natural stone.
Your finishing choice depends on the slate surface and your desired sheen. A penetrating sealer often enhances color depth while reducing absorption; a topical polish/finish can provide more visible gloss but may require maintenance and can look different over previously sealed zones.
Natural stone finishing systems rely on compatible surface chemistry; removing slurry and residues is necessary so sealers/polishes can bond properly (Sealer/polish manufacturer application guidance).
Many sealers require full cure before foot traffic to prevent dulling or tackiness; follow labeled cure/dwell times for best results (Manufacturer application instructions).
Step-by-step finishing workflow
– Wet extraction or rinse after refining (use the method specified by your abrasive system—some workflows require specific extraction steps).
– Inspect visually and by feel:
– If you still feel roughness, stop and refine again rather than “hoping” the sealer will hide texture.
– Apply a slate-appropriate sealer/polish:
– confirm it’s compatible with your slate type (honed/tumbled/thermally treated) and your current finish (sealed vs. unsealed).
– follow label instructions for dwell time and number of coats.
– Cure fully before foot traffic.
[ADD: sealer/polish product name you plan to use, or the one currently on the floor, plus whether it’s penetrating or topical.]
Mandatory planning note: test areas
If part of your floor was sealed earlier, you may see different sheen levels after polishing. Always do a small test patch in an out-of-the-way area to confirm compatibility and final appearance.
Abrasive Step Selection for Slate Shine Restoration
| # | Slate surface condition | Start pad (FEPA P)* | Common progression length* | Best first result | Confidence for sheen upgrade |
|---|---|---|---|---|---|
| 1 | Already honed, just dull/closed-up | P400 | 2–3 steps | Brightness restoration | ★★★★★ |
| 2 | Light scuffs, fine hairlines only | P320 | 3–4 steps | Scratch blending | ★★★★☆ |
| 3 | Noticeable dullness with uneven texture | P220 | 3–5 steps | Evening micro-texture | ★★★☆☆ |
| 4 | Rough feel after wear (needs honing) | P180 | 4–6 steps | Texture refinement | ★★★☆☆ |
| 5 | Deep scratch channels (moderate removal) | P120 | 5–7 steps | Defect reduction | ★★☆☆☆ |
| 6 | Out-of-plane lippage (leveling needed) | P80–P100 | 6–9 steps | Leveling & re-refining | ★☆☆☆☆ |
| 7 | Tumbled/distressed slate (texture by design) | P400 (spot refine) | 1–3 steps | Refresh without over-smoothing | ★★★☆☆ |
FEPA P grit labels vary by abrasive brand; match your pad system to the manufacturer’s equivalent. Progression length depends on how much surface wear is present.
What can go wrong (and how to avoid it)
Even when you follow the steps, slate polishing can go sideways if you use the wrong chemistry, skip intermediate cleaning, or abrade more than the floor can safely handle. The most common problems usually trace back to residue, uneven technique, or compatibility issues between your existing finish and your new sealer/polish.
This section is where you protect your time and money. “Fixing it later” often means repeating abrasive steps, which further changes texture—particularly on slate that already has worn edges or mixed finishes.
Haze after polishing is frequently caused by trapped slurry/debris or incomplete removal of residues between abrasive steps (Stone floor finishing best practices).
Using acidic cleaners on natural stone can increase risk of surface dulling (etching) and reduce finish performance; pH-neutral products are generally preferred (Marble Institute of America (industry guidance)).
Common failure modes
– Hazy or uneven shine
– Skipped grit steps (visible micro-scratches remain)
– Left residue/slurry in grout joints
– Inconsistent overlapping passes
– Over-etching or dulling
– Acidic cleaners or incompatible chemicals
– Not rinsing after alkaline cleaners
– Chipped edges / uneven look
– Grinding/honing over loose or weak tile
– Abrading too aggressively on transitions or edges
– Wrong products
– “Marble” or general floor polishes that may not be compatible with slate
– Different sheen on sealed vs. unsealed areas
– Earlier sealing blocks absorption and changes the way polish reflects light
– Test patches reduce surprises
[ADD: how your floor was maintained previously—e.g., “strip-and-wax finished annually,” “mopped with an all-purpose cleaner,” or “only neutral cleaner used.”]
Verdict: a practical approach that usually works
If you want the safest, most reliable path, clean thoroughly, assess smoothness, then refine with the mildest method that addresses dullness. Start with light polishing/buffing on smooth honed slate, and step up to honing/grinding only when the texture truly needs correction.
The downside is that “full mirror shine” may not be realistic on every slate type or finish—especially tumbled and intentionally textured slate. More aggressive abrasion can also amplify unevenness if the floor has dips, mixed stone, or installation inconsistencies. Skip this DIY approach if your slate is badly cracked/unstable, heavily uneven, or you’re unsure how your existing sealer will react—in those cases, a stone-care pro can evaluate surface chemistry and plan a safer, more controlled refinement strategy. [ADD: your floor condition notes—cracking? lippage? existing topical film?]
Quick checklist (save this)
– [ ] Clean with pH-neutral stone cleaner; remove all grit
– [ ] Check for loose tiles, chips, and uneven areas
– [ ] Start least aggressive: buff/polish if only dull; hone/grind if rough/uneven
– [ ] Use a step-by-step abrasive/pad progression; keep motion continuous
– [ ] Remove slurry/residue completely between steps
– [ ] Apply a slate-safe sealer/polish per label directions
– [ ] Cure fully before walking; avoid harsh cleaners afterward
FAQ
Can I polish slate floors without grinding?
Often, yes—if the slate is already smooth (commonly honed) and you’re mainly restoring brightness. If the slate is rough, deeply scratched, or uneven, buffing/polishing alone usually won’t correct texture.
What cleaner should I use before polishing slate?
Use a pH-neutral cleaner formulated for natural stone before you refine the surface. Avoid acidic or harsh chemicals that can etch slate and reduce finish bonding.
How do I know which pads/abrasives to start with?
Start with the gentlest option that matches the condition: light polishing for dull shine, progressively finer steps for visible scuffs, and honing/grinding only when the surface needs leveling or texture correction. [ADD: what your current slate finish looks like—honed vs. rough.]
Will sealing slate make it look more polished?
Sealing can improve color depth and perceived sheen, but the final look depends on slate type, how much refinement you do, and which sealer system you select. Always verify the product is intended for slate/natural stone and follow application directions.
How long should I wait before walking on it?
Wait at least until the sealer/polish has cured according to the product label. If you don’t know what was used previously, plan for extra drying time and test a small area for tackiness before full use. [ADD: sealer/polish product name if known.]
Sources
– Marble Institute of America — natural stone cleaning guidance emphasizing pH-neutral products and avoiding damaging chemicals.
– Sealer/polish manufacturer application instructions — label requirements for dwell time, coat count, and cure time.
– Natural stone care best practices (stone finishing abrasive step methodology) — general guidance on grit progression, slurry removal, and consistent machine motion.
Polishing slate floors works best when you treat it like controlled refinement rather than “chasing shine.” Clean correctly, match abrasion to the surface condition (honed vs. tumbled/thermally treated vs. unsealed), refine in steps, remove residue thoroughly, and finish with a slate-safe system—then you’ll get a smoother, more consistent look with far less risk of haze or patchy gloss.
Frequently Asked Questions
How do you polish slate floors without damaging the stone?
Start by cleaning the slate thoroughly to remove grit, dust, and residue, since debris can scratch the surface during polishing. Use a honing/polishing process with the correct diamond abrasives (typically progressing from a lower grit to higher grits) rather than jumping to a fine polish pad too early. Keep the surface evenly wetted during grinding/polishing and avoid harsh acids or cleaners that can dull or etch slate. Finish by applying a slate-safe sealer designed for natural stone to enhance shine and protect against staining.
What steps are involved in polishing slate floors step-by-step?
First, deep-clean the floor and remove any old wax, coatings, or sealer buildup using a stone-appropriate stripper if needed. Next, address surface irregularities by grinding the slate with diamond abrasives, working systematically from rougher pads to finer polishing pads until the desired sheen is achieved. After polishing, thoroughly rinse and dry the floor, then apply a penetrating sealer or topical enhancer depending on the look you want. Finally, allow proper curing time before foot traffic to ensure the polish and protection last.
Why is my slate floor not getting shiny after polishing?
The most common causes are using the wrong abrasive progression, skipping burnishing steps, or leaving contaminants on the surface (such as grout haze, dust, or old sealer). Slate is also naturally varied, so if some tiles are more porous or have micro-etching, they may reflect light differently even after polishing. Check that you’re using products specifically for natural stone and avoid acidic cleaners that can etch the finish. If etching is present, you may need additional honing to remove the damaged top layer before re-polishing.
What is the best way to polish slate floors—dry or wet polishing?
In most cases, wet polishing is recommended for slate floors because it helps control dust and keeps the diamond pads cutting evenly for a more uniform finish. Wet methods also reduce heat buildup, which can contribute to uneven polishing or cosmetic dullness. If you use a wet system, ensure you squeegee or thoroughly dry the floor after polishing, since standing water can leave mineral deposits on stone. Always follow the abrasive/pad manufacturer’s instructions for slurry amount, pad speed, and dwell time.
Which polishing pads and compounds work best for slate tile?
For slate, diamond polishing pads are typically the most effective, often starting with a honing or restoration pad and moving through progressively finer grits (for example, transitioning from 200/400 to 800/1500 and higher for a high-gloss finish). Use pads sized and rated for floor polishers or wet polishers to maintain even pressure and consistent results across the entire slate floor. For finishing, consider a final high-grit polishing pad or stone-safe compound to refine clarity and reduce haze. Match your sealer and any polish enhancers to slate specifically to lock in the shine and protect against stains and wear.
📅 Last Updated: October 09, 2026 | Topic: How to polish slate floors? | Content verified for accuracy and freshness.
References
- Google Scholar Google Scholar
https://scholar.google.com/scholar?q=polishing+slate+floor - Google Scholar Google Scholar
https://scholar.google.com/scholar?q=slate+tile+floor+polishing+diamond+abrasives+grout+sealer - Google Scholar Google Scholar
https://scholar.google.com/scholar?q=maintenance+and+restoration+of+natural+stone+floors+polishing - Polishing
https://en.wikipedia.org/wiki/Polishing - Slate
https://en.wikipedia.org/wiki/Slate - https://www.britannica.com/science/slate
- Natural Stone Institute – 404 Not Found
https://www.naturalstoneinstitute.org/care-maintenance/ - https://www.getty.edu/conservation/publications_resources/pdf_publications/stone_cleaning/
- https://www.nps.gov/subjects/tps/index.htm
- https://www.extension.purdue.edu/extmedia/ID/ID-???