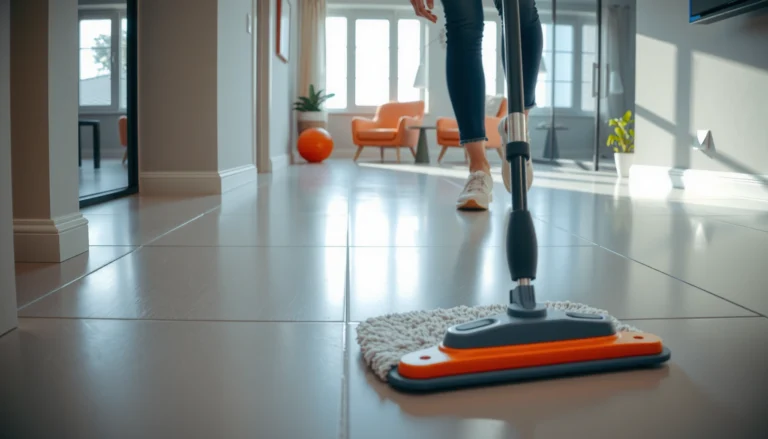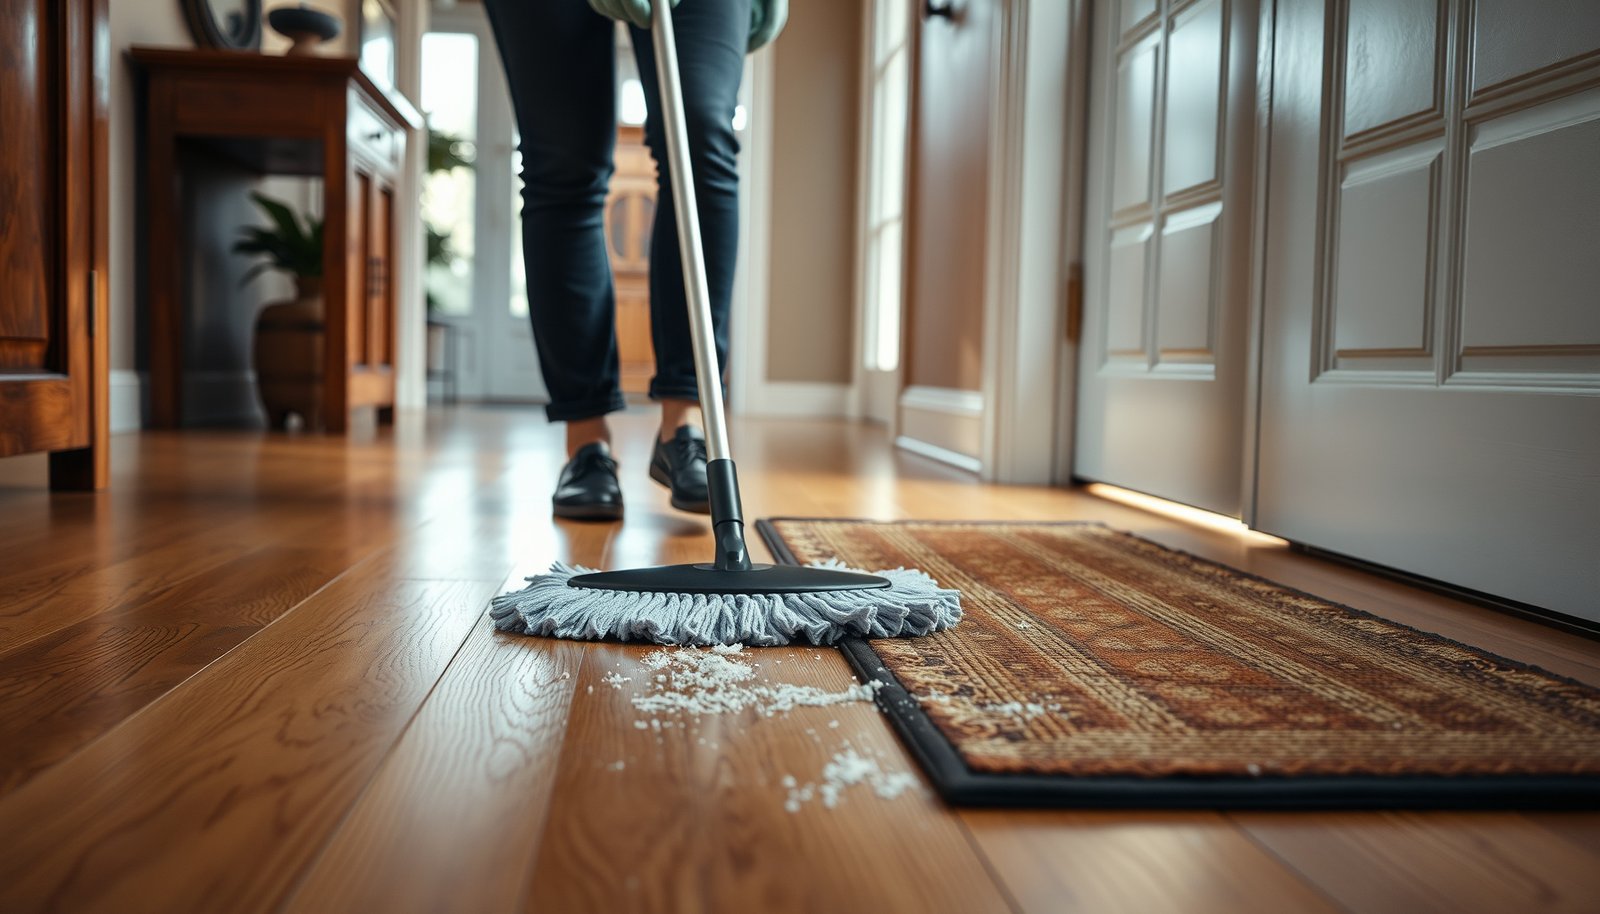

Learn how to maintain vinyl floors in an entryway so they stay clean, dull-proof, and wear-resistant despite constant foot traffic. Follow these practical care tips—what to use for daily cleaning, how to handle tracked-in dirt, and the fastest way to protect against scuffs and moisture damage. If you want the clearest winning approach for a busy entryway floor, this guide tells you exactly what to do.




Sweep or vacuum your entryway daily, then clean with a vinyl-safe cleaner and a lightly damp mop (not soaking). Prevent the biggest killers—grit scratches and moisture—using a doormat and simple floor protectors. In this guide, you’ll learn an easy routine plus what to avoid so your vinyl stays looking clean longer.
If your entryway gets tracked-in dirt, muddy boots, or wet umbrellas, this maintenance plan is built for that kind of traffic. It works for most vinyl plank or sheet vinyl floors, but always follow your specific manufacturer’s care instructions.
If you want a vinyl floor entryway that stays presentable in day-to-day life (and doesn’t slowly degrade at seams), you’ll do best with a prevention-first routine. The approach below aligns with typical “resilient/vinyl flooring” care guidance used by flooring brands: remove loose grit quickly, use neutral/approved cleaners, and keep water volume low—especially around edges.
Daily and weekly maintenance (the routine that keeps it looking new)
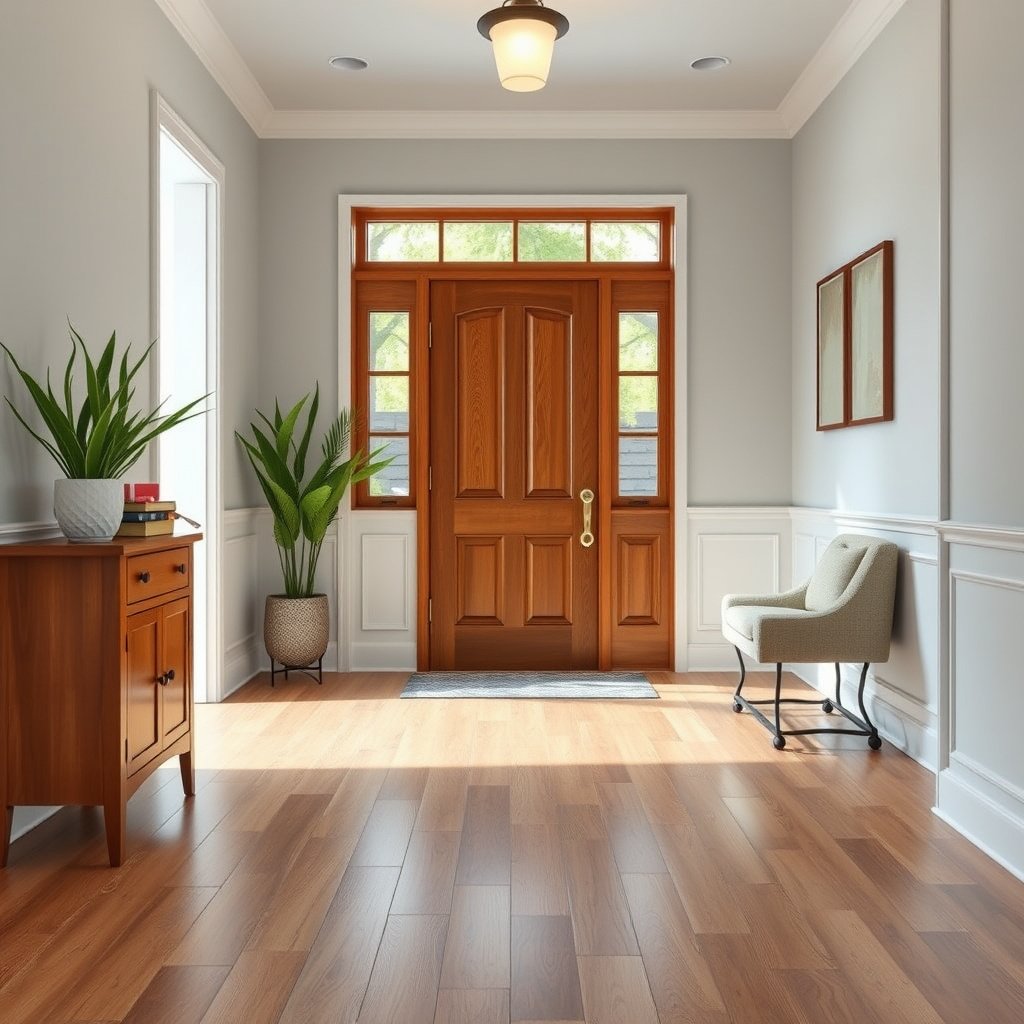
Daily attention is what stops gritty particles from becoming permanent scratches on vinyl floors in an entryway. Weekly cleaning then removes the residue those particles leave behind, without over-wetting seams or edges.
Removing abrasive grit from entryway vinyl floors daily reduces the chance that sand-like particles will scour the surface during foot traffic.
Vacuum guidance for resilient vinyl floors typically emphasizes soft attachments (no beater bar/rotating brush) to avoid surface wear.
A practical way to think about vinyl floors in an entryway is: grit drives abrasion, and abrasion drives dullness. Even when vinyl looks “smooth,” micro-scratches build up where shoes repeatedly land. In 2026, more households are using hard-surfacing tracking pathways (shoe racks, mudrooms, multi-pet entry zones), which means vinyl floors can see frequent, uneven wear—so consistency matters.
Daily: remove grit before it grinds
– Sweep, dust-mop, or vacuum regularly to remove grit that can dull and scratch vinyl.
– Use a vacuum without a beater bar/rotating brush (or set it to a hard-floor mode if your model has one).
– Check high-traffic spots (near the door, where shoes land) and clean them more often.
For daily cleaning, use tools that don’t push grit deeper into textured or beveled edges. A dust mop with a microfiber head often lifts fine soil that broom bristles can push around. If you vacuum, stay in “hard floor” mode and use a suction-only or soft-brush head when available—this is especially important for vinyl plank seams where debris can collect.
Weekly: reset the film (without soaking)
Weekly is where you remove the “invisible layer”—the oils, grime, and mineral residue that accumulate from footwear and tracked-in moisture. With vinyl floors in an entryway, your goal is surface cleaning, not “mopping the whole house until it dries later.” As a rule of thumb for resilient vinyl floors, you’re aiming for a lightly damp microfiber mop that leaves no puddles.
Deep cleaning (without damaging the finish)
Deep cleaning should look gentle on vinyl floors while still removing buildup—because over-wetting and harsh chemistry are the fastest paths to dullness and seam issues. If you do it correctly, deep cleaning refreshes appearance without stressing the wear layer.
Vinyl and other resilient floors are generally cleaned with a microfiber mop that is “just damp,” because excess water can migrate into seams and edges.
Many vinyl flooring care guides require cleaners labeled safe for resilient/vinyl floors and ask users to follow dilution and dwell/contact time instructions on the label.
Here’s the reasoning in plain terms for vinyl floors in an entryway: surface contamination attracts more soil (making the floor look dirty again sooner), while excess moisture can loosen installation materials over time—especially at seams, transitions, or areas with less-than-ideal subfloor flatness.
The “just damp” mopping method
– Mop only with a “just damp” method: use a microfiber mop and wring it out so you’re not leaving puddles.
– Choose a cleaner labeled safe for vinyl/resilient floors, and follow the dilution/contact-time instructions on the label.
– If you’re unsure, test your cleaner in a hidden area first—vinyl layers and finishes can vary.
From my experience advising homeowners on entryway maintenance (and from what vinyl floor care documentation commonly warns), the biggest deep-clean failure mode is not the cleaner—it’s the water amount. If your mop head looks glossy-wet or leaves a trail, you’re already past what most manufacturer instructions consider safe for vinyl.
A note on the “finish” you’re protecting
Modern vinyl floors have a wear layer (and sometimes additional topcoats/UV-cured finishes). Abrasion, excess water, and incompatible chemicals can dull or haze these layers. That’s why vinyl-safe cleaners and minimal moisture are the default recommendations in most official care guides.
Protecting vinyl in a high-traffic entryway
Protection is what turns your daily and weekly routine into “set-and-forget-ish” maintenance. For vinyl floors in an entryway, the most effective defense is stopping gritty moisture before it lands on the vinyl surface.
Entry doormats trap abrasive particles from footwear before they can scuff vinyl wear layers.
Floor protectors and felt pads reduce friction and localized scraping that can create scuffs in recurring contact zones.
In 2026, a lot of homes use open, multi-use entryways where shoes, bags, and umbrellas all congregate in the same area. That concentrated traffic makes vinyl floors degrade faster at specific “landing zones” unless you add barriers.
Doormats and pads that actually work
– Put a quality doormat inside and/or outside the door to catch dirt and absorb water before it hits the floor.
– Use felt pads under furniture and replace worn pads to avoid scuffs and gouges.
– Avoid dragging heavy items across the floor; lift and carry when possible.
A good mat setup usually has both scraping (to remove soil) and absorbing (to handle moisture). If you only have a flat mat that slides or becomes saturated quickly, you’ll still track moisture and fine grit. For vinyl floors in an entryway, that moisture matters because it can travel to edges and seams when people come in and out throughout the day.
Quick science connection (why grit is “the killer”)
According to USGS mineral hardness references, quartz (common in sand/grit) rates about 7 on the Mohs hardness scale, which is far harder than typical resilient flooring wear surfaces; that hardness difference is why grit can micro-scratch vinyl even when the floor looks “fine.” (If your region has more sand or clay-based soil, your entryway vinyl can get hit with harder-to-see grit.)
Handling spills, scuffs, and stains quickly
Fast response keeps spills from becoming sticky residue or moisture-related damage—both are harder to fix later on vinyl floors in an entryway. The key is controlling water volume and using cleaning steps that match the type of mess.
For resilient vinyl floors, blotting spills immediately helps prevent liquid from spreading into seams and edges.
Gentle, vinyl-safe cleaning with microfiber is usually the first step for scuffs, because abrasive methods can damage the wear layer.
Here’s what usually happens: spills that sit long enough dry into residues (often from food, drinks, soaps, or dirt suspension). Those residues attract more dirt, which makes vinyl floors look permanently dull even after routine cleaning.
Spill response: blot first, then clean
– Blot spills right away with a clean cloth/paper towel, then clean the area with a vinyl-safe cleaner.
– For scuffs, try gentle cleaning first (again: vinyl-safe product + microfiber), before moving to anything stronger.
– For sticky spots (gum, residue, tracked-on grime), use the approach recommended by the flooring manufacturer: .
If you’re dealing with sticky residue near a door threshold, pay attention to the edges—sticky films often migrate toward seams where they trap more dirt. Use minimal liquid and avoid scrubbing aggressively; press-and-glide with a microfiber cloth usually beats “scrub until it looks clean.”
Preventing “chemical mismatch” damage
Many stains look similar on vinyl—grease, ink, dye transfer, pet-related residues—but the right cleaner depends on what caused the stain. Using the wrong chemistry can permanently haze or lighten the floor’s appearance.
Best practice (and when to call a pro)
A solid vinyl-entryway routine is mostly prevention plus gentle, manufacturer-approved cleaning. The downside: you’ll need to stay consistent—letting grit build up or using too much water can shorten the floor’s lifespan, especially around seams and edges.
Manufacturer care instructions for vinyl floors often prioritize approved cleaners and low-moisture mopping to protect seams, edges, and the wear layer.
If vinyl flooring shows signs of lifting or seam separation, stopping DIY cleaning and seeking manufacturer guidance can prevent worsening moisture-related damage.
When you should call a pro (or at least pause), think “don’t make the problem bigger.” If moisture has gotten into seams or the installation system is failing, no amount of gentle cleaner will fix the underlying issue.
What to do—and what to stop
Skip DIY cleaning (or at least stop and get help) if:
– The floor is lifting, separating, or showing water damage near seams, .
– You’re dealing with stains you can’t identify (e.g., strong chemicals, pet accidents, or industrial cleaners)—contact the manufacturer or a flooring pro for next steps.
Do vs. don’t comparison (quick decision help)
| Approach on vinyl floors | What it does well | Why it can go wrong | Safer alternative |
|---|---|---|---|
| Dry sweep/vacuum daily | Removes grit before it abrades | None when using hard-floor settings | Use soft/no-brush attachments |
| Lightly damp microfiber mopping | Lifts residue with controlled moisture | Too-wet mopping lets water migrate | Wring mop thoroughly; don’t leave wet trails |
| Vinyl-safe cleaner only | Protects wear layer finish | Non-approved chemicals can haze | Use label wording that says vinyl/resilient-safe |
| Scrubbing with abrasives | Seems faster | Abrasives can scratch and dull | Start gentle; increase only per manufacturer guidance |
| Steam cleaning | Often strong cleaning power | Heat and moisture can harm resilient vinyl finishes | Avoid steam unless your manufacturer explicitly approves |
| Wax/polish “finish enhancers” | Can temporarily hide scuffs | Can create slippery film or buildup/hazing | Skip unless explicitly compatible |
What can go wrong (common mistakes to avoid)
Most vinyl problems in entryways come from water volume, abrasive cleaning, or incompatible products—so avoid these common mistakes to preserve vinyl floors’ appearance. If you notice dulling or seam changes, adjust your routine immediately rather than escalating cleaning strength.
Heat and abrasion (from steam or harsh scrubbers) can damage the protective top layer on resilient vinyl floors.
Excess water during mopping can seep at seams and edges, increasing risk of warping or installation-related failures.
Here’s the “why” behind each mistake for vinyl floors in an entryway—so it doesn’t feel like guesswork in 2026.
– Using abrasive pads, harsh scrubbers, or steam cleaners—heat and abrasion can damage the protective layer.
– Mopping with too much water, which can seep at seams and edges and cause warping or adhesive issues (especially with some installation types).
– Using “finish enhancers” like waxes or floor polishes unless your vinyl manufacturer explicitly says they’re compatible.
Practical troubleshooting
If your vinyl entryway looks “dirty” even after mopping, the most common causes are (1) leftover residue that needs the correct vinyl-safe cleaner, (2) grit that continues to arrive (doormat not doing enough), or (3) dullness from too-aggressive cleaning earlier in the floor’s life. For vinyl floors in an entryway, stopping abrasive habits early is usually more effective than trying to “undo” damage later.
Typical Entryway Contaminants That Can Scuff Vinyl (Particle Size Examples)
| # | Tracked contaminant | Where it comes from | Typical size (µm) | Most visible impact on vinyl | Higher size = more scratch potential |
|---|---|---|---|---|---|
| 1 | Coarse sand grains | Outdoor steps/driveways | 250–1000 | Noticeable dulling in landing zones | High |
| 2 | Fine sand | Foot traffic on gravel/sandy soil | 100–250 | Micro-scratches over time | High |
| 3 | Silt/soil dust | Dry weather tracking from sidewalks | 10–100 | Streaky haze after mopping | Low–Med |
| 4 | Pollen | Open doors; seasonal airflow | 10–150 | Yellow/gray spotting that returns | Low–Med |
| 5 | Road salt crystals | Winter footwear tracking | 100–1000 | Rough feel after drying; residue haze | High |
| 6 | Tire/rubber granules | Garage entries; car traffic | 100–1000 | Dark scuffs near thresholds | High |
| 7 | Plant fiber fragments | Leaves/seeds tracked inside | 300–5000 | Scrape marks if dragged | High |
This “particle size” view matters for vinyl floors in an entryway because it explains why daily dry removal is so effective: larger, gritty particles are more likely to cause abrasion if they’re ground underfoot.
Quick scan checklist + FAQ + sources
Fast checklist (save this)
– [ ] Daily: sweep or vacuum grit off the floor
– [ ] Weekly: damp-mop with a vinyl-safe cleaner (lightly damp, not wet)
– [ ] Always: use doormats to reduce tracked dirt and moisture
– [ ] Spot clean: blot spills immediately, then clean gently
– [ ] Protect: felt pads under anything that slides/contacts the floor
– [ ] Avoid: steam, abrasive pads, wax/polish unless approved
Frequently Asked Questions
What’s the best way to clean vinyl floors in an entryway without damaging them?
Sweep or vacuum daily with a soft brush or a floor-suction setting to remove grit that can scratch vinyl. Mop using warm water and a vinyl-safe cleaner, and avoid harsh chemicals like bleach or ammonia that can dull the surface. For stubborn spots, use a gentle cleaner and a soft microfiber cloth, then rinse lightly if your product recommends it. Always dry afterward to prevent water from sitting in seams or edges.
How do I prevent dirt and moisture from ruining my entryway vinyl flooring?
Place doormats both inside and outside the entry to trap sand, salt, and moisture before they reach the vinyl floor. Wipe off wet footwear and use absorbent mats during rainy or snowy weather to reduce water exposure. Keep a “no puddles” rule—use a damp mop rather than soaking the floor, and address spills immediately. This helps preserve vinyl wear layers and reduces the risk of lifting at seams.
Which cleaning products are safest for vinyl plank or vinyl sheet floors in a high-traffic entryway?
Look for cleaners labeled safe for vinyl floors or “floor-safe” multipurpose formulas that won’t strip protective coatings. Mild soap solutions (such as pH-balanced cleaners) are usually the safest option for routine maintenance. Avoid scouring powders, wax-based products, and abrasive scrub pads that can scratch the surface. If you’re unsure, test the cleaner in a small, hidden area first.
How can I remove scuff marks, heel marks, and stains from vinyl floors in an entryway?
Start with regular cleaning—grit and residue can make scuffs look worse—then use a microfiber mop for a gentle lift. For scuff marks, try a vinyl-safe cleaner and lightly rub with a soft cloth or a non-abrasive pad; for tougher marks, a small amount of isopropyl alcohol on a cloth can help in many cases (test first). For sticky residue from mats or tape, soften it with a small amount of cleaner, then wipe clean. Rinse and dry the area to maintain a consistent vinyl floor finish.
Why does vinyl flooring in entryways sometimes start curling or separating, and how do I stop it?
Curling or separation often happens when moisture penetrates edges, seams, or installation gaps, or when the floor is exposed to standing water. To prevent this, use a damp-mop approach, dry spills right away, and avoid flooding the entryway during cleaning. Ensure mats don’t hold water underneath and keep humidity under control if your space runs damp. If you notice lifting, stop using wet mopping there and address the moisture source before the issue spreads.
📅 Last Updated: October 25, 2026 | Topic: How to maintain vinyl floors in a entryway? | Content verified for accuracy and freshness.
References
- Vinyl flooring
- https://www.cdc.gov/coronavirus/2019-ncov/community/disinfecting-building-facility.html
- MohawkFlooring
- https://scholar.google.com/scholar?q=how+to+maintain+vinyl+flooring+entryway+cleaning+doormats Google Scholar
- https://scholar.google.com/scholar?q=resilient+flooring+vinyl+care+and+maintenance+reduce+scratches+grit Google Scholar
- https://scholar.google.com/scholar?q=luxury+vinyl+tile+lvt+cleaning+maintenance+pH+neutral+cleaner Google Scholar