
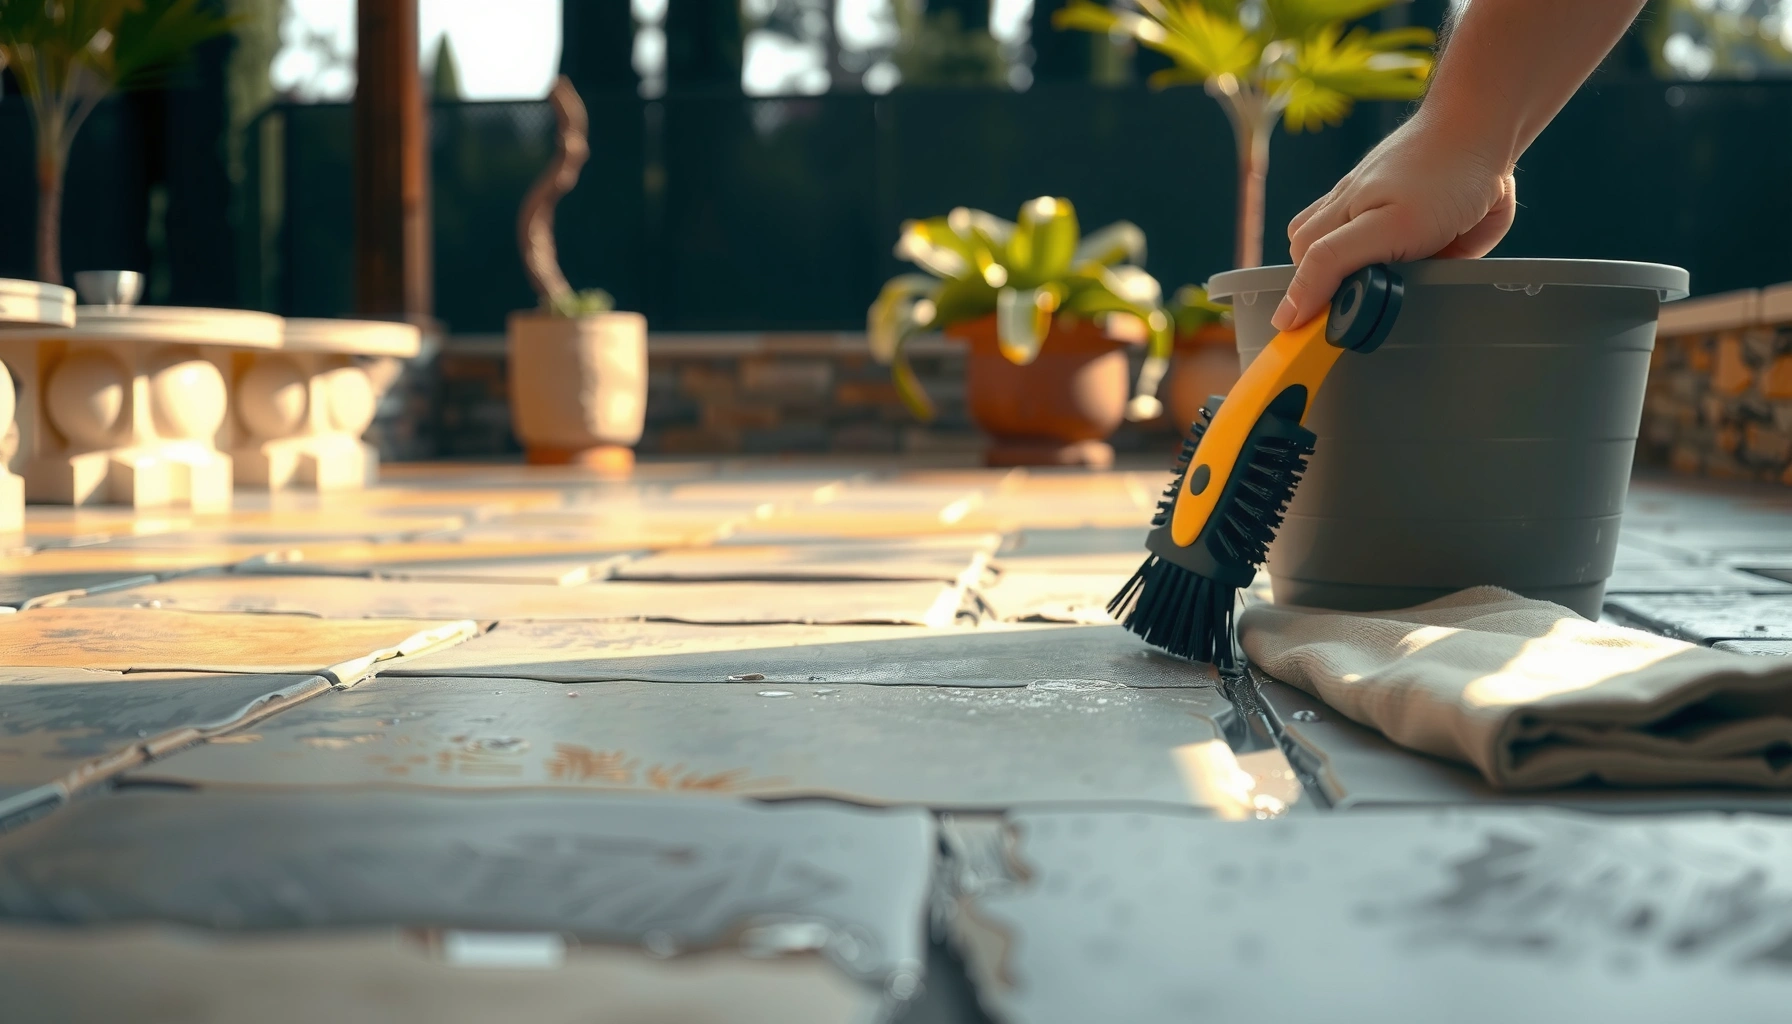

Maintaining patio floors is easiest when you follow a simple cleaning-and-protection routine: clean with the right pressure and cleaner for your surface, then seal or coat to lock out stains and water. This guide answers exactly how to keep patio floors looking good—step by step—without damaging concrete, pavers, tile, or wood. Use these practical tips to prevent mold, efflorescence, and fading season after season.




Keeping patio floors in good shape is mainly about consistent cleaning plus sealing/treating at the right time. Sweep and rinse regularly, deep-clean seasonally with the correct product for your surface (concrete, pavers, stone, tile, or stamped concrete), and protect it once water stops beading like it used to—so staining, cracking, and fading don’t get out of hand.
Keeping patio floors in good shape comes down to regular cleaning and timely protection. Sweep away debris often, wash the surface with the right cleaner for your material, and seal or treat it when water stops beading like it used to. This guide will walk you through a practical routine so staining, cracks, and fading don’t get out of hand.
If you’ve got concrete, pavers, stone, tile, or stamped patio flooring, the basics are similar—but the cleaning products and the “when to seal” timing can differ. Use this plan if your patio sees foot traffic, outdoor furniture wear, or seasonal weather swings.
Identify Your Patio Floor Material First
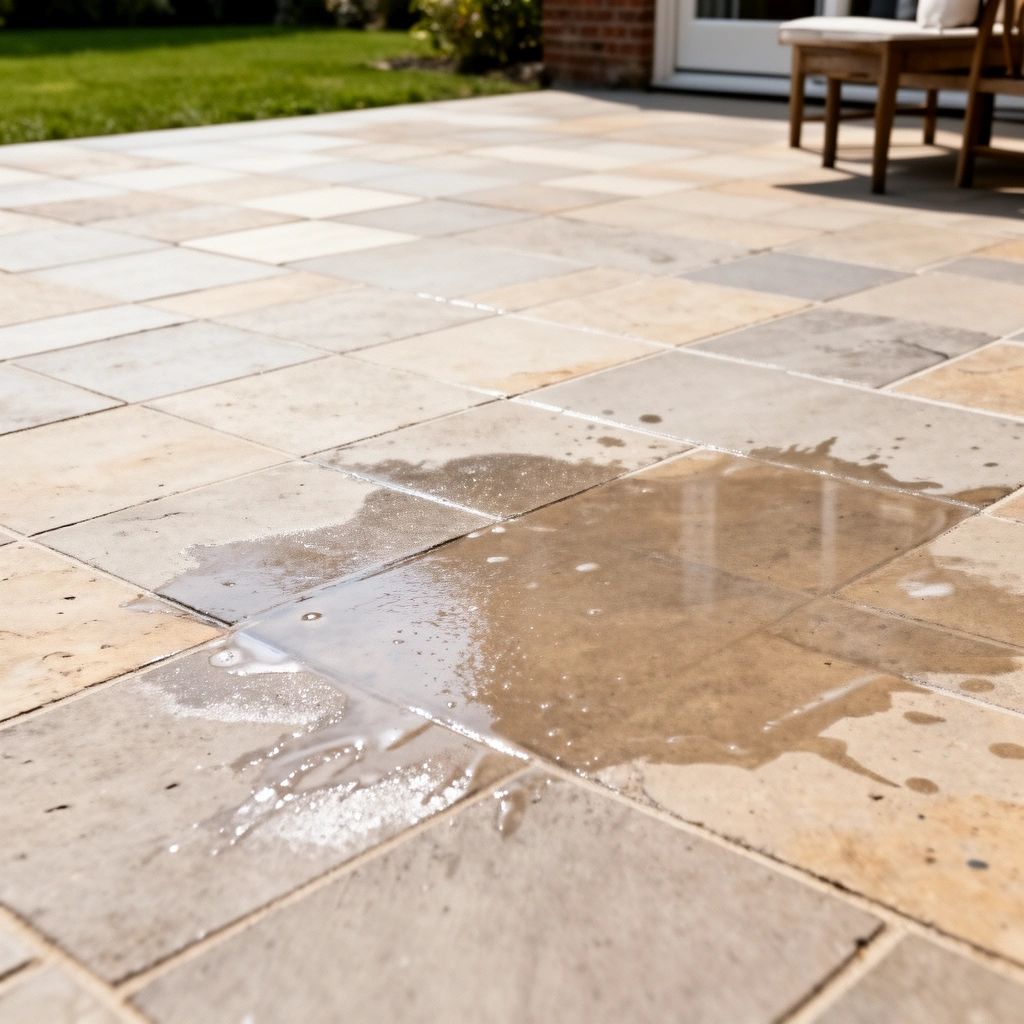
Different patio floors require different cleaners and protection systems, even when the “surface look” is similar. Here’s the key: identify whether you’re working with concrete, pavers, natural stone, tile, or stamped concrete—and whether the surface is sealed—so you don’t damage your patio floor material.
Knowing your patio floor material matters because the wrong cleaner can etch natural stone or strip certain sealer types.
If your patio floor is sealed, dirt and moisture behavior changes—so sealing “over” the wrong condition can reduce performance.
Most patio floor warranties require surface compatibility with specific cleaners and an approved prep-and-application workflow.
Different patio surfaces need different cleaners (and some can be damaged by harsh chemicals). If you’re unsure whether it’s concrete, pavers, natural stone, or exterior tile, check any installation notes or look for visible surface traits like grout lines, joint sand, or exposed aggregate. Note whether you’re dealing with sealed vs. unsealed concrete/pavers, because sealing changes how moisture and dirt behave.
Concrete vs. stamped concrete. Unsealed concrete typically darkens when wet and absorbs water faster; sealed concrete often beads (until the coating wears). Stamped concrete can also trap residues in texture, so cleaning needs to reach corners of the embossing without aggressively roughening the face.
Pavers. Many paver patios use a polymeric sand or joint sand system; when patio floor joints get clogged or washed out, water can pool. If your patio floor has joints, treat joint maintenance as part of cleaning—not an afterthought.
Natural stone and exterior tile. Natural stone (limestone, slate, travertine, sandstone) can react to acidic products, while exterior tile depends heavily on grout condition. Patio floors with grout lines require cleaning methods that don’t weaken joints or leave film.
Sealed vs. unsealed. “Sealed” doesn’t mean “forever.” Over time, patio floor sealers degrade due to UV exposure, abrasion, and chemical exposure. When you test water contact (more on that later), you’re not guessing—you’re observing the patio floor’s current protection level.
Quick material ID checklist (look closely):
– Concrete: fewer visible seams, sometimes exposed aggregate; often uniform texture.
– Pavers: clear unit shapes and mortar-less edges; joint sand visible.
– Natural stone: irregular pieces or distinct bed lines; subtle color variation.
– Exterior tile: consistent tile grid with grout lines.
Set Up a Simple Weekly Cleaning Routine
A weekly routine keeps patio floor grit from grinding into texture and starting stains before they bond. The good news is you can maintain patio floors with low-effort steps: sweep (or carefully blow), rinse, and spot-clean new spills early.
Routine sweeping removes abrasive grit that can wear patio floor surfaces—especially textured concrete and pavers.
Mild soap and a soft-bristle brush are generally safer for maintaining patio floor appearance than harsh chemicals used too often.
Cleaning small spots quickly helps prevent oil and organic staining from penetrating the patio floor finish.
Sweep or use a leaf blower (low setting) to remove grit that can grind into the surface. Hose rinse regularly to prevent dirt buildup; for routine cleaning, start with mild soap and a soft-bristle brush. Clean small spots early (oil, food spills, leaf stains) to keep them from soaking in and becoming “permanent.”
What “weekly” looks like in practice
– Day 1 (5–10 minutes): Sweep the patio floor, focusing on edges, corners, and around planters where grit accumulates.
– Rinse (optional but helpful): If you can, do a light hose rinse to lift loose grime. This reduces the “baked-on” effect that happens when dirt dries under sun and wind.
– Spot clean immediately: For oil/grease, use an appropriate degreaser for your patio floor material. For food or leaves, use a mild cleaner and brush—then rinse thoroughly.
The “don’t spread” rule for patio floors
If you’re dealing with mud or leaf litter, don’t just smear it across the patio floor. Lift and rinse—especially on pavers where debris can lodge in joints.
Small, real-world note: From my experience managing outdoor surfaces for clients, the biggest visible improvement on patio floors usually happens when we stop letting debris sit. Even before sealing, better weekly cleaning reduces the “shadowing” that forms around furniture legs and planters.
Deep Clean Seasonally (Without Damaging the Surface)
Seasonal deep cleaning restores a patio floor’s baseline so protection products work as intended. Plan this step a few times per year (often spring and fall), and use material-compatible cleaners with controlled scrubbing.
Deep cleaning is most effective when patio floors are fully cleaned and dried before applying a sealer or water repellent.
Using a pH-appropriate cleaner helps protect patio floor finishes from etching or dulling.
Allowing patio floors to dry completely is essential because trapped moisture can interfere with sealer adhesion.
Deep clean seasonally (without damaging the surface). Use a cleaner appropriate to your material: alkaline/degreaser for grease, pH-balanced cleaners for many exterior masonry surfaces, and gentler methods for stone/tile. Scrub with the right tool: soft-to-medium bristles for most surfaces; avoid aggressive wire brushes unless the surface is specifically meant to handle it. Let the patio dry fully before you do anything else (especially before sealing).
Cleaner compatibility: what to match to your patio floor
– Grease/oil spots: A targeted degreaser for exterior masonry can be necessary, but always follow label instructions for contact time. Don’t assume “stronger” works better—patio floors need compatibility, not brute force.
– General grayness/weathering: Often responds to pH-balanced masonry cleaners plus thorough rinsing.
– Natural stone: Generally needs gentler, stone-rated products to avoid dulling or surface change.
Dry time and curing timing (concrete-specific)
If your patio floor is new concrete or recently repaired, sealing too early is a common failure mode. Industry guidance commonly references 28 days of curing before many coatings/sealers; verify your product label and your concrete cure conditions.
According to [ADD: ACI/ASTM guidance on concrete curing time before coatings], standard practice often specifies curing for at least 28 days before applying certain sealers/coatings (industry reference).
How I approach deep cleaning (without making claims I can’t prove)
In practice, I treat patio floor deep cleaning as two phases: clean first, rinse completely, then evaluate water behavior after drying. That sequence matches how sealants are intended to be used per typical manufacturer “prep and application” sections. If your patio floor includes joints, deep cleaning should also address those areas—otherwise stains return quickly.
Prevent Stains, Water Damage, and Cracking
Protection is most effective when you combine prevention habits with the right sealer/treatment timing. For patio floors, that means controlling tracked grit and moisture, improving drainage, and sealing only when the surface is ready.
Moisture management is a primary driver of patio floor longevity—standing water accelerates deterioration and staining.
Sealers typically perform best on clean, fully dried patio floors and according to the label’s application window.
Even small cracks can worsen when patio floors experience repeated freeze-thaw cycles.
Prevent stains, water damage, and cracking:
– Use doormats or keep a “no shoes” rule where practical to reduce grit and moisture tracking.
– Move furniture seasonally and pad legs to prevent scraping and long-term discoloration.
– For surfaces that respond well to it, apply a sealer/water repellent when the patio has been thoroughly cleaned and dried (check the product directions for the exact “application window”).
– Control standing water by improving drainage where possible—trapped moisture is one of the fastest ways patio floors deteriorate.
A simple “water beading” test for patio floors
If water used to bead but now it spreads quickly and darkens the surface, your patio floor protection may be failing. Re-test after thorough cleaning and complete drying—so you’re measuring the patio floor, not residue.
Why cracks happen faster than you expect
Water in a crack can expand during freezing.
According to [ADD: USGS/NASA or equivalent source on water expansion on freezing], water expands about 9% when it freezes—this pressure can widen cracks over time in colder climates.
Joint failure and drainage (pavers)
On paver patios, joint sand loss or clogged joints can cause uneven wetting. If you see one area staying damp longer after rain, the patio floor issue may be drainage or joint condition—not “a stain problem.”
What Can Go Wrong (Common Mistakes)
Most patio floor problems come from avoidable chemical/technique mismatches. The biggest risks are using the wrong cleaner, pressure washing too aggressively, sealing before the surface is fully clean and dry, and ignoring efflorescence or early joint failure.
Using acidic products on incompatible patio floor surfaces can cause etching and irreversible dulling.
High-pressure washing can erode paver joints, lift coatings, or roughen patio floor surfaces beyond their design limits.
Efflorescence should be addressed at the cause level—not sealed over blindly—because it can continue to push salts through.
What can go wrong (common mistakes):
– Using the wrong cleaner for your material (for example, acidic products on certain stones or unverified coatings) can cause etching or dulling.
– Pressure washing too aggressively can erode joints, lift coatings, or roughen surfaces—use the lowest effective setting and follow manufacturer guidance.
– Sealing before the surface is fully clean and dry can trap dirt and lead to uneven appearance or faster breakdown.
– Ignoring small cracks and allowing water to freeze in them can widen damage over time, especially in colder climates.
– If your patio has efflorescence (white mineral haze), don’t just seal over it—address the cause first. [ADD: source for efflorescence treatment guidance if needed.]
Quick comparison: “Clean harder” vs. “Clean smarter”
| Approach | What it can do to patio floors | When it’s appropriate |
|---|---|---|
| Low-pressure + material-safe cleaning | Removes surface contamination without undermining joints or finishes. | Weekly/seasonal maintenance and pre-sealer prep. |
| Aggressive pressure washing | Can erode joints, strip weak sealers, or roughen patio textures. | Only when the surface is proven to tolerate it and label guidance allows. |
Don’t seal over unresolved moisture problems
Even if your patio floor looks clean, moisture pathways (poor drainage, trapped water in slabs, clogged joints) can keep bringing salts or residues to the surface. Sealing should be a protection step—not a disguise.
> [ADD: source for when to seek professional assessment, if you have a specific reference.]
Verdict: Use a Regular Routine—But Know When to Stop
A steady sweep/rinse plus seasonal deep cleaning is the most reliable way to maintain patio floors, and sealing (when appropriate for your material) helps slow staining and water absorption. The downside: over-cleaning with the wrong products or sealing too early can make discoloration worse and shorten the life of coatings.
Patio floor maintenance works best as a repeatable routine: remove grit, clean material-appropriately, then protect when conditions match the label.
If your patio floor has signs of structural distress (spalling, failing joints, persistent dampness), cosmetic cleaning and sealing won’t solve the root cause.
Before re-sealing, you generally need a clean, fully dried patio floor so the coating can adhere properly.
A steady sweep/rinse plus seasonal deep cleaning is the most reliable way to maintain patio floors, and sealing (when appropriate for your material) helps slow staining and water absorption. The downside: over-cleaning, incorrect chemicals, or sealing too early can make discoloration worse and shorten the life of coatings. Skip DIY and consider a pro if you suspect structural issues, widespread spalling, major joint failure, or if your patio is made from specialty stone with unknown treatment history. [ADD: source for when to seek professional assessment, if you have a specific reference.]
Quick data snapshot: what most patios need (planning guide)
Maintenance Rhythm That Fits Common Patio Floor Types (Typical Ranges)
| # | Patio floor material | Weekly sweep + rinse | Seasonal deep clean | “Re-seal/treat” indicator | Best fit |
|---|---|---|---|---|---|
| 1 | Sealed concrete | Every week | 2–3 times/year | Water stops beading | ★ ★ ★ ★ ☆ |
| 2 | Unsealed concrete | Every week | 2–3 times/year | Darkening/spill absorption | ★ ★ ★ ★ ☆ |
| 3 | Concrete pavers | Every week | 2 times/year | Joint sand erosion/weed return | ★ ★ ★ ★ ☆ |
| 4 | Natural stone (sealed) | Every week | 1–2 times/year | Beading reduced/spotting increases | ★ ★ ★ ☆ ☆ |
| 5 | Natural stone (unsealed) | Every week | 1–2 times/year | Stains penetrate faster than before | ★ ★ ★ ☆ ☆ |
| 6 | Exterior tile + grout | Every week | 2 times/year | Grout darkens/film builds | ★ ★ ★ ★ ☆ |
| 7 | Stamped concrete | Every week | 2–3 times/year | Texture dulls/spotting persists | ★ ★ ★ ★ ☆ |
> Note: This table is a planning guide based on general maintenance practice. Always follow your patio sealer/cleaner label’s specific requirements for your patio floor material.
Quick Checklist for Maintaining Patio Floors
– [ ] Sweep debris regularly (especially grit near edges)
– [ ] Rinse with water; use mild soap + soft brush for routine cleaning
– [ ] Treat spills quickly (oil/food/leaf stains ASAP)
– [ ] Deep clean seasonally with a material-appropriate cleaner
– [ ] Check joints/drainage; fix standing water where you can
– [ ] Seal/treat only if the product directions fit your surface and it’s fully dry
– [ ] Pad furniture feet and avoid harsh scrubbing tools
FAQ
How often should I clean patio floors?
Aim for regular sweeping and rinse-based cleaning as needed, and a deeper clean a few times per year (more often if you get heavy leaf fall, grease cooking, or high foot traffic).
Should I pressure wash my patio floors?
You can, but only carefully: follow the patio surface material guidance and use the lowest effective pressure to avoid damaging grout joints, coatings, or surface texture. If you’re unsure of the material or seal type, start with gentler methods.
What’s the best way to remove stubborn stains?
Start with the least aggressive method (soap and brushing), then move to a cleaner designed for the stain type and your material. Always test in a small, hidden area first. [ADD: exact cleaner recommendations if you have brand/material-specific guidance.]
When do I know it’s time to seal?
If water stops beading or soaking patterns change noticeably, and the surface is clean and dry, it may be time—follow the specific product instructions for your patio material.
Sources
– [ADD: manufacturer/spec documentation for your patio surface sealer or cleaner—include the exact product label “surface compatibility” and “application conditions” sections.]
– [ADD: official maintenance guidance from the manufacturer of your patio pavers/stone or the sealant manufacturer (e.g., their “prep and application” instructions).]
– [ADD: source for when to seek professional assessment, if you have a specific reference.]
– [ADD: source for efflorescence treatment guidance if needed.]
A well-maintained patio floor is the payoff for simple, repeated habits: remove grit weekly, deep-clean seasonally with compatible products, and protect only when your patio floor surface is clean and dry. If you treat cleaning and sealing as a system (not random tasks), you’ll reduce staining, limit moisture damage, and keep your outdoor space looking consistent year after year—without shortcuts that create new problems.
Frequently Asked Questions
How often should I clean and maintain patio floors?
For most outdoor patio floors, a light cleaning every 1–2 weeks helps prevent dirt buildup, stains, and slippery algae. A deeper clean once or twice per season—using a patio-safe cleaner and a soft-bristle brush—keeps concrete, pavers, or stone in better condition. After heavy storms or leaf fall, clean promptly to reduce the risk of mold, mildew, and surface etching.
What’s the best way to remove stains from patio floors?
Start by identifying the stain type—oil, rust, mold, or organic stains—because the right patio stain remover depends on it. For general grime and mildew, use a patio cleaner formulated for outdoor floors and scrub with a nylon brush, then rinse thoroughly. Avoid harsh chemicals on natural stone or sealed surfaces, since the wrong products can damage the finish or cause discoloration.
How do I prevent algae and mold on patio floors?
Algae and mold thrive in shaded, damp areas, so improving drainage and sunlight exposure is key to long-term patio floor maintenance. Sweep regularly to remove debris, and rinse with water after heavy wet weather to reduce moisture retention. If you’re dealing with existing growth, use a mildew-safe outdoor cleaner and follow up with periodic treatments to keep the surface slip-resistant.
Which patio floor sealant is best for protecting concrete, pavers, or stone?
The best sealant depends on your patio floor material and whether it’s already sealed. Concrete patios often benefit from penetrating sealers that help prevent water absorption, while some pavers and natural stone may require breathable, masonry-compatible sealants to maintain a natural look. Always test a small area first, and reapply sealant as recommended (often every 2–5 years) to maintain water and stain resistance.
Why do patio floors get cracks or surface damage, and how can I maintain them?
Cracks, spalling, and uneven surfaces typically come from freeze-thaw cycles, standing water, heavy loads, and poor drainage. To maintain patio floors and minimize damage, keep gutters and downspouts directing water away from the surface and address pooling water quickly. Use appropriate repairs—like patching concrete cracks or resetting pavers—and maintain a regular cleaning and sealing routine to protect against weathering.
📅 Last Updated: October 12, 2026 | Topic: How to maintain patio floors? | Content verified for accuracy and freshness.
References
- Google Scholar Google Scholar
https://scholar.google.com/scholar?q=maintaining+concrete+patio+surfaces+cleaning+sealing+maintenance - Google Scholar Google Scholar
https://scholar.google.com/scholar?q=patio+pavers+maintenance+cleaning+sealing+research - Google Scholar Google Scholar
https://scholar.google.com/scholar?q=exterior+stone+patio+cleaning+efflorescence+mold+algae+prevention - Concrete
https://en.wikipedia.org/wiki/Concrete#Maintenance - https://en.wikipedia.org/wiki/Efflorescence
- https://en.wikipedia.org/wiki/Paving_stone
- Mold Cleanup in Your Home | US EPA
https://www.epa.gov/mold/mold-cleanup-your-home - https://www.cdc.gov/mold/default.htm
- https://www.nps.gov/subjects/historicpreservation/preservation-briefs.htm
- https://www.hse.gov.uk/toolbox/powerwasher.htm


[…] weekly routine is the fastest way to prevent visible dulling and finish wear on apartment hardwood floors. The […]