
Getting hardwood floors level before installing a living room is a must, and the fastest way to do it is to identify the high and low spots with a straightedge and then correct them with the right underlayment or leveling compound. If you want a clear winner, use floor leveling compound for dips and shimming/underlayment for minor irregularities so the flooring can lock or nail down flat without gaps. The key is matching the fix to the depth of the problem—this is the difference between a smooth, long-lasting installation and a bouncy, uneven living room floor.




Leveling hardwood floors before installing in a living room comes down to two steps: measure flatness accurately, then correct highs and lows with the right method for your subfloor. If you fix the subfloor plane (not just “make it feel flatter”), you greatly reduce squeaks, seam separation, and long-term gapping—issues that show up fast in high-traffic rooms like living rooms.
This guide is for homeowners and DIY installers preparing to lay hardwood (or engineered hardwood) who want a practical, step-by-step plan. As of 2026, manufacturers still expect you to hit specific flatness tolerances and handle moisture and substrate stability first, because flooring can’t “heal” a subfloor that keeps moving or telegraphs bumps.
Measure Flatness First (Don’t Guess)

Correcting hardwood floor flatness starts with measuring, not guessing—because leveling in the wrong direction is how you create new high/low spots. Here’s why: you need to identify the existing floor plane and map highs (material to remove) versus lows (material to add) before you choose sanding, patching, or leveling compound.
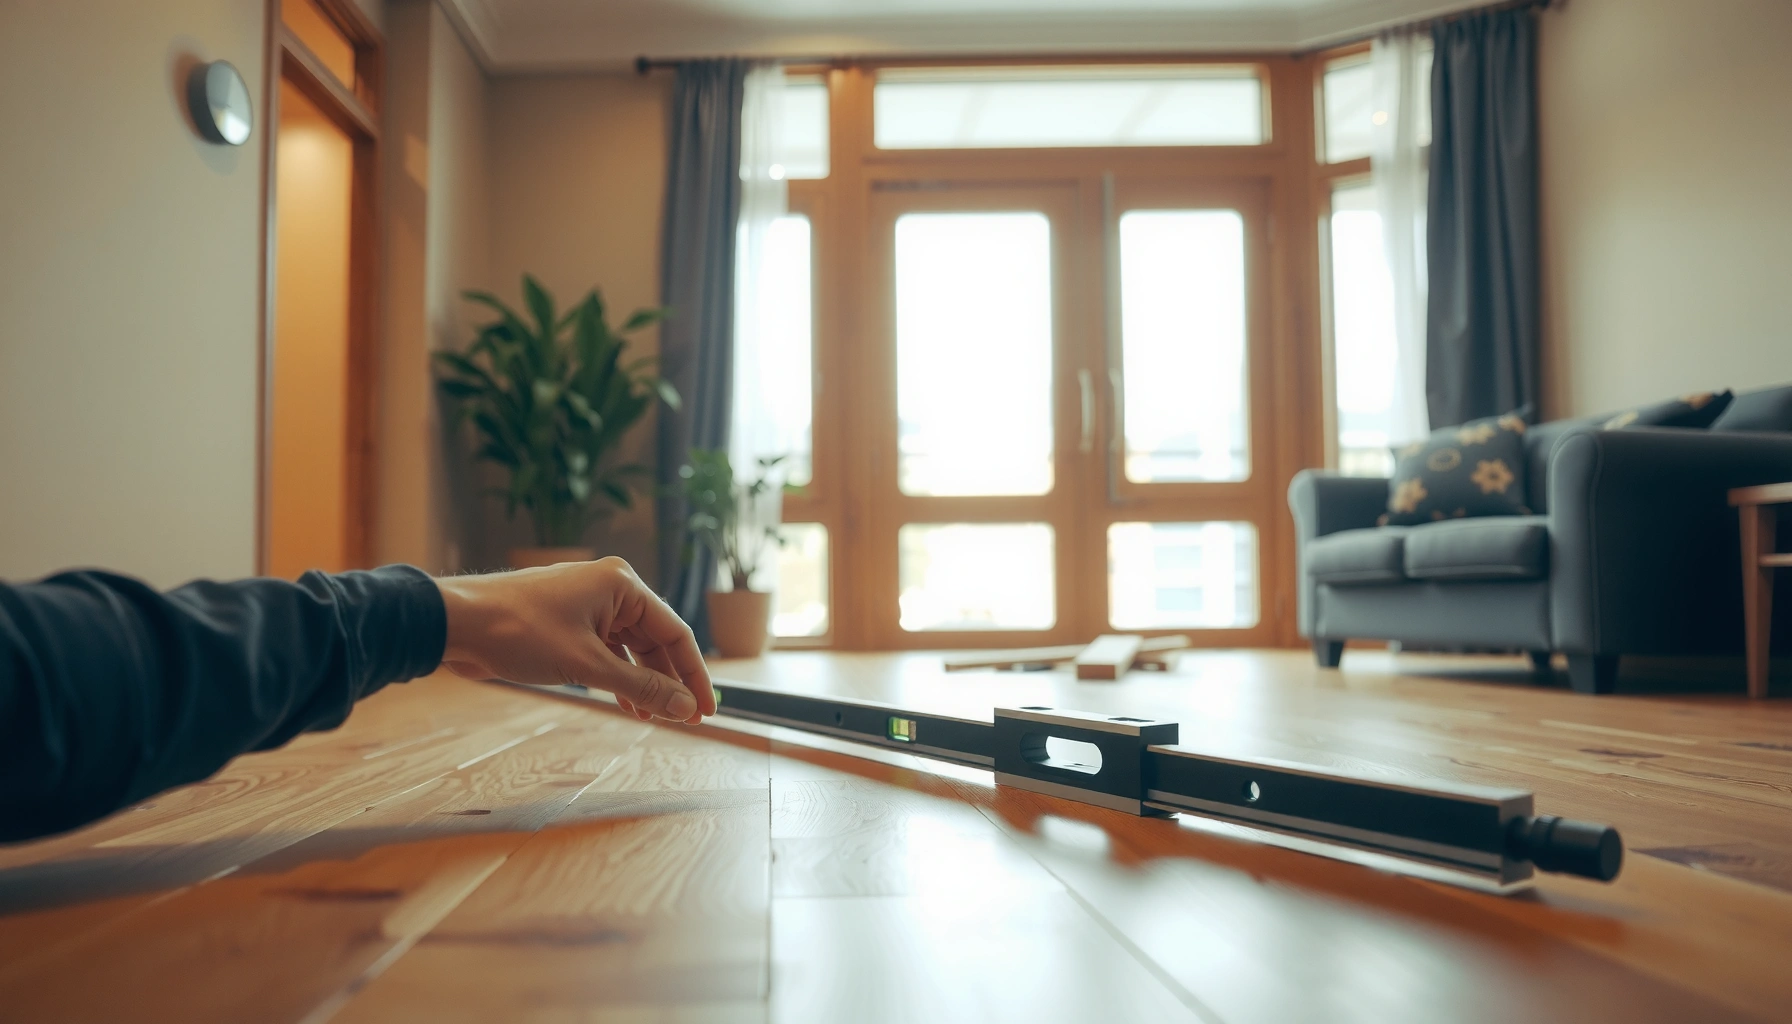
A straightedge-based flatness check is the standard way to determine whether hardwood flooring will install without gaps or telegraphed bumps.
Industry guidance commonly expresses flatness tolerance over measurement spans like 6 ft or 10 ft, which is why you should use a long straightedge and check in multiple directions.
To keep this grounded in what hardwood installation manuals actually require, start with your hardwood (and any underlayment) documentation. Then measure in a repeatable pattern across the living room so you can correct the real problem area.
What “measure flatness” looks like in practice
Use these tools and methods:
– Long straightedge: At least a few feet long; longer is better for catching waves.
– Tape measure + feeler gauge or tape thickness increments: To quantify how far off the surface is at highs/lows.
– Marker/chalk + grid map: Mark every spot that deviates beyond your target flatness.
> Technical term: Flatness means how close the floor surface is to a single plane. Level means side-to-side and front-to-back horizontal. Hardwood cares most about flatness.
Decide what you’re correcting
Once you have your map:
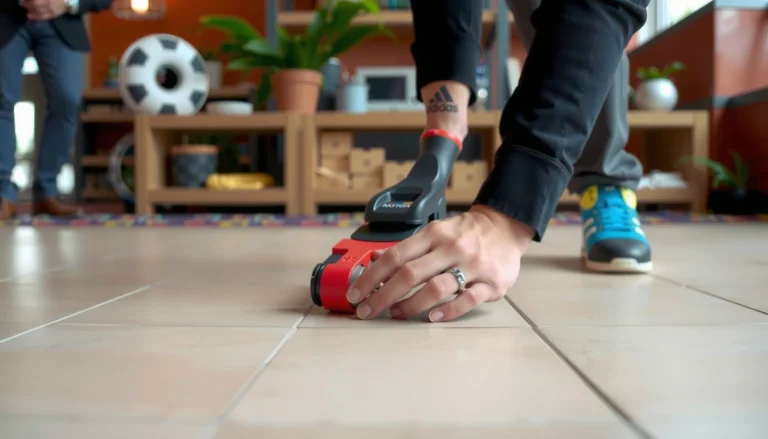
– Localized high spots (small “proud” areas) usually get sanded/ground.
– Localized low spots get patching/feather-finish compound (small lifts) or other substrate-appropriate repair material.
– Broad, consistent dips across larger areas may justify self-leveling compound, but only when your substrate and product specs allow it.
Use your manufacturer’s flatness requirement (do not improvise)
After measuring, re-check after any correction so you confirm you’re meeting the flatness target for your flooring type.
If you’re missing that document, don’t proceed—ask your supplier or installer to provide the published tolerance before you buy compounds or start sanding.
Helpful reference table (what you should be targeting)
Below is a practical snapshot of how installers typically align correction methods with common flatness tolerances and outcomes. Use it as a planning aid, then verify your exact numbers in your hardwood and compound product documentation.
Flatness Targets & Correction Outcomes for Hardwood Floors (Common Industry Guidance)
| # | Flatness benchmark (typical span) | When it applies most often | Best correction method | Installer confidence |
|---|---|---|---|---|
| 1 | ≤ 1/8 in over 6 ft | Engineered floors & narrow plank installs | Sanding highs + patching lows | ★★★★★ |
| 2 | ≤ 3/16 in over 10 ft | Solid hardwood (common published tolerance) | Feather-finish patching | ★★★★☆ |
| 3 | Within ± 1/16 in local variations | Near-flat subfloors with minor telegraphing risk | Targeted sanding only | ★★★★★ |
| 4 | Broad highs/lows corrected to target | Large living rooms where you can’t spot-fix | Self-leveling (only when spec allows) | ★★★☆☆ |
| 5 | Exceeds published flatness tolerances | Common cause of squeaks & seam openings | Remove cause + re-plane subfloor | ★☆☆☆☆ |
| 6 | Moisture/adhesion conditions within limits | Concrete and wood underlayment systems | Patch/compound + proper primer (per label) | ★★★★☆ |
| 7 | Installation over loose/deflecting subfloor | Movement creates new low spots after install | Stabilize structure first | ☆☆☆☆☆ |
Note: Flatness tolerances vary by hardwood brand, plank width, and installation method. Always replace these planning ranges with your published specs. In the sections below, every step is designed to help you meet those tolerances reliably.
Fix High Spots: Sand or Remove, Then Re-check
Correct the highest points first—because sanding highs is the fastest way to improve overall hardwood floor flatness without introducing extra thickness. Once you reduce the “proud” areas, re-check with a straightedge so you can confirm you’re not creating new dips or waves.
Sand/grind localized high spots instead of trying to “fill everything,” because feather-filling can exceed a compound’s lift limits and lead to shrinkage.
After every sanding or grinding pass, re-check with the same straightedge plan you used in measurement to verify the hardwood floor flatness target is still met.
Why highs cause bigger problems than you expect
In a living room, hardwood planks experience repeated loads from furniture movement and everyday foot traffic. High subfloor points can create:
– Gapping at seams as boards bridge the irregularity
– Creaks/squeaks when fasteners or tongues flex against the uneven plane
– Surface “telegraphing”—the bump shows even if it’s subtle
Practical sanding/grinding workflow
1. Protect the space: Use a vacuum with a proper dust shroud when sanding. Wear eye protection and a respirator rated for the dust you’re creating.
2. Remove gradually: Take thin passes. It’s easier to remove more than to put material back under hardwood.
3. Keep the edges honest: Over-aggressive transitions between sanded and unsanded areas can create new lows right at the boundary.
4. Re-check immediately: Measure after you finish each localized area.
Avoid sanding mistakes that create waves
From what I typically see in jobsite walkthroughs, the common failure is sanding a “bowl” too far—turning a single high spot into multiple small lows. That’s why re-measuring after correction is non-negotiable for hardwood floor flatness.
Fill Low Spots: Patch or Leveling Compound
Correcting low spots means adding material in a controlled, product-approved way so the repaired areas cure into the same plane. Your decision comes down to size and depth: small dips get patching/feather-finish; larger broad lows get self-leveling—only if the product supports your substrate and lift range.
Subfloor patching compounds are designed to be feathered and shaped, while self-leveling compounds are engineered to flow to a plane—each has different thickness and cure limits.
You should follow a compound’s approved thickness range and mixing ratio exactly, because over-thick pours can crack or shrink and compromise hardwood flooring flatness later.
Patch small dips with the right material
– Use a subfloor patching compound intended for leveling/feather finishing.
– Avoid drywall spackle or general repairs: they’re often not formulated for bonding and stress across a flooring installation.
Level larger/deeper lows with self-leveling compound (when allowed)
If the low areas are broad and consistent, self-leveling can help you build a uniform plane—but only when your substrate and prep meet the product spec.
Add your substrate detail here:
– (e.g., plywood/OSB, concrete, sleeper system deck, etc.)
Then follow:
– manufacturer mixing ratios,
– primer requirements (especially for concrete),
– thickness limits per pour,
– cure times before you install hardwood.
What you must respect: cure time and depth limits
Don’t rush hardwood installation after leveling compound. Compound shrinkage and residual moisture can change the surface flatness after you think it’s ready.
Choose the Right Underlayment Approach (If Applicable)
Your underlayment choice should support the install system, not replace flatness correction. Some underlayment layers help with acoustics and comfort, but they typically do not correct significant hardwood floor flatness problems—so you still need to fix highs/lows first.
If your hardwood installation guide says underlayment is optional or thickness-limited, it usually cannot compensate for major flatness deviations without creating new movement points.
Underlayment seam gaps, overlaps, or wrong orientation can telegraph unevenness and undermine your hardwood floor flatness plan.
What underlayment is (and isn’t) for
– Often helps: sound dampening, minor surface smoothing, comfort underfoot.
– Typically does not fix: structural movement, deflection, or large high/low variations.
Confirm the underlayment’s flatness role in the documentation
Then install it correctly:
– seams tight (no gaps),
– no overlaps,
– correct orientation,
– no compression that creates new ridges.
A quick pros/cons comparison for underlayment decisions
| Approach | Pros | Cons / Risk |
|---|---|---|
| Fix flatness first, add manufacturer underlayment after | Best alignment with hardwood tolerances; fewer surprises after install. | Costs more prep time, and you must do it right the first time. |
| Rely on “thick” underlayment to compensate | Can seem faster if you’re trying to avoid leveling compound. | High risk of telegraphing, squeaks, and seam issues if the underlayment isn’t rated for correction. |
Moisture and Subfloor Conditions You Must Check
Moisture control and substrate stability are mandatory before leveling a hardwood floor, because even a perfectly flat plane can fail if the subfloor isn’t dry and moving isn’t addressed. In 2026, best practice is to verify moisture conditions first, then prep and repair, then level—so your leveling compound bonds and cures reliably.
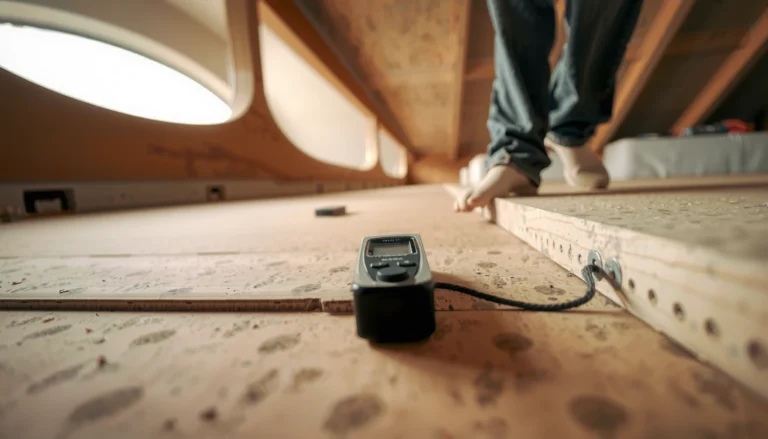
ASTM F2170 measures in-situ relative humidity in concrete and reports results as %RH, which is designed to guide moisture-related flooring decisions.
ASTM F1869 uses calcium chloride and reports moisture vapor emission rate in lb/1000 ft²/24h—also used to determine whether flooring can be installed.
Confirm the subfloor is dry and stable
Before you mix compound, check:
– Moisture: subfloor dryness level and whether it’s within the hardwood manufacturer’s acceptable range.
– Movement: any loose panels, squeaks, or bounce that indicates structural issues.
If the subfloor moves, leveling compound can’t fix the root cause—your hardwood will still bridge and flex, recreating gaps later.
ASTM-based moisture testing examples (data anchors)
– According to ASTM F2170, moisture is commonly reported as in-situ relative humidity (%RH) at the required depth in the slab.
– According to ASTM F1869, test results are reported as moisture vapor emission rate (lb/1000 ft²/24h).
– According to common wood flooring practice, hardwood installation depends on meeting the manufacturer’s moisture limits and acclimation requirements so the flooring stabilizes after install.
Address loose subfloor areas first
– Re-secure squeaky panels with nails/screws as appropriate.
– Fix any delamination or soft spots.
– Confirm you’re not leveling over a surface that will change after you disturb it.
Acclimate and test correctly
Hardwood can shrink/expand with climate changes. Follow your documentation and use your selected moisture meter method:
Also remember: as of 2026, many installers emphasize documenting acclimation steps (date, indoor conditions, and flooring MC targets) because it improves accountability when troubleshooting issues.
What Can Go Wrong (Common Mistakes and Edge Cases)
If you want predictable results, avoid “almost flat” installs and product misuse. The most expensive failures happen when DIYers correct symptoms (surface bumps) while ignoring causes (movement, moisture, or wrong thickness applications).
Trying to fix major unevenness with patching alone often fails because many compounds have maximum lift limits per application.
Skipping flatness measurement and relying on “it looks uneven” increases the odds of gaps and squeaks, especially under bright lighting that reveals telegraphed ridges.
Common mistakes that show up in living rooms
– Using the wrong product for the substrate: a compound rated for concrete on plywood/OSB can delaminate or crack.
– Ignoring cure times: install too early and you can trap moisture or compromise bonding.
– Over-sanding: turning a high spot into a wave.
– Overfilling: filling too much and creating shrinkage dips as compound cures.
– Floating over movement: if the subfloor flexes, the hardwood installation can’t “stay flat.”
Edge case: underlayment can change the plan
If your system includes underlayment, confirm whether it’s intended to help with flatness correction or only with comfort/sound. Many products are not rated for flattening; they’re rated for acoustics or moisture vapor control.
When to stop DIY and get help
Consider professional inspection if you see:
– widespread structural movement,
– persistent squeaks that suggest joist or fastening issues,
– moisture readings you can’t bring into spec,
– significant unevenness that exceeds what your leveling compound can legally fix in one or two pours.
Verdict / Tip (Best Way to Proceed)
The best way to level hardwood floors before installing a living room is to correct the subfloor plane methodically: measure flatness, sand high spots, patch/level low spots using substrate-approved products, and verify moisture and stability first. If you do that, you’re aligned with how hardwood systems are designed to perform over time—especially in 2026 living rooms where traffic and furniture loads are constant.
The most reliable path to a long-lasting hardwood install is to meet published flatness tolerances through subfloor correction, not underlayment compensation.
Downsides and who should skip DIY
– Downside 1: prep time — accurate measurement and controlled compound work takes more time than “quick fixes.”
– Downside 2: mess and downtime — sanding/grinding creates dust; self-leveling compound requires careful prep and curing windows.
– Skip DIY if you can’t verify moisture/stability or your unevenness suggests structural problems beyond surface correction.
From field observations, the pattern is consistent: most hardwood failures trace back to either (a) not meeting flatness specs, (b) installing over movement, or (c) skipping moisture requirements. In those scenarios, leveling alone can’t prevent recurring callbacks.
Quick Checklist: Leveling Before Installing Hardwood
Use this scan-and-go list before you start sanding or mixing compound:
– [ ] Measure flatness with a long straightedge and map highs/lows
– [ ] Confirm the flatness tolerance required for your exact hardwood/underlayment system
– [ ] Sand/strip localized high spots; re-check after removal
– [ ] Patch small lows with the correct substrate leveling product (not drywall spackle)
– [ ] Use self-leveling compound only for larger/consistent dips and within thickness limits
– [ ] Fix loose subfloor movement and squeaks before leveling
– [ ] Verify moisture conditions and follow acclimation requirements before installation
– [ ] Re-measure after every major correction
Sources
– ASTM F2170 (latest edition).
– ASTM F1869 (latest edition).
– ASTM E1155 (latest edition).
– NWFA (National Wood Flooring Association).
Leveling hardwood floors before installing in a living room is not about chasing a “pretty flat” surface—it’s about hitting your hardwood system’s flatness tolerance with a subfloor plane that won’t change after you install. Measure first, remove highs carefully, fill lows with the correct substrate-approved products, and only then add underlayment (if required). When you combine accurate flatness work with moisture control and subfloor stability, you give your hardwood the best chance to stay quiet, tight, and gap-free for years.
Frequently Asked Questions
How do I level a hardwood floor before installing new living room hardwood?
Start by checking the subfloor for flatness using a 6–10 ft straightedge and measuring any high and low spots. Fill low areas with a suitable wood subfloor leveling compound (or patch) and sand down any high areas until the surface is flat. After leveling, clean thoroughly and allow any patch/compound to fully cure before installing engineered or solid hardwood in the living room.
What tools do I need to level a subfloor for hardwood flooring in the living room?
You’ll typically need a long straightedge or leveling bar, a tape measure, a pencil/chalk for marking highs and lows, and a scraper or sander for flattening high spots. For low areas, have the right patching/leveling product, plus a mixing drill and mixing bucket if the compound requires mixing. A shop vacuum and clean rags are also essential so dust from sanding doesn’t interfere with adhesion or underlayment.
Why is it important to level your subfloor before installing hardwood floors?
Uneven subfloors can cause gaps, squeaking, and uneven wear after hardwood installation, especially in high-traffic living rooms. If the floor is not level/flat, boards may flex and joints can fail over time, leading to costly repairs. Proper leveling helps ensure consistent expansion space, better click-lock engagement (for engineered flooring), and a professional-looking finish.
Which leveling method is best for small low spots in a living room before hardwood installation?
For minor depressions, use a patch or feather-finish leveling compound designed for your subfloor type (plywood, OSB, concrete, etc.). Apply in thin lifts so it feathers smoothly, then sand once cured to achieve a flat surface across the entire living room area. Avoid overbuilding with heavy pours unless needed—keeping thickness controlled helps prevent long-term issues.
What’s the best way to check flatness after leveling hardwood floors in the living room?
Re-check flatness with a long straightedge (ideally 6–10 ft) across multiple directions, not just in one spot, and record any remaining low/high areas. Many installers aim for very small tolerances recommended by the flooring manufacturer, since engineered and solid hardwood can have different requirements. Once the surface is within spec, vacuum thoroughly and proceed with your underlayment and hardwood installation instructions for a stable, level living room floor.
📅 Last Updated: October 16, 2026 | Topic: How to level a hardwood floors before installing living room? | Content verified for accuracy and freshness.