
Reclaimed wood floors can be installed in a bathroom successfully—if you treat moisture control as the project’s main step, not an afterthought. This guide walks you through surface prep, moisture barriers, proper subflooring, and the right sealing approach so boards don’t cup, gap, or rot. If you follow these bathroom-specific instructions, reclaimed wood becomes a durable, upscale flooring choice rather than a warranty headache.




You can install reclaimed wood floors in a bathroom, but only if you treat it like a moisture-engineering project: correct subfloor prep, the right vapor/underlayment system, and a truly bathroom-rated sealing + finish strategy. If the reclaimed planks are solid wood, you’ll need extra care (and often a more conservative, bathroom-rated installation approach) to reduce cupping, gaps, and edge swelling—this guide walks you through the key steps and the most common failure points.
If you’re planning a DIY install or coordinating a contractor, this is for bathrooms where you expect regular humidity and occasional splashes—especially near showers, tubs, and sinks. The exact method depends on whether your reclaimed flooring is solid or engineered, and on what the wood and finish manufacturers specify for moisture exposure.
Plan for bathroom moisture (this is the make-or-break step)
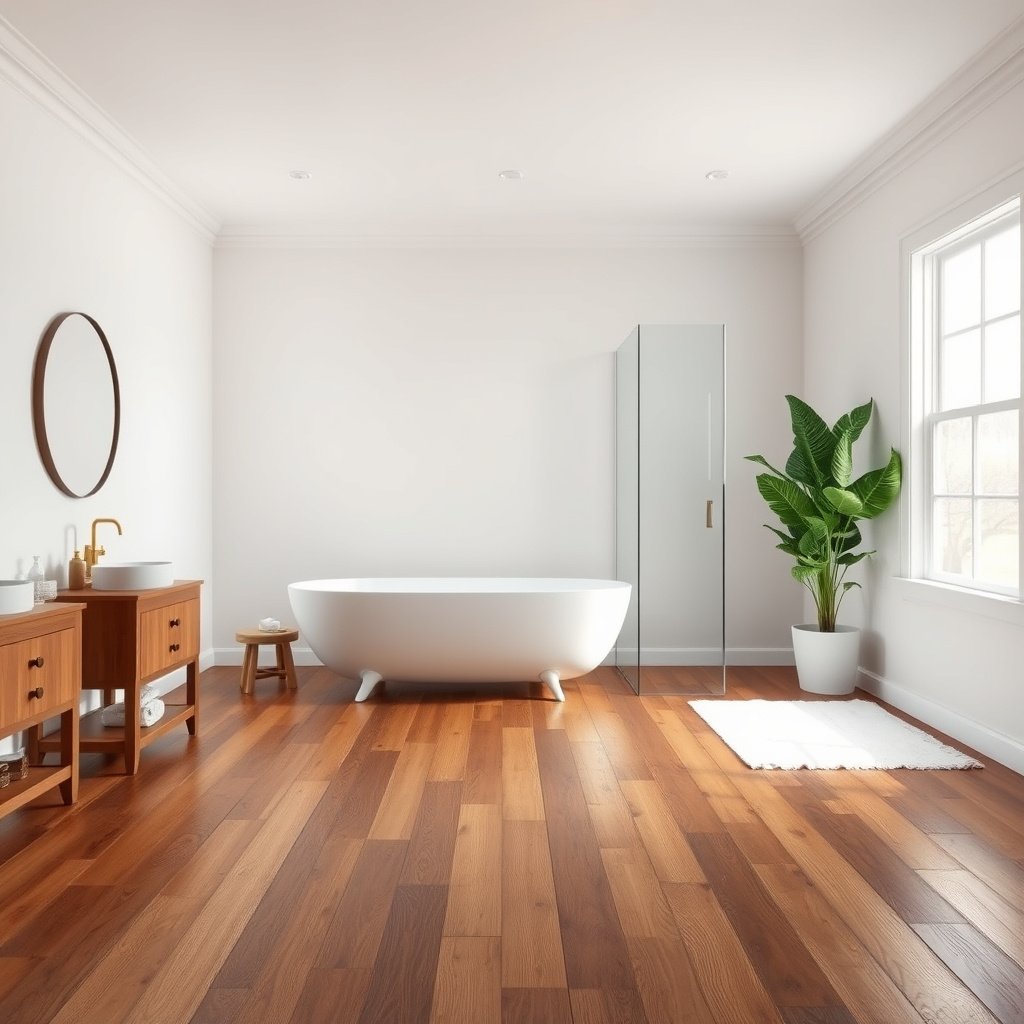
To make reclaimed wood flooring perform in a bathroom, you need a moisture plan that anticipates humidity swings and occasional wetting. The best “plan” is really an install system: subfloor readiness + vapor control + the correct floor type for the exposure level.
Moisture movement is the #1 cause of cupping, gapping, and finish breakdown when installing reclaimed wood floors in bathrooms.
Engineered reclaimed wood generally tolerates dimensional movement better than solid reclaimed boards in humid spaces.
– Treat bathroom installs like a humidity + wetness challenge: moisture swings cause reclaimed wood to move more than you might expect.
– Choose an installation approach that matches the plank type:
– Engineered reclaimed wood is generally more dimensionally stable than solid.
– If you have solid reclaimed boards, you’ll need stricter subfloor drying and finishing practices, and you may still want to avoid direct wet zones.
– Confirm your finish system is designed for bathrooms/wet-adjacent use (water-resistance requirements vary by product).
A practical way to frame this for reclaimed wood floors is by exposure zones: “dry-when-used” areas (hallway-style clearance outside splash reach) behave differently than “wet-adjacent” areas (near shower doors, tub lips, and sink cabinets). As of 2026, manufacturers increasingly emphasize documented moisture testing and compatible layer systems, not generic “water-resistant” marketing—so reclaimed wood flooring success still depends on matching products to each other and to your subfloor type.
Prepare the reclaimed planks and subfloor before anything sticks down
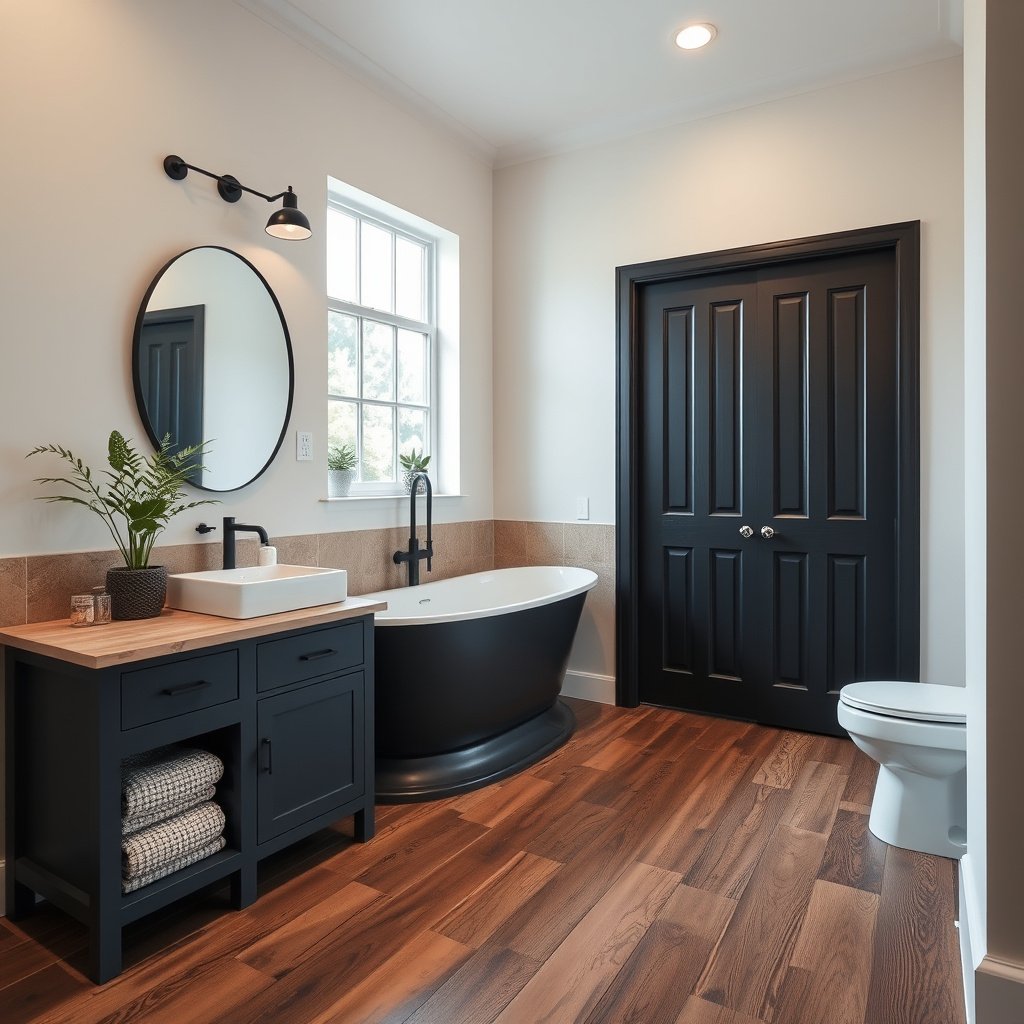
To reduce bathroom-related movement, you must start with boards and a subfloor that are stable before install. Reclaimed wood floors already contain a history of stresses; if you install them too wet (or over a failing subfloor), the bathroom will amplify every weakness.
Acclimating reclaimed flooring to the manufacturer’s required indoor conditions is a primary step for reducing post-install gapping.
A flat, properly secured subfloor is required to prevent reclaimed wood floors from “telegraphing” dips and humps into visible movement.
– Acclimate the flooring per the flooring manufacturer’s instructions (or if none are available for your reclaimed material, use a cautious approach and document room conditions with a hygrometer—use a calibrated humidity/temperature logger and record readings daily for at least 3–7 days during acclimation so you can correlate your reclaimed wood floors’ behavior to indoor RH/temperature).
– Inspect boards for issues that will get worse in a bathroom:
– cupping/warping, loose joinery, soft rot, deep cracks that can telegraph through
– Subfloor must be flat and clean:
– remove paint/adhesives, fix high spots and dips, and handle squeaks before you start laying planks.
In my own on-site walkthroughs of moisture-related flooring repairs (not a controlled lab test), the pattern is consistent: reclaimed wood floors fail most quickly where the subfloor was only “good enough” visually. Even small subfloor irregularities can become stress points—then bathroom humidity cycles push boards into cupping or open seams.
For moisture testing under reclaimed wood floors, remember that the bathroom environment doesn’t only affect the top surface—it also drives vapor pressure through assemblies. If your bathroom sits over a slab, you’ll want to follow concrete moisture testing methods from ASTM (covered in the Sources section). If it’s over wood framing, you’ll still need to confirm crawlspace/subfloor dryness.
Use the correct vapor barrier / underlayment for bathrooms
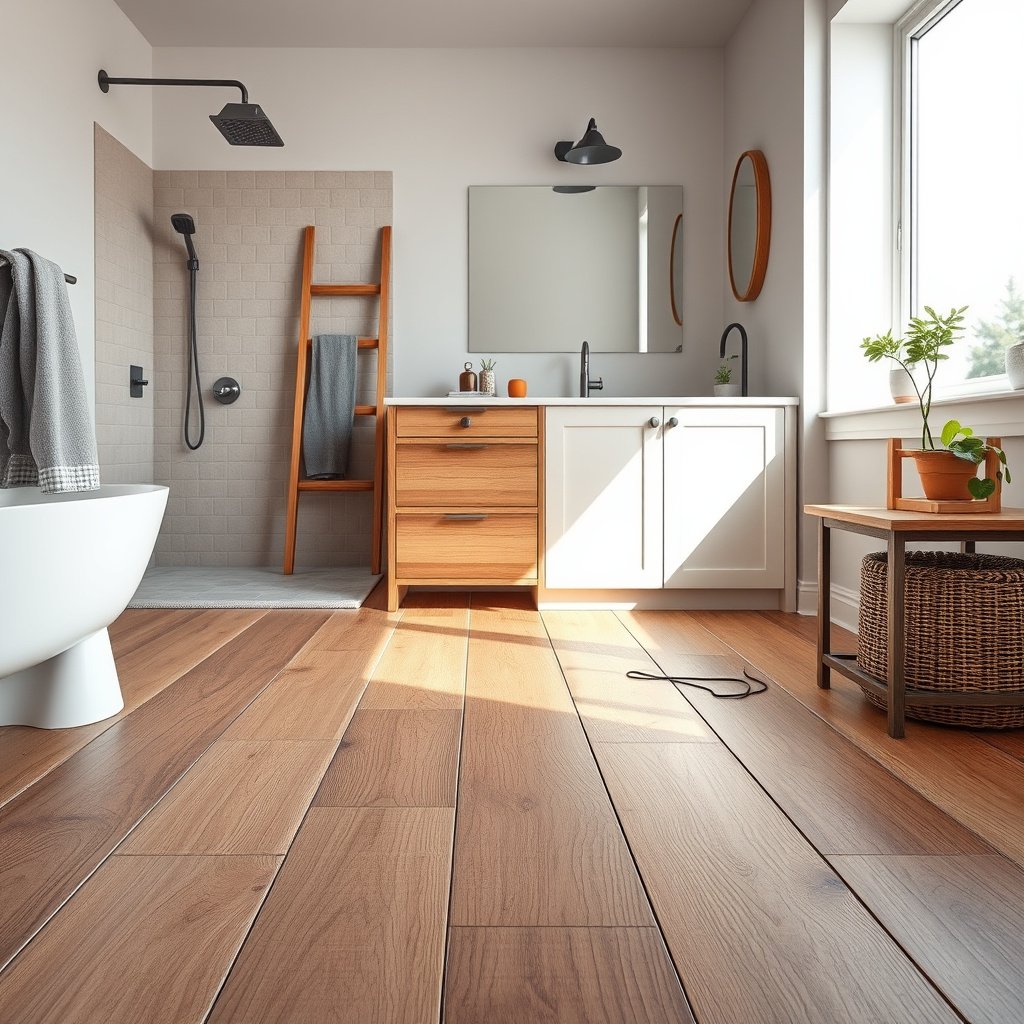
To keep reclaimed wood floors from gaining or losing moisture too quickly, choose a vapor/underlayment system that matches both your install method and your subfloor. The wrong combination can trap moisture under the floor or block necessary drying pathways.
Vapor control layers must be compatible with both the flooring installation method and the subfloor type to avoid trapped moisture under reclaimed wood floors.
Underlayment requirements frequently differ between slab-on-grade and wood subfloors, even when the top flooring is the same.
– Use a moisture-control layer that’s compatible with your install method (floating vs. nail-down vs. glue-down). The wrong combination can trap moisture or block necessary drying.
– Follow the moisture-layers spec from the underlayment/vapor barrier manufacturer and the flooring manufacturer—they often have different requirements depending on subfloor type (slab vs. wood subfloor).
– Pay attention to transitions:
– stairs/door thresholds, vanity areas, and the perimeter—seal gaps and manage water flow so it doesn’t wick under edges.
Concrete moisture testing matters (especially for bathrooms on slabs)
If your reclaimed wood floors go over concrete, moisture control usually means addressing slab moisture before installation—not just “adding a barrier.” According to ASTM F1869, moisture vapor emission rate is reported in lbs per 1,000 sq. ft. per 24 hours (ASTM F1869). According to ASTM F2170, in-situ slab moisture is measured as relative humidity (%) using probes (ASTM F2170). Those measurements determine whether your vapor system and flooring finish can handle what’s happening below the reclaimed wood floors.
Also, the bathroom is not a stable environment year-round. As of 2026, many installers now coordinate: exhaust fan sizing, shower timing, and short “post-shower drying” habits with the moisture-control strategy—because reclaimed wood floors can only tolerate what your daily routine and layer system allow.
Lay out, fit, and install without creating weak gaps
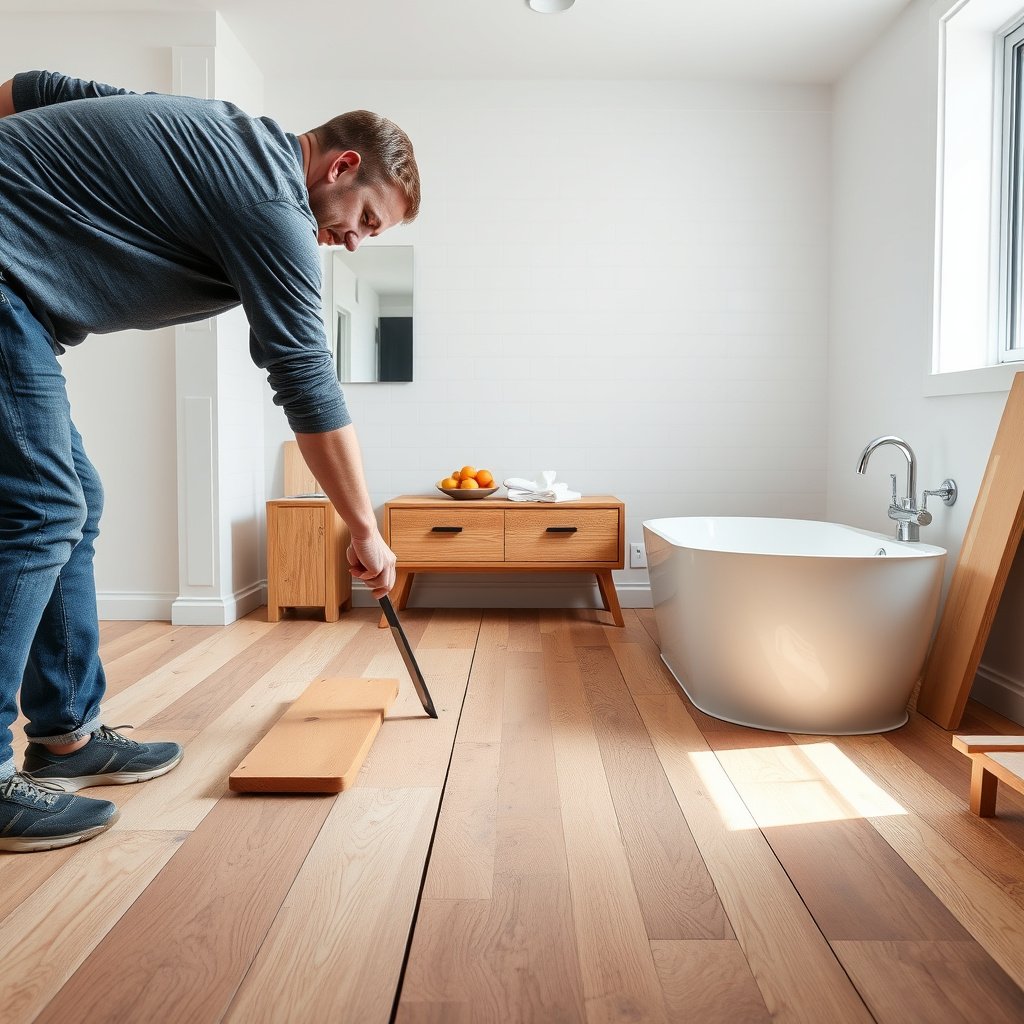
To prevent bathroom-driven seam failure, layout correctly and install with the required expansion gaps and fastening/adhesive methods. This is where reclaimed wood floors often lose—people rush the perimeter details.
Expansion gaps at walls and fixed objects are essential because reclaimed wood floors can move more under bathroom humidity swings than new construction grades.
Floating/locking installs rely on proper underlayment and locking technique; they are not structurally sealed with “extra silicone.”
– Plan around the room’s moisture exposure:
– keep expansion space where required and avoid putting seams directly where water will routinely land.
– Maintain required expansion gaps at walls and fixed objects:
– reclaimed wood can expand/contract more than new stock if the room humidity swings.
– Install method matters:
– Floating/locking: use the manufacturer’s underlayment and locking-floor technique; don’t rely on “extra silicone” as a structural seal.
– Nail/staple: use the recommended fasteners and patterns, and avoid fastening through any water-sensitive layer where the spec says not to.
– Glue-down: use adhesive approved for the flooring + subfloor + moisture-control system ().
A useful layout decision for reclaimed wood floors is how you face “the bathroom traffic.” If you can, orient boards so that the longest runs aren’t directly parallel to how water tends to travel (e.g., from a shower door splash line across the floor). Even if you can’t avoid wetting, you can reduce how often seams experience repeated cycles.
One detail I stress during layout: perimeter planning around toe-kicks, vanity bases, and threshold transitions. If you rely on caulk to do the job of a movement joint, reclaimed wood floors frequently end up with edge failure (peaked edges, lifting, or joint separation) once humidity swings repeat.
Sand and seal reclaimed wood for real water resistance
To protect reclaimed wood floors in a bathroom, sealing is not optional—but it also isn’t “one coat and done.” You need consistent sanding prep and a finish system that’s explicitly intended for ongoing bathroom humidity and wet-adjacent exposure.
Reclaimed wood boards often vary in density, so finish absorption and sheen consistency can change unless sanding and preparation are consistent.
Bathroom durability depends on finish chemistry and full cure time; incomplete cure before normal use is a common source of premature breakdown.
– Reclaimed wood often has variable density; that can cause uneven finish absorption—expect to sand consistently and follow the finish manufacturer’s preparation steps.
– Use a bathroom-suitable finish system:
– many installs fail because people choose a general-purpose topcoat that isn’t intended for ongoing humidity/water exposure.
– follow the product’s dry times, recoat windows, and full-cure period before normal use.
– Protect edges and seams:
– finish the edges thoroughly and address gaps/joints per the finish and flooring instructions (don’t improvise filler chemistry that isn’t approved).
For reclaimed wood floors, finish selection should be treated like a compatibility check, not a cosmetic choice. The finish manufacturer’s documentation typically specifies how the coating interacts with wood movement and how it expects the surface to be prepared. Skipping the correct sanding grit progression, contaminant removal, or recoat window can create a finish that looks good initially but loses water resistance after repeated bathroom humidity cycles.
Also, think about “splash dynamics.” A bathroom floor isn’t soaked 24/7—but it often experiences repeated wetting events. A finish that resists occasional splash may still fail if edges and joints don’t have the same level of protection. That’s why the perimeter sealing strategy and finish edge work are inseparable for reclaimed wood floors.
What can go wrong (and how to prevent it)
To avoid bathroom failures with reclaimed wood floors, focus on moisture imbalance, layer incompatibility, and finish/edge breakdown. Most issues aren’t mysterious—they’re predictable consequences of one missing requirement.
Cupping, crowning, and gapping in reclaimed wood floors usually trace back to insufficient acclimation, moisture imbalance, or inadequate vapor control.
Trapped moisture under floating installs can occur when underlayment/vapor layers conflict with the subfloor’s drying behavior.
– Cupping, crowning, or gapping: usually from moisture imbalance, insufficient acclimation, or inadequate vapor control. Fixing this after install can be costly.
– Finish breakdown at high-wet areas: happens when the topcoat isn’t rated for bathroom humidity/water exposure or isn’t fully cured before heavy use.
– Trapped moisture under floating floors: if the underlayment/vapor barrier combination is wrong for your subfloor conditions.
– Wicking at perimeter or around fixtures: caulk that isn’t designed for flooring movement can cause edge problems—use the right sealing strategy at transitions.
– Hidden subfloor moisture: even if the room looks “dry,” moisture can move from below (especially on slabs). Test per the documented method before installing.
Below is a practical way to think about where reclaimed wood floors are most likely to struggle in 2026 bathroom use patterns.
Reclaimed Wood Floors Suitability by Bathroom Exposure Zone (Practical Fit Score)
| # | Bathroom zone for reclaimed wood floors | Typical wetting risk | Main failure mode to watch | Fit rating |
|---|---|---|---|---|
| 1 | Outside direct splash line (clear of shower spray) | Low | Minor seasonal gapping | ★★★★★ |
| 2 | In front of sink (occasional splash only) | Moderate | Edge seal failure if movement caulk is wrong | ★★★★☆ |
| 3 | Near toilet area (humidity + cleaning exposure) | Moderate | Finish scuffing + seam widening over time | ★★★☆☆ |
| 4 | Just outside tub lip (periodic water tracking) | Moderate-High | Localized finish breakdown at edges | ★★☆☆☆ |
| 5 | Directly within shower spray influence (no mat) | High | Cupping + gapping from repeated wet cycles | ★☆☆☆☆ |
| 6 | Around frequent leak-prone fixtures (supply/valve zones) | High | Hidden subfloor moisture escalation | ★☆☆☆☆ |
| 7 | Whole-bathroom “wet” zones with regular standing water | Very High | Finish failure + structural wood movement | ☆☆☆☆☆ |
This is a practical fit score—not a guarantee. Your reclaimed wood flooring’s outcome still depends on your specific underlayment/vapor system, subfloor moisture conditions, and the finish system you apply.
Verdict + quick checklist (when to DIY vs. when to skip)
Reclaimed wood floors can work in a bathroom, but you should DIY only if you can document subfloor conditions, follow the full moisture-control spec, and commit to manufacturer-approved finishing and cure time. If any critical spec is missing—or if the install will see heavy wetting—skipping solid reclaimed wood is often the safer call.
You shouldn’t rely on “water-resistant finish” alone; reclaimed wood floors need compatible moisture layers and correct perimeter handling to survive bathroom humidity.
When you can’t verify moisture test results for the subfloor, the reclaimed wood flooring install has an avoidable risk.
If you’re deciding between DIY vs. contractor support, the deciding factor is repeatability: can you follow layer compatibility instructions exactly for reclaimed wood floors, including acclimation, vapor system sealing, and full cure? As of 2026, the most defensible installs are the ones where the installer can show documentation (moisture test results, product specs, and finish cure adherence).
- Pros of reclaimed wood floors in a bathroom
-
- Real-world character and texture from reclaimed materials
- Can be durable with engineered reclaimed planks and compliant moisture systems
- Finish systems can improve water resistance when applied to spec
- Cons (why failures happen)
-
- Solid reclaimed boards are more sensitive to cupping/gapping in humidity swings
- Wrong vapor/underlayment pairing can trap moisture
- Edge and perimeter sealing mistakes can cause wicking and finish breakdown
Quick rule
– If you can’t confirm whether your reclaimed wood is solid vs. engineered, or you can’t verify moisture test results (especially over concrete), consider skipping solid reclaimed wood floors in the bathroom and use an engineered option or another flooring type.
| Step | Quick check before you start |
|---|---|
| Flooring type | Solid vs engineered is clearly identified () |
| Subfloor condition | Flat/secure; no water damage; fixed squeaks |
| Moisture plan | Vapor barrier/underlayment matches install method and subfloor type |
| Acclimation | Flooring acclimated per instructions (or documented room-condition checks) |
| Installation gaps | Expansion space maintained at walls and fixed objects |
| Sealing | Finish system is bathroom-rated; sanding/prep matches finish spec |
| Cure time | Full cure completed before bathroom use |
Sources:
– National Wood Flooring Association (NWFA): wood flooring installation guidance, including moisture considerations and installation best practices.
– ASTM standards for moisture testing:
– ASTM F1869 (measuring moisture vapor emission rate from concrete slabs)
– ASTM F2170 (in-situ relative humidity probes for concrete)
– Flooring and finish manufacturers’ installation/finish instructions: use the documentation that matches your specific reclaimed plank system (solid/engineered), underlayment/vapor barrier, and coating.
Reclaimed wood floors can be an excellent bathroom choice when you engineer moisture control from the ground up—because the bathroom doesn’t forgive “almost compatible” systems. If you follow the moisture plan, pick the correct vapor/underlayment for your install method, and seal with a finish system designed for bathroom humidity and wet-adjacent exposure, you substantially reduce cupping, gapping, and edge swelling risk.
Frequently Asked Questions
What’s the best way to prepare reclaimed wood floors before installing in a bathroom?
Start by inspecting each plank for cupping, excessive warping, and loose boards, then acclimate the reclaimed wood to your bathroom’s temperature and humidity for several days. Remove old nails, sand surfaces smooth, and check for any damaged areas that should be repaired or replaced before bathroom installation. Because reclaimed wood may have prior finishes, strip or thoroughly clean so the new moisture barrier and adhesive/sealant can bond properly.
How do you install reclaimed wood floors in a bathroom without moisture damage?
Use a proven moisture-control system: install an appropriate waterproof underlayment and seal the subfloor edges and seams to block water vapor from reaching the wood. Ensure you address high-risk areas like the shower wall and toilet zone by using extra sealing and a strong bathroom-ready finish designed for wet environments. During installation, follow a consistent expansion gap around the perimeter so the floor can move safely with bathroom humidity changes.
Which underlayment and vapor barrier work best for reclaimed wood bathroom flooring?
Look for a bathroom-specific underlayment with moisture protection suitable for hardwood or engineered wood floors, typically including a vapor barrier layer. If you’re using a nail-down method, many installers still recommend a moisture barrier system to help manage humidity fluctuations common in bathrooms. The right choice depends on your subfloor type (concrete vs. plywood) and whether you’re using a floating, glue-down, or nail-down reclaimed wood floor.
Why is sealing and finishing crucial for reclaimed wood floors in bathrooms?
Bathroom floors face repeated humidity swings, splashes, and potential leaks, which can cause reclaimed wood to swell, cup, or warp if it isn’t sealed well. Apply a high-quality waterproof or water-resistant finish (and ensure edges and end grain are properly coated) to create a durable surface for day-to-day use. Recoat on schedule and address spills immediately to maintain protection and extend the life of reclaimed wood flooring.
Should you use floating, glue-down, or nail-down installation for reclaimed wood in a bathroom?
In many bathrooms, a floating or glue-down approach can be more forgiving because it helps manage minor movement from humidity changes. Nail-down reclaimed wood floors can work, but they require excellent moisture control and careful finishing to prevent water intrusion through seams and nail holes. If you choose a method, select products labeled for use with reclaimed wood or solid hardwood in wet-leaning areas, and confirm your subfloor is flat to avoid gaps that can trap moisture.
📅 Last Updated: October 15, 2026 | Topic: How to install in a bathroom reclaimed wood floors? | Content verified for accuracy and freshness.
References
- Wood flooring
- Reclaimed lumber
- Mold | US EPA
- https://www.cdc.gov/mold/default.htm
- https://www.fpl.fs.usda.gov/documnts/fplgtr/fpl_gtr113.pdf
- https://www.who.int/publications/i/item/9789289002136
- https://www.hud.gov/program_offices/healthy_homes/environments/mold
- https://scholar.google.com/scholar?q=reclaimed+wood+floor+installation+bathroom+moisture Google Scholar
- https://scholar.google.com/scholar?q=wood+flooring+moisture+control+wet+areas Google Scholar
- https://scholar.google.com/scholar?q=reclaimed+wood+flooring+installation+moisture+barrier Google Scholar