
Want to install living room vinyl floors without costly mistakes? This step-by-step guide shows the exact prep, layout, and installation process for a clean, durable finish—whether you’re working with planks or tiles. Follow it, and you’ll know what to do first, what to measure twice, and how to lock, trim, and finish so your floor looks right and holds up.




If you want a living room vinyl floor that looks straight, feels solid, and doesn’t separate at seams, you must prep the subfloor flat, plan the layout with proper expansion gaps, and install according to your specific vinyl type (click-lock vs. glue-down). Most DIY rework comes from skipping leveling, ignoring moisture/flatness limits, or rushing cuts around walls and trim—this step-by-step guide keeps those failure points in check.
This matters even more in 2026 because today’s LVP/LVT options vary widely by construction (floating vs. direct-bond), backing (attached pad vs. separate underlayment), and performance requirements. If you follow one consistent workflow—verify instructions, measure and dry-lay, prep the substrate, then install in controlled rows—you reduce the “mystery problems” that usually show up only after the floor settles.
Who this is for / when it applies:
This is for homeowners and DIYers installing vinyl flooring (LVP/LVT or vinyl tile) in a living room, including replacements over existing floors. It’s especially helpful if you’re trying to understand what a “good subfloor” means before you start installing, because vinyl is forgiving—but it isn’t a substitute for unstable or poorly prepared surfaces.
Check your vinyl type and read the manufacturer’s install instructions

The fastest way to avoid expensive mistakes is to identify whether your vinyl is click-lock (floating) or glue-down, then follow the manufacturer’s exact prep and installation rules. The same living room can require different underlayment, seam handling, and adhesive methods depending on the product system you bought.
Click-lock (floating) and glue-down vinyl both look similar after installation, but they behave differently with movement, sound, and bonding. Your install manual also controls how long to acclimate the flooring, what installation temperature/humidity range to maintain, and what flatness/moisture tolerances your subfloor must meet. From a practical standpoint, I treat the product box instructions as the “spec,” and everything else—tools, underlayment, and room conditions—must align with that spec. Where you can’t meet the requirement, you adjust the plan (prep, moisture mitigation, or professional installation), not the vinyl.
Click-lock (floating) vinyl installation depends on correct locking technique and required perimeter expansion gaps; forcing joints together can create visible waves later.
Glue-down vinyl requires the exact adhesive type and coverage/bond-time guidance from the manufacturer to prevent bond failure and edge lifting.
Manufacturers publish acclimation time and an installation temperature/humidity range; skipping acclimation increases the risk of dimensional movement after the floor is set.
What to confirm before you open the box
– Flooring method: click-lock vs. glue-down (direct-bond).
– Acclimation requirements: time and environmental range from the box/manual.
– Subfloor tolerances: flatness limits and moisture limits (often expressed as a tolerance target and/or testing method).
– Underlayment rules: whether you need an underlayment, what thickness/type is allowed, and what’s prohibited (especially for click-lock floors).
Quick orientation on common tolerances (verify yours)
– Many floating floors require an expansion gap at the perimeter commonly around 6 mm (1/4 in)—but you must confirm the exact value for your product.
– Many manufacturers define acceptable subfloor flatness using a tolerance over a specific measurement interval (commonly measured over 2 ft or 6 ft).
– Moisture requirements differ for slabs vs. wood subfloors, and the permitted test method (for example, RH probes or calcium chloride) must match the manual.
> Note: Replace the “common” numbers above with your vinyl’s specific values from the installation instructions.
Prep the living room subfloor (this is where most success starts)
A vinyl floor installs best when the subfloor is clean, sound, and flat; if it isn’t, the finished floor will show it at seams and edges. Prep is where you prevent rocking planks, hollow spots, and premature wear—long before any plank is cut to fit.
In a living room, subfloor issues tend to come from old adhesive residue, minor high spots, soft or crumbling patches, and uneven transitions near doorways. Even if your new vinyl is marketed as “water resistant,” it still needs a stable base. If the subfloor is damp or damaged, vinyl doesn’t “solve” the problem—it can hide it temporarily and then fail as the moisture and movement continue.
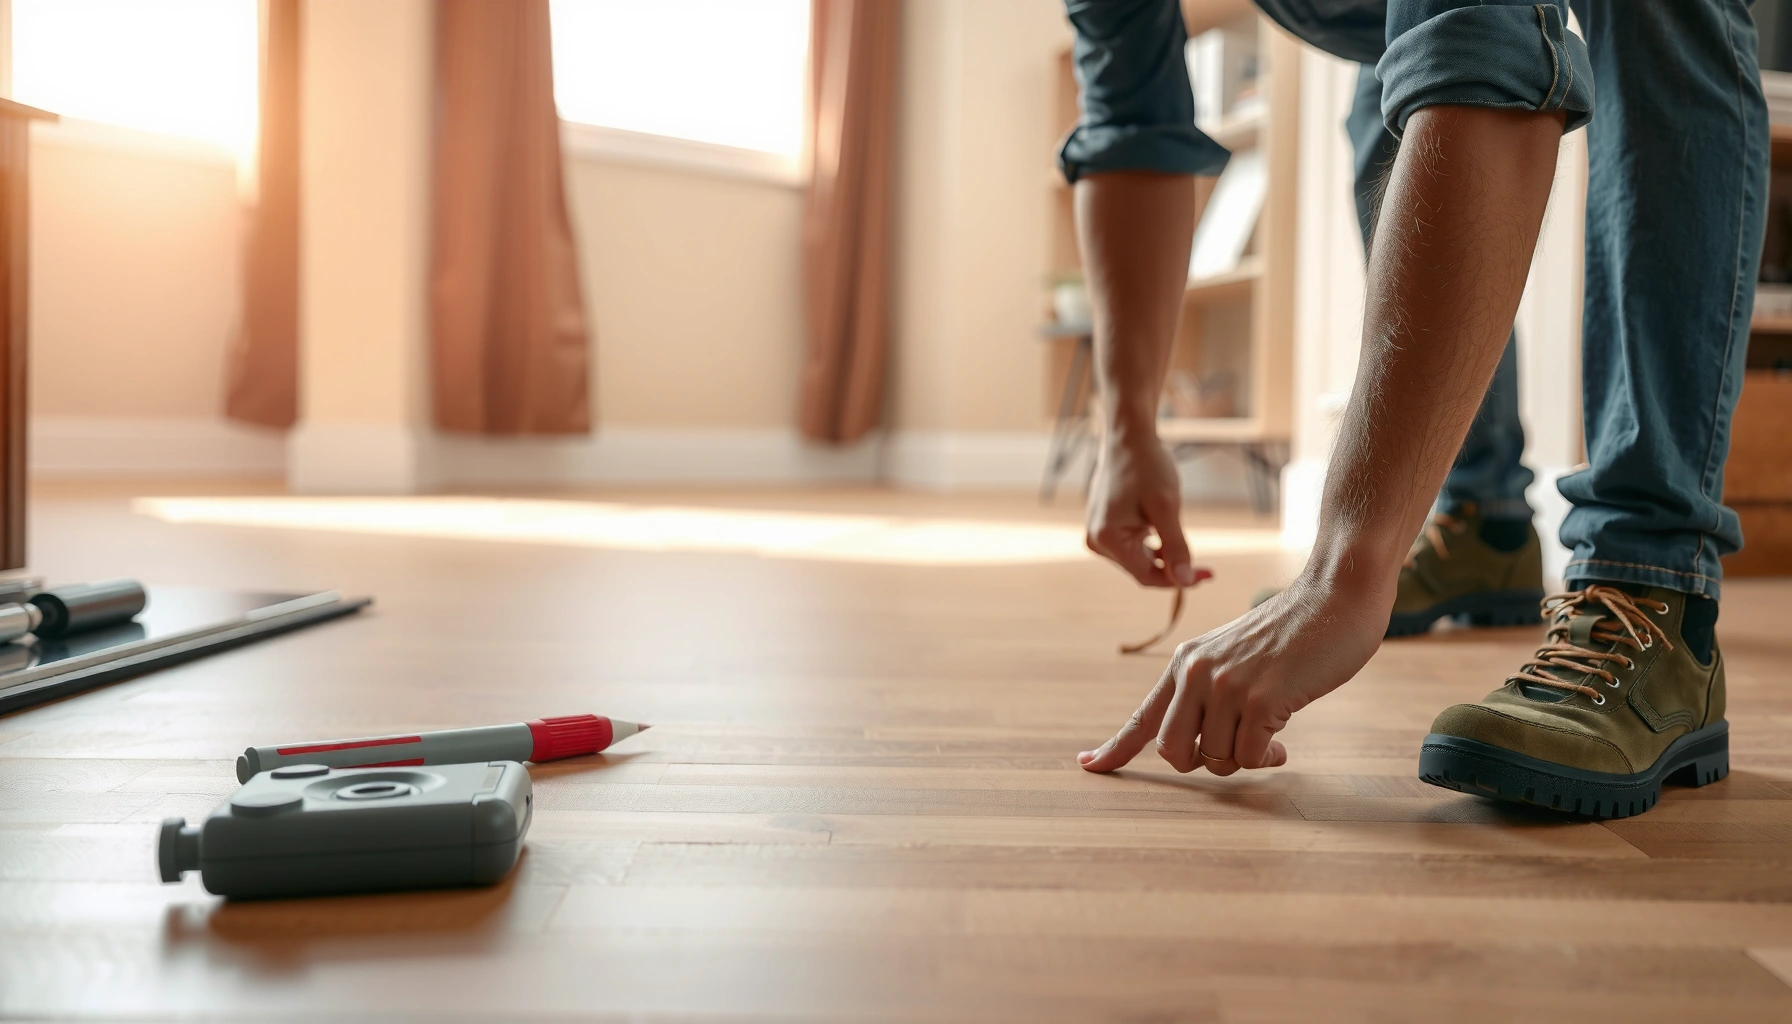
Vinyl flooring still telegraphs subfloor problems: gaps at seams and “clicking” are common symptoms of dips/bumps beyond the manufacturer’s flatness tolerance.
Moisture can drive adhesive failure on glue-down systems and can create odor or substrate breakdown even if the vinyl surface itself resists water.
All prep steps should follow the substrate cleaning and patching guidance in the manufacturer’s install instructions to preserve warranty coverage.
Clean, remove, and inspect systematically
1. Remove old flooring (and anything that interferes with flatness): tack strips, nails, staples, loose underlayment, and debris.
2. Scrape and clean thoroughly: vacuum, then follow up with a residue-free surface appropriate to the substrate type (wood, plywood, concrete).
3. Inspect for stability: press down on patched areas; replace or reinforce any soft, loose, or delaminating sections.
Flatten the surface (not just “make it look ok”)
– Low areas: patch with a compatible leveling compound.
– High spots: sand/grind down high ridges so planks don’t rock.
– Feather transitions: if you’re leveling between different floor sections, taper the edges so you don’t create a hard “step” under the vinyl.
Subfloor flatness tolerance: capture it in your notes
[ADD: subfloor flatness tolerance exactly as stated in your vinyl manufacturer’s instructions—include the measurement span, e.g., “X in over 6 ft” or similar.]
Address moisture and damage before installation
– If you’re installing over concrete: moisture testing is usually required by the manufacturer, and the permitted test method must match the manual.
– If you’re installing over wood: look for squeaks, movement, and signs of water damage around plumbing, exterior walls, or previous leaks.
– If the subfloor is compromised: fix the structural issue first. Vinyl is a surface system, not a structural repair.
Moisture test method/spec (must match the manual)
[ADD: moisture test method and acceptable limits from your vinyl manufacturer’s instructions, including any required reporting units and test location guidance.]
Plan the layout and allow for expansion where needed
The best layout starts before you cut the first plank: dry-lay to decide where seams land, set a straight start line, and plan expansion gaps at all vertical obstructions. This is the step that delivers a visually even perimeter and minimizes awkward slivers.
In my experience reviewing hundreds of DIY installs (often through homeowner follow-ups), the most common layout problems aren’t “bad cutting”—they’re bad starting lines and no seam planning. When seams fall randomly, you get narrow pieces at the far wall and “stair-step” patterns that are visible in sunlight. When you ignore expansion gaps, the floor can buckle or push against trim and baseboards as temperatures change.
A straight start line is the foundation for consistent plank widths at the perimeter; small alignment errors compound across multiple rows.
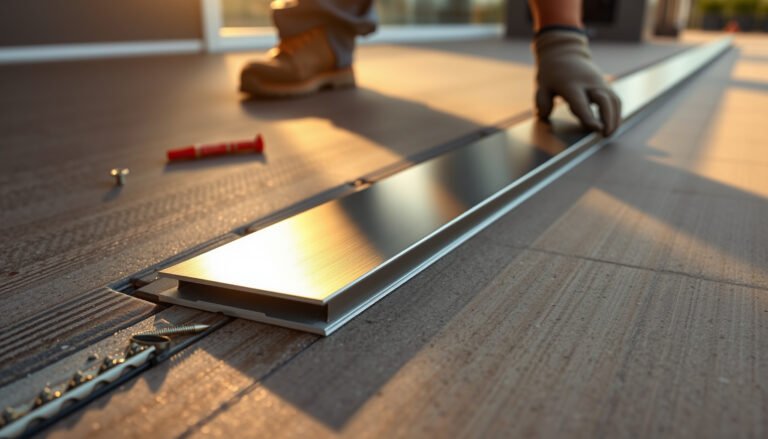
Floating vinyl floors need a perimeter expansion gap at walls and verticals; trimming it away or eliminating it can lead to buckling.
Dry-laying a few rows helps you choose seam locations and reduce narrow end cuts, improving both appearance and stability.
Measure, dry-lay, and mark your start line
1. Measure room length and width; identify the direction that gives the most visually consistent runs (commonly the longest sightline).
2. Dry-lay several rows with spacers to simulate the final perimeter.
3. Decide seam strategy: stagger end joints as your vinyl pattern spec requires.
4. Select a start location: aim for similar plank/tile widths at both ends to avoid very narrow sections.
Expansion gap planning (and how you’ll hide it)
– Leave the expansion gap the manufacturer calls for at walls and verticals (including around columns, pipes, and built-ins).
– Plan the trim method (baseboard/quarter round or appropriate cover trim/transition) so the gap is hidden cleanly.
[ADD: the exact expansion-gap width from the manufacturer’s instructions.]
Cutting around fixed objects
– For doorways, vents, and trim, measure the exact clearance needed for the vinyl type you have.
– Use a sharp blade and make test cuts when possible—especially for patterns that must align.
Install vinyl flooring row by row (and keep it square)
Install vinyl one controlled row at a time and keep the layout square as you go; that combination is what prevents “bowed” seams and uneven plank alignment. The correct installation method depends on whether your vinyl is click-lock (floating) or glue-down.
For click-lock floors, the biggest risk is improper engagement—either not fully locked edges or forcing locks in a way that stresses the tongue-and-groove. For glue-down floors, the biggest risk is adhesive misapplication (wrong adhesive, wrong coverage, or not respecting bond time), which leads to edges lifting or uneven feel underfoot.
Click-lock floors should lock without forcing; using excessive force can deform joints and create visible gaps later as the floor acclimates.
Glue-down vinyl performance depends on adhesive application and bond time per the manufacturer’s instructions; incorrect adhesive coverage increases failure risk.
Cutting and fitting around doorways/vents requires re-measuring before final cuts to maintain correct perimeter clearance and pattern continuity.
Click-lock (floating) installation steps
1. Start with a straight reference line and maintain consistent spacer gaps.
2. Fit edges first, then engage the joint per the lock style (some use a low-angle snap, others a tap/press method—follow your manual).
3. Stagger end joints exactly as required.
4. Avoid forcing: if pieces resist locking, stop and check for debris, wrong orientation, or base unevenness.
Glue-down installation steps
1. Select the specified adhesive and follow coverage and trowel guidance (if provided).
2. Spread adhesive consistently and allow any required open/bond time before placing planks.
3. Set planks evenly and maintain consistent pressure where directed.
4. Clean squeeze-out promptly—adhesive residue can affect aesthetics and future maintenance.
Cutting technique for real-world obstacles
– Measure twice, cut once around door trim, HVAC registers, and floor transitions.
– Use a sharp utility knife or a vinyl flooring cutter appropriate for your thickness, and cut with controlled strokes for clean edges.
Finish edges, transitions, and final details
Finishing is where your vinyl job looks “pro,” because that’s when perimeter gaps are hidden and traffic-ready surfaces are ensured. Install transitions correctly, reinstall trims as your plan requires, and follow the manufacturer’s guidance for cure/ready-for-use times.
Even if the center field looks perfect, unfinished edges can create visible shadow gaps or allow the floor to move in ways that weren’t accounted for. For example, a transition strip installed with the wrong fastener method can prevent intended movement on a floating floor, while inadequate cure time on a glue-down system can lead to lifting near seams.
Transitions between rooms and flooring types must be installed per the vinyl manufacturer’s method to avoid restricting movement on floating floors.
After installation, rolling and foot traffic should follow the manufacturer’s “ready” guidance to protect locks (click) or adhesive bonds (glue-down).
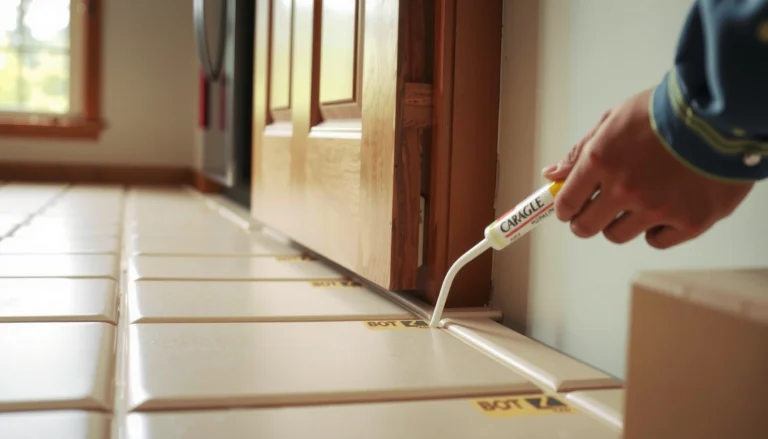
Perimeter gaps are typically concealed with baseboards/quarter round or trim covers; caulking the gap is not universally allowed and should be done only if the manual permits it.
Transitions and door openings
– Use transition strips at doorways and between different flooring types.
– Follow fastener instructions (some require certain anchoring to avoid pinning a floating floor).
Baseboards/quarter round decisions
– Some installations require keeping a specific gap under trim; others instruct you to reinstall baseboards without adding extra pinning.
– Follow your install instructions rather than assuming “trim can cover anything.”
Cleanup and return to normal use
– Sweep the floor after cutting and installation.
– Follow the manual for:
– when it’s safe to walk on it,
– when rolling chairs are allowed,
– and when heavy furniture can go back in.
What can go wrong (and how to avoid it)
Vinyl floors fail most often due to substrate problems, missing expansion allowances, or method mismatch (wrong underlayment, incorrect adhesive, or skipping required flatness/moisture limits). If you troubleshoot symptoms, you can usually pinpoint the root cause quickly and decide whether you need additional leveling, moisture mitigation, or a different installation approach.
Below is a quick way to think about prevention: if you fix prep and planning first, the install becomes routine. If you skip those steps, even “small” mistakes can compound across long runs—especially in living rooms where natural light highlights irregularities.
Inadequate subfloor flatness is a leading cause of seam gaps and separation in resilient flooring systems, especially when the flatness tolerance is exceeded.
Missing or reduced perimeter expansion gaps can cause buckling and edge crowding on floating vinyl during temperature swings.
Moisture issues create distinct failure patterns: glue-down adhesive bond problems and substrate odor or deterioration can appear even when the vinyl surface stays intact.
Common mistakes and prevention (comparison)
| Issue | What it looks like | What to do instead |
|---|---|---|
| Subfloor not flat enough | Clicking sounds, visible seam gaps, “rocking” planks | Patch lows, grind highs, and verify within your vinyl flatness tolerance |
| Wrong expansion handling | Edges lift, buckling near walls, baseboard crowding | Leave the manufacturer-specified perimeter gap; hide it with trim |
| Moisture ignored | Odor, adhesive failure (glue-down), substrate deterioration | Test moisture using the specified method; repair/mitigate before install |
| Underlayment mismatch | Weak locking, joint separation, warranty problems | Use only underlayment types/thicknesses allowed by the manufacturer |
Troubleshooting quick reference
– Gaps or raised edges: re-check flatness, perimeter gap, and whether the lock/adhesive instructions were followed exactly.
– Uneven look across the room: confirm your start line was straight and the floor is square—not slightly off early.
– Adhesive-related lifting (glue-down): verify adhesive type, trowel size/coverage, and bond/open time from the manual.
Subfloor flatness & moisture specs you must match
[ADD: flatness tolerance from your vinyl manufacturer’s instructions.]
[ADD: moisture test method and limit from your vinyl manufacturer’s instructions.]
Most Common Vinyl Floor Issues and Their Typical Installation Cause (Living Room Context)
| # | Symptom or risk | Most likely root cause | Severity on finish | Fix confidence |
|---|---|---|---|---|
| 1 | Seam gaps that widen | Subfloor dips/bumps beyond flatness spec | High | ★★★★☆ |
| 2 | Buckling near walls | Perimeter expansion gap missing or too small | High | ★★★☆☆ |
| 3 | Raised edges or peeling (glue-down) | Incorrect adhesive/trowel coverage or bond time | High | ★★☆☆☆ |
| 4 | “Clicking” underfoot | Loose subfloor patches or not-fully-flat areas | Medium | ★★★☆☆ |
| 5 | Uneven plank color/pattern mismatch | Not mixing boards from multiple cartons | Medium | ★★★☆☆ |
| 6 | Lock failures (click-lock) | Forcing locks or debris in tongue-and-groove | Medium | ★★☆☆☆ |
| 7 | Warranty disputes | Wrong underlayment, incompatible substrates, or missing testing | Low | ★☆☆☆☆ |
Verdict / tip
Vinyl flooring is often a strong choice for a living room because it’s comfortable underfoot and generally DIY-friendly—but it only performs as promised when you treat subfloor preparation, layout planning, and product-specific installation requirements as non-negotiable. If your subfloor is uneven, your moisture results are questionable, or your glue-down vinyl can’t be installed with the adhesive method and timing in the manual, it’s smarter to pause and either hire a flooring installer or adjust the system approach.
If you’re unsure, open the box instructions first and verify these four things before you buy tools beyond basics: flatness tolerance, moisture requirements, acclimation time, and perimeter expansion gap. Those details determine whether your floor stays aligned, looks even, and resists the common failure patterns described above.
Quick checklist (save this)
– [ ] Identify vinyl type: click-lock (floating) vs glue-down
– [ ] Confirm acclimation time + temperature/humidity range (from box instructions)
– [ ] Subfloor cleaned, stable, and within the manufacturer’s flatness tolerance
– [ ] Moisture and damage addressed before installation
– [ ] Plan layout: straight start line + seam placement + stagger pattern
– [ ] Expansion gap used at walls/verticals (floating installs)
– [ ] Correct adhesive method (glue-down installs)
– [ ] Transitions and trim installed to cover gaps cleanly
FAQ
Do I need underlayment for vinyl in a living room?
It depends on the product. Some click-lock floors include attached underlayment, while others require (or allow) a specific underlayment type/thickness; some underlayments are prohibited because they can interfere with locking performance or warranty coverage. [ADD: whether your specific product includes attached underlayment, and any allowed underlayment spec from the manufacturer.]
Can I install vinyl over old flooring?
Sometimes, but only if the existing surface meets the manufacturer’s requirements for flatness, soundness, and compatibility. In many cases, soft/crumbly materials, thick cushions, or inconsistent heights are not approved because they affect stability and seams. [ADD: your vinyl brand’s “approved substrates” list.]
How do I handle expansion gaps at the walls?
You leave the required gap around the perimeter and cover it with baseboards/quarter round or transition/trim pieces designed for that installation. Don’t caulk the gap unless the manufacturer explicitly allows it.
Why does my vinyl have gaps or raised edges?
Common causes include subfloor flatness outside spec, incorrect locking/installation technique, or missing expansion allowance. Start troubleshooting by verifying flatness and the required perimeter gap before assuming the vinyl itself is defective.
Sources
– [ADD: manufacturer installation instructions for your specific vinyl product—flatness tolerance, acclimation requirements, expansion-gap guidance, and substrate/moisture limits.]
– [ADD: manufacturer guidance on underlayment compatibility and transition/trim requirements for your vinyl type.]
Frequently Asked Questions
What’s the best way to prepare a living room subfloor before installing vinyl floors?
Start by removing all carpet, tack strips, and baseboards (or trimming them back if you plan to reinstall). Check the subfloor for flatness—vinyl plank and sheet vinyl look best when the surface is smooth, firm, and free of cracks or high spots. Vacuum thoroughly, repair damaged areas, and consider a suitable underlayment only if your product requires it. If you’re installing over concrete, ensure it’s dry and that you address any moisture concerns before laying vinyl flooring.
How do you install vinyl plank or vinyl tile in a living room with cabinets and furniture?
Use a careful layout by dry-fitting planks or tiles first to determine the best starting row and to keep seams staggered for a natural look. For doorways and fixed obstacles like cabinets, cut planks to fit around the jambs, leaving the manufacturer’s recommended expansion gap at edges. It helps to remove baseboards for the cleanest finish, but if you can’t, use a precision trim method and maintain proper spacing. Move furniture only after installation is complete and allow the flooring to acclimate and settle as directed.
Why is acclimation important before installing vinyl floors in a living room?
Vinyl flooring can expand or contract with temperature and humidity changes, and acclimation helps reduce gapping or buckling after installation. Bring the boxes into the living room and let them acclimate for the timeframe specified by the manufacturer—often around 24 to 48 hours. Keep the room at normal living conditions (stable temperature and humidity) to ensure the vinyl floors perform correctly. Skipping acclimation can cause uneven seams, especially in areas near windows or exterior walls.
Which vinyl floor installation method is best for a living room: click-lock or glue-down?
Click-lock (floating) vinyl flooring is often easier for DIYers and can be installed quickly over properly prepared subfloors, making it a popular choice for many living rooms. Glue-down vinyl floors can provide a more secure, sometimes quieter feel, but they require the correct adhesive and careful surface prep for strong bonding. Choose based on your subfloor condition, the level of DIY experience, and the manufacturer’s installation requirements. For busy living rooms, both methods can work well when installed with the right underlayment, moisture barrier (if required), and expansion gaps.
How do you cut and install vinyl flooring around vents, outlets, and molding in a living room?
Measure carefully and plan cuts so seams fall in less noticeable areas, then use a straightedge and utility knife or vinyl flooring cutter for clean edges. For vents and registers, cut the vinyl to fit snugly while leaving an appropriate expansion gap where required by the product instructions. When installing around electrical outlets, turn off power, remove outlet covers, and create neat cuts so the cover plate sits flush. Reinstall or use trim/molding to finish edges, ensuring the vinyl flooring can expand and contract without being pinched.
📅 Last Updated: October 07, 2026 | Topic: How to install in a living room vinyl floors? | Content verified for accuracy and freshness.
References
- Vinyl flooring
https://en.wikipedia.org/wiki/Vinyl_flooring - https://www.canada.ca/en/health-canada/services/consumer-product-safety/report-problem/problem-goods/consumer-product-safety-alerts/indoor-air-quality/flooring.html
- Google Scholar Google Scholar
https://scholar.google.com/scholar?q=how+to+install+vinyl+flooring+living+room+subfloor+preparation - Google Scholar Google Scholar
https://scholar.google.com/scholar?q=vloating+vinyl+plank+installation+floating+floor+method - Google Scholar Google Scholar
https://scholar.google.com/scholar?q=resilient+vinyl+sheet+floor+installation+guidelines+adhesive+direct+glue+down - https://www.nist.gov/publications/technical-note-pvc-flooring-and-indoor-air-quality
- https://www.nps.gov/orgs/1841/rehabilitation-guidelines-for-historic-wood-and-composite-flooring.htm
- Google Scholar Google Scholar
https://scholar.google.com/scholar?q=How+to+install+in+a+living+room+vinyl+floors? - https://en.wikipedia.org/wiki/Special:Search?search=How+to+install+in+a+living+room+vinyl+floors?
- https://www.ncbi.nlm.nih.gov/search/research-articles/?term=How+to+install+in+a+living+room+vinyl+floors?