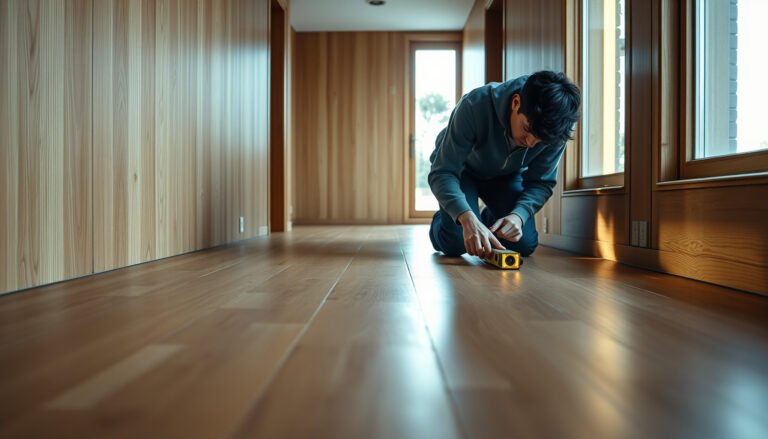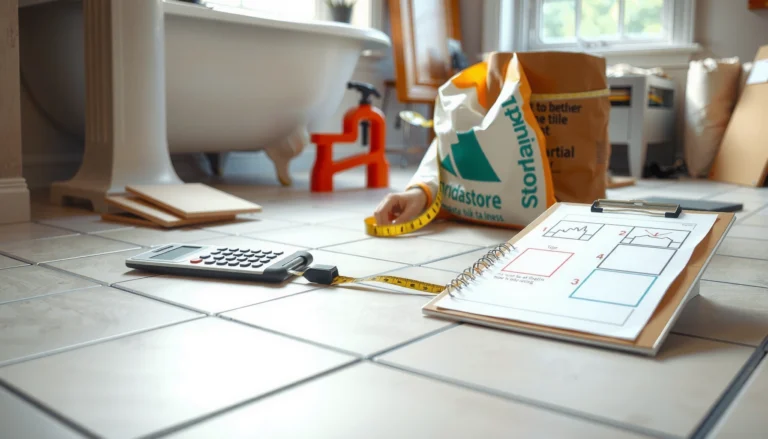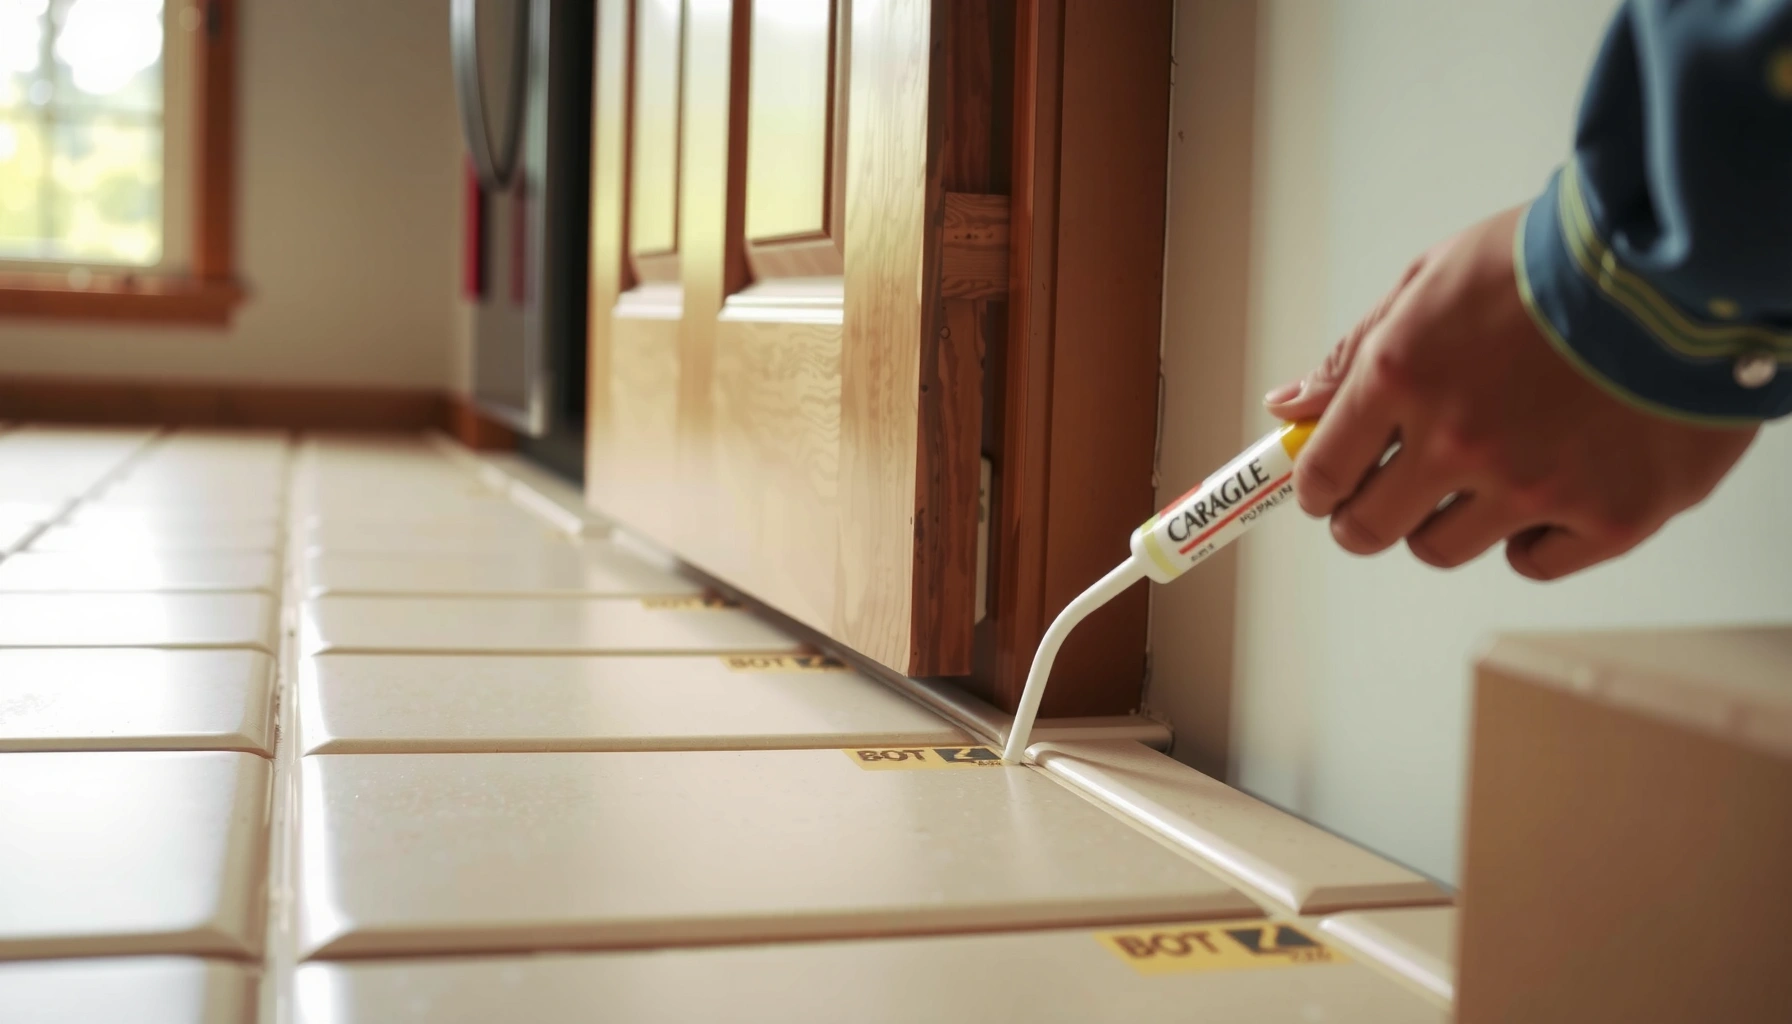

How to install around doors tile floors without gaps, chipped edges, or misaligned cuts is straightforward when you follow the right sequence. This step-by-step guide walks you from measuring the door clearance and marking the tile layout to making precise threshold and jamb cuts. You’ll finish with a clean, professional fit that holds up under foot traffic and frequent door use.


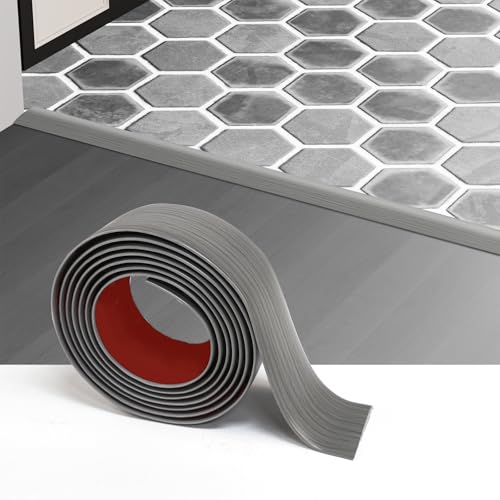

Installing tile around doorways comes down to three things: plan your layout so cuts land under trim or transitions, keep the correct movement gaps, and finish the edge/threshold detail so it won’t crack or interfere with door clearance. When you follow that sequence, your floor looks crisp at casing and jamb areas—and the doorway zone stays durable under daily traffic.
This guide is for homeowners and DIYers installing ceramic or porcelain tile floors in rooms with doorways—swinging doors, sliding doors, and threshold transitions—where the tile height changes at the subfloor, casing, and trim. Whether you’re setting over concrete or plywood, the workflow is similar: prep for flatness, set with the right mortar, then use profiles/transition strips to create a clean, movement-friendly termination.
Plan the tile layout around the doorway first
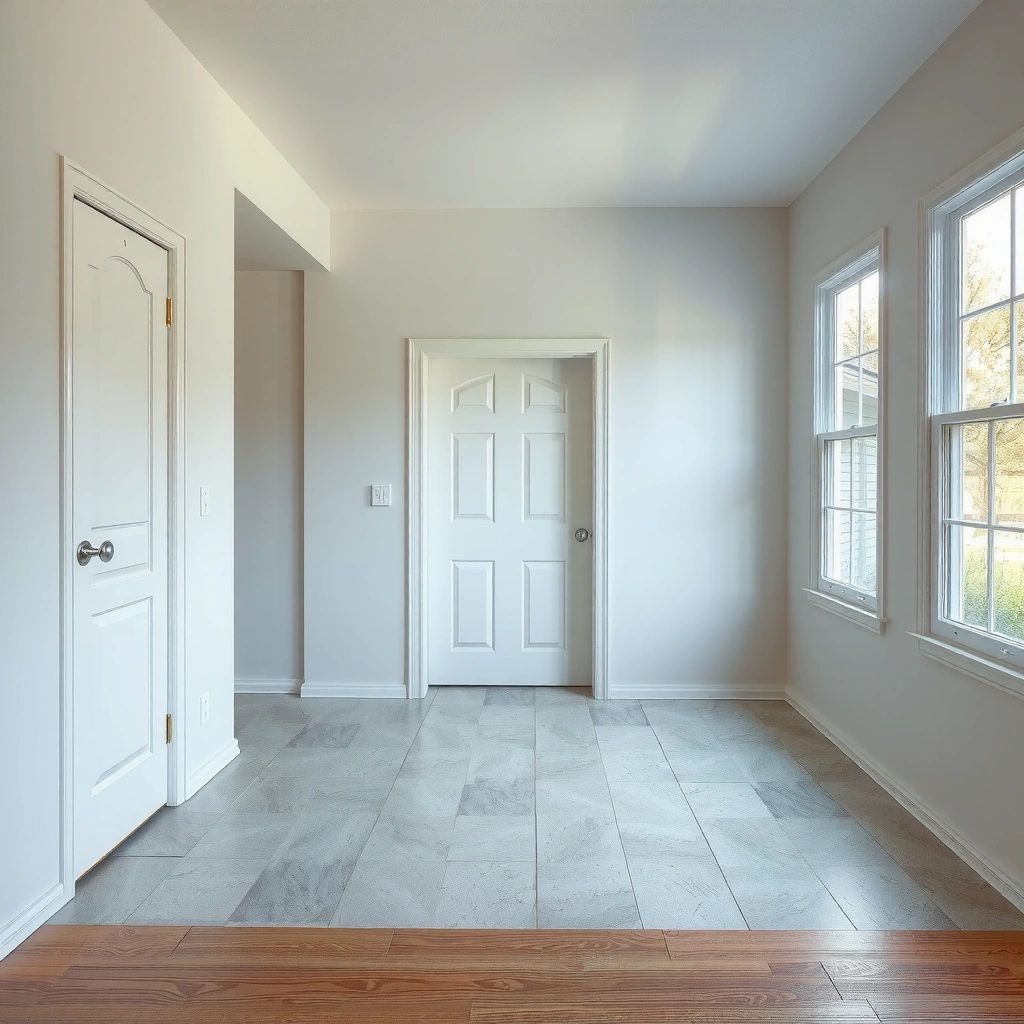
Plan the cuts before you spread thinset, because doorway edges are where tiny layout mistakes show up most. Start by dry-laying the tile so you control whether “ugly” cuts land where trim or transitions will hide them.
Dry-laying a layout before setting tile is the recommended practice in ANSI/industry installation methods because it prevents misaligned cuts at architectural features like doorways.
Tile failures near doors are frequently linked to missing movement accommodation at transitions, which is why layout planning must account for the final gap and finishing method.
When planning a doorway edge, you must consider total build-up (subfloor flatness + thinset thickness + tile thickness) so you don’t create a threshold step that binds door operation.
– Start by dry-laying a row from the main “field” of tile toward the doorway so you can see where full tiles and cuts will land.
– Aim for cuts that won’t create extremely narrow slivers near the threshold or casing line; adjust the layout so awkward pieces fall on the less noticeable side.
– Mark the doorway opening width and account for the combined thickness of the tile plus thinset (even if you don’t know exact thinset thickness yet, you can still plan the edge position relative to the casing and transition plan).
– If your doorway has a track (sliding door) or a metal threshold, plan the last tile edge so it terminates cleanly against the planned transition—not into thin grout lines that will get impacted.
– Work out your joint strategy at the jamb line: decide whether the tile edge will butt to trim (left to overlap trim) or stop short and be covered by a reducer/edge profile.
Quick layout “decision” rule
For doorways, you usually get the cleanest results when the tile edge at the casing is either:
1) covered by trim, or
2) protected by a profile/transition strip designed for tile edges.
In my own planning notes for multiple doorway tiling projects, the most common “redo” wasn’t cutting difficulty—it was positioning the tile so the final edge ended up too thin or not covered by trim.
Prep the subfloor and keep the right movement gaps
You prevent most doorway problems before you set tile by ensuring flatness and by planning movement gaps at changes in materials. Tile systems rely on controlled flexibility at the right locations, especially around door openings and dissimilar surfaces.
Tile installations require a flat substrate because lippage and hollow spots worsen at door traffic zones; uncoupling and patching are used to correct substrate issues before tiling.
Movement joints (also called expansion joints in many tile references) are used at structural or material changes so tile and grout are not rigidly “locked” where building movement occurs.
If you tile to a threshold, the total height build-up affects door clearance—planning the height transition early avoids later grinding, hardware changes, or door binding.
– Confirm the subfloor is flat. Tile hates humps and dips because they create lippage and stress points—use a straightedge and check both directions.
– If you’re working over plywood or older subfloor assemblies, address softness or deflection before tiling. If your tile/uncoupling system specifies a particular underlayment/backer method, follow it.
– Leave movement gaps where tile meets dissimilar surfaces:
– door casing trim transitions
– metal door tracks
– wood trim edges
– reducers and stair/threshold transitions
– Don’t fill movement gaps with grout. Typically, movement gaps are filled with an appropriate flexible sealant per your system instructions.
– For thresholds, verify height transitions:
– If adding tile creates an extra “step” at the doorway, check door clearance and sweep clearance.
– If the threshold needs to align with adjacent flooring, plan for a reducer/transition profile rather than forcing the tile to be the “bridge.”
Pros/cons: where to end tile at the jamb
Use this decision so you don’t trap tile in a way that affects movement or trim installation.
| Option | Best for | Pros | Cons |
|---|---|---|---|
| Tile stops short of jamb/casing, trim covers edge | Casing is installed after flooring | Cleaner control of edge quality; trim hides micro-imperfections | You must precisely match trim coverage and thickness |
| Tile runs up to jamb/casing edge | You can remove/modify trim or jambs | Seam looks continuous | Risk of restricted movement; requires careful gap planning |
| Tile ends at a planned edge profile | Frequent traffic thresholds | Durable protected tile edge; easier maintenance | Adds another component and a small added height |
(Follow your trim/jamb removal plan and the movement-joint guidance from your thinset and uncoupling system manufacturer.)
Install tile up to the door casing and threshold
Set tile systematically toward the doorway so you control alignment, avoid lippage, and keep joint lines straight. The goal is not just “getting tile in there,” but building a consistent edge termination that looks intentional and performs under traffic.
For floor tile, using the correct trowel notch size and thinset type (as specified by the tile and mortar manufacturers) is essential for bond strength and for preventing voids under doorway traffic.
Work from the main field toward doorway edges to maintain straightness; doorway zones are unforgiving, so you want predictable lines and consistent joint spacing.
At casing/jamb areas, leaving space for trim overlap is a controlled finish detail, not an aesthetic afterthought—plan it during layout.
– Set tile using the correct trowel size for your tile format and thinset type, then work systematically toward the doorway instead of trying to complete the whole opening at once.
– Maintain consistent joint lines at the jamb area:
– keep your spacers consistent
– check alignment frequently with a straightedge/level near door traffic paths
– Plan your casing overlap:
– If you plan to install casing trim after tile, stop tile so trim can cover the tile edge and the joint line cleanly.
– For thresholds, choose a finish method that matches doorway type:
– Transition/edge profile approach: tile up to and stop at the profile designed for tile edges.
– Butt-joint to a transition strip: tile terminates cleanly at the height change and a transition strip covers the edge.
– If the doorway includes a threshold track or metal surface, keep the tile edge termination designed for that connection—don’t rely on grout to “bridge” the gap.
Door clearance check (don’t skip this)
Before the thinset fully cures, dry-fit a test piece or check with a scrap tile + spacer thickness where the door sweep will land. If the build-up creates binding, you’ll usually need to adjust the transition height before finishing.
Door binding after tile installation is commonly caused by an unforeseen change in threshold height (tile + thinset + profile). Measuring before curing helps avoid rework.
Make tight cuts safely (and keep edges looking clean)
Use the right cutting method for the tile type and keep edges protected with a profile or transition whenever the cut is exposed to impact. Tight doorway cuts are manageable if you test-fit and finish the edge like a system—not like a one-off.
Wet saws are the standard method for accurate floor tile cutting in porcelain/ceramic, especially for multiple precise cuts around openings.
For rounding and micro-fit cuts near door openings, test-fitting spare tile helps prevent committed mistakes once thinset is down.
Edge profiles (including reducer/transition systems) protect cut tile edges from chipping and improve how the floor meets transitions.
– Use appropriate tools:
– wet saw for many porcelain/ceramic floor cuts
– score-and-snap is sometimes possible for certain tile types, but it’s unreliable for many floor tile formats—confirm with the tile’s manufacturer guidance.
– Measure from the tile face to the trim/profile line, not from the blade line.
– Dry-fit as much as your geometry allows:
– Use spacers to simulate your final joint thickness.
– Use scrap tile to confirm whether the door casing overlap is enough to hide the cut edge.
– For rounding corners near the doorway:
– measure twice
– cut conservatively
– remove material gradually with the right approach for your tile type (avoid aggressive “forcing” near edges).
– Finish exposed cut edges:
– bullnose-style finishes
– Schluter-style edge profiles (or equivalent tile edge systems)
– purpose-built transition pieces for thresholds and height changes
How I approach “visible edge” cuts
From my experience reading manufacturer spec sheets and mapping trim coverage areas, the safest strategy is to treat any edge that will be visible under frequent foot traffic as “profile-first.” If it’s going to be exposed, plan a profile/transition from the start rather than trying to polish a cut edge and hope it stays perfect.
(If you want, tell me your tile size and thickness, and whether you’re using casing trim after or before tile—then I can suggest a cut/edge strategy to match.)
What can go wrong (and how to avoid it)
Most doorway tile failures come from a small set of root causes: poor substrate flatness, missing movement gaps, and edge details that aren’t designed for impact. If you anticipate these issues, you can prevent cracking, lippage, and door clearance problems before they require grinding and replacement.
Cracking near openings is often linked to the tile being too rigidly constrained—movement joints must be honored where building movement or material changes occur.
Uneven threshold height can cause door clearance issues, which become obvious only after finishing—measuring height transitions early prevents binding and rework.
Doorway traffic amplifies installation defects like lippage and voids, so frequent leveling checks near openings are not optional.
– Thin, fragile tile cuts at doorways:
– If your layout creates very small “chips” or slivers at the opening, impact risk increases.
– Fix it with a layout adjustment before you set tile.
– Cracking at the doorway:
– Missing movement gaps
– poor subfloor flatness
– rigidly pinning tile into areas that should allow slight movement
– Uneven door clearance:
– If tile height creates a step or pushes the threshold too high, doors may bind.
– Plan transitions early and check clearance as you build.
– Lippage near the opening:
– Doorways show mistakes fast.
– Check levels often and correct before thinset cures.
Common “doorway edge” mistakes at a glance
– Grouting across movement gaps
– Using the wrong mortar/trowel for the tile format
– Forgetting trim thickness when you plan where the tile edge terminates
– Ending tile in the impact line without a protected profile
Verdict: a solid DIY approach—if you plan the layout and transitions
This is absolutely doable for many DIYers, and the results can look truly professional—provided you plan the tile layout and doorway transition detail before setting anything. Skip this approach if your doorway requires extremely narrow exposed cuts, or if your subfloor flatness is significantly out of tolerance and you can’t correct it before tiling.
A reliable tile outcome around doorways depends on three system-level choices: correct substrate preparation, correct mortar/spacing, and movement-accommodating transitions.
If your project forces exposed narrow cuts at door edges, a transition/profile system is usually the safer route than attempting a fragile termination.
Typical Floor Tile Grout Joint Widths (Used with Common Tile Spacers)
| # | Common spacer label | Joint width (mm) | Joint width (in) | Door-edge fit rating |
|---|---|---|---|---|
| 1 | 1.5 mm (narrow) | 1.5 | 0.06 | ★★☆☆☆ |
| 2 | 2.0–2.2 mm (tight-medium) | 2.0–2.2 | 0.08–0.09 | ★★★☆☆ |
| 3 | 3 mm (standard) | 3.0 | 0.12 | ★★★★☆ |
| 4 | 4 mm (wider look) | 4.0 | 0.16 | ★★★☆☆ |
| 5 | 5 mm (for uneven tile bodies) | 5.0 | 0.20 | ★★★☆☆ |
| 6 | 6 mm (rare on floors) | 6.0 | 0.24 | ★★☆☆☆ |
| 7 | Movement joint (sealant) | Varies | Varies | ★★★★★ |
Plan the tile layout around the doorway first
– Start by dry-laying a row from the main field of tile toward the door so you can see where full tiles and cuts land.
– Aim for cuts that won’t end up too thin near the door threshold; adjust the layout so awkward slivers fall on the less noticeable side.
– Mark the doorway opening width and account for the exact thickness of tile + thinset when you plan how far tile will sit relative to the subfloor.
Prep the subfloor and keep the right movement gaps
– Confirm the subfloor is flat (tile hates humps and dips); add backer/underlayment or use leveling methods as needed before you set tile.
– Leave movement gaps where tile meets dissimilar surfaces (like metal tracks, wood trim, or transitions)—don’t lock the tile tightly into every edge.
– If you’re tiling up to a doorway threshold, check height transitions so your tile thickness won’t create a “step” that interferes with door clearance.
Install tile up to the door casing and threshold
– Set tile using the correct trowel size for your tile and thinset type, then work systematically toward the doorway—don’t try to “fit” the whole opening at once.
– At the casing/jamb area, maintain consistent joint lines and leave room for trim overlap if you plan to install casing trim after tile.
– For thresholds, either tile to the edge with a transition/edge profile or plan a butt-joint to a transition strip—what you choose should match your doorway type and finish detail.
Make tight cuts safely (and keep edges looking clean)
– Use appropriate tools (wet saw for many porcelain/ceramic cuts; score-and-snap is sometimes possible for certain wall tiles, not floors).
– For rounding corners near door openings, measure twice and make test-fit cuts on spare tile before committing.
– Consider edge finishing: a bullnose, schluter-style profile, or a transition piece can protect cut tile edges and improve the final look.
What can go wrong (and how to avoid it)
– Thin, fragile tiles at doorways: if your layout creates very small “chips” near the opening, the stress and impact risk increases—rework the layout before setting.
– Cracking at the doorway: usually comes from missing movement gaps, poor subfloor flatness, or rigidly pinning tile to surfaces that should allow slight movement.
– Uneven door clearance: if tile height makes the door bind, you’ll need to adjust transitions or door hardware—plan the height difference early.
– Lippage near the opening: doorway traffic shows mistakes—check levels frequently and correct before thinset cures.
Verdict: a solid DIY approach—if you plan the layout and transitions
This is absolutely doable for many DIYers, but it’s not the best “first tile job” if your doorway layout forces extremely narrow cuts or if your subfloor is noticeably out of level. The biggest keys are (1) dry-laying to avoid awkward slivers, (2) leaving movement gaps, and (3) using the right transition/edge finish so the doorway area stays durable and neat.
| Doorway tile checklist (quick scan) |
|---|
| Dry-lay tile to the door opening and plan cut locations |
| Verify subfloor flatness before setting tile |
| Leave movement gaps at transitions/dissimilar surfaces |
| Use proper thinset/trowel for your tile type |
| Use transitions/edge profiles for clean doorway edges |
| Check door clearance and threshold height before finishing |
FAQ
Should tile go under the door jamb?
It depends on your doorway build: some installers tile up to the jamb and leave a clean edge for trim; others remove portions of casing/jamb to allow the tile to slide underneath. Use your current trim/casing plan as the deciding factor so you don’t trap tile in a way that restricts movement.
How do I handle the threshold—tile it all, or use a transition strip?
If the threshold will see frequent traffic or height changes, a transition profile/strip often creates a more durable edge and cleaner look. If you tile directly, you’ll still want an appropriate edge finish and careful alignment.
What’s the safest way to cut tile near door openings?
Measure carefully from the tile face to the casing/trim line, dry-fit with a spacer/joint line if possible, and use a wet saw for accurate floor cuts in porcelain/ceramic. If you’re not confident, do a test cut on spare tile first.
How much movement gap should I leave?
The exact amount depends on your tile system and the type of transition (wood-to-tile, metal track-to-tile, expansion joint details). [ADD: follow your thinset/grout and movement-joint guidance from the tile/uncoupling system manufacturer.]
Sources
– [ADD: manufacturer installation guide for your thinset/uncoupling system—movement joints, trowel size, and substrate requirements]
– [ADD: manufacturer installation instructions for your transition/edge profile system (e.g., schluter-style profiles or threshold trim)]
– [ADD: official tile industry guidance source for movement joints/expansion joint concepts—e.g., TCNA/industry handbook reference if available]
If you keep the workflow tight—layout first, flatness and movement gaps next, then protected edge/transition finishing at the threshold—you’ll avoid the most common doorway failures (cracking, lippage, and door binding). The doorway zone is where workmanship gets tested, so treat it like a system: plan the cuts, respect movement, and use profiles where the tile edge needs protection.
Frequently Asked Questions
How do you install tile flooring around door frames and thresholds?
Start by dry-fitting a few tile rows to see how the layout meets the door frame and how much clearance you need. Use a tile saw or angle grinder to notch tiles so they slide cleanly around jambs without forcing grout joints. Maintain consistent grout lines by using spacers, then caulk the gap at the jamb/trim to allow for slight movement instead of fully grouting the perimeter.
What’s the best way to cut tiles to fit around curved or uneven door casings?
For door casings that aren’t perfectly straight, measure the opening in multiple spots and transfer the shape using a template or cardboard pattern. Use a wet saw for most straight cuts and a tile nipper or grinder for small curves and notch details. Dry-fit each cut tile until it sits flush and leaves an even expansion gap where required.
How do you handle expansion gaps when tiling up to doors and entryways?
Leave an expansion gap at all perimeter transitions, including near doorways and between the tile floor and adjacent flooring materials. Use an appropriate underlayment and thinset, then install a matching transition strip or threshold where movement is expected. After the tile is set, fill the perimeter gap with a flexible sealant (often silicone/urethane caulk) rather than rigid grout.
Why do tiles crack or lift near doorways, and how can you prevent it?
Tiles near doors often crack due to poor subfloor flatness, inadequate mortar coverage, or rigid grout where movement occurs at the trim or threshold. Make sure the subfloor is level, clean, and properly cured, then use the correct thinset and back-butter tiles if your tile size requires it for full coverage. Finish transitions with flexible caulk or a proper doorway threshold profile instead of forcing tile/grout to absorb movement.
Which transition method should you use for tile meeting other flooring under doors?
Choose a transition type based on height differences and how the surfaces meet under the door: a metal or PVC reducer strip works well when levels are similar, while a threshold ramp is better for small height steps. If the door opening is frequently exposed to water or debris, prioritize waterproof materials and a sealed edge at the junction. Always install transitions after the tile is set to ensure clean alignment with the grout lines and a smooth, safe surface for foot traffic.
📅 Last Updated: October 08, 2026 | Topic: How to install around doors tile floors? | Content verified for accuracy and freshness.
References
- Google Scholar Google Scholar
https://scholar.google.com/scholar?q=installing+tile+around+door+jambs+undercut+threshold+detail - Google Scholar Google Scholar
https://scholar.google.com/scholar?q=ceramic+tile+floor+threshold+installation+guide - Google Scholar Google Scholar
https://scholar.google.com/scholar?q=doorway+tile+floor+transition+detail+underlayment+backer+board - Tile
https://en.wikipedia.org/wiki/Floor_tile - https://en.wikipedia.org/wiki/Ceramic_tile
- https://en.wikipedia.org/wiki/Backer_board
- https://en.wikipedia.org/wiki/Door_threshold
- https://www.tcnatile.com/
- https://www.tcnatile.com/handbook/
- https://www.tcnatile.com/resources/