
If you’ve got water damage on slate floors, the fastest way to fix it is to dry the stone thoroughly and remove any affected grout or sealant before sealing again. This step-by-step guide shows exactly what to do—from stopping the moisture source to cleaning, drying timeframes, and choosing the right slate-safe products—so you can prevent warping, staining, and recurrence. Follow these instructions and you’ll know when the damage is cosmetic versus when replacement or professional repair is the smarter call.
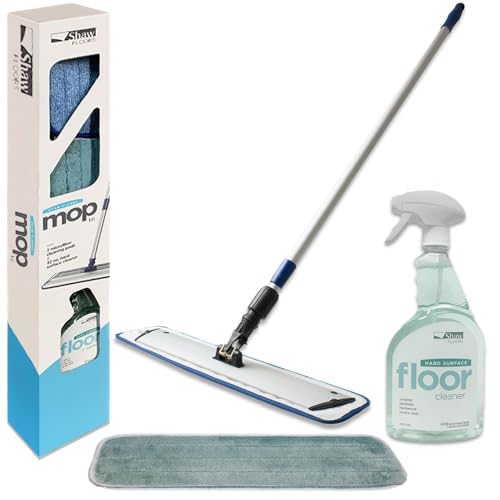



If slate floors got wet, the fastest way to prevent permanent damage is to dry everything thoroughly and then evaluate for mineral staining or loose grout. Stop the water, remove anything that traps moisture, and use airflow (plus dehumidification if humidity stays high). After the stone and grout are fully dry, you can clean safely and decide whether sealing, grout repair, or a professional moisture assessment is the right next step.
This is for homeowners and property managers dealing with water intrusion from leaks, flooding, wet mopping, or appliance/pipe issues—especially when the damage may be hiding under baseboards or at grout lines. If the water exposure was prolonged or you smell mustiness, plan for more careful drying and possibly professional inspection.
Stop the water and protect your home
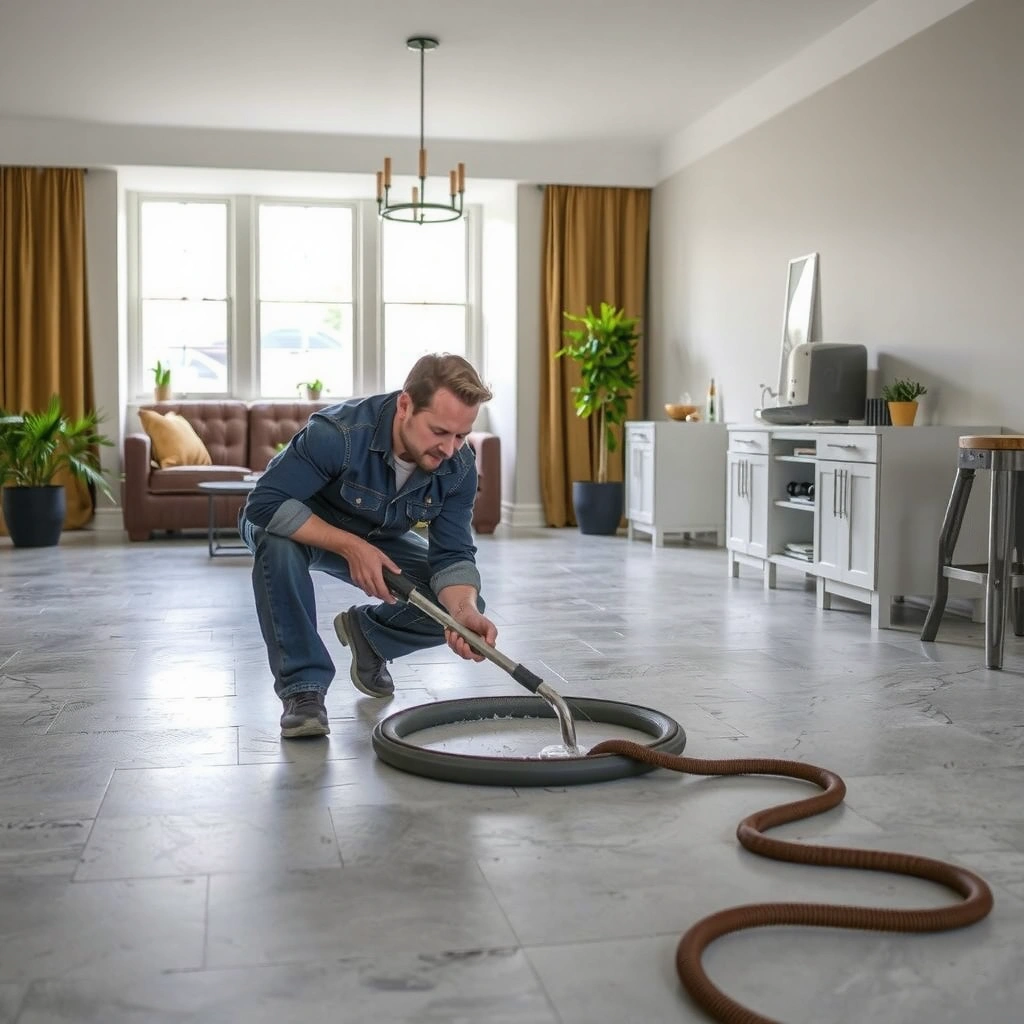
Turn off the water source (or shut down the appliance) immediately so the slate doesn’t keep absorbing moisture. Then protect surrounding materials so you don’t create a bigger moisture footprint while you dry.
If you don’t stop the water, slate and grout can continue to absorb water and concentrate minerals as it dries, making stains harder to remove later.
Water damage can “migrate” into grout joints and under edges, so protecting baseboards and door trims helps prevent secondary swelling and hidden damp pockets.
According to the U.S. Environmental Protection Agency (EPA), keeping indoor humidity from staying elevated is a key factor in preventing mold-related complications after water events (EPA, 2024).
– Turn off the water source (or shut down the appliance) and prevent additional leaks before touching the floor. If it’s a plumbing line, shut off the supply valve—not just the household water if you suspect the leak is localized.
– Remove furniture, rugs, and anything that can trap moisture on top of the slate. Slate is relatively dense, but trapped moisture still increases staining risk, especially at grout lines where water has easier paths.
– Protect surrounding areas (doors, drywall, and baseboards) so you don’t spread moisture while you dry. Use plastic sheeting and painter’s tape to keep overspray from mopping towels and to reduce incidental humidity migration into adjacent rooms.
Quick triage: what to do in the first hour
The goal in the first hour is containment, not “repair.” Based on your situation:
– Active leak: Shut off water, unplug electrical sources if needed, then start extraction/absorption.
– Cleanable spill (wet mopping): Remove excess water, then start fans right away.
– Flooding or prolonged moisture: Treat it as a restoration scenario—assume the perimeter and under baseboards may have been affected.
Identify the damage level (surface vs. penetration)
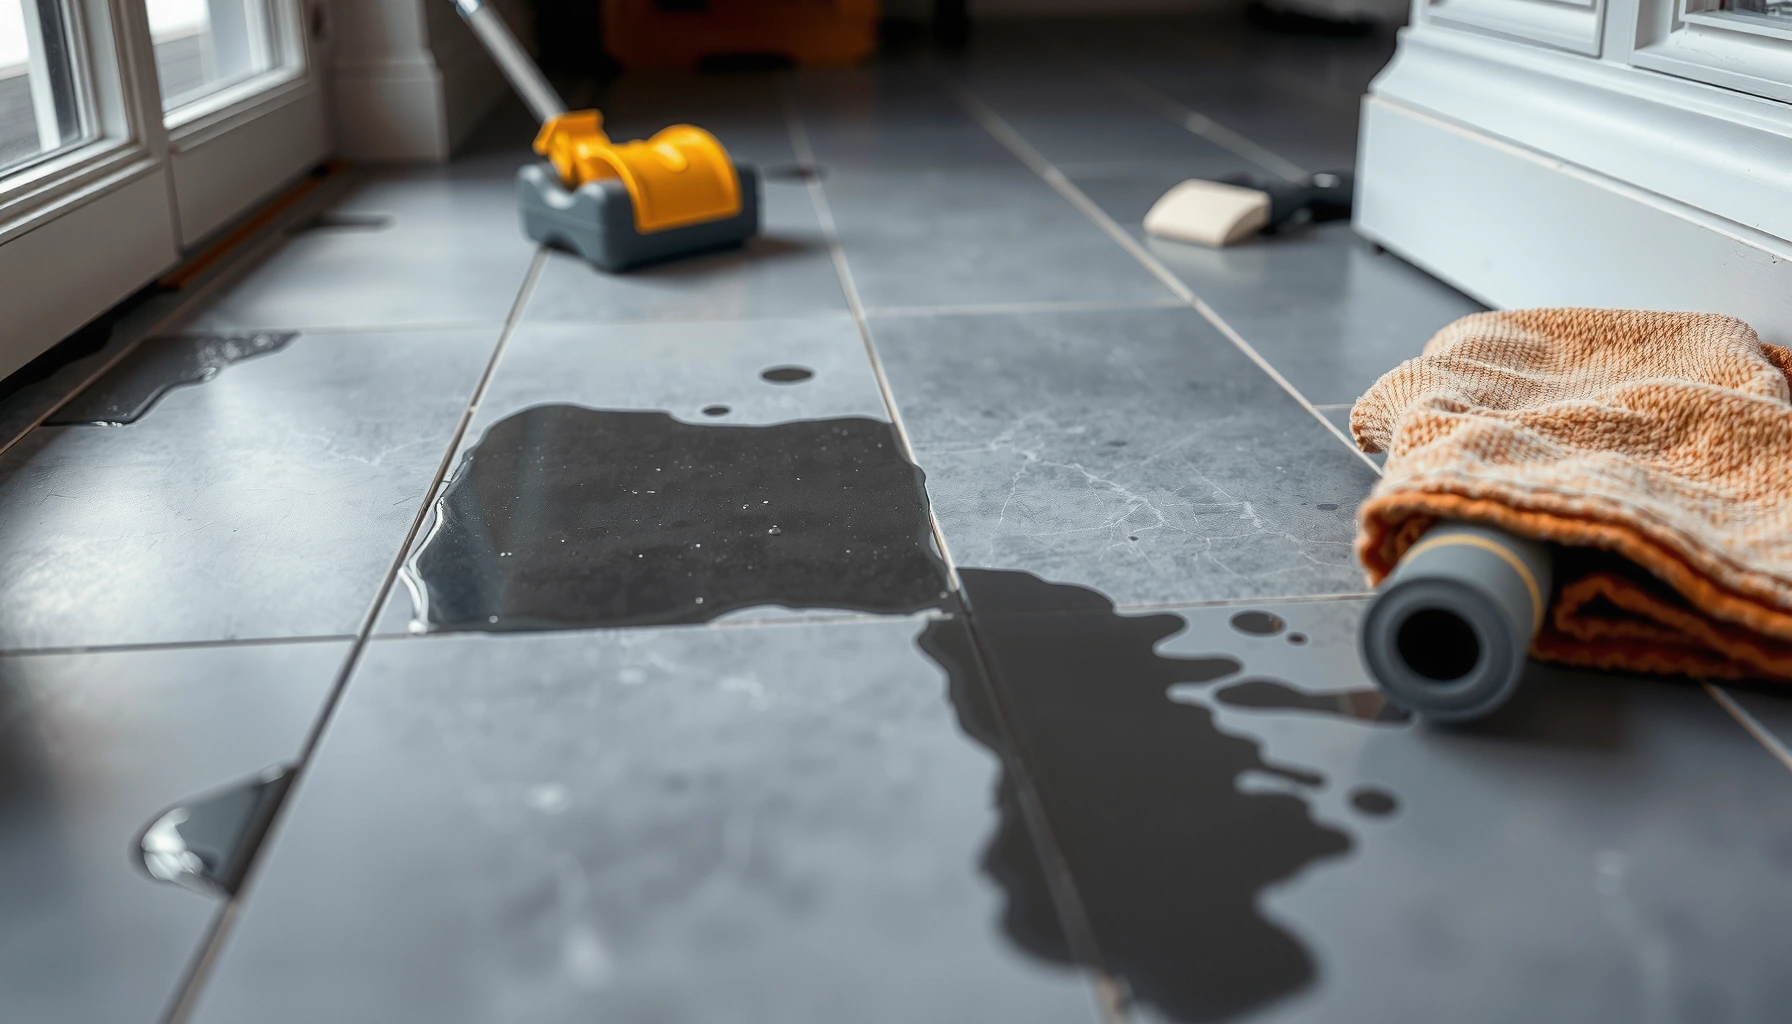
You can often separate “surface wetting” from “penetration” by looking at what changed and where it changed. Focus on discoloration patterns, grout behavior, and whether dampness persists after the top looks dry.
Darkening and edge discoloration after water events commonly indicates water migration through grout joints rather than uniform wetting across the slate surface.
Grout deterioration can worsen during repeated wetting/drying cycles, so checking joint integrity is as important as inspecting the slate itself.
– Look for darkening, surface spots, grout deterioration, or edges that look “lifting” or soft. Slate may look damp even when the subfloor is the real issue—so don’t rely on appearance alone.
– Check grout joints and the perimeter—water often travels through joints before it shows on the stone. Perimeter areas are especially important because transitions can create capillary paths.
– If you can access the underlayment, note whether moisture seems to have reached it (musty odor, persistent dampness, or staining beyond the wet area). Even if you don’t see pooling, a musty odor or continuing cool-to-the-touch areas can indicate deeper moisture.
Practical indicators of likely subfloor involvement
When water intrusion is more than cosmetic, you’ll typically see at least one of these:
– Musty smell that returns after wiping.
– Persistent “spotty” discoloration that doesn’t stabilize after 24–48 hours of active drying.
– Soft/crumbling grout at joints or around edges.
– Visible tenting/bowing at adjacent flooring transitions (even slight movement matters).
Dry it correctly to prevent ongoing deterioration
Drying is the most important “repair” step you’ll do, because it prevents both staining and ongoing material degradation. The faster you reduce moisture, the more likely you can avoid recurring problems.
According to the U.S. Centers for Disease Control and Prevention (CDC), mold growth can begin within 24–48 hours when materials stay damp enough (CDC, 2024).
EPA guidance emphasizes controlling moisture and humidity to reduce mold risk; keeping indoor humidity below 60% is a commonly cited threshold for prevention (EPA, 2024).
IICRC’s water restoration methodology relies on measured drying targets rather than “it looks dry,” using moisture evaluation and controlled drying conditions (IICRC S500, current edition).
– Dry the slate itself first: use fans for direct airflow across the floor, and keep the area ventilated. Use multiple fans so air moves across joints as well as across the stone surface.
– If the space stays humid, use a dehumidifier; aim to lower overall moisture in the room, not just on the surface. Slate can dry slower than drywall or furniture because it’s cool and dense.
– Don’t rush: keep drying until the floor and grout are genuinely dry to the touch and there’s no continued dampness. “Dry to the eye” is not the same as “dry to the core,” especially at grout lines.
What we target during drying (without guessing)
If you have access to a moisture meter (and know how to use it), document baseline readings before you clean or seal. In a professional setting, drying typically uses:
– Air movement (fans placed to avoid stagnant corners)
– Dehumidification (to reduce ambient relative humidity)
– Monitoring (re-checking moisture conditions over time, not once)
If you don’t have a meter, your best proxy is time + repeated tactile checks at multiple points, especially where grout meets edges and transitions.
Clean and treat stains safely (only after drying)
Once fully dry, cleaning becomes safe and more effective because you’re not driving moisture deeper into grout or stone pores. Use pH-neutral, stone-appropriate cleaning chemistry and avoid aggressive products that can dull slate.
Cleaning natural slate after drying with a neutral pH product reduces the risk of surface dulling compared with acidic “descalers” that can etch stone.
Mineral staining often results from dissolved minerals migrating as water evaporates; repeated gentle cleaning steps are commonly more controllable than one aggressive treatment.
– Once fully dry, remove dirt with a neutral pH cleaner recommended for natural stone; avoid harsh acidic or abrasive products that can dull slate. Even if a stain “looks like scale,” slate doesn’t respond well to acids.
– For mineral staining from hard water, work in small steps (gentle stone-appropriate cleaning first) rather than aggressive chemicals immediately. Hard-water stains can respond, but the chemistry has to match the stain type.
– If the issue is localized at grout lines, address grout condition after cleaning—grout that’s failing can keep reintroducing moisture. Cleaning alone may improve appearance while leaving the underlying vulnerability intact.
Pros/cons: common cleaning approach choices
| Approach | Best for | Potential downside |
|---|---|---|
| Neutral pH stone cleaner | General post-wetting residue and grime | May not fully remove mineral staining in one pass |
| Gentle, repeated mineral-focused cleaning | Light-to-moderate hard-water or evaporation stains | Requires patience; stop if you see dulling or worsening joints |
| Acidic descaling products | Sometimes effective on some surfaces | High risk of etching/dulling slate; generally avoid for slate |
Repair grout, edges, and any compromised subfloor
Water problems on slate rarely end at the surface if grout joints or perimeter seals are compromised. After cleaning, repair what failed so the floor can’t reabsorb moisture.
Cracked or deteriorated grout joints are a common re-entry route for water, even when the slate tiles look visually intact.
Moisture at perimeter transitions (thresholds, fixtures, baseboards) often requires access to edges, not just patching the visible grout.
– Repoint or replace grout where it’s cracked, missing, or deteriorated—this is often where water re-enters the system.
– Inspect transitions (thresholds, around fixtures, and along baseboards) because water may have migrated behind them. Caulk seams and grout-to-wall interfaces are frequent weak points.
– If you suspect underlayment or subfloor moisture, you may need to remove affected materials so the problem doesn’t return after you reseal. If you can’t confirm dryness behind edges, sealing over dampness is the fastest way to trap lingering moisture.
A field note on “it looks fixed”
If you repair grout but the subfloor remains damp, you may see:
– Recurring darkening near the same joints
– Musty odor returning with seasonal humidity swings
– Staining “creeping” back to the edges after cleaning
That’s why the “dry it correctly” step matters—repair is only as durable as the moisture control beneath it.
What can go wrong (common mistakes and limits)
Most slate water-damage failures come from timing errors (sealing too early), the wrong chemistry (etching), or skipping grout/perimeter vulnerabilities. If you’re dealing with prolonged intrusion, treat this as a moisture remediation job, not only a cosmetic one.
Sealing over still-wet slate or grout can trap moisture under a hydrophobic barrier, increasing stain persistence and deterioration risk.
Using acidic or abrasive products on slate can cause surface dulling or etching that looks permanent even after the water issue is resolved.
– Resealing or sealing too early: trapping moisture under a sealant can worsen staining and lead to ongoing deterioration.
– Using the wrong cleaner: acids (and some “descalers”) can etch or dull slate; abrasives can scratch the surface.
– Skipping grout repair: even if the slate looks better, failing grout can keep the area vulnerable.
– “It feels dry” but isn’t: musty smell or recurring dark spots often signals deeper moisture persistence.
– Hidden damage: extended flooding or water under flooring may require professional moisture mapping and remediation—DIY surface fixes won’t solve that.
The decision point: DIY cleaning vs. remediation
If any of the following are true, you should pause and get professional help:
– Water exposure lasted long enough that you suspect underlayment saturation.
– You smell persistent mustiness after drying attempts.
– Damage extends beyond the obvious wet area (baseboards, edges, and adjacent rooms).
– Grout failure is widespread, not localized.
Verdict / tip: what to do first—and when to call someone
Start with drying and safe, neutral cleaning after the slate is fully dry. If the damage is limited to surface discoloration and grout joints look intact, you can often handle this with careful cleaning, grout spot repairs, and (if appropriate) resealing later. Skip DIY and get help if there’s prolonged flooding, suspected underlayment/subfloor saturation, recurring odor, or widespread delamination—at that point, you’re managing a moisture remediation problem, not just a stain.
CDC and EPA guidance both emphasize that moisture control is the core prevention strategy when dealing with water damage, because mold risk is tied to damp materials and time.
IICRC’s water restoration approach prioritizes measured drying conditions and complete material dry-out before declaring the job finished (IICRC S500, current edition).
Mandatory quick reference: drying and repair “state” table
Use this table to decide what to do next based on what you’re seeing right now.
Water Intrusion Responses for Slate Floors (Operational Guidance)
| # | Scenario you’re likely dealing with | Primary risk | Priority action | DIY confidence |
|---|---|---|---|---|
| 1 | Wet mopping or a localized spill that you address immediately | Surface spotting | Fans + thorough drying, then neutral pH cleaning | ★★★★☆ |
| 2 | Short-term leak (e.g., minor plumbing drip) with grout still intact | Mineral staining at joints | Dry first; clean carefully; spot-clean grout lines | ★★★☆★ |
| 3 | Water pooled along a perimeter wall | Edge migration + baseboard-related dampness | Dry edges; inspect/repair perimeter grout or caulk | ★★★☆★ |
| 4 | Visible grout cracking, missing sections, or crumbling | Ongoing water re-entry | Repoint/replace grout before any sealing decision | ★★★☆☆ |
| 5 | Prolonged leak with musty odor after drying | Hidden moisture under/around materials | Stop; consider moisture mapping + professional remediation | ★☆☆☆☆ |
| 6 | Flooding that reaches under baseboards or transitions | Underlayment/subfloor saturation risk | Access perimeter; dry to baseline; verify before rebuild | ★☆☆☆☆ |
| 7 | Widespread staining that returns after cleaning | Persistent moisture pathway | Re-check dryness; inspect grout, edges, and migration paths | ★☆☆★☆ |
Quick scan checklist (save this):
– [ ] Stop the water source
– [ ] Remove rugs/furniture blocking airflow
– [ ] Dry with fans + ventilate; use dehumidifier if humidity stays high
– [ ] Wait until slate and grout are fully dry
– [ ] Clean with a neutral pH stone cleaner (no acids/abrasives)
– [ ] Inspect grout and repair/repoint if failing
– [ ] Consider sealing only after everything is confirmed dry and clean
– [ ] Watch for recurring darkening or musty odor (sign of deeper moisture)
FAQ
Can I seal slate right after water damage?
Usually no. You should wait until the slate and grout are completely dry and there’s no ongoing moisture—sealing early can trap moisture and worsen staining.
What cleaner should I use on wet slate stains?
Use a neutral pH cleaner designed for natural stone/slate, and avoid acidic or harsh products that can dull or etch slate.
How do I know if the moisture reached the subfloor?
Look for musty odor, persistent dampness, recurring discoloration after drying, and signs of compromised grout or edge areas that suggest water migration.
Should I remove baseboards to dry the area?
If the water likely reached behind baseboards or edges, removing them (or otherwise accessing the perimeter) can help ensure proper drying—but only do this if you’re comfortable with the process and the building materials allow it.
When is a professional inspection worth it?
Call a pro if the water exposure was significant or long-lasting, if there’s strong odor, if the damage spreads beyond visible wet areas, or if you suspect saturation under the flooring materials.
Sources
– [ADD: slate/stone manufacturer care documentation for recommended cleaning products and guidance on pH-neutral cleaning]
– [ADD: grout manufacturer instructions for cleaning, repointing, and when to replace vs. repair]
– IICRC S500 (Standard and Reference Guide for Professional Water Damage Restoration, current edition)
– CDC (mold guidance for damp conditions and early mold growth timeframes; guidance accessed/used for the 24–48 hour concept)
– EPA (mold/moisture prevention guidance, including humidity threshold concepts)
Frequently Asked Questions
What should I do immediately after water damage on slate floors?
First, stop the water source and remove any standing water as quickly as possible using towels and a wet/dry vacuum. Dry the slate and surrounding grout thoroughly with fans and dehumidifiers, and avoid walking on the affected area to prevent scratching or spreading moisture. If the water lingered for more than a day or there are damp smells, you may need to check underlayment and subfloor materials for moisture before you repair or reseal.
How do I remove stains from water-damaged slate floors without damaging the stone?
Start by rinsing the slate with clean water to remove residue, then use a pH-neutral stone cleaner to lift light discoloration. For mineral stains or lingering rings, use a slate-safe poultice specifically designed for natural stone; apply it per label directions and allow it to draw out moisture and salts. Avoid harsh acidic cleaners (like vinegar or strong lime removers) because they can etch slate and make discoloration worse.
Why does water damage cause dull spots or dark patches on slate, and how can I prevent it?
Slate can absorb water through pores and natural fissures, and trapped moisture or mineral deposits can create dark or dull areas that remain even after the surface dries. Incomplete drying or unresolved moisture migration can also lead to grout deterioration and recurring discoloration. To prevent future issues, keep gutters and seals in good condition, address leaks quickly, and apply a quality penetrating sealer to reduce water absorption while preserving slate’s natural look.
What is the best way to dry slate floors after flooding to avoid mold and long-term damage?
Use fast, controlled drying: extract water, then run fans across the floor and a dehumidifier to bring down indoor humidity. Monitor moisture levels over several days—especially at the edges, grout lines, and any areas near baseboards—because underlayment can stay wet longer than the slate surface. If you notice persistent dampness, musty odors, or failing grout, consider professional moisture testing to prevent hidden subfloor problems.
Which repairs are needed for water-damaged slate floors—regrouting, resealing, or replacing tiles?
If the slate surface is only discolored but remains sound, you may be able to clean, treat stains with a poultice, and reseal once fully dry. If grout is cracked, missing, or sandy, regrouting is often necessary to stop water from penetrating again. Replace any slate tiles that have spalled, shifted, or show structural damage, and if there’s extensive moisture in the subfloor, you may need to address those materials before sealing to ensure a lasting repair.
📅 Last Updated: October 09, 2026 | Topic: How to fix water damage on slate floors? | Content verified for accuracy and freshness.
References
- https://en.wikipedia.org/wiki/Slate
- https://www.britannica.com/science/slate
- Mold | US EPA
https://www.epa.gov/mold - https://www.cdc.gov/mold/default.htm
- https://www.cdc.gov/disasters/floods/cleanup.html
- Mold – Overview | Occupational Safety and Health Administration
https://www.osha.gov/mold - https://pubmed.ncbi.nlm.nih.gov/?term=mold+dampness+water-damaged+buildings
- Google Scholar Google Scholar
https://scholar.google.com/scholar?q=how+to+dry+water+damaged+floors+slate - Google Scholar Google Scholar
https://scholar.google.com/scholar?q=water+damage+natural+stone+floor+drying+dehumidification - Google Scholar Google Scholar
https://scholar.google.com/scholar?q=mold+prevention+water+damage+buildings+cleanup+guidelines