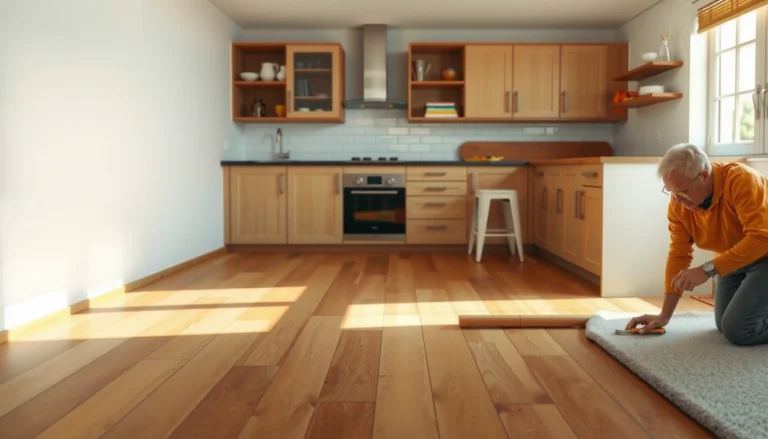
If you’re trying to install hardwood floors in a entryway, follow this step-by-step guide for the fastest path to a clean, professional finish. You’ll see exactly how to prep the subfloor, handle doorways and transitions, lay the planks, and secure the final rows without gaps or squeaks. By the end, you’ll know what tools and measurements matter most so your entryway floor holds up to daily traffic.




Installing hardwood floors in an entryway is mainly about three things: preparing a flat, dry subfloor, controlling moisture, and planning expansion gaps and clean transitions at doorways and thresholds. If you do those steps in order—before you place the first board—the finished floor looks tight and performs reliably under daily traffic.
If you’re working on an entryway (often exposed to tracking dirt, wet shoes, and frequent traffic), you’ll want a plan that accounts for both durability and installation accuracy. This article is best for homeowners or DIYers installing solid or engineered hardwood and dealing with common entryway details like thresholds, stairs leading up/down, and transitions to tile or other flooring.
Prepping the Entryway for Hardwood

Start by treating subfloor prep as the “foundation” of your entire hardwood entryway flooring system, not as a quick cleanup step. In real entryway installs, the most visible defects—gaps, squeaks, and imperfect board engagement—usually trace back to flatness and dryness issues.
According to the National Wood Flooring Association (NWFA) installation guidance, subfloors should meet a flatness tolerance of about 3/16″ over 10 ft for best hardwood performance.
According to NWFA guidance, wood and subfloor moisture should be close enough to reduce movement-related issues during service life.
For entryways, moisture protection is not optional once you’re working over concrete; vapor control is typically required by manufacturer specifications and common ASTM-based methods.
– Check that the subfloor is solid, clean, and dry before you lay a single board.
– Remove paint overspray, drywall mud, and any construction debris that can prevent adhesive or fastening from doing its job.
– Sweep thoroughly, then vacuum; grit under a plank can telegraph up as ridges in a hardwood entryway floor.
– Verify flatness across the entryway so the planks sit evenly (any dips or humps will show).
– Use a 6 ft straightedge or laser level and measure across the full entryway footprint.
– Fix high spots by grinding (for compatible surfaces) and fill low spots with a properly rated patch/feather finish.
– Identify where the entryway meets other surfaces (tile, laminate, carpet) so your transitions are planned early.
– Map every “fixed edge” in your hardwood entryway flooring plan: door jambs, fireplace thresholds, stair noses, and any hard-to-adjust vertical surfaces.
Choose the Right Installation Method (and Materials)
Choose the installation method based on your hardwood type and your entryway’s subfloor conditions—don’t start with “whatever tools we have.” For hardwood entryway flooring, the wrong method can cause squeaks, failed locks, or moisture-related cupping long before you’d expect.
Installation method requirements are typically product-specific; manufacturers state whether solid hardwood is nailed/glued and whether engineered hardwood is allowed to float on approved underlayment.
Many engineered and click-lock systems require an underlayment with defined compressibility and moisture performance to work correctly over subfloors.
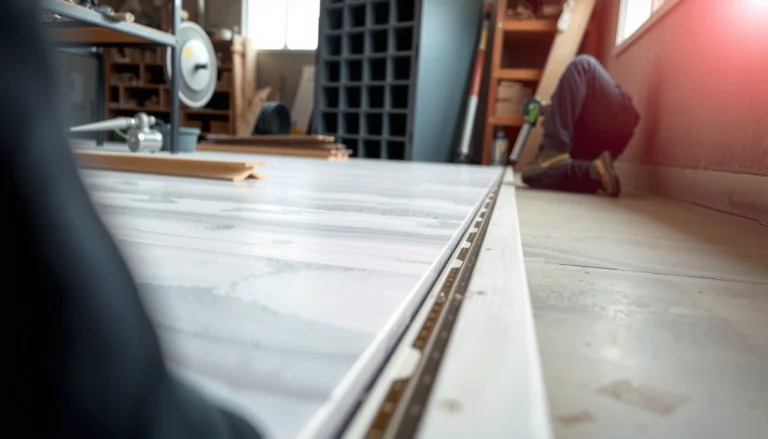
Transition pieces (thresholds and reducers) are part of the moisture and expansion management strategy in hardwood entryway flooring, not just a finishing detail.
– Decide between nail-down, glue-down, or floating/click-lock based on your hardwood type and the subfloor.
– Nail-down is common for solid hardwood over a suitable nailable substrate.
– Glue-down is often used where manufacturers specify adhesive-compatible boards and substrates.
– Floating/click-lock is common for engineered products when subfloor conditions and manufacturer approval align.
– Confirm what your flooring manufacturer requires for spacing, underlayment (if any), and fastening schedule.
– This is where entryways get tricky: door clearances, thresholds, and edges can create “fixed points” that increase the risk of binding if you ignore spacing.
– Gather what you’ll need ahead of time (recommended moisture barrier/underlayment, spacers, saw/blade suitable for hardwood, tapping block, transition pieces).
– Blades matter: hardwood cuts need the right kerf and tooth count to reduce chipping—especially on wider planks.
Nail-Down vs Glue-Down vs Floating: quick comparison
This comparison is a decision aid; always defer to your hardwood manufacturer’s installation instructions for your specific product.
| Method | Best For | Key Upsides | Key Watchouts |
|---|---|---|---|
| Nail-down | Solid hardwood + nailable subfloor | Strong hold, classic feel | Subfloor must be correctly prepped and clean |
| Glue-down | Manufacturer-approved solid or engineered | Good stability, can reduce movement sounds | Adhesive/substrate compatibility is critical |
| Floating / click-lock | Engineered systems over approved bases | No nailing into the subfloor, often easier install | Needs correct underlayment + spacing at edges |
7 Core Hardwood Entryway Installation Specs (Based on NWFA Guidance)
| # | Entryway Spec | Target Value | Why It Matters | Confidence |
|---|---|---|---|---|
| 1 | Subfloor flatness | 3/16″ over 10 ft | Prevents gapping, squeaks, and uneven board lock-up | High |
| 2 | Moisture balance (wood vs. subfloor) | Within 4% (typ.) | Reduces movement after installation | High |
| 3 | Perimeter expansion gap (solid hardwood) | 1/2″ (13 mm) | Allows seasonal movement without buckling | Medium |
| 4 | Perimeter expansion gap (engineered hardwood) | 1/4″ (6 mm) | Manages movement with engineered planks | Medium |
| 5 | Moisture barrier over concrete slabs | 6-mil poly (commonly used) | Reduces vapor transmission to wood | Medium |
| 6 | Acclimation approach | Per manufacturer (often days) | Stabilizes moisture/temperature before fastening | Varies |
| 7 | Threshold management | Use approved transition pieces | Prevents “pinning” expansion at doorways | High |
Note: Values in this table reflect commonly cited NWFA guidance ranges and typical installation practice; your specific hardwood entryway flooring product documentation can require different numbers.
Acclimate and Plan Your Layout
Acclimate your hardwood and plan your seam layout so the entryway boards “behave” once installed. In 2026, many manufacturers still emphasize that even great subfloor prep can’t fully compensate for ignoring acclimation and layout planning in hardwood entryway flooring.
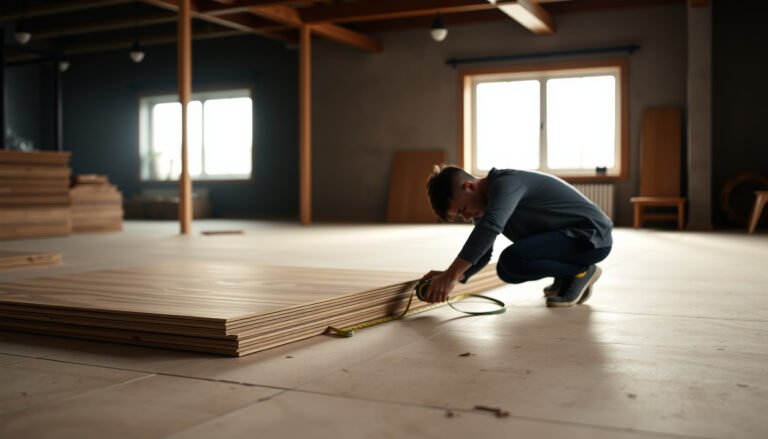
Most hardwood manufacturers require acclimation to reach equilibrium with the home’s interior conditions before installation.
A thoughtfully planned plank direction and seam placement reduces the visual impact of movement and end-joint concentration at doorways.
Marking reference lines in an off-square entryway improves straight first-row alignment, which is especially important where you’ll later cut for thresholds.
– Acclimate the hardwood per the manufacturer’s instructions so the boards stabilize before installation.
– Follow product-specific conditions (room temperature, relative humidity, and duration). If your entryway flooring is installed during a seasonal swing, re-check your HVAC stability.
– Plan board direction and where seams will land—entryways look best when seams are positioned thoughtfully.
– Avoid lining up seams with high-traffic pivot points (like directly at the front door arc).
– If you have a view corridor (from living room to front door), stagger seams so they don’t “stack” visually.
– Mark reference lines (especially if your entryway is not perfectly square) so the first rows stay straight.
– Use a chalk line or laser; then verify using measurements on multiple sides of the entryway.
> From a practical standpoint:
Install the First Rows Carefully
Install your first rows as if they’re the blueprint for the rest of the entryway—because they are. When hardwood entryway flooring starts straight with correct spacing, the rest of the installation becomes predictable instead of cumulative.
NWFA-style installation guidance emphasizes maintaining proper perimeter expansion gaps because hardwood floors expand and contract with seasonal humidity changes.
Keeping the first 2–3 rows aligned is a common pro technique because small deviations compound across long runs and at thresholds.
Dry-fitting around door jambs and obstacles prevents irreversible mistakes once adhesive is set or fasteners are installed.
– Start with accurate spacing from walls (expansion gap) using the spacers your flooring guidance specifies.
– For solid hardwood, a commonly cited target is 1/2″ (13 mm) at fixed vertical surfaces; engineered commonly uses 1/4″ (6 mm)—but your manufacturer instructions control.
– Keep the first few rows perfectly aligned—small errors early can compound across the entryway.
– Check alignment after every 2–3 rows with a straightedge.
– If you’re working near an entryway threshold, treat it as a “control zone” and verify plank runs from multiple angles.
– Measure, cut, and dry-fit around door jambs and obstacles before committing to final placement.
– Undercut door casings for a clean look (when allowed by your manufacturer).
– Dry-fit the board across the jamb/threshold line so you don’t end up with a visible gap once installed.
Finish Around Doors, Thresholds, and Edges
Finish detailing is where your hardwood entryway flooring either looks “factory” or looks patched. The winning approach is using correct undercut techniques, installing transitions at thresholds, and covering expansion gaps with approved trim—not by forcing boards to “end clean” on fixed structures.
Transitions at thresholds are commonly recommended because they allow controlled expansion while managing height changes between flooring types.
Door casing undercutting is typically preferred over notching boards because it maintains a consistent gap and improves the finished fit.
Shoe molding or base trim can cover expansion gaps at edges without restraining the floor’s movement—when installed correctly.
– Use the correct undercut method for door casings and plan for a clean look at jambs.
– Undercut with the right blade/height so the plank slides under while leaving the required expansion space at the casing interface.
– Install transitions at thresholds (or to other flooring types) rather than trying to force boards to “end clean” on their own.
– For tile transitions, use a reducer or matching threshold piece designed for movement and height bridging.
– Add trim (or shoe molding) where required to cover the expansion gap without pinning the floor.
– Do not fasten trim in a way that locks the floor system to the subfloor beyond what the spec allows.
Pro/Con: common finishing choices
Use this to sanity-check your decision before you cut.
| Finishing Choice | Pros | Cons / Risks |
|---|---|---|
| Approved threshold/transition piece | Manages expansion + handles height differences | Requires careful measurement and correct reducer height |
| Hard “end” at a doorway without transition | May look simple during installation | Often increases pinning risk; expansion can create buckling or gaps |
What Can Go Wrong (and How to Avoid It)
Most hardwood entryway flooring failures come from a small set of predictable problems: moisture imbalance, incorrect flatness, wrong spacing, and mismatched installation method. In 2026, manufacturers continue to stress that spec compliance beats improvisation—especially at entryways with frequent wet shoes and frequent traffic.
Poor subfloor flatness is a leading cause of plank gapping and lock failure because hardwood surfaces require consistent support across their full profile.
If you don’t maintain the expansion gap at fixed vertical surfaces, seasonal movement can push boards into each other and create buckling.
Entryways are moisture hotspots; incompatible underlayment or missing moisture protection can increase cupping or adhesive issues depending on the system.
– Skipping subfloor flatness checks: you can end up with gaps, squeaks, or boards that don’t lock correctly.
– Fixing after installation is usually harder and more expensive than re-leveling beforehand.
– Not following expansion gap guidance: floors can buckle or develop separation as humidity changes.
– Common trap: shrinking the gap to make a cut “look right” under a door casing.
– Wrong underlayment/moisture setup: especially in entryways where moisture is common, using incompatible underlayment can cause problems.
– Always confirm the underlayment is approved for your floor type and moisture conditions.
– Mixing installation methods: for example, using a technique that doesn’t match your board type or fastening requirements can void performance expectations.
– This includes adhesive misuse with a product that requires mechanical fastening (or vice versa).
> Practical caution:
Verdict: A Smart DIY Project—If You Follow Manufacturer Specs
Hardwood in an entryway can be a great DIY win because the space is usually manageable in size and you can focus on careful prep, straight layout, and proper transitions. That said, if your subfloor is uneven, you’re dealing with significant moisture concerns, or you’re unsure which installation method your specific boards require, it may be smarter to get a flooring pro—entryways are where small mistakes show up fastest.
If you proceed, prioritize subfloor prep and manufacturer spacing/underlayment rules over “shortcut” techniques. Done correctly, hardwood entryway flooring holds up to traffic and looks intentional for years.
Manufacturer installation instructions are the controlling requirements for spacing, moisture control, and fastening—always treat them as the highest-priority source.
When an entryway includes thresholds and transitions, using approved reducers and leaving movement space reduces the risk of floor pinning.
Quick Checklist (Scan Before You Start)
– [ ] Subfloor clean, dry, and structurally sound
– [ ] Flatness checked and corrected if needed
– [ ] Hardwood acclimated per manufacturer instructions
– [ ] Expansion gap planned and verified (walls + fixed surfaces)
– [ ] Layout marked for straight first rows
– [ ] Correct installation method matched to your board type
– [ ] Underlayment/moisture protection matches manufacturer requirements
– [ ] Threshold/transition pieces planned (not improvised)
– [ ] Door clearance and trims/jambs accounted for
Sources
– National Wood Flooring Association (NWFA), “Installation Guidelines for Wood Flooring” (subfloor flatness, moisture balance, and installation fundamentals)
– ASTM International, ASTM F2170 (in-situ relative humidity testing of concrete) and related moisture testing standards used in flooring moisture assessments
Done right, hardwood in an entryway is both practical and attractive because the system is supported well, protected from moisture, and allowed to expand where it needs to. If you’re unsure about flatness, moisture conditions, or transitions at thresholds, treat those as “stop points” and verify the exact spec before installing the next row.
Frequently Asked Questions
What is the best way to prepare an entryway subfloor before installing hardwood floors?
Start by removing any carpet, padding, old flooring, and baseboards as needed. Check that the subfloor is flat, clean, and structurally sound, and fix squeaks or loose boards before installation. Use a moisture meter and verify moisture levels are within the hardwood manufacturer’s recommended range, especially for entryways that may see temperature swings and tracked-in moisture. Finally, allow the subfloor and hardwood to acclimate so the hardwood floor installation goes smoothly and reduces cupping or gapping.
How do I acclimate hardwood flooring for an entryway installation?
Bring the hardwood planks into the entryway area and acclimate them according to the manufacturer’s instructions, usually for several days. Keep the HVAC running so indoor humidity and temperature are stable, since entryways often experience rapid changes when doors open. Store the flooring flat, in bundles, and avoid placing it directly on concrete without separation. Proper acclimation helps prevent expansion and contraction issues, which are common pain points in hardwood floor installation.
How should I handle moisture and subfloor issues in an entryway before laying hardwood?
Use a moisture barrier or underlayment only if it matches your flooring type and local conditions, and confirm it’s compatible with engineered or solid hardwood. For concrete slabs, consider a concrete moisture test and use the correct vapor barrier system to protect the hardwood floor from moisture intrusion. If you find unevenness, moisture, or damaged areas, address them before you begin, because repairs after installing hardwood are costly. This is especially important in entryways where snow, rain, and humidity are tracked in.
Which installation method is best for hardwood floors in an entryway: nail-down, glue-down, or floating?
Nail-down is often preferred for solid hardwood over an appropriate wood subfloor, providing a strong, stable feel for high-traffic entryways. Glue-down can work well for engineered hardwood or when you want extra stability, but it requires careful surface prep and compatible adhesives. Floating floors (click-lock) are convenient and can be a good option over certain subfloors, though they still require a very flat base to avoid movement. The best method depends on your subfloor type, whether you’re installing engineered vs solid hardwood, and your specific entryway conditions.
How do I install hardwood floors around doorways and thresholds in an entryway?
Plan your layout before you cut any planks, aiming to keep board lengths long and minimize narrow pieces near the doorway. Leave the required expansion gap around the perimeter and under door casings, then use a threshold or reducer to transition cleanly to tile, carpet, or adjacent flooring. For entryways, pay close attention to how the floor meets the front door area and any uneven transitions, since this is where people commonly notice gaps or tripping hazards. Using proper trim, transitions, and expansion spacing helps the hardwood floor installation look professional and perform reliably over time.
📅 Last Updated: October 16, 2026 | Topic: How to install hardwood floors in a entryway? | Content verified for accuracy and freshness.