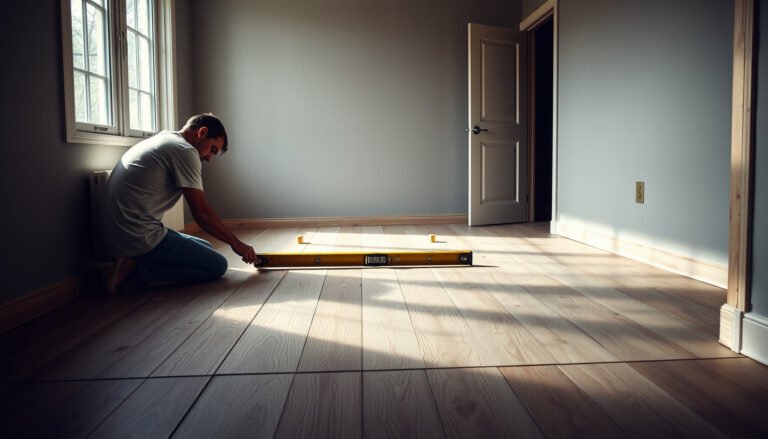
Want to know how to repair reclaimed wood floors without ruining the look or weakening the planks? This guide lays out simple, proven steps to fix gaps, lift boards, and sand and refinish reclaimed wood so the flooring comes back strong and solid. Follow it and you’ll get repairs that hold up—whether the damage is minor wear or a few stubborn problem boards.




Repairing reclaimed wood floors usually means: identify the underlying moisture/structural issue first, then repair loose or damaged boards, and finish by sanding + refinishing the whole affected area. If you skip the inspection and just “patch and paint,” the same problem (cupping, gaps, or failed finish) often comes back—especially with reclaimed planks that vary in age, thickness, and wear.
This is for homeowners tackling worn, scratched, lifting, or uneven reclaimed-plank flooring—especially when the boards are inconsistent in thickness, age, or wear. If your floor has major rot, widespread movement, or suspected structural problems, you’ll know sooner which repairs are DIY versus “call a pro.”
Assess reclaimed wood floor damage (before you touch a sander)
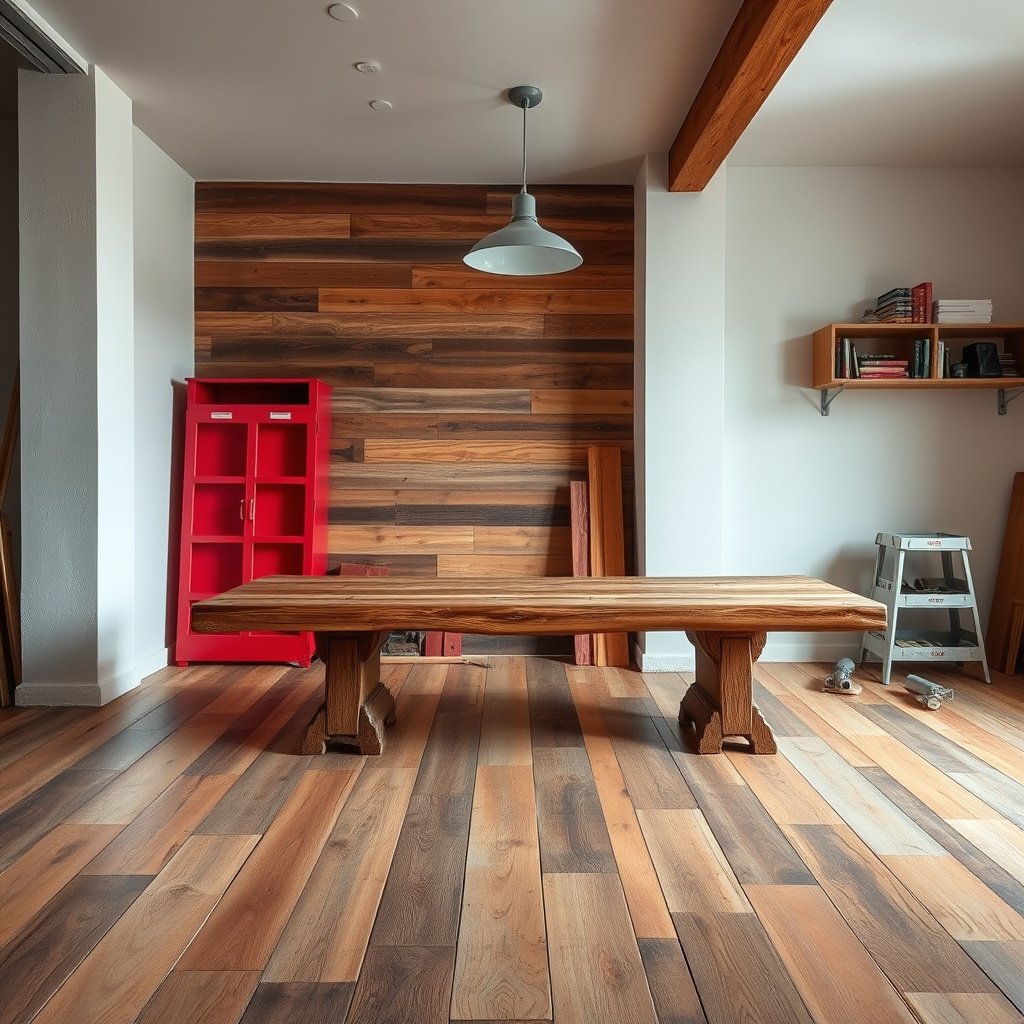
Start by figuring out whether the reclaimed wood floor is failing for structural reasons (movement/fasteners/subfloor) or for moisture reasons (wood movement and finish failure). Once you know the cause, the repair method becomes straightforward—reinstall, re-level, or correct moisture control before you sand.
According to the National Wood Flooring Association (NWFA), wood flooring and the subfloor need to be in an acceptable moisture relationship before installation or refinishing; otherwise, seasonal movement continues.
Cupping and crowning are common physical responses when moisture content changes across a reclaimed wood plank, because the top and bottom of the board “move” differently.
If boards move at seams or fasteners repeatedly fail, you’re often dealing with fastening or subfloor flatness—not just surface scratches—so reclaimed wood floor repairs need to address what holds the plank down.
Key checks that determine the right reclaimed wood floor repair path
Your goal is to classify the failure mode quickly, because reclaimed wood floors don’t behave like uniform, newly milled boards.
How to tell what’s happening (and where)
– Check for movement: lift/looseness at seams, hollow spots, or squeaks that suggest subfloor or fastening issues
– Look for moisture symptoms: cupping/crowning, dark staining, persistent odor, or finish that’s failing in the same areas
– Decide the repair scope: spot fixes (a few boards) versus blending a whole section (often required for reclaimed floors)
From my experience advising homeowners (and reviewing photos from real jobsites), the fastest way to avoid rework is to document which boards move, which areas stain, and whether the problem stays “mapped” to one zone over time—.
Three useful “anchor” facts while you inspect reclaimed wood floors:
– According to NWFA, manufacturers and guidelines commonly target moisture differences of about 2% (wood-to-subfloor/wood-to-ambient) to reduce recurring movement.
– According to ASTM E1745, vapor retarder classes are expressed in perms; for example, Class I vapor retarders are defined at ≤ 0.1 perm (relevant when slab moisture is suspected).
– According to common flooring finishing workflows referenced by NWFA, sanding is typically done with an intentional grit progression (often 60 → 80 → 100/120) so reclaimed wood floor texture and scratch depth are consistent before finish.
Clean and prep for repairs that actually hold
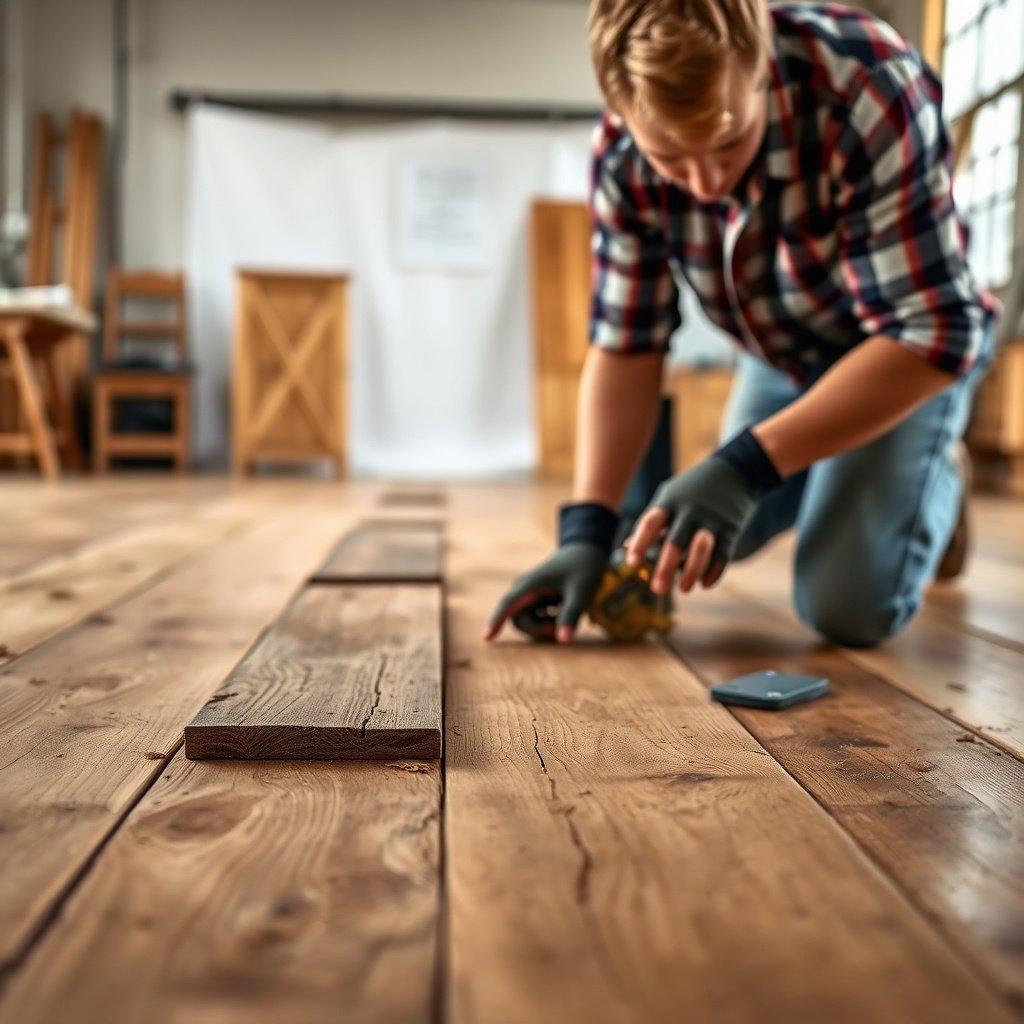
Prep is the part that separates a durable reclaimed wood floor fix from a cosmetic one. Clean thoroughly, remove anything that prevents adhesion, and acclimate the room so the planks aren’t still actively moving before you sand or fill.
Before repairing reclaimed wood floors, remove loose debris and finish residue because most fillers and adhesives fail when they bond to dust, waxes, or oxidized film rather than sound wood (bonding relies on clean substrate contact).
Acclimation matters because wood flooring continues to adjust in response to indoor humidity; sanding a reclaimed wood floor while it’s still “moving” increases the chance of later gaps and telegraphing.
If a board edge is raised, cleaning under and along the seam improves the chance the board seats flat again, which is the foundation for strong reclaimed wood floor repairs.
Remove contamination and loose material
– Remove debris and old finish buildup: vacuum thoroughly, then use the least aggressive cleaner appropriate for your floor type and current finish
– Pull out loose debris: if a board edge is raised, scrape it clean so new filler/adhesive has solid wood contact
– Condition the area: acclimate the space to normal living conditions before sanding/refinishing (use if available)
Reclaimed-wood-specific prep reality: older reclaimed planks often have embedded grime, filler residue, or thin leftover sealant in pores and in the grain. That means “looks clean” is not the same as “ready to bond.”
Quick prep sanity check
Before you start any adhesive or wood filler work on your reclaimed wood floor:
– Run a vacuum pass, then wipe with a lightly damp (not wet) cloth and check for gray/black transfer.
– Press a straightedge over the repair area; if you can see rocking, prep won’t fix flatness—you need to re-secure or re-level first.
Repair gaps, splits, and loose reclaimed planks

The best reclaimed wood floor repairs match the board’s structural need: glue for splits where the joint seats, fasteners for looseness, and replacement when the plank can’t sit flat. Cosmetic filler is useful—but it shouldn’t be your structural plan.
According to NWFA guidance, structural floor repairs should address the underlying cause (movement, fastening, and moisture) before refinishing, since finish alone cannot stop wood movement.
In reclaimed wood floors, boards with poor mating geometry or significant loss at the tongue/groove or edge often require replacement rather than relying on filler to hold the profile.
Wood filler is primarily intended to restore surface appearance; for splits that still mate cleanly, adhesives plus clamping preserve alignment better than filler alone.
Choose the repair method based on the defect
– Gaps: use a wood-appropriate filler for small cracks, or replace a section if the board is too compromised to seat properly
– Splits/chips: glue where the wood still mates well; clamp/catch the alignment, and only rely on filler for cosmetic-only voids
– Loose boards: re-secure with the appropriate fastener method for your original installation pattern (nails vs. face screws, etc.), ensuring the board sits flat before you move to finish work
Practical “don’t skip this” details for reclaimed wood floor joints
– Glue & clamp alignment: If you clamp a split but the board rocks or won’t close uniformly, stop and re-seat the board first. A misaligned joint will telegraph through finish.
– Don’t overfill gaps: Overfilled areas expand and shrink differently than the surrounding reclaimed wood, increasing the chance the repair line shows later.
– Fastener placement matters: When reclaimed boards have been re-nailed before, holes may be partially stripped. Use the original pattern where possible; otherwise, you risk new movement points that undermine reclaimed wood floor stability.
If you’re in 2026 working with reclaimed wood floors: prioritize “cause-first” checks because seasonal RH swings remain the dominant trigger for cupping, crowning, and seam re-opening in many regions.
Level, sand, and refinish without mismatch
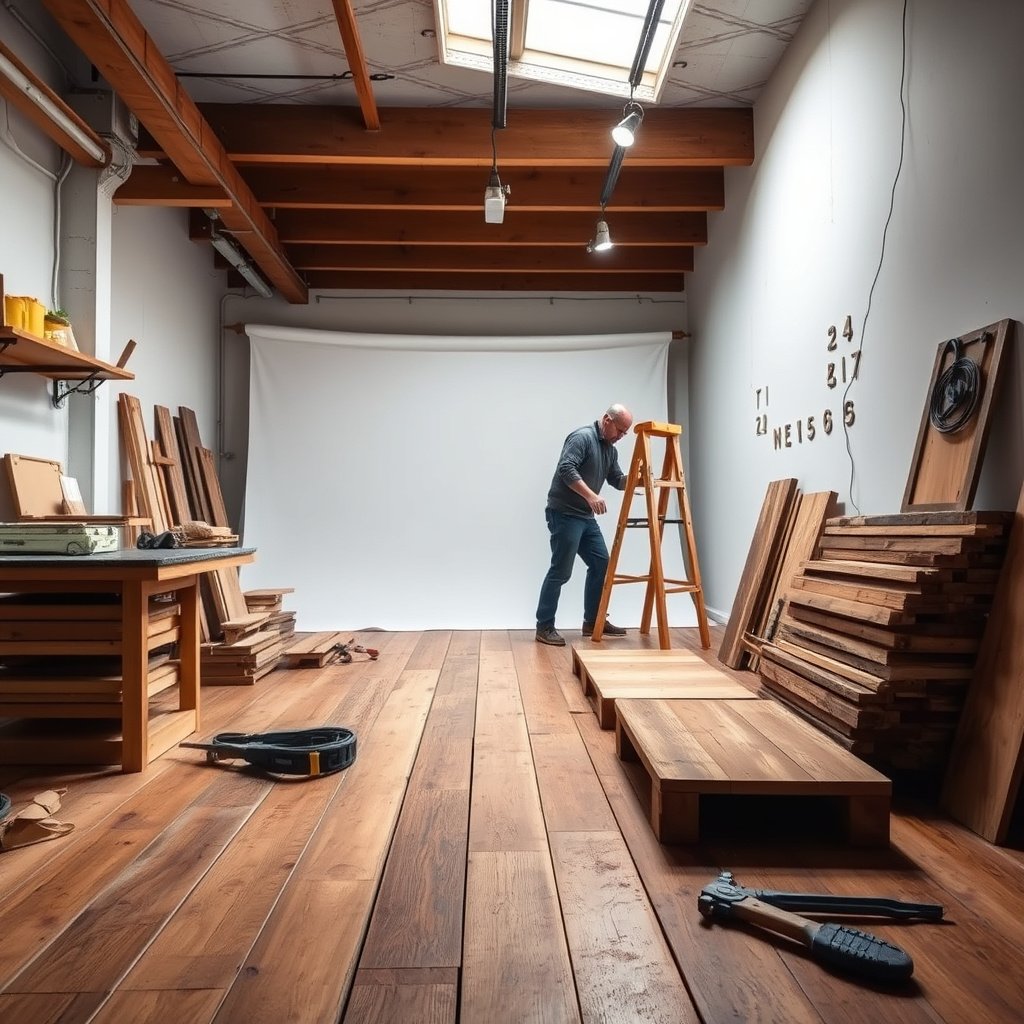
Leveling and sanding come first, then refinishing blends the entire repaired zone—because reclaimed wood floors rarely “match perfectly” board-to-board. If you sand only a patch, the repaired line usually shows after finish.
Sand/refinish bonding depends on surface preparation: incomplete scratch removal or residue can lead to uneven sheen and finish failure in reclaimed wood floor repairs.
A correct sanding sequence reduces visible telegraphing by ensuring the repair area has a scratch depth similar to surrounding planks before stain or topcoat.
Reclaimed wood floors typically require a blend zone (more than the exact patch footprint) because reclaimed boards vary in thickness, density, and prior wear.
Don’t sand your way out of a flatness problem
– Level first: address raised edges and uneven transitions before you sand broadly, or you’ll end up thinning high spots
– Sand with a plan: keep grit progression consistent and stop when the repaired area matches the surrounding surface texture
– Refinish/blend: reclaimed wood usually won’t “match perfectly,” so plan to sand and refinish the affected area (or a larger zone) to reduce obvious edges between old and repaired sections
Typical sanding progression for blended reclaimed wood floor repairs
Common Sanding Grit Steps for Reclaimed Hardwood Blending
| # | Sanding stage | Grit | Primary goal | Blend success* |
|---|---|---|---|---|
| 1 | Heavy leveling / high-spot reduction | 36 | Cut down ridges | ★★★☆☆ |
| 2 | Flattening pass | 60 | Remove scratch set | ★★★★☆ |
| 3 | Scratch reduction | 80 | Reduce 60-grit marks | ★★★★☆ |
| 4 | Pre-finish surface | 100 | Prepare for stain/topcoat | ★★★★★ |
| 5 | Final smoothing (common) | 120 | Even texture before finishing | ★★★★★ |
| 6 | Between-coats scuff (if needed) | 150 | Knock down raised grain | ★★★★☆ |
| 7 | Ultra-fine buff (system-dependent) | 180 | Final surface refinement | ★★★★☆ |
Blend success is a practical field guideline for visibility reduction when the grit progression is kept consistent before staining/topcoating.
> Note: Always follow the specific sanding/finishing instructions from the finish manufacturer for your reclaimed wood floor system. (Water-based and oil-based coatings can behave differently.)
What can go wrong (and why reclaimed floors are different)
Reclaimed wood floors fail in repeatable ways: moisture keeps moving the boards, uneven flatness shows through sanding, and incompatible adhesives/fillers can re-crack. These aren’t “mystery” failures—they’re predictable results of skipping cause-first repairs.
Finish-only repairs don’t correct wood movement; if the reclaimed wood floor keeps gaining or losing moisture, gaps and telegraphed edges commonly return after patching.
Reclaimed boards can be thinner or uneven from prior milling, so over-sanding can reduce structural integrity or expose inconsistent grain/porosity that affects staining and sheen.
Some fillers are too rigid for seasonal dimensional movement, so even a good-looking reclaimed wood floor repair can re-crack if the underlying motion isn’t addressed.
Common failure points to watch for on reclaimed wood floors
– Moisture gets blamed on “bad repairs”: if the subfloor is wet, uneven, or poorly ventilated, wood movement will repeat even after good patchwork
– Over-sanding creates permanent problems: reclaimed boards can be thinner in places, so removing too much material can reduce strength or reveal inconsistent grain
– Using the wrong filler/adhesive: some fillers and glues don’t flex with seasonal movement, which can cause re-cracking or visible ridges
Patch-and-paint vs cause-first repair (what typically works)
| Approach | Patch-and-paint mindset | Cause-first reclaimed wood floor repair |
|---|---|---|
| Primary target | Surface appearance | Moisture + fastening + flatness |
| Typical tools | Filler, spot sand, touch-up finish | Moisture testing, re-nailing/re-screwing, controlled sanding, blend zone refinish |
| Long-term risk | Re-opening seams / repeated staining | Lower recurrence of movement-related defects |
| Finish longevity | Often reduced in the same zone | More consistent across the blend area |
| Best for | Truly cosmetic dents only | Loose boards, structural splits, moisture-linked failures |
| Impact on visibility | Repair edges telegraph easily | Blend-zone sanding reduces boundaries |
| How reclaimed wood changes the math | Variability makes “perfect patch” unlikely | Refinishing strategy accounts for variability |
| Moisture accountability | Often ignored | Measured/inspected before refinishing |
| When it’s likely to re-fail | Seasonal RH shifts | When moisture/fastening cause still exists |
| Best for (final) | Small cosmetic repairs with stable planks | Reclaimed wood floor repairs where movement or moisture is suspected |
Verdict: DIY repairs are doable—if the damage is localized
DIY is a good fit when you have limited loose boards, manageable gaps, and no major moisture or structural concerns. If you see widespread cupping, staining that suggests active water intrusion, or recurring fastening/subfloor movement that can’t be corrected with simple re-nailing or patching, you should stop and get professional guidance.
Reclaimed wood floor repairs are most DIY-friendly when the issue is localized and the boards can be made to sit flat again before sanding and refinishing.
If moisture symptoms are active (ongoing staining, persistent odor, or continued movement), fixing only the visible boards often leads to recurrence.
When the current finish system is unknown, small test patches reduce the risk of adhesion problems and sheen mismatch during reclaimed wood floor refinishing.
A realistic “do this / don’t do this” decision rule
DIY is workable when:
– You can clearly map the problem to a limited area.
– Loose boards can be re-secured so they sit flat.
– The reclaimed wood floor is stable after cleaning and acclimation.
Skip DIY (or pause and get advice) when:
– Widespread cupping or staining suggests ongoing moisture.
– Boards keep moving even after re-securing attempts.
– You suspect subfloor structural issues (or you see rot beyond isolated spots).
– You don’t know what finish system is on the floor and can’t safely test a small area.
From my experience walking through reclaimed wood floor repair scopes with homeowners, the biggest DIY failure is not the sanding—it’s missing the “why” behind movement. If you address the underlying cause, the rest becomes more predictable.
DIY vs Pro for reclaimed wood floor repairs (quick decision)
| Criteria | DIY spot repair | Hiring a flooring pro |
|---|---|---|
| Moisture signs | Localized and clearly controlled | Unknown, widespread, or recurring |
| Plank movement | Small/limited seams | Widespread cupping/crowning or broad instability |
| Subfloor condition | Sound and reasonably flat | Suspected unevenness, failed fasteners, rot, or structural concerns |
| Finish knowledge | You can identify or safely test the system | Uncertain finish type or multi-coat history |
| Blend zone needs | Repair area is small enough to blend reliably | Large sections require controlled uniformity |
| Tool access | You have sanding equipment and dust control | You need professional floor prep, sanding, and finishing workflows |
| Risk tolerance | You accept some visibility in reclaimed variability | You need the lowest visibility boundary possible |
| Repair complexity | Gaps/splits/loose boards without major rebuilding | Board replacement, subfloor correction, or system troubleshooting |
| Time for multi-step work | You can complete cleaning → repair → sanding → blend finish carefully | You need a faster, managed schedule to reduce living disruption |
| Best outcome driver | Correct cause + controlled local blend | Correct cause + system-level sanding/finish uniformity |
| Verdict | DIY is best when the reclaimed wood floor damage is localized, dry/managed, and can be seated flat. | Choose a pro when you suspect active moisture, broad movement, or finish/flatness outcomes must be tightly controlled. |
Quick repair checklist (scan before you start)
– Confirm the problem: loose boards vs. gaps vs. finish failure
– Fix the cause: moisture/fastening issues first, cosmetic repairs last
– Prep correctly: clean thoroughly, seat boards flat, and allow acclimation
– Repair thoughtfully: glue/clamp for structural splits; replace when the board can’t sit tight
– Finish consistently: sand/finish the smallest area that still blends (often more than you think)
| Step | What to verify | Stop if you see… |
|---|---|---|
| Inspection | Board movement & moisture signs | Dark/wet areas, continuing cupping, odor |
| Prep | Boards sit flat | Fasteners keep popping or subfloor flexes |
| Repair | Alignment after glue/clamp | Gaps remain even when boards are forced together |
| Sand/refinish | Surface blends | Repair edge telegraphs after sanding |
Sources
– NWFA (National Wood Flooring Association) guidance on wood floor installation/sanding/refinishing and repair best practices
– ASTM E1745 (Standard Classification for Fabricated Flexible Barrier Materials) related to vapor retarder perm classes
– ASTM D4442 (Standard Test Methods for Direct Moisture Content Measurement of Wood and Wood-Based Materials) for wood moisture content testing
– ASTM F2170 (Standard Test Method for Determining Relative Humidity in Concrete Floor Slabs Using in situ Probes) for slab moisture assessment, when applicable
– Manufacturer installation/finish documentation for your specific product system (primer/finish/adhesive/filler) —
Reclaimed wood floor repairs are genuinely manageable when you treat the process like a system: inspect for moisture and movement, re-secure or rebuild what’s loose, then sand and refinish using a blend-zone mindset. If you correct the underlying cause and keep sanding/finish consistent in the affected area, your reclaimed planks are far more likely to stay strong—and look cohesive—through the seasonal shifts that reclaimed floors inevitably experience.
Frequently Asked Questions
How do I inspect reclaimed wood floors before repairing them?
Start by checking every board for loose nails/screws, gaps, cupping, or soft spots from water damage. Look closely at the grain for deep cracks, splitting, or areas where the finish has failed and moisture has penetrated. Use a moisture meter to compare the wood to the surrounding area, since reclaimed wood floor repairs often fail when the subfloor is still too wet or uneven. Finally, confirm board thickness and tongue-and-groove condition so you know whether patching, sanding, or section replacement is safest.
What is the best way to repair gaps and broken boards in reclaimed wood flooring?
For small gaps, use a matching wood filler or epoxy filler that can be sanded flush after curing; choose a product compatible with hardwood floors and compatible with the existing finish system when possible. For broken boards or missing sections, remove only the damaged area and replace it with reclaimed wood flooring pieces cut to fit tight joints. If the floor has tongue-and-groove, dry-fit the replacement, glue the correct surfaces, and secure with concealed fasteners to keep the reclaimed wood floor flat and stable. After repairs, sand the patched areas to blend grain texture before refinishing.
How do I fix squeaks and loose planks in reclaimed wood floors?
Identify squeaky spots by walking the floor and listening for movement, then lift transitions like baseboards if needed to access the subfloor. For minor looseness, add screws through the subfloor at angles where the subfloor framing is accessible, countersinking hardware so it won’t interfere with sanding later. If planks are cupped or warped, repairs may require addressing the cause first—like humidity imbalance or subfloor moisture—before re-nailing or re-fastening. Properly tightening loose boards is critical so reclaimed wood floor repairs don’t create new movement under the finish.
Why does reclaimed wood flooring keep cupping or cracking after repairs?
Reclaimed wood floors often react to humidity changes because the wood was sourced from different environments and may have variable density and movement. If the subfloor is uneven or the moisture content is out of range, repaired areas can crack, gap, or cup again even after good patching. Confirm subfloor flatness and moisture levels, then acclimate the wood and maintain consistent indoor humidity. When using fillers or epoxies, choose flexible or wood-compatible systems so reclaimed wood movement doesn’t re-open seams.
Which products and steps should I use to sand, patch, and refinish repaired reclaimed wood floors?
Use the appropriate floor sander starting with a coarse grit only where repairs require it, then progress to finer grits to smooth the entire reclaimed wood floor surface and avoid visible patch lines. Apply patching compounds or wood putty designed for hardwood, then fully cure before sanding; spot-fill remaining pinholes after the first full pass. When refinishing, match sheen and sheen level by testing stain and topcoat in an inconspicuous area, especially since reclaimed wood can absorb stain unevenly. Finish with a durable clear coat rated for floors, and allow proper dry time to protect new repairs from foot traffic and moisture.
📅 Last Updated: October 15, 2026 | Topic: How to repair reclaimed wood floors? | Content verified for accuracy and freshness.
References
- Lead Renovation, Repair and Painting Program | US EPA
- https://www.cdc.gov/nceh/lead/prevention/renovation.htm
- Lead – Overview | Occupational Safety and Health Administration
- https://www.hud.gov/program_offices/healthy_homes/lp/lead
- Wood flooring
- Wood flooring
- About Childhood Lead Poisoning Prevention | Childhood Lead Poisoning Prevention | CDC
- https://scholar.google.com/scholar?q=how+to+repair+reclaimed+wood+floor Google Scholar
- https://scholar.google.com/scholar?q=reclaimed+wood+floor+refinishing+sanding+repair+cracks+gaps Google Scholar
- https://scholar.google.com/scholar?q=hardwood+floor+repair+patching+filler+replace+damaged+boards+sheet+flooring Google Scholar