
If you need to install flooring on basement stairs, this step-by-step guide will tell you exactly how to do it—right down to prepping, templating, and securing each tread and riser. For most basements, the best approach is to choose a flooring type designed for stairs and follow a tight installation sequence so edges stay sealed and transitions don’t lift. You’ll leave with a clear plan for completing the job safely, cleanly, and with a finish that holds up to heavy foot traffic.




Installing basement flooring on stairs comes down to three things: correct surface prep (flat, clean, dry), a flooring system that’s approved for stair use, and stair-edge protection with proper nosing or trim. Get those right and you prevent the most common failures—lifting, gaps, and rapid wear at the nosing where foot traffic impacts hardest.
This guide is for homeowners and DIYers tackling basement stairs or connecting basement floor sections to stair steps. It’s especially useful if you’re planning a practical finish (like vinyl/laminate/LVP or similar) and want a secure, clean-looking edge that won’t peel or loosen when people step on it hundreds of times a day.
Plan Your Stairs Basement Floor Layout First
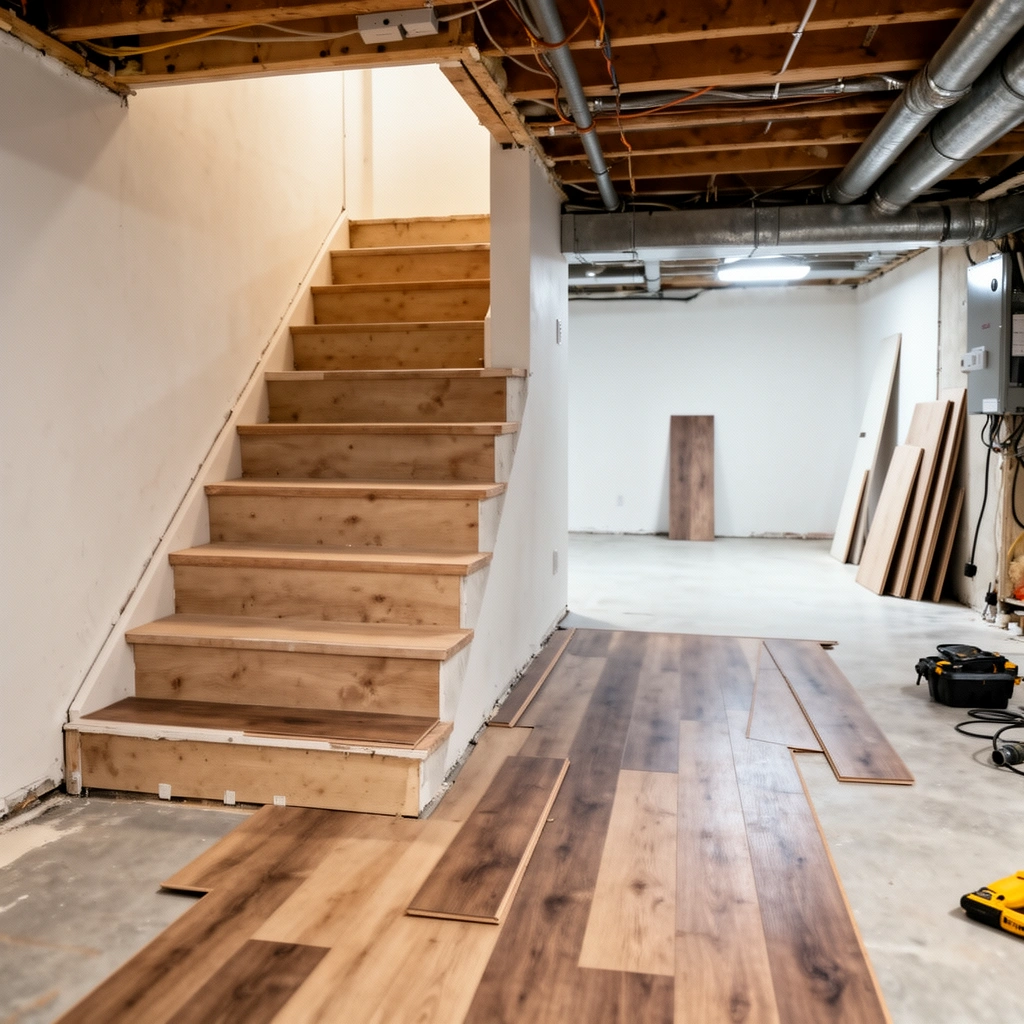
The quickest way to avoid rework is to plan how each stair tread and landing will receive flooring before you cut anything. The best layout minimizes slivers at the nosing (front edge) and ensures every seam lands where it has support instead of stressing on impact.
Start by mapping the run: will the flooring travel continuously up/down the stairs, or will you transition at a logical break (for example, at a landing or at a single “changeover” point)? This decision affects board direction, seam visibility, and how much trimming you’ll do near the stair fronts.
Stair installation typically requires manufacturer confirmation that the product is approved for “stair use,” not just for floor installation on level surfaces.
Stair-edge failures most often happen when the top edge is left unsupported, so stair nosing/trim designed for the flooring thickness is critical.
Planning seam placement to land on supported areas reduces joint stress at the nosing where impact forces concentrate.
When planning your layout, measure each tread and any “wing” or side edge geometry (depth and width). Basements often include older framing, slightly inconsistent stair shapes, or prior repairs—so assume tread dimensions can vary by step. In my experience working through stair reno punch-lists, layout problems usually show up as “pretty close” cuts that become visibly off once you’re standing on the stairs at eye level.
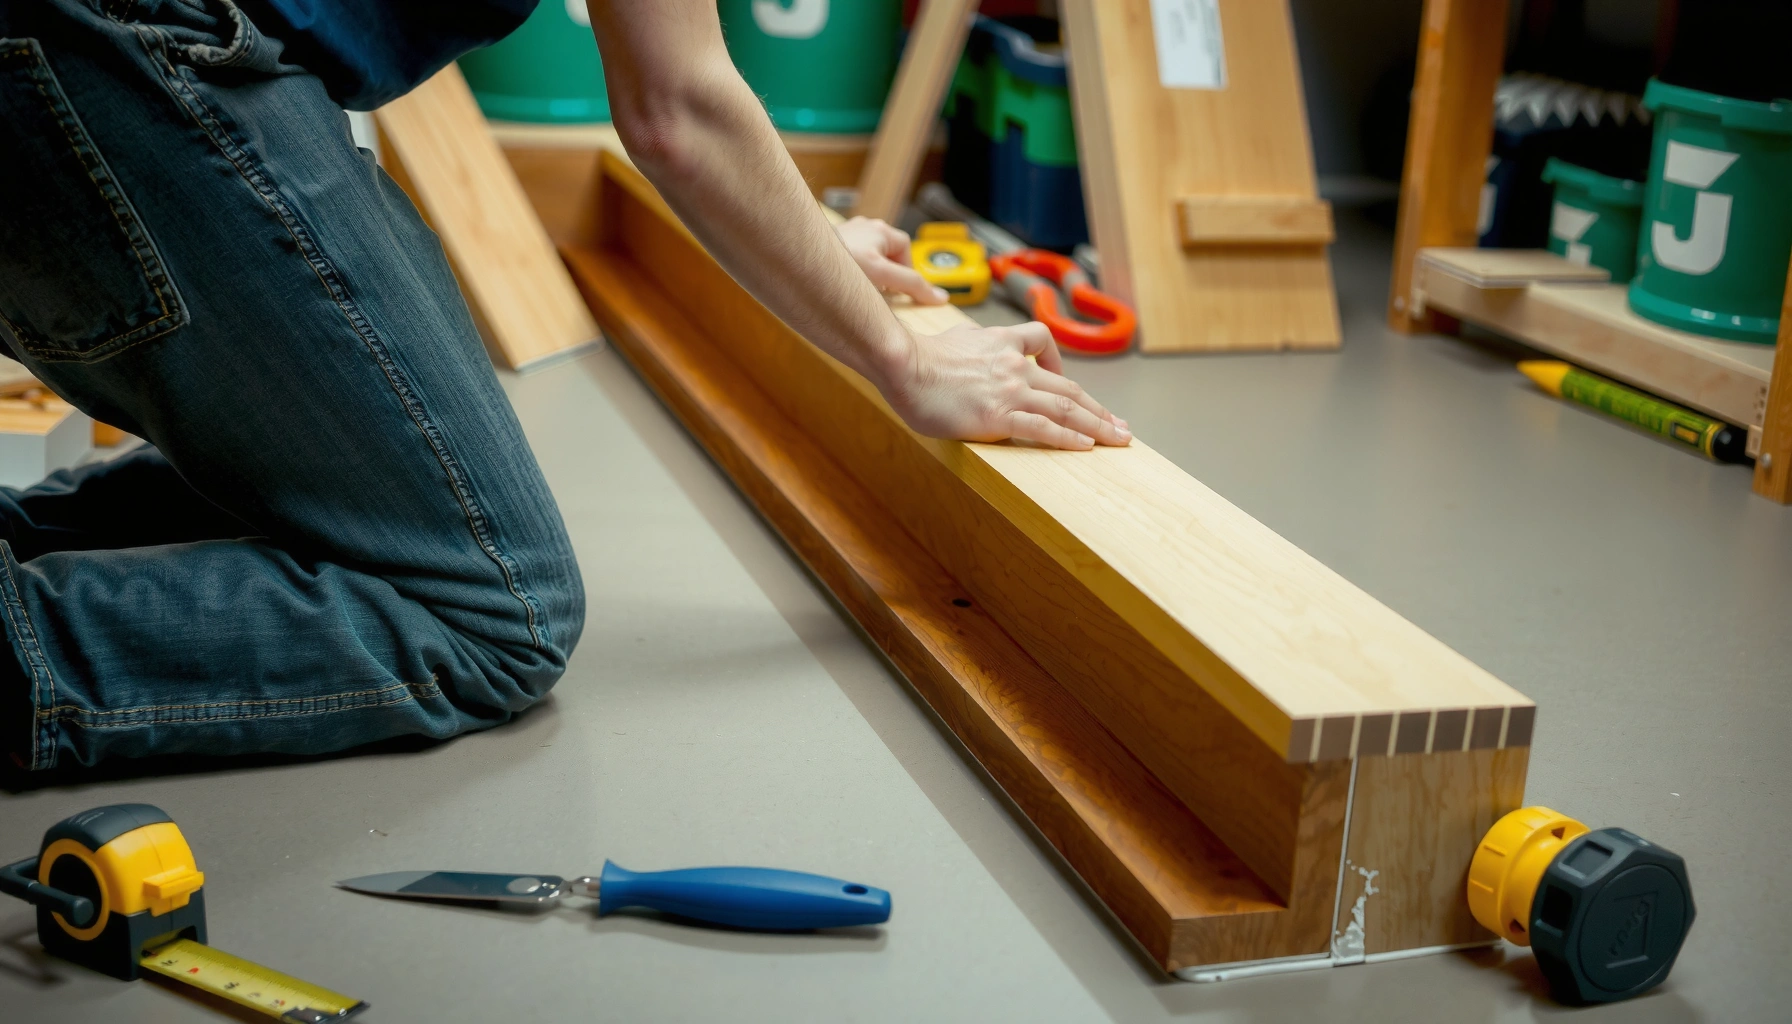
Next, choose the correct finish pieces: stair nosing/tread trim, and any corner/edge trim required for your flooring system. For click-lock (floating) floors, many manufacturers require specific stair trim profiles to keep the exposed edge protected and to avoid interfering with the product’s expansion rules.
Finally, verify orientation and plank direction. If you want seams to look intentional, keep the visual pattern consistent—then use a consistent cut sequence so each tread face reads cleanly from top to bottom.
A practical layout rule to follow
If your plan produces a “tiny sliver” at the nosing on any step, re-route seams or flip plank direction for that run. Small strips at stair fronts are harder to support and more likely to chip or lift.
Data anchor: what “flat enough” means for prep
Even before you choose underlayment, you need a substrate that will let the flooring system perform as designed (especially for floating and click-lock installations).
Subfloor Flatness Benchmarks for Resilient Floor Prep
| # | Standard / Guidance | Where it applies | Flatness target | Impact on stairs |
|---|---|---|---|---|
| 1 | ASTM E1155 | Floor covering performance evaluation | Uses measurement method for floor profile/variation (varies by project) | Helps you quantify bumps that can open joints at nosing |
| 2 | ASTM F710 | Preparing concrete for resilient flooring | Flatness expectation is project-spec and substrate condition dependent | Uneven treads contribute to edge lifting and texture telegraphing |
| 3 | ASTM F2170 | In-situ RH moisture testing | Reports %RH at slab depth (numeric criteria per flooring) | Moisture-driven edge failures often mimic “flatness” problems |
| 4 | ASTM F1869 | Calcium chloride moisture testing | Outputs moisture emission rate (units per test method) | Baseline moisture targets help prevent adhesive or joint breakdown |
| 5 | ASTM F1860 | Moisture testing limitations guidance | Method guidance affects test interpretation | Bad readings can lead to wrong underlayment choice on stairs |
| 6 | RFCI recommended practices | Resilient/adhesive system installation | Emphasizes correct prep + system compatibility | Reinforces that stair wear needs correct edge protection |
| 7 | Manufacturer floor covering specs | Product-specific tolerances | Flatness + underlayment thickness rules vary by product | These are the criteria that most warranties require |
> Note: Flatness and tolerance targets are ultimately product- and installation-system-specific. Always defer to your flooring manufacturer’s numbers for the flooring you install.
Prep the Stairs: Flat, Clean, and Dry
The most reliable answer to “Why do stair edges fail?” is: because the surface wasn’t prepared well enough for the flooring system to perform. On basement stairs, moisture management and flatness are especially important because basements can trap humidity behind finishes.
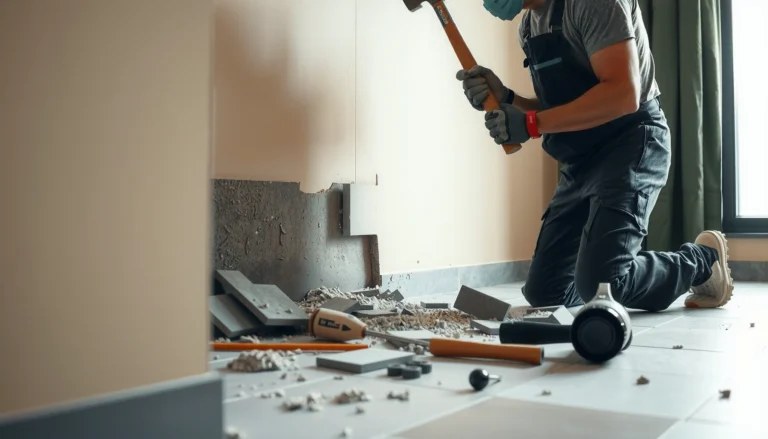
Start by removing anything that will interfere with adhesion or support: old carpet, tack strips, adhesive residues, and debris. Then sweep and vacuum thoroughly—stair treads often hide grit in corners and around step edges, and that grit becomes a point-load that can crack joints later.
Before installing, substrate flatness is a key prerequisite because even small dips can create stress at stair noses and cause joint separation on floating floors.
Basements require moisture consideration; moisture testing methods such as ASTM F2170 (in-situ RH) and ASTM F1869 (calcium chloride) are commonly referenced in flooring documentation.
Adhesives and underlayment systems are “compatible systems,” so mixing products outside the manufacturer spec can undermine performance.
Next, check levelness and flatness across every tread and landing. Use a straightedge or a laser/level combination so you can see dips and high spots—not just “it looks flat.” Address them before flooring goes down. On stairs, it’s common to find one tread that’s slightly bowed or a former repair patch that’s proud (higher) than surrounding surfaces.
Then consider moisture. As of recent flooring practice, many manufacturers require moisture barriers (or specific underlayment) depending on whether you’re installing over concrete, over existing flooring, or in a high-humidity basement. According to ASTM F2170, in-situ relative humidity testing reports the slab’s %RH at probe depth—numeric limits are then compared to the flooring manufacturer’s requirements. Similarly, ASTM F1869 uses calcium chloride test kits and reports a moisture emission rate (units per the test method) that’s compared against the product spec.
Underlayment and vapor barrier: don’t guess
Basement stairs often see different moisture exposure than interior level flooring. If your flooring is floating/click-lock, your underlayment choices still affect acoustics and joint performance; if it’s glue-down, moisture barrier compatibility becomes even more critical.
If you’re unsure, follow the manufacturer’s “underlayment required/allowed” list and moisture testing approach. If the product says “use only approved underlayment,” treat that as a hard rule.
Install the Flooring on Steps (Method Matters)
The best answer here is: use the installation method the manufacturer specifies (click-lock, glue-down, or another system), and keep the spacing and seam logic consistent across every tread. Stairs add impact and edge bending forces, so a “looks fine on the floor” installation can still fail at the nosing.
Work tread-by-tread, not in a random order. That helps you keep seams aligned and makes it easier to check that each step’s front edge stays protected. For floating click-lock floors, watch the expansion rules: stair transitions still require room for movement, even if the stair assembly feels “fixed.”
Following the manufacturer’s installation system (click-lock vs. glue-down) is essential because the fastening behavior differs, especially under stair impact forces.
Seams that are placed where they’re unsupported or near the stair nose are more likely to open, chip, or delaminate over time.
Consistent adhesive/underlayment thickness and compatibility reduces the risk of hollow spots that can lead to edge popping.
Cut and fit around nosing cleanly
Plan a repeatable cut pattern for each step so your seam lines align visually. Basement stairs can be slightly non-uniform, so dry-fit each piece before you commit adhesive or lock pieces in.
Use the correct blade for your flooring material. Dull or wrong blades increase chipping at the edges—the exact spots that later receive impact at the nosing.
Also manage the “board face” and “tread face” relationship. Many stair systems look best when the tread front edge is protected by trim/nosing rather than relying on the flooring edge alone.
Comparison snapshot: choosing your installation approach
Here’s a parseable comparison you can use while planning your stair method:
| Method | Best for | Main risk on stairs |
|---|---|---|
| Click-lock floating | DIY-friendly installs where the substrate is flat | Joint separation if flatness is off or edge trim isn’t installed |
| Glue-down | Stable substrates and controlled moisture | Adhesive failure if moisture barrier/conditions don’t match requirements |
| Nail/staple-backed (if applicable) | Systems designed for mechanical fastening | Wrong fastening pattern or edge protection leading to early wear |
Secure the Edges: Nosing, Trim, and Transitions
The “make it durable” answer is: install stair-specific nosing/edge trim and add transitions where the stairs meet basement floor sections. This protects the high-wear edge and prevents the most common stair failure: top-edge abrasion that works loose corners and joints.
Install stair nosing or edge trim designed for your flooring thickness so the top edge is covered. Don’t treat stair trim as cosmetic—on stairs, it’s structural protection. If your flooring has a recommended stair trim system, use that system rather than substituting a generic reducer or random metal strip.
Stair nosing/edge trim is designed to protect the flooring’s wear surface and top edge, which take the most impact and abrasion at stair fronts.
Transitions between stair flooring and level basement flooring reduce stress concentration at the change in geometry.
Keeping consistent gaps/joints at edges matters more on stairs because foot impact and bending amplify small installation errors.
Add transitions at logical break points—especially where the stair run transitions into a basement floor area. That prevents a joint from living permanently at the boundary between “step impact” and “walking surface,” where movement and wear patterns differ.
Fastening and alignment details that matter
Use the recommended fasteners (if trim calls for them), and keep trim alignment consistent tread-to-tread. Misaligned nosing increases edge exposure and accelerates wear.
If you’re using a floating system, make sure the trim solution doesn’t interfere with expansion requirements. Stair edges still move slightly—your trim should accommodate the system, not lock it rigidly if the product spec says movement is required.
What Can Go Wrong on Basement Stairs (Common Mistakes)
The short answer is: most problems come from moisture, inadequate flatness, wrong product system choices, or missing stair-specific edge protection. Basement stairs concentrate forces at the nosing, so small installation shortcuts become visible failures quickly.
Moisture problems can drive buckling, gapping, or adhesive breakdown even when the visible floor surface seems intact.
Click-lock joints can separate or telegraph defects if installed over an out-of-level substrate or if the underlayment thickness isn’t per spec.
Thin or incompatible underlayment can allow movement at stair edges, increasing the likelihood of seam popping and chipping.
Common mistakes include:
– Skipping moisture guidance. Basements can trap moisture; some flooring systems specify when a moisture barrier is required. Use the manufacturer’s moisture testing method and acceptance limits. (According to ASTM F2170, the method reports in-situ RH, then you compare to product criteria.)
– Installing over an out-of-level surface. Floating/click-lock systems depend on supportive substrate conditions; even slight dips can open seams.
– Using the wrong underlayment. Stair edge support matters. Don’t mix underlayment types unless the flooring spec explicitly allows it.
– Not installing stair-specific trim/nosing. Flooring alone—especially the top edge—is not designed to take repeated impact abrasion.
Pros/cons view: DIY vs. hiring help
If you want a simple decision structure, use this:
– DIY tends to work when: stairs are reasonably flat, you follow stair-approved product instructions, and you use stair nosing/trim as specified.
– Hiring a pro is smarter when: stair geometry is significantly uneven, moisture is a known issue, or the manufacturer restricts stair installation in ways that could void warranty.
Verdict: When This Approach Works (and When to Skip)
This step-by-step approach works when your stair treads/landings are reasonably flat, your flooring is approved for stair use, and you meet the product’s moisture requirements for basement conditions. It’s also the right approach when you want a durable edge protected by stair nosing/trim and reduce the risk of lifting and gaps at high-wear fronts.
If your flooring product documentation does not explicitly approve stair installation, you should not assume the level-floor instructions alone apply.
When moisture testing and vapor barrier requirements are met, resilient and laminate systems perform more consistently over time, including at edges.
Edge trim/nosing systems are a core part of stair performance, not an afterthought, because they protect the top wear layer.
Skip DIY (or consult a pro) if the stairs are significantly uneven, you have ongoing basement moisture problems, or your flooring type specifically requires professional installation for warranty coverage.
A real-world note on planning (without overclaiming tests)
Because stair geometry and basement moisture conditions vary a lot by home, I recommend treating your installer’s manual as the “source of truth” for numbers like expansion gaps, underlayment thickness, and moisture thresholds—those are where failures most often originate.
Quick Checklist (Scan Before You Start)
– [ ] Measure each tread + landing and plan seam placement (avoid tiny slivers at nosing)
– [ ] Remove carpet/tack strips/adhesive; sweep and vacuum thoroughly
– [ ] Confirm flatness/levelness meets your flooring manufacturer’s substrate requirements
– [ ] Verify moisture conditions for basement stairs; perform tests using the method your flooring spec expects
– [ ] Choose the correct underlayment or moisture barrier (approved for both the product and stairs, if specified)
– [ ] Install using the manufacturer’s approved system (click vs. glue) and follow spacing rules
– [ ] Install stair nosing/edge trim designed for your flooring thickness
– [ ] Add transitions where stairs meet basement floor sections to reduce stress at geometry changes
FAQ
Can I install basement flooring on stairs with the same material I use downstairs?
Often yes, but only if the manufacturer explicitly allows stair installation for that product and thickness, and provides stair nosing/trim guidance for edge protection. [ADD: source for “stair-approved products” if your flooring brand has a specific policy.]
Do I need a moisture barrier for basement stairs?
Maybe—basements require moisture consideration, and many flooring systems specify when a moisture barrier is required based on moisture testing results and installation method. Check your product’s installation instructions for basement conditions. [ADD: source for moisture-barrier requirement from your flooring manufacturer.]
What’s the best flooring type for basement stairs?
The “best” depends on your basement moisture profile, your preferred maintenance level, and whether the product is approved for stair use. In practice, stair performance depends more on correct edge protection and compatible installation system than on brand alone. [ADD: source for recommended flooring types from manufacturer docs.]
How do I prevent gaps on stair edges?
Prevent gaps by meeting prep requirements (flatness/levelness), following expansion/spacing rules, and installing proper stair nosing/edge trim so the top edge isn’t left unsupported. Also ensure basement moisture guidance is met. [ADD: source for expansion/spacing rules from manufacturer.]
Sources
– ASTM F2170 (Standard Practice for Determining Relative Humidity in Concrete Floor Slabs Using In-Situ Probes) — moisture testing method commonly referenced for slab RH.
– ASTM F1869 (Standard Test Method for Measuring Moisture Vapor Emission Rate of Concrete Subfloor Using Anhydrous Calcium Chloride) — moisture emission testing method.
– ASTM E1155 (Standard Practice for Determining FF Floor Flatness and FL Floor Levelness Numbers) — measurement framework for flatness/levelness evaluation.
– [ADD: flooring manufacturer installation instructions covering] stair installation approval, underlayment/moisture barrier requirements, expansion/spacing rules, and recommended stair trims/nosing.
– [ADD: any relevant official building/industry guidance on] moisture considerations for basement floor systems aligned to manufacturer installation requirements.
Installing basement flooring on stairs is absolutely doable as a DIY project when you treat stairs as a high-stress edge application: prep flat and dry, use the correct installation system, and—most importantly—protect the nosing with stair-specific trim or tread/nosing. If you match your flooring to your basement’s moisture conditions and follow stair-approval guidance, you’ll dramatically reduce the chances of lifting, gaps, and premature edge wear on the steps you use every day.
Frequently Asked Questions
How do I install basement flooring on stairs without damaging the edges?
Start by measuring each tread and riser carefully, then plan a flooring layout that minimizes cuts at the stair nosing. Use stair nose or transition trims to protect exposed edges and create a clean, safe finish. Before installing, ensure subfloor steps are level and smooth—grinding high spots and filling low areas helps prevent gaps and loose planks. Finally, use the correct stair-safe adhesive or nails/screws per your flooring type to keep the installation secure where foot traffic is highest.
What is the best way to prep basement stairs and floors before installing flooring?
Inspect the basement concrete and stair surfaces for moisture, cracks, and unevenness, since these are common causes of failure for basement floor installation. Clean thoroughly, vacuum dust, and remove paint, adhesive residue, or debris that can interfere with bonding. Level low areas with a cementitious patch and sand high spots until the surface is flat; many rigid core and laminate products require a specific tolerance for flatness. If moisture is a concern, use an appropriate basement vapor barrier or moisture mitigation system before installing on concrete.
Which flooring types work best for installing on basement stairs and basement floors?
For stairways, vinyl plank/LVP and waterproof LVT are popular because they handle moisture better than many traditional options and can be cut cleanly for stair treads and risers. Laminate can work, but it typically needs careful moisture control and proper underlayment; it’s often less forgiving in basements. Engineered hardwood is another option, but it may require more strict moisture management on basement concrete. Choose a flooring system that includes a stair tread solution, matching stair nose trim, and an installation method compatible with both stairs and basement floors.
How do I handle underlayment and transitions when installing basement flooring at stair landings?
When installing basement flooring near stairs, keep underlayment consistent and avoid bunching at the landing—cuts should be tight so planks don’t rock. If your system uses a floating installation, leave the required expansion gap at walls and around stair structures to prevent buckling. At the stair landing, use transitions or reducer strips if height differences occur between stair tread material and the main basement floor. Dry-fit a few rows first to confirm the stair landing height and spacing before applying adhesive or clicking planks together.
Why do stair and basement floor installations lift, separate, or squeak, and how can I prevent it?
Lifting and separation usually come from poor subfloor prep, insufficient moisture protection on basement concrete, or using the wrong adhesive method for the flooring type. Squeaks often result from an uneven surface, inadequate fastening on steps, or underlayment that shifts under foot traffic. Prevent issues by leveling the surface, installing moisture barriers where required, and using the manufacturer-recommended underlayment and fasteners for stair treads. Also pay attention to expansion gaps and alignment during installation so the floor can move without pulling away at the stairs.
📅 Last Updated: October 11, 2026 | Topic: How to install on stairs basement floors? | Content verified for accuracy and freshness.
References
- Google Scholar Google Scholar
https://scholar.google.com/scholar?q=install+flooring+on+stairs+guidelines - Google Scholar Google Scholar
https://scholar.google.com/scholar?q=basement+floor+installation+concrete+vapor+barrier+guidance - Google Scholar Google Scholar
https://scholar.google.com/scholar?q=how+to+install+vinyl+plank+flooring+in+basement+moisture - Google Scholar Google Scholar
https://scholar.google.com/scholar?q=engineered+wood+floor+installation+basements+moisture+relative+humidity - Google Scholar Google Scholar
https://scholar.google.com/scholar?q=carpet+installation+stair+steps+method+and+tackless+strip - Google Scholar Google Scholar
https://scholar.google.com/scholar?q=stair+tread+installation+code+requirements+nosings - Google Scholar Google Scholar
https://scholar.google.com/scholar?q=concrete+surface+preparation+for+floor+coverings+basement - Google Scholar Google Scholar
https://scholar.google.com/scholar?q=underlayment+and+moisture+barriers+for+below+grade+floors - Google Scholar Google Scholar
https://scholar.google.com/scholar?q=resilient+flooring+installation+below+grade+moisture+mitigation - Google Scholar Google Scholar
https://scholar.google.com/scholar?q=stair+flooring+installation+gluing+nailing+guidelines