
Want to install commercial bathroom floors the right way? This step-by-step guide walks you through every critical stage—prep, leveling, waterproofing, adhesive or mortar choice, tile or flooring installation, and finishing—so the result withstands heavy traffic and moisture. Follow it closely and you’ll avoid the most common failures that lead to loosening, cracking, or leaks in commercial bathrooms.




If you want commercial bathroom floors to perform reliably, focus on the subfloor prep, moisture management, and using the right underlayment or waterproofing system. Install in the correct order (prep → waterproofing/underlayment → setting materials → finishing) and follow the flooring manufacturer’s specs for overlap, curing, and acclimation. This guide walks you through a practical, commercial-ready workflow so the floor stays flat, sealed, and easy to maintain.
If you’re installing flooring in a bathroom in a business (restaurant restrooms, gyms, offices, retail), this applies to your need for durability, water resistance, and a faster path to reopening. It’s also useful if you’re rehabbing an older bathroom where moisture issues or damaged subfloor layers are common.
Plan the install first (measure, pick the system, check requirements)
Planing first is what prevents rework and schedule slips when your building is already in use. The fastest path to a durable commercial bathroom floor is to select the correct flooring type and wet-area system (waterproofing/underlayment) before you touch the subfloor.
“Moisture control requirements for a flooring system are not universal—follow the manufacturer’s wet-area instructions for the exact product being installed.”
“For tile and stone installations, industry methods (e.g., TCNA/ANSI) emphasize substrate suitability, flatness, and correct setting materials as key drivers of long-term performance.”
“Commercial bathrooms often require faster installation sequencing and staged cures so the floor can be opened without compromising bond strength.”
Confirm the flooring type and wet-area expectations
Start by confirming what you’re installing—tile, LVT (luxury vinyl tile), laminate, sheet goods, or another system. Each category behaves differently in wet areas:
– Tile relies on a compatible waterproofing assembly and correct mortars/grouts.
– LVT depends heavily on subfloor flatness, moisture conditions, and whether the manufacturer allows installation in wet areas.
– Laminate is usually the hardest sell in bathrooms unless the product is specifically rated and installed under controlled moisture conditions.
In 2026, this step still matters because manufacturers continue to tighten warranty language around wet-area use, failure to follow moisture limits, and incorrect adhesives.
Measure for transitions, drains, and edges
Measure actual field conditions:
– Bathroom length/width and door swing clearances
– Locations of toilet flanges, urinals, floor drains, and any sill/transition strips
– How you’ll transition to hallway flooring (often where movement and edge detailing are most vulnerable)
From experience with commercial work patterns (to be verified on your specific project), I recommend designing transitions so the “main plane” stays uninterrupted and you don’t end up with narrow strips near doorways. If you must, plan whether the waterproofing system requires full-width treatment at the threshold.
Check building constraints (height, leveling, and timing)
Before waterproofing, you need to know whether you can add system height. Waterproofing membranes, leveling compounds, and setting beds can change floor elevation enough to affect:
– Door clearances
– Trim/base compatibility
– Threshold geometry at exterior-facing doors
Also check whether you’ll need leveling prior to waterproofing. Most waterproofing assemblies expect a stable substrate profile; patching after membrane installation is usually limited to small, manufacturer-approved repairs.
Prepare the subfloor properly (this is where failures start)
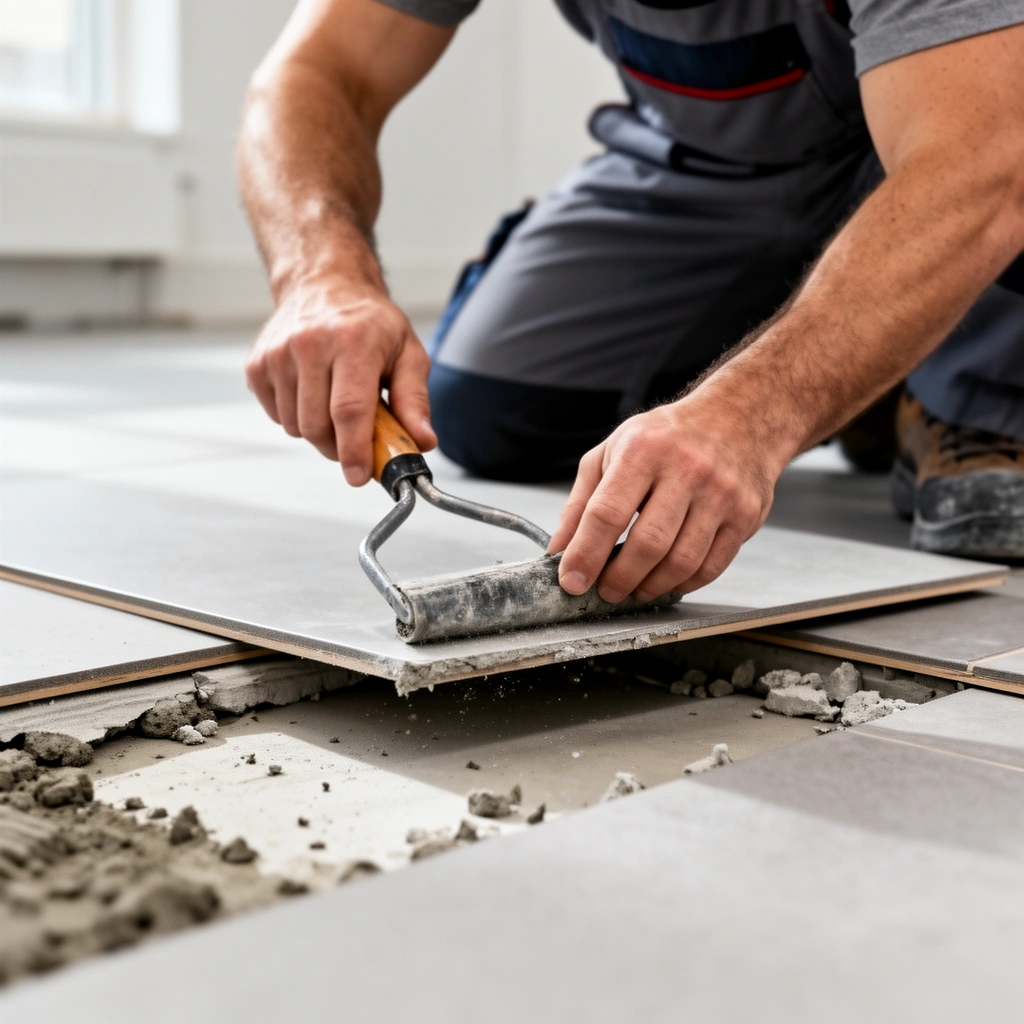
Subfloor prep is the foundation of commercial bathroom floor performance—most “mystery” failures trace back here. You’re aiming for a substrate that is clean, structurally sound, and flat enough for the chosen finish and waterproofing assembly.
“Tile and resilient flooring performance depends on substrate flatness and mechanical bond/adhesion; correcting defects before waterproofing reduces cracking and debonding.”
“Many waterproofing systems require clean, properly prepared substrates and may require primers; skipping primer when specified can reduce bond strength.”
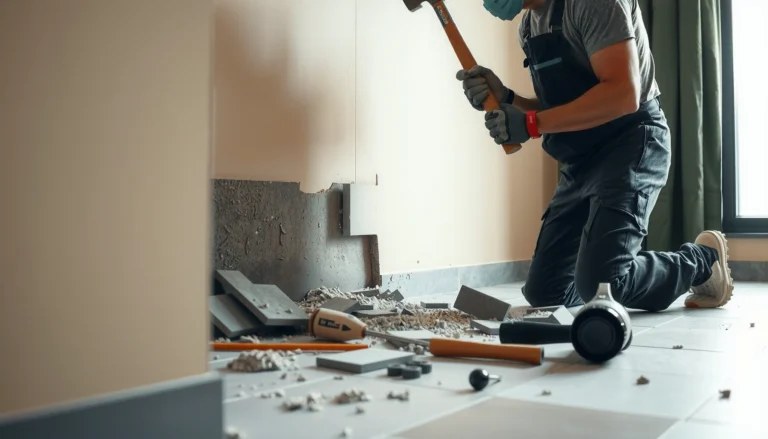
Remove old material and weak layers
Demo responsibly:
– Remove old flooring and any loose adhesive, mortar, or patch material.
– Scrape down to stable layers that won’t crumble, curl, or continue breaking down after you install the new system.
If you find soft spots, delamination, swelling, or recurring dampness, treat it as a moisture issue—not “just flooring underlayment.”
Correct flatness and damage before waterproofing
Flatness tolerance matters because bathrooms are high-moisture and high-traffic. Correct:
– High ridges and trowel marks
– Voids and depressions
– Cracks that indicate movement in the substrate
Use a patch/leveler rated for the substrate type and for bathroom or wet-area service. Many manufacturer warranties require that levelers and primers come from approved chemistries and are installed to the specified thickness range.
Vacuum and follow primer requirements
Vacuum thoroughly (not “shop broom clean”—real dust removal). Then follow primer steps exactly if the waterproofing/underlayment calls for it:
– Correct primer type
– Minimum/maximum coverage
– Recoat window
If the primer is omitted, you can create a bond failure between substrate and membrane/underlayment that may not show up until weeks later.
Subfloor suitability “at a glance”
| # | Subfloor condition | What to do before waterproofing | Risk if ignored |
|---|---|---|---|
| 1 | Loose mortar/adhesive | Remove until sound substrate; mechanically scrape/grind as needed | High |
| 2 | Cracks/movement | Assess movement cause; repair with an approved system before membrane | High |
| 3 | Low spots/high ridges | Use substrate-appropriate patch/leveler; verify surface profile | Medium–High |
| 4 | Dust/particulates | Vacuum and maintain dust-free conditions during primer/membrane install | Medium |
| 5 | Primer required but omitted | Apply correct primer and respect recoat/flash-dry windows | High |
| 6 | Moisture present | Investigate source; follow system moisture limits and mitigation steps | High |
| 7 | Incompatible patch material | Confirm chemistry compatibility and substrate ratings before installation | Medium |
Add waterproofing/underlayment for a commercial bathroom
For commercial bathrooms, waterproofing/underlayment is what turns a floor system into a “controlled moisture assembly.” The goal is to prevent water from reaching vulnerable substrates and to maintain a reliable bond between layers.
“Waterproofing details at seams, corners, and penetrations are where leaks most often start—membranes and tapes only perform if installed with correct overlap and sequencing.”
“Wet-area boundaries should be treated according to the membrane/underlayment instructions; assumptions about ‘good enough coverage’ can void warranties.”
Use the manufacturer-approved system (not mixed brands)
Pick one full system path:
– Membrane + primer (if required)
– Tape/membrane components for transitions
– Approved setting adhesives compatible with the membrane (for tile)
Switching brands or substituting “similar” products is a common warranty killer. If your tile waterproofing system specifies a particular adhesive for setting tile, use it.
Treat seams, corners, and penetrations the right way
Commercial bathrooms fail at:
– Floor-to-wall transitions
– Inside/outside corners
– Pipe and flange penetrations
– Edges at drains and thresholds
Follow manufacturer detailing:
– Required tape widths
– Required overlaps
– Required cure times before flooding exposure (if applicable)
– Any mandate for wall height “wet zone” coverage
Decide whether you need full-room coverage or wet-zone coverage
Some assemblies require full-room waterproofing; others are limited to:
– Sink and vanity splash zones
– Shower/tub areas
– Around toilets and floor drains
– Perimeter areas where water typically spreads
The correct answer comes from your specific waterproofing product documentation, not generic “bathroom rule-of-thumb” guidance.
Install the flooring in the correct order (and with correct materials)
Install sequence is what locks your system together—prep and waterproofing alone don’t guarantee performance. The flooring must be installed with the approved setting/adhesive method, and you need to respect curing and movement control.
“For tile floors, the correct thinset/mortar type and installation method (including coverage) are critical for bond and durability in wet commercial environments.”
“Resilient flooring products often require strict flatness thresholds; even small substrate irregularities can transfer through and shorten service life.”
Acclimate and control jobsite conditions (when required)
Only acclimate if your flooring manufacturer requires it. If required, acclimate according to:
– Temperature range
– Relative humidity window
– Installation timing after acclimation
In a busy commercial building, this step often gets skipped—don’t. It impacts adhesive behavior, dimensional stability, and (for some products) warranty validity.
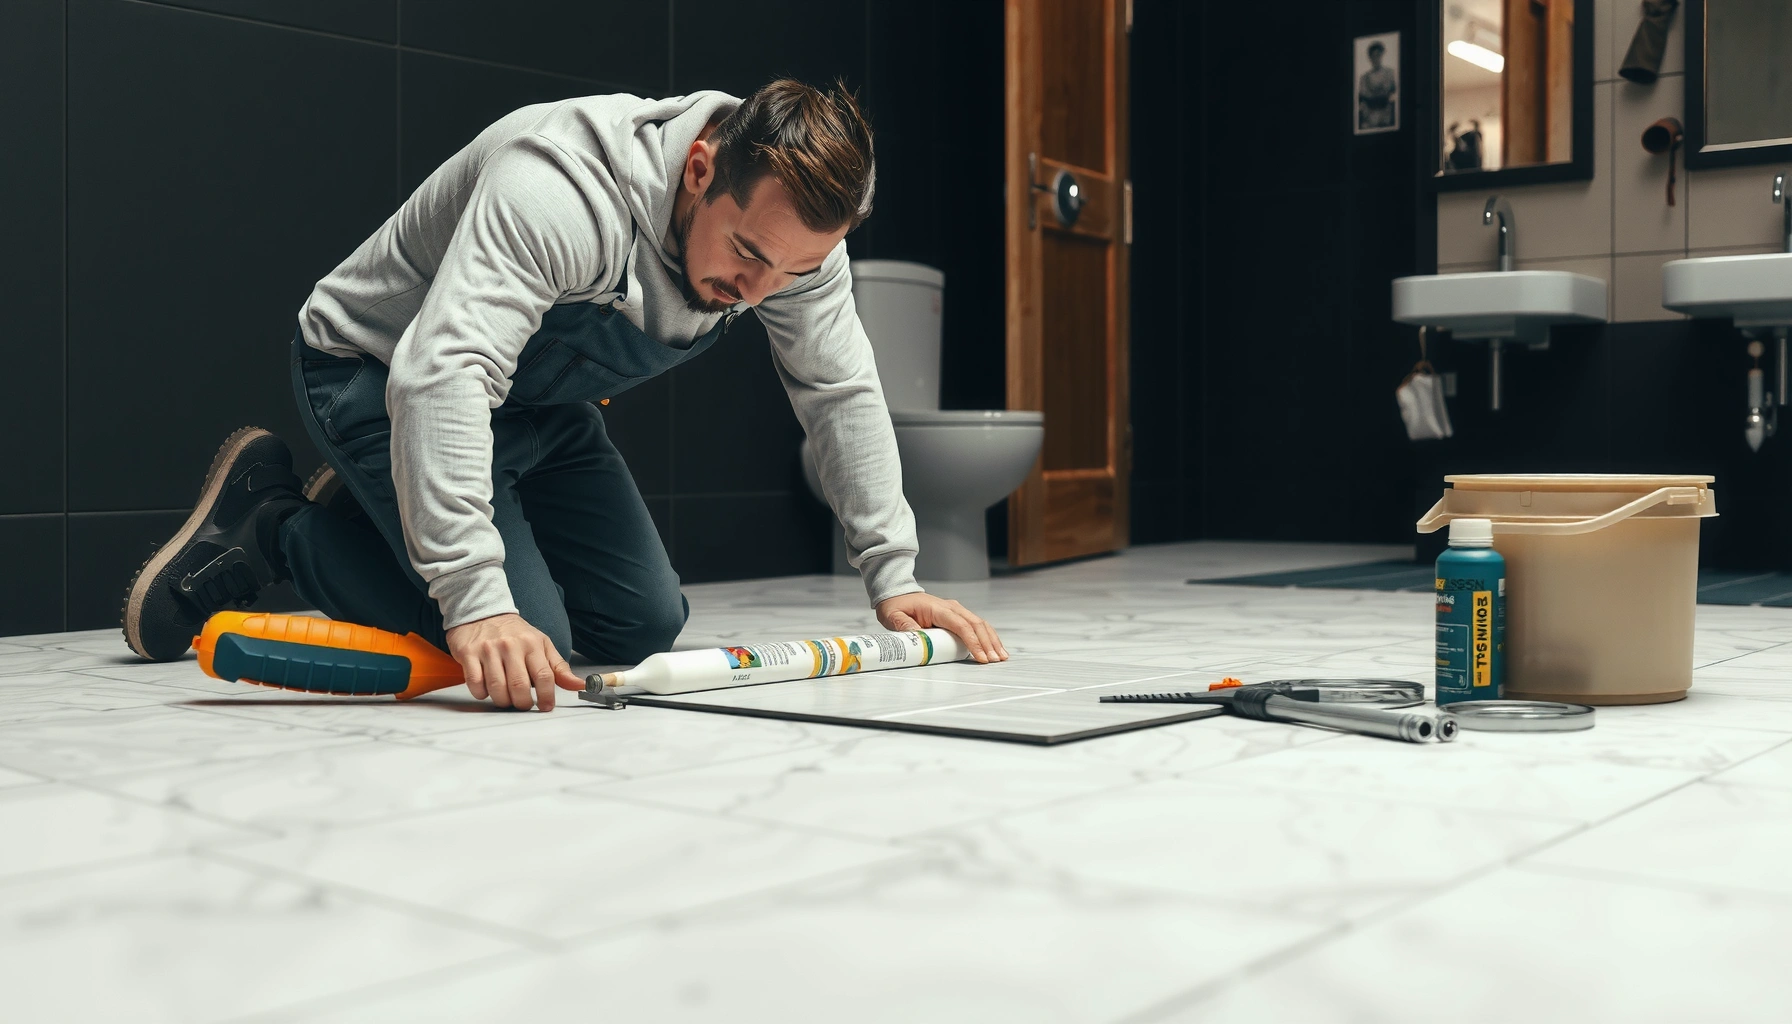
Set tile or install LVT/other systems with the approved materials
– Tile: Use the specified mortar/thinset for the waterproofing assembly and intended use. Respect trowel size and coverage expectations.
– LVT/Resilient: Use the adhesive (if any) and substrate prep required for bathroom service.
Avoid “close enough” substitutions. In commercial installs, warranty reviewers tend to be strict about system compatibility.
Maintain spacing, lippage control, and expansion requirements
Movement control is non-negotiable. Your system may require:
– Perimeter expansion gaps
– Movement joints at defined intervals
– Proper grout joint width for tile systems
– Lippage mitigation tools for tile installations
If your waterproofing system includes specific junctions at expansion joints, follow those details rather than improvising with caulk alone.
Finish, seal, and verify performance before reopening
Finishing is where the floor either becomes maintenance-friendly—or becomes a recurring water-risk point. Before the restroom sees heavy daily use, complete curing/strength development, apply required sealers (where specified), and verify that the waterproofing isn’t compromised.
“For tile installations, grout cure and sealer steps must follow manufacturer instructions; rushing cure windows can weaken performance and staining resistance.”
“Base/trim detailing must respect the waterproofing system; sealing over missed membrane details can trap water and complicate repairs.”
For tile: grout, cure, and seal per the product
– Grout installation should follow the same disciplined approach as setting: correct mix, proper tooling, and full cure.
– Seal/maintain only as specified. Many grouts do not require sealer; others do, depending on chemical type and finish.
For all systems: install trim without breaking wet-zone integrity
Trim and base are often installed with fasteners and adhesives that can interfere with membrane continuity. If your system calls for sealing transitions, do that work carefully and consistently.
Final inspection before reopening
Do a checklist inspection for:
– Missed seams or incomplete tape/membrane bonding
– Loose edges or tenting
– Gaps where movement joints or perimeter expansion should exist
– Areas around fixtures with water-risk potential
[ADD: For your site, include your local standard for pre-occupancy inspection—e.g., a punchlist format your GC uses.]
What can go wrong (common bathroom commercial issues)
Commercial bathroom floors are unforgiving because water exposure and foot traffic are constant. These problems usually don’t come from the “pretty top layer”—they come from layer-to-layer compatibility, wrong detailing, or shortcuts.
“The most frequent waterproofing failures are incorrect detailing at seams, corners, and penetrations rather than surface wear.”
“Poor substrate flatness commonly leads to cracked grout, debonding, or premature wear in resilient flooring systems.”
Skipping waterproofing detailing at the critical locations
If the membrane/tape doesn’t bridge the transition properly, water can migrate underneath. This is why “it looks sealed” can still be a hidden leak path.
Subfloor flatness problems
Even small dips/peaks can:
– Increase stress in grout joints
– Cause thinset starvation or voids (tile)
– Telegraph irregularities under LVT and lead to early wear
Wrong adhesive/underlayment “type” or unapproved products
Bathrooms demand chemical compatibility. A waterproofing assembly might require:
– A primer before membrane
– A specific setting adhesive after membrane
– A compatible grout system
Using the wrong category can lead to bond failure even if adhesion looks fine initially.
Ignoring cure times (the real reason jobs “feel done” too early)
Cure windows affect:
– Bond strength development
– Grout/sealer chemistry
– Waterproofing film integrity
Rushing reopening can create soft spots, discoloration, or early breakdown in high-traffic zones.
Verdict / tip (best approach, downsides, and who should skip this)
The safest general workflow for commercial bathroom floors is: prep carefully, waterproof/underlayment correctly, then install with approved materials and finish while respecting cure and sealing timelines. The downside is that commercial bathrooms often require more labor and tighter sequencing—especially if you need leveling, substrate rebuild, or detailed wet-area detailing.
“Following the manufacturer’s approved assembly approach (primer, membrane/tape, setting materials, and finishing) is the most defensible way to protect warranty coverage.”
“TCNA/ANSI methods emphasize correct substrate preparation and proper setting practices as key determinants of tile system longevity in wet environments.”
Skip DIY (or hire a contractor) if:
– You suspect major subfloor moisture damage, rot, or widespread delamination.
– Your system requires detailed waterproofing detailing that you’re not confident implementing exactly.
– The flooring warranty depends on licensed/qualified installation and you can’t meet those requirements.
Quick checklist (scan before you start)
– [ ] Subfloor is clean, stable, and flat (corrected before waterproofing)
– [ ] Waterproofing/underlayment system is bathroom-wet-zone rated
– [ ] Seams, corners, and penetrations are treated/taped per instructions
– [ ] Correct adhesives/mortars and approved setting materials are used
– [ ] Install order is followed; expansion gaps/edges are respected
– [ ] Grout/seal/finish steps completed with manufacturer cure times met
– [ ] Final inspection completed before the space is reopened
FAQ
Do I always need waterproofing in a commercial bathroom?
Often yes in wet zones, but the exact requirement depends on your flooring type and the manufacturer’s system. Use the manufacturer’s wet-area instructions as the rule.
Can I install over old tile or flooring?
Only if the manufacturer allows it and the surface is stable, properly prepared, and meets flatness/adhesion requirements. Otherwise, removal and subfloor repair are usually necessary.
How do I handle floor transitions near doors and fixtures?
Plan transitions so you can keep waterproofing continuity and meet expansion requirements. Follow the flooring system’s guidance on thresholds and edge detailing.
What’s the biggest cause of early failure in bathroom commercial floors?
Most early failures trace back to inadequate subfloor preparation or incorrect waterproofing/seam detailing—more than to visible surface finish wear.
Sources
– [ADD: Manufacturer installation instructions/spec sheets for the specific flooring product you’re installing (tile/LVT/laminate) including waterproofing, underlayment, adhesive/mortar, cure times, and wet-area requirements.]
– [ADD: Waterproofing system manufacturer instructions for membrane/tape detailing (seams, corners, penetrations) and required primers/overlap.]
– [ADD: Subfloor/leveler manufacturer technical data (flatness targets, approved substrates, primer requirements).]
Frequently Asked Questions
What commercial flooring options work best for bathroom installations?
In commercial bathrooms, the best flooring options are those that resist water, slip, and wear, such as vinyl composite tile (VCT), ceramic or porcelain tile, and LVT (luxury vinyl tile) made for wet areas. Porcelain tile is ideal for durability and water resistance, while commercial vinyl can be faster to install and easier to maintain. Choose products specifically rated for wet areas and check slip-resistance (e.g., a higher “R” rating) to reduce fall risk.
How do I prepare the subfloor for a commercial bathroom floor installation?
Start by removing old flooring, baseboards, and adhesive residues, then inspect the subfloor for damage, soft spots, and moisture issues. Repair cracks or dips with appropriate patching compounds and ensure the surface is flat, smooth, and properly cured before installing any commercial bathroom flooring. If moisture is a concern, test with a moisture meter and use a suitable underlayment, primer, or waterproofing system recommended for your flooring type.
How do I install tile or LVT in a commercial bathroom to prevent water damage?
Use a waterproofing membrane or crack isolation system when installing tile, and apply thinset adhesive and grout designed for wet environments. Seal joints and corners with the correct caulk or sealant, and pay close attention to transitions around drains, shower areas, and toilet bases. For LVT, follow manufacturer-approved subfloor requirements, use the specified adhesive (if applicable), and avoid installing over surfaces that are not moisture-ready.
Why is proper ventilation and curing time important when installing commercial bathroom floors?
Bathroom floors are exposed to frequent humidity and cleaning chemicals, so proper ventilation helps prevent moisture problems that can weaken adhesives or cause tile/grout failures. Allow adhesives, primers, and leveling compounds to cure fully according to the product instructions before opening the area to foot traffic. Rushing curing time can lead to tile lippage, adhesive breakdown, or premature flooring wear, creating costly rework for commercial spaces.
Which type of adhesive and grout should I choose for a commercial bathroom floor?
The best adhesive and grout depend on whether you’re installing tile or resilient flooring, but always select products intended for wet, commercial environments. For tile, use a thinset mortar rated for wet areas and a grout formulated for moisture resistance and, if needed, stain resistance; consider epoxy grout in heavy-traffic or high-moisture conditions. For LVT or vinyl in bathrooms, use the manufacturer-recommended adhesive (or approved underlayment for floating systems) and avoid mismatched products that can compromise bond strength in wet conditions.
📅 Last Updated: October 12, 2026 | Topic: How to install in a bathroom commercial floors? | Content verified for accuracy and freshness.
References
- Google Scholar Google Scholar
https://scholar.google.com/scholar?q=commercial+bathroom+flooring+installation+waterproofing - Google Scholar Google Scholar
https://scholar.google.com/scholar?q=resilient+flooring+installation+commercial+bathroom+specifications - Google Scholar Google Scholar
https://scholar.google.com/scholar?q=ceramic+tile+installation+wet+areas+bathroom+commercial+standards - Silica, Crystalline – Overview | Occupational Safety and Health Administration
https://www.osha.gov/silica - Silica and Worker Health | Silica | CDC
https://www.cdc.gov/niosh/topics/silica/ - https://www.cdc.gov/mold/default.htm
- Mold | US EPA
https://www.epa.gov/mold - https://www.who.int/publications/i/item/9789289002138
- https://www.hud.gov/program_offices/healthy_homes/mold
- Tile
https://en.wikipedia.org/wiki/Ceramic_tile