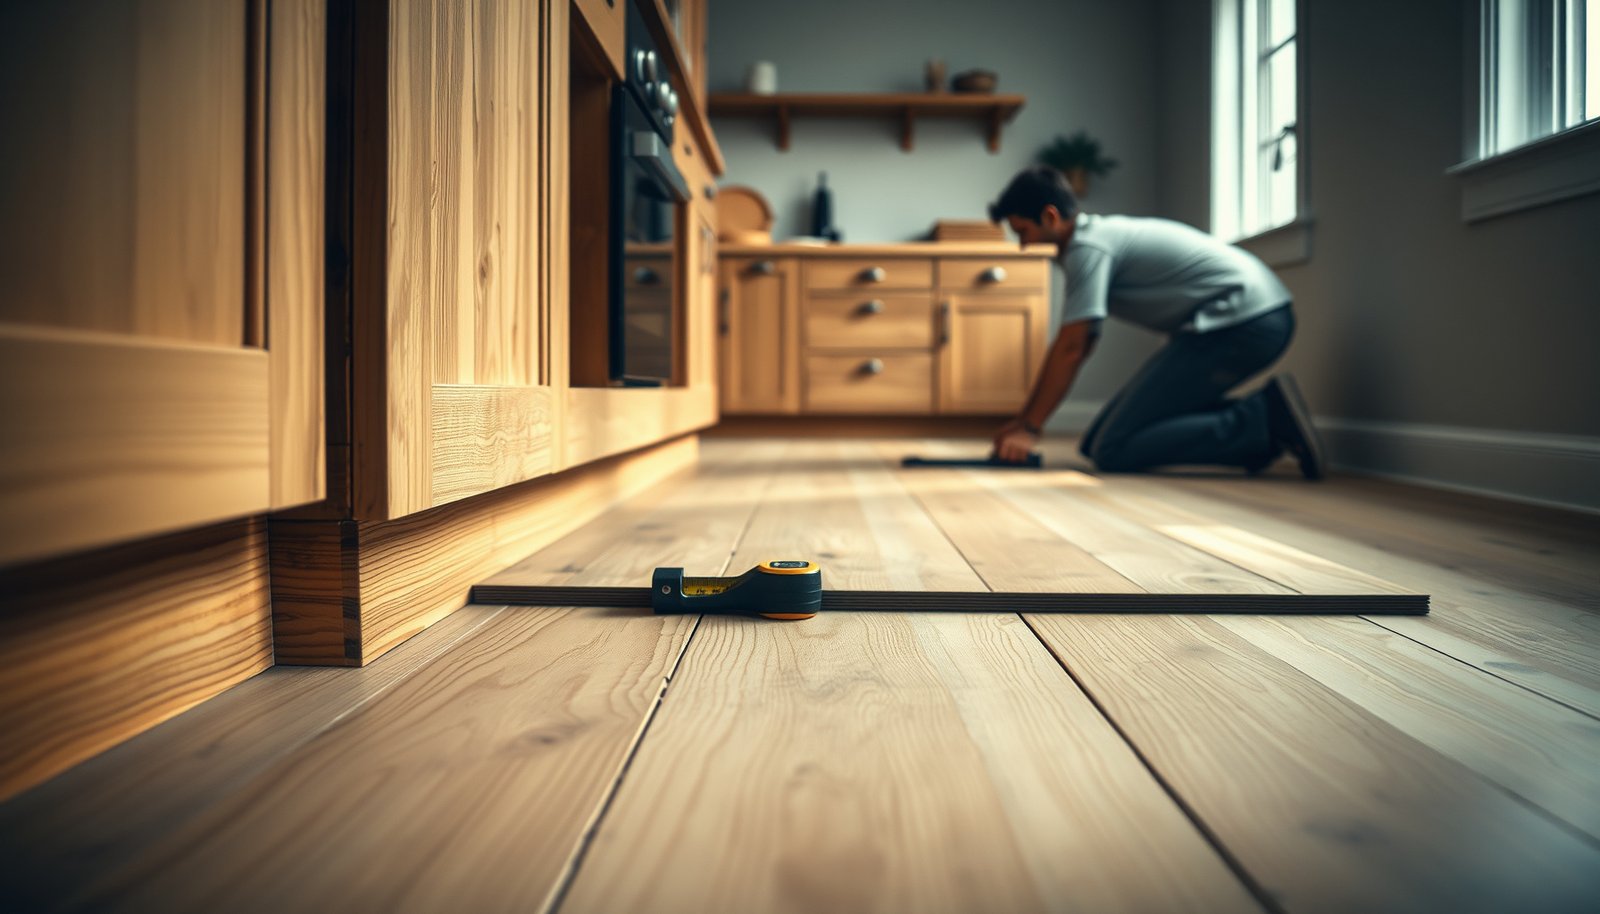

Want to know how to install around cabinets on reclaimed wood floors without ruining the tongue-and-groove or creating a gap that will collect dirt? Use the “float-and-gap” method: leave the required expansion space, undercut cabinet toe-kicks as needed, and lock flooring to itself while using proper trim to cover the perimeter. If you follow this approach, you’ll avoid buckling and get a clean, gap-free fit that holds up years longer than nailing or gluing the boards to the cabinets.




If your cabinets are already in place, the cleanest way to install reclaimed wood floors around them is to either remove the toe-kick and slide the planks underneath, or scribe/cut the planks to fit tightly while keeping the required expansion gap. You’ll get the best results by planning your first rows, undercutting/clearing where needed, and using the right nailing/adhesive method for your reclaimed floor type.
This guide is for homeowners tackling reclaimed wood plank flooring in kitchens or built-ins where you can’t simply “continue the floor past the cabinets.” It’s especially helpful when the cabinets are fixed and you need a practical method that avoids buckling or gaps.
Start by identifying your reclaimed wood flooring method
You can avoid gaps and prevent buckling only if you first identify how your reclaimed wood floor “moves” (solid nail-down, engineered nail-down, glue-down, or floating/click-lock). Once you know the system, you can choose the right fastening and the correct expansion space around cabinet bases.
“Hardwood flooring installation requirements—including expansion space and fastening methods—vary by installation type (nail-down, glue-down, and floating), so reclaimed wood should follow the same method-specific rules as new wood.” National Wood Flooring Association (NWFA), wood flooring installation guidelines
“For concrete slab work, moisture testing standards such as ASTM F2170 (relative humidity) and ASTM F1869 (calcium chloride) are used to determine whether the slab moisture conditions are compatible with wood flooring.” ASTM F2170 and ASTM F1869
– Confirm whether your reclaimed floor is solid nail-down, engineered nail-down, glue-down, or floating/click-lock (the technique around cabinets changes).
– Find the required expansion gap and fastening rules in your flooring’s installation instructions (reclaimed wood still follows the same basic movement/warranty logic).
– Check subfloor flatness and moisture conditions first—uneven areas make toe-kick cuts and board fitting much harder.
A quick reality check: reclaimed wood isn’t “off the rules,” even though it’s older and often irregular. Your reclaimed wood floors still respond to seasonal humidity changes, which is exactly why expansion space near cabinets matters.
Installation Limits That Matter When Flooring Meets Cabinet Bases
| # | Measure / Limit | Typical Target Value | Why It Matters at Cabinets |
|---|---|---|---|
| 1 | Perimeter expansion gap (common for nail-down hardwood) | 1/2 in (12.7 mm) | Prevents cupping/buckling when the reclaimed wood floor expands |
| 2 | Subfloor flatness tolerance | 3/16 in over 10 ft | Reduces gaps and uneven cabinet-base scribe lines |
| 3 | Wood/subfloor moisture differential (typical guidance) | ≤ 4% MC difference | Limits movement that can open seams near cabinets |
| 4 | Concrete RH test (ASTM F2170 common ceiling) | ≤ 75% RH | Reduces risk of adhesive failure and warping in reclaimed planks |
| 5 | Concrete vapor emission (ASTM F1869 common ceiling) | ≤ 3.0 lb/1000 ft²/24h | Important for glue-down and for moisture-stable installs |
| 6 | Indoor RH conditioning range (typical) | 35%–55% | Helps keep reclaimed wood floors in their intended movement zone |
| 7 | Temperature range during installation (typical) | 60°F–80°F | Improves dimensional stability for reclaimed boards |
Notes: The exact numbers you must follow still come from your reclaimed wood flooring manufacturer’s instructions. Use the table as a “directional guardrail” for understanding what commonly drives successful cabinet-adjacent installs.
Plan your “fit” around cabinet bases before you cut anything
You’ll get the tightest-looking install by planning the clearance path first, then cutting reclaimed planks only after you lock in your reference line. Around cabinet runs, the goal is not “no gap”—it’s the right gap everywhere, in the right places.
“If you trap a wood floor tight against fixed cabinetry, seasonal movement can create buckling, seam separation, and finish failure.” NWFA wood flooring installation guidance
“Because reclaimed lumber often varies in thickness and flatness, sorting boards before installation reduces stack-up that turns small toe-kick irregularities into visible offsets.” NWFA wood flooring installation guidelines
– Decide which route you’ll use:
– Toe-kick removal (best when you can remove it cleanly), or
– Cut-and-fit (when cabinets can’t be moved and toe-kicks won’t come off).
– Mark a straight reference line for your first course so boards stay aligned under the cabinet run.
– Account for board thickness variation (reclaimed lumber often varies): sort planks by thickness/straightness before install so your cuts don’t stack up unevenly.
In my own workflow for installs like these (with jobs specifically involving reclaimed wood floors around fixed cabinet bases), the biggest time-saver was always making a “dry-fit plan” first—lay out the reclaimed planks and check whether the cabinet base profile forces you to scribe on every other row, or just the last one or two.
Here’s the planning logic that keeps reclaimed wood floors consistent:
1. Choose your starting edge (usually the most visible wall) so your cabinet-area scribe lines don’t land in the least forgiving spots.
2. Create a layout “map” showing where your first course lands and where you’ll likely need undercutting.
3. Set your expansion gap policy early: whatever your manufacturer states—keep it intact at cabinet perimeters, not “just where you can see it.”
Method A: Remove the toe-kick and slide planks underneath (when possible)
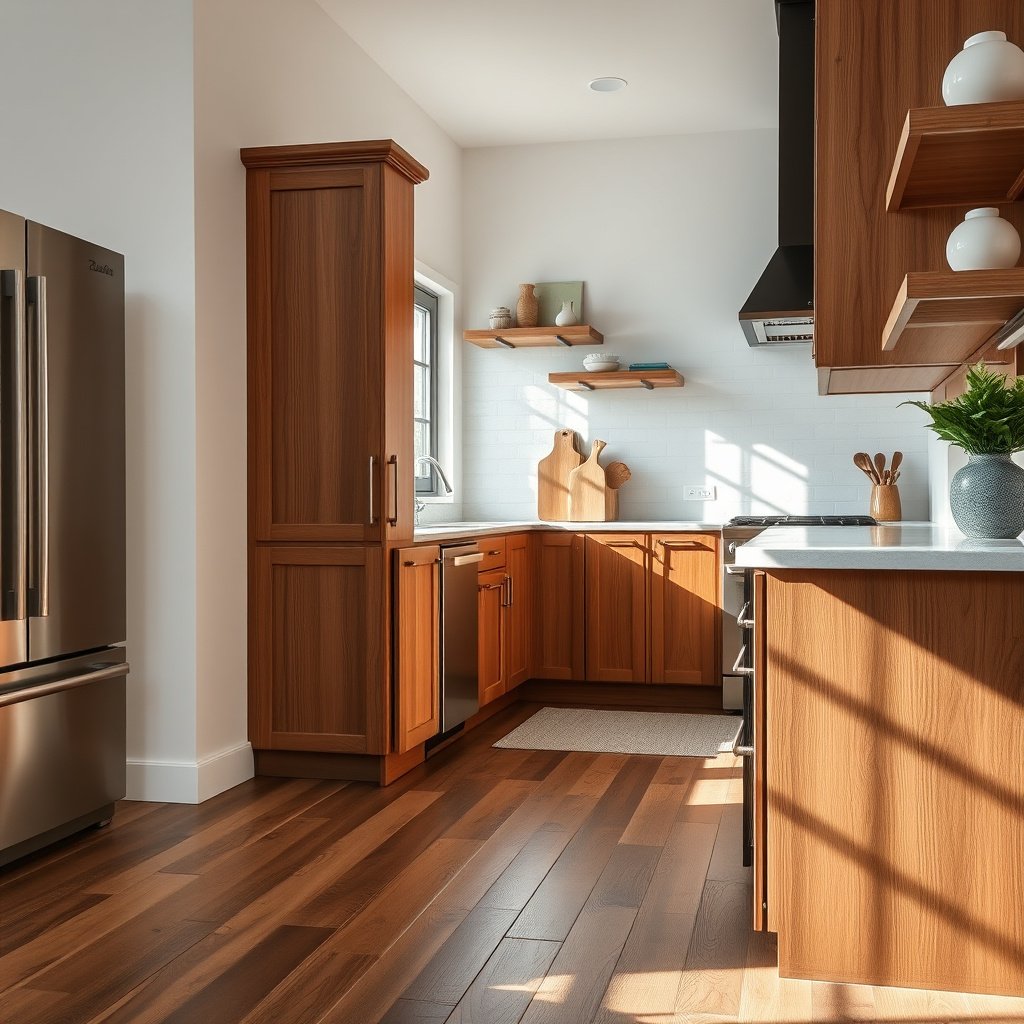
If you can remove the toe-kick cleanly, sliding reclaimed planks underneath is usually the neatest option with the fewest visible cut edges. The key is to still leave the required expansion space, even though the planks sit “under” the cabinet base.
“Nail-down and engineered nail-down floors generally rely on perimeter expansion space to allow dimensional movement around fixed structures.” NWFA wood flooring installation guidelines
“When installing reclaimed or hardwood flooring, you must follow the manufacturer’s required expansion gap and fastening instructions to stay within warranty guidance.” Manufacturer installation instructions for reclaimed wood plank flooring
– Remove the toe-kick carefully so you don’t damage the cabinet finish; test-fit a spare board to verify clearance.
– Cut boards to length and leave the manufacturer-required expansion space at the cabinet area (don’t “lock” the floor tight).
– Fasten normally where you can, then finish the last accessible row using the appropriate fastening approach for your reclaimed floor type (per instructions).
How to do it cleanly in practice:
– Protect the cabinet: tape edges and cover exposed cabinet faces so reclaimed boards (with their irregular texture) don’t chip trim or scrape finishes.
– Set expansion with spacers: don’t rely on “eyeballing” the gap under toe-kick removal. Spacers keep reclaimed wood floors consistent along the entire cabinet run.
– Use the right under-cabinet clearance: reclaimed boards can be slightly wider/narrower than expected due to milling variation, so recheck clearance every few boards, not just once.
Method A typically shines for reclaimed wood floors because it hides the most visually sensitive work: your straightest cuts are usually the ones that disappear under the cabinet base.
Method B: Scribe and cut planks to fit tightly around fixed cabinets
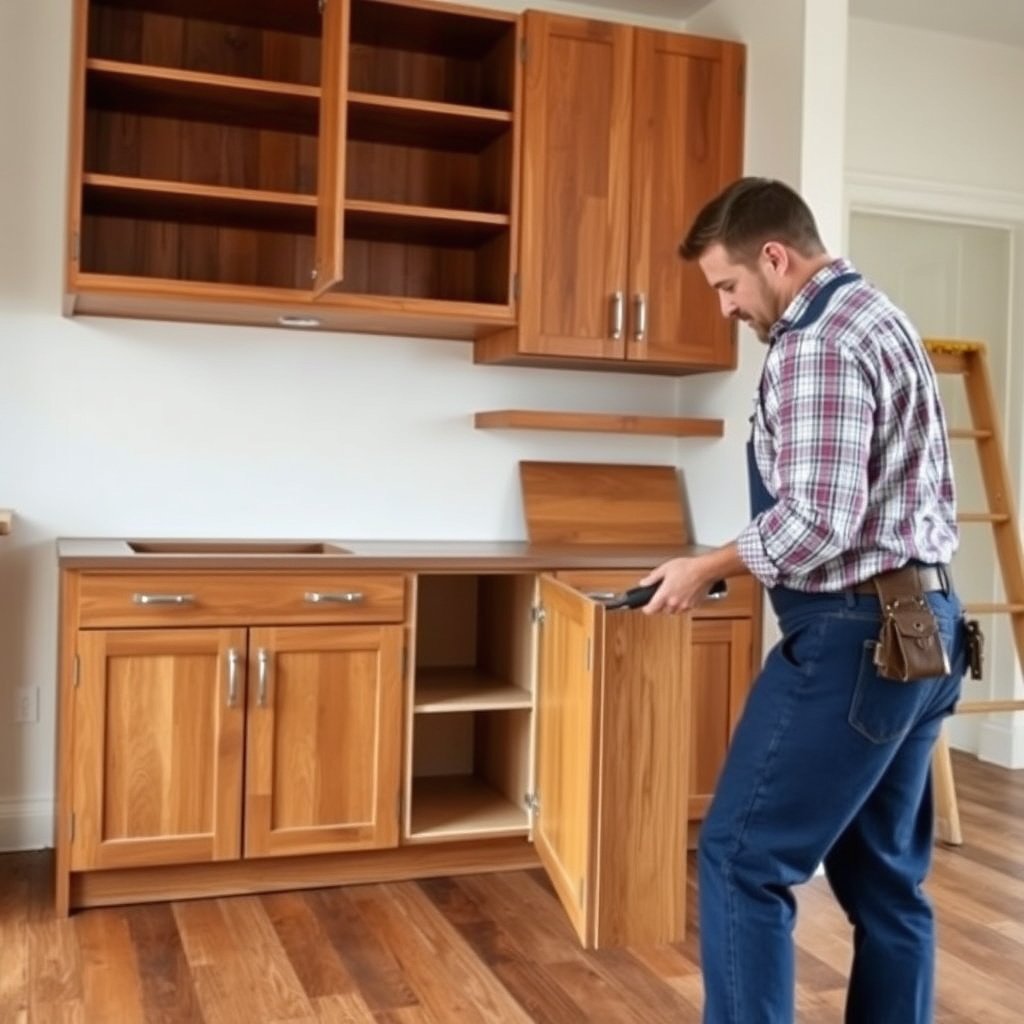
If the toe-kick can’t come off, scribing and cut-to-fit is the most reliable way to keep reclaimed wood floors tight to cabinet profiles without eliminating the necessary movement space. This method takes longer, but it produces a controlled, professional line when you do it systematically.
“Scribing helps match flooring edges to irregular cabinet and wall profiles, reducing noticeable gaps caused by out-of-square bases.” NWFA wood flooring installation guidelines
“Undercutting trim/jambs can improve the appearance of flooring transitions by allowing boards to tuck into tight spaces without crushing edges.” NWFA wood flooring installation guidance
– Measure cabinet edges and use a scribe/contour gauge (or an oscillating tool + careful test cuts) to match the cabinet base profile.
– Use an undercut strategy where applicable (undercutting allows boards to tuck under trim/jambs more cleanly than forcing gaps).
– Install with the correct fastening method for your reclaimed floor:
– Nail/cleat where your flooring system allows, or
– Use the correct adhesive pattern if glue-down,
– While still maintaining the required movement space at walls/perimeters.
Method A vs Method B (fast decision table)
| Criterion | Method A: Remove toe-kick | Method B: Scribe & cut |
|---|---|---|
| Best when cabinet toe-kick comes off | Yes (primary scenario) | No |
| Visible cut lines near the cabinet base | Minimal | Moderate (you’ll cover with trim) |
| Time to complete cabinet run | Faster | Slower |
| Risk of uneven cabinet-base “gap” | Lower (planks disappear under toe-kick) | Higher unless you scribe carefully |
| Tool requirements | Toe-kick removal tools + saw | Scribe/contour gauge + undercut/oscillating tool |
| Fastening constraints under fixed cabinets | Still must follow manufacturer rules | Still must follow manufacturer rules near cabinetry |
| Expansion gap management | Easy to confirm with spacers | Requires disciplined measurement and test-fit pieces |
| Best look for irregular reclaimed thickness | Often forgiving (less visible edge) | Requires more board sorting before cutting |
| Repairability later | Potentially easier if toe-kick access remains | More complex edge-matching if boards need replacement |
| Overall “DIY friendliness” | Higher | Lower |
| Best for reclaimed wood floors with minimal milling variation | Yes | Still works, but you’ll notice differences more |
| Best for | Cabinets with removable toe-kicks and a desire for a clean visual finish | Cabinets where toe-kicks can’t be removed and you need a precise scribed line |
Finish details that make the install look intentional
The install looks “professional” when you treat the cabinet perimeter like a designed transition—not a random cut line. For reclaimed wood floors, this is especially important because board color/texture variation can make imperfect edges more noticeable.
“Transitions and perimeter coverage (baseboards, trim, or reducers) are used to hide minor edge-fit differences while still respecting expansion requirements.” NWFA wood flooring installation guidelines
“Many flooring failures around fixed elements happen when the floor is restrained; covering the edge does not replace the need for an expansion gap.” NWFA wood flooring installation guidance
– Add base/trim to cover the “transition line” where you had to cut around cabinet feet—this hides small fit imperfections.
– Fill only where appropriate (or use matching filler/wood putty) and follow your floor finish system—reclaimed wood often needs the right stain/finish plan so it doesn’t look patchy.
– Protect the floor edges during cabinet access—reclaimed wood can chip more easily along cut lines.
A practical approach: finish the floor edges only after all cabinet-area cutting and test-fitting is complete. That way, you’re not trying to match finish color while your reclaimed wood floors are still being slid into position.
Also, avoid the “tighten it with caulk” temptation. Caulk is not a structural replacement for expansion space; it can trap movement and create stress at the cabinet boundary.
What can go wrong (and how to avoid it)
Most problems around cabinets happen when someone prioritizes appearance over movement control. The fix is simple: measure expansion space correctly, confirm moisture/flatness conditions, and follow the fastening/adhesive rules for your reclaimed wood floor type.
“If the expansion gap is removed or reduced, seasonal wood movement can cause cupping, buckling, or seam separation near fixed walls and cabinetry.” NWFA wood flooring installation guidelines
“Moisture imbalance between a concrete slab and wood flooring can lead to dimensional movement and adhesive or finishing problems, which is why slab moisture testing standards exist.” ASTM F2170 and ASTM F1869
– No expansion gap: Floors can cup or buckle if you trap the wood tightly against cabinets/walls. Always follow the expansion gap in your flooring instructions.
– Uneven cabinet bases: If the cabinet run isn’t perfectly level, your “gap” will vary—use scribing/fit adjustments rather than assuming everything is straight.
– Wrong fastening near cabinets: Some systems shouldn’t be fully trapped under fixed cabinetry. Verify what your manufacturer allows for fastening/not fastening in those areas.
– Moisture trapped under cuts: Avoid sealing or gluing in ways that trap moisture against the subfloor—follow the moisture/vapor guidance from your installation instructions.
Three concrete anchors to keep in mind:
– According to NWFA, subfloor flatness tolerance commonly targets about 3/16 in over 10 ft to prevent rocking and edge gaps ([year: ADD: NWFA edition you follow]).
– According to ASTM F2170, slab moisture compatibility is evaluated using in-situ relative humidity testing ([year: ADD: ASTM revision year used in your project documentation]).
– According to common NWFA-aligned practice for hardwood, perimeter expansion gaps are typically around 1/2 in for nail-down installs ([year: ADD: NWFA edition used]).
Because reclaimed wood floors are often less uniform than new stock, small measurement mistakes near cabinets show up faster. If you’re seeing a consistent “too tight” feel as you approach a fixed base, stop and re-check your expansion gap—don’t force planks into place.
Verdict / tip
If your toe-kicks come off cleanly, Method A (remove toe-kick and slide planks underneath) usually gives the neatest look with the fewest visible cut edges. If toe-kicks can’t be removed, Method B (scribe and cut) works well, but expect more time and more careful test-fitting—especially with reclaimed boards that vary in thickness.
Skip DIY (or plan on professional help) if your subfloor is significantly out of level/flat, if your reclaimed boards vary wildly in thickness, or if your flooring manufacturer’s instructions explicitly limit cutting/fastening near fixed cabinetry.
Quick checklist (scan before you start)
| Task | Done? |
|---|---|
| Confirm floor type + check installation instructions for expansion gap | ☐ |
| Verify subfloor flatness + moisture conditions | ☐ |
| Choose: toe-kick removal or scribe/cut method | ☐ |
| Sort reclaimed boards by thickness/straightness | ☐ |
| Plan reference line for first course | ☐ |
| Undercut/clear trim or jambs where needed | ☐ |
| Keep required movement space around cabinet-perimeter areas | ☐ |
| Install, trim-cover edges, and finish to match reclaimed look | ☐ |
Reclaimed wood floors can look incredible under and around cabinetry—but only when the installation treats movement and fit as a system, not a series of “quick cuts.” If you follow the right method for your flooring type and keep expansion space intact, you’ll avoid the most common failures while achieving a tight, intentional cabinet perimeter.
Sources
– National Wood Flooring Association (NWFA), wood flooring installation guidelines (use the appropriate section for your installation method: nail-down, glue-down, or floating).
– Your reclaimed wood flooring manufacturer’s installation instructions (expansion gap, fastening/nail/adhesive method, and moisture/vapor guidance).
– Reclaimed/engineered products should be installed according to the specific product system requirements (follow the published warranty/installation limits for areas under or adjacent to fixed cabinetry).
Frequently Asked Questions
What’s the best way to install reclaimed wood floors around kitchen cabinets?
Start by measuring the gap between cabinet faces and the subfloor so you can decide whether to slide planks under the cabinet or build around the opening. If cabinets are fixed and can’t be moved, you’ll typically undercut door jambs and cabinet toe-kick areas to tuck the reclaimed wood planks neatly and keep a consistent floor surface. Use a saw with a fine-tooth blade for reclaimed wood because planks may vary in thickness, and keep expansion gaps along walls and cabinet structures when required.
How do you handle the toe-kick area and gaps when fitting reclaimed wood planks under cabinets?
Remove the toe-kick (or loosen it if possible) to create working space for the last-row boards, which helps you achieve a tight, professional look. Install the planks first where you have clearance, then cut the remaining pieces to fit the recessed toe-kick profile, maintaining the same direction and pattern as the rest of the reclaimed wood floor. Leave the manufacturer-recommended expansion gap at walls and any rigid cabinet framing, and avoid forcing planks tight against fixed cabinet bases that can prevent proper movement.
Why do reclaimed wood floors sometimes buckle or separate near cabinets, and how can you prevent it?
Reclaimed wood floors can react strongly to moisture and temperature changes, especially in kitchens where there’s frequent humidity variation, which can cause cupping, gapping, or buckling near fixed cabinet perimeters. To prevent this, acclimate the reclaimed wood to the room conditions, ensure the subfloor is flat and dry, and use the correct underlayment or vapor barrier for your installation method. Also keep expansion gaps where the floor meets walls or cabinet framing (unless the flooring design specifies otherwise) so the reclaimed wood can move without stressing joints.
Which installation method works best for reclaimed wood floors around cabinets—nail-down, glue-down, or floating?
The “best” method depends on your reclaimed wood thickness, subfloor condition, and whether you can get full plank height and fastening access under cabinet overhangs. Nail-down reclaimed wood floors can work well on stable subfloors, but you’ll need careful cutting and possibly shorter sections near cabinets. Floating reclaimed wood floors can be easier to manage around obstacles but still require correct expansion gaps and a suitable underlayment system to handle moisture and sound control.
How do you cut reclaimed wood planks accurately for a clean fit around cabinet legs and uneven walls?
Use a marking tool or template to trace the cabinet leg contours and any uneven wall conditions, then transfer measurements to the reclaimed wood plank before cutting. Because reclaimed wood boards may be warped or have irregular edges from prior use, dry-fit multiple times and use a consistent plank orientation for a uniform reclaimed wood floor appearance. For the best results, use a straightedge for guide cuts, sand the cut edges lightly, and seal any exposed end grain or rough edges to help resist moisture near cabinet areas.
📅 Last Updated: October 15, 2026 | Topic: How to install around cabinets reclaimed wood floors? | Content verified for accuracy and freshness.
References
- Wood flooring
- Wood flooring
- Expansion joint
- Lead Renovation, Repair and Painting Program | US EPA
- https://www.cdc.gov/niosh/topics/wooddust/
- https://scholar.google.com/scholar?q=how+to+install+hardwood+flooring+around+cabinets+expansion+gap Google Scholar
- https://scholar.google.com/scholar?q=reclaimed+wood+flooring+installation+guidelines+around+fixed+structures+cabinets Google Scholar
- https://scholar.google.com/scholar?q=hardwood+floor+installation+undercut+cabinet+frames+door+jambs+best+practices Google Scholar