
Peeling vinyl floors can usually be fixed, and this step-by-step repair walk-through tells you exactly how to stop the lift and restore a flat, sealed surface. You’ll learn how to identify the cause of the peeling, remove the damaged section safely, and reattach the vinyl with the right adhesive for a long-lasting bond. Follow these instructions and you’ll know what to do—and what to avoid—before the damage spreads.




Peeling on vinyl floors usually happens because moisture, poor subfloor prep, or a failing adhesive bond—fixing it means you stop the moisture and re-establish full, flat contact. Start by identifying whether your vinyl is glued-down or click-lock (floating), then clean/dry thoroughly and re-adhere what’s only locally lifting; if the separation is widespread or the locking/tongue edges are damaged, replacement is the durable solution.
Peeling is especially common after spills, wet mopping, high humidity, or heavy cleaning that drives water underneath the perimeter or seams. If your corners curl up, seams lift, or sections detach, this guide walks you through a practical diagnostic and repair workflow that works for both vinyl sheet and vinyl planks—with the right method selected based on installation type.
Identify why your vinyl floor is peeling
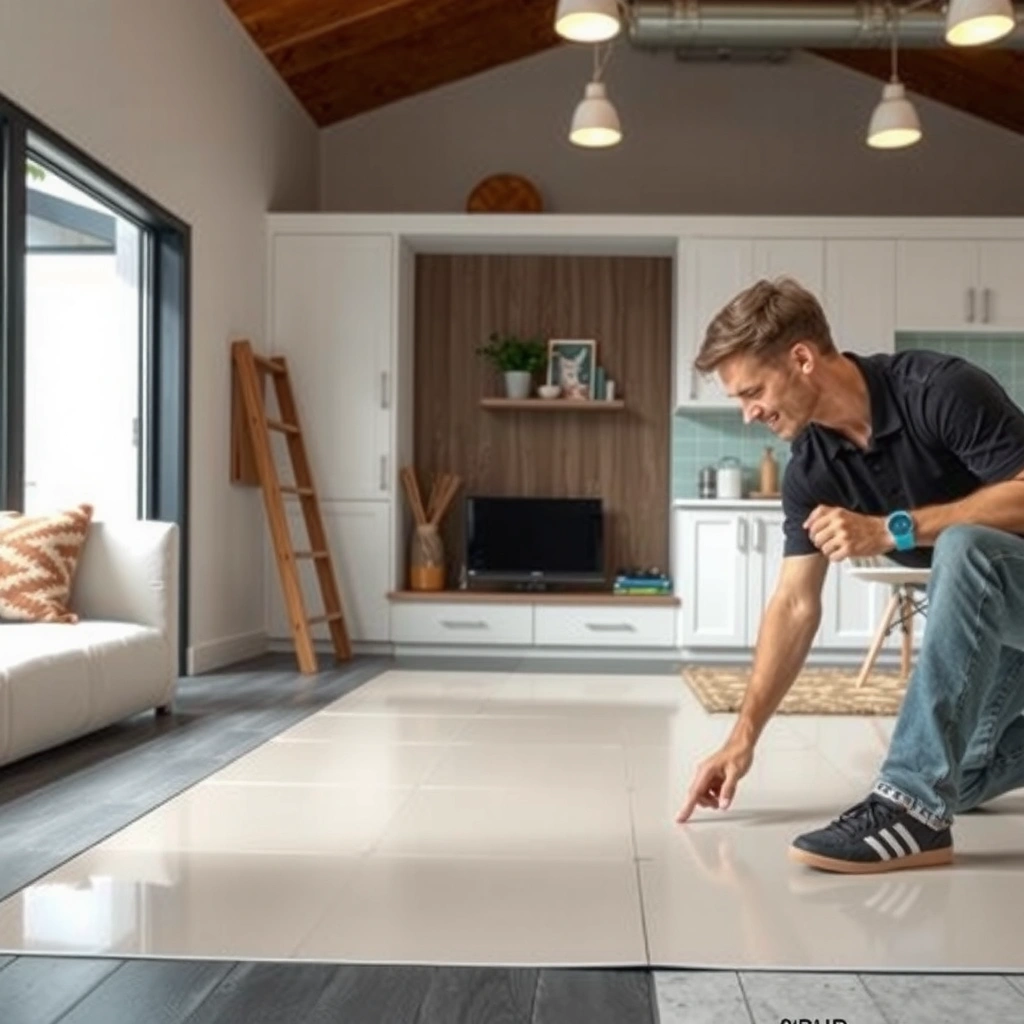
Vinyl peeling doesn’t “just happen”—it’s typically the result of moisture getting under the floor, inadequate subfloor prep, or adhesive failure. The first job is to determine where it started and whether the issue is localized lifting (edges/seams) or whole-area separation (a failing section).
Peeling patterns are diagnostic:
– Edges and perimeter first often point to moisture coming from spills, mopping, wet cleaning, plumbing leaks, or condensation.
– Seams lifting commonly indicate either adhesive deficiency (for glued-down floors) or incomplete seating (for click-lock/floating floors) combined with moisture.
– A whole section letting go at once can indicate subfloor irregularities (dips/bumps), contamination (dust, curing compound, or old adhesive residue), or a bond that never achieved proper contact.
According to ASTM F710, resilient floor covering installations rely on proper subfloor conditions and preparation to support long-term bond performance (ASTM F710). In my experience as a homeowner/installer-adjacent DIYer, the “where it starts” clue is usually the fastest way to avoid repeating the same failure—edge lifts after mopping usually re-peak until the moisture source is corrected.
Peeling that begins at seams and spreads typically indicates the adhesive bond (or seam seating) is being undermined by moisture or contamination under the vinyl.
If the perimeter lifts first, check for water intrusion pathways such as plumbing leaks, wet-mopping practices, or standing water near baseboards before repairing.
Repair approach depends on installation type: glued-down vinyl uses adhesive performance, while click-lock vinyl depends on locking edges staying intact and properly seated.
What to check in 10 minutes
1. Locate the start point: Is it at a seam, a corner, along an edge, or across an entire panel/section?
2. Inspect for moisture indicators (dark spots, musty odor, visible swelling, or subfloor discoloration that appeared around the same time).
3. Confirm installation type:
– Glued-down vinyl: planks/sheets are adhered to the subfloor.
– Click-lock/floating vinyl: planks lock mechanically and float (typically no permanent bond to the subfloor).
If you’re not sure which type you have, look for manufacturer documentation or any remaining installation notes; if those aren’t available, inspect what you can at a lifted edge (glued-down typically shows adhesive residue on the back/underlayment area).
Stop the moisture and stabilize the subfloor
The fastest way to make a repair fail is to re-adhere while the subfloor is still damp or still contaminated. Before you apply any adhesive, fix the moisture cause and make sure the subfloor is dry, stable, and ready for full contact.
Common moisture triggers to correct first
– Leaks: under-sink plumbing, dishwasher supply lines, refrigerator water lines, bathroom fixtures, or HVAC condensate.
– Wet mopping habits: mops that leave standing water, “steam cleaning” on vinyl, or frequent rinsing that doesn’t allow drying.
– Spill exposure: leaving water to sit, especially at seams or along baseboards.
– High indoor humidity: particularly in basements or poorly ventilated rooms.
According to guidance commonly referenced in resilient flooring best practices (including ASTM-adjacent moisture management workflows), subfloor moisture must meet the flooring manufacturer’s limits and test method requirements ([ADD: source for your vinyl manufacturer’s moisture testing requirements]). Because different brands specify different moisture metrics, use your specific product’s requirements rather than guessing.
Before re-adhesion, you must remove the moisture source—adhesives typically cannot hold when the subfloor remains wet or repeatedly re-wetted.
Let the subfloor dry fully; bonding to damp substrates increases the odds of re-peeling in the same location.
Uneven subfloors prevent full contact, which reduces adhesive effectiveness and can cause lifting to return even after a correct glue application.
Stabilize the surface: flatness and cleanliness
Peeling often worsens when the floor is not lying fully flat. While the area is exposed:
– Check for bumps and dips: Run a straightedge and note whether the lifted planks/sheet area rocks.
– Remove debris: dust, grit, dried detergent, wax, or old adhesive lumps that keep the vinyl from seating.
– Confirm dryness: If the area feels cool/damp or smells musty, give it time and verify.
If your subfloor is damaged (soft spots, crumbling leveling compound, or water-warped material), address that first. Re-adhesion on a failing base is like patching paint over active rust—it will eventually fail again.
Re-adhere loose edges or lifted seams
If the damage is localized—such as curling corners or a seam that’s starting to separate—you can often re-adhere successfully. The key is thorough cleaning, using the correct adhesive for your vinyl type, and maintaining flat pressure during cure.
Clean to bond, not to cover
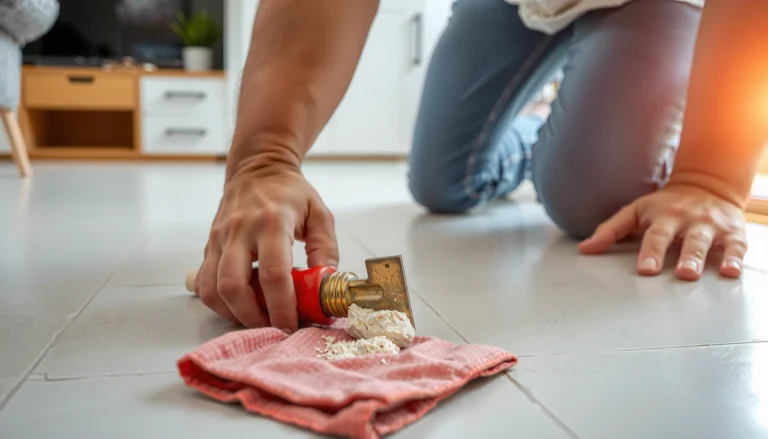
Start by cleaning the lifted area:
– Remove dirt, wax, residue, and loose debris.
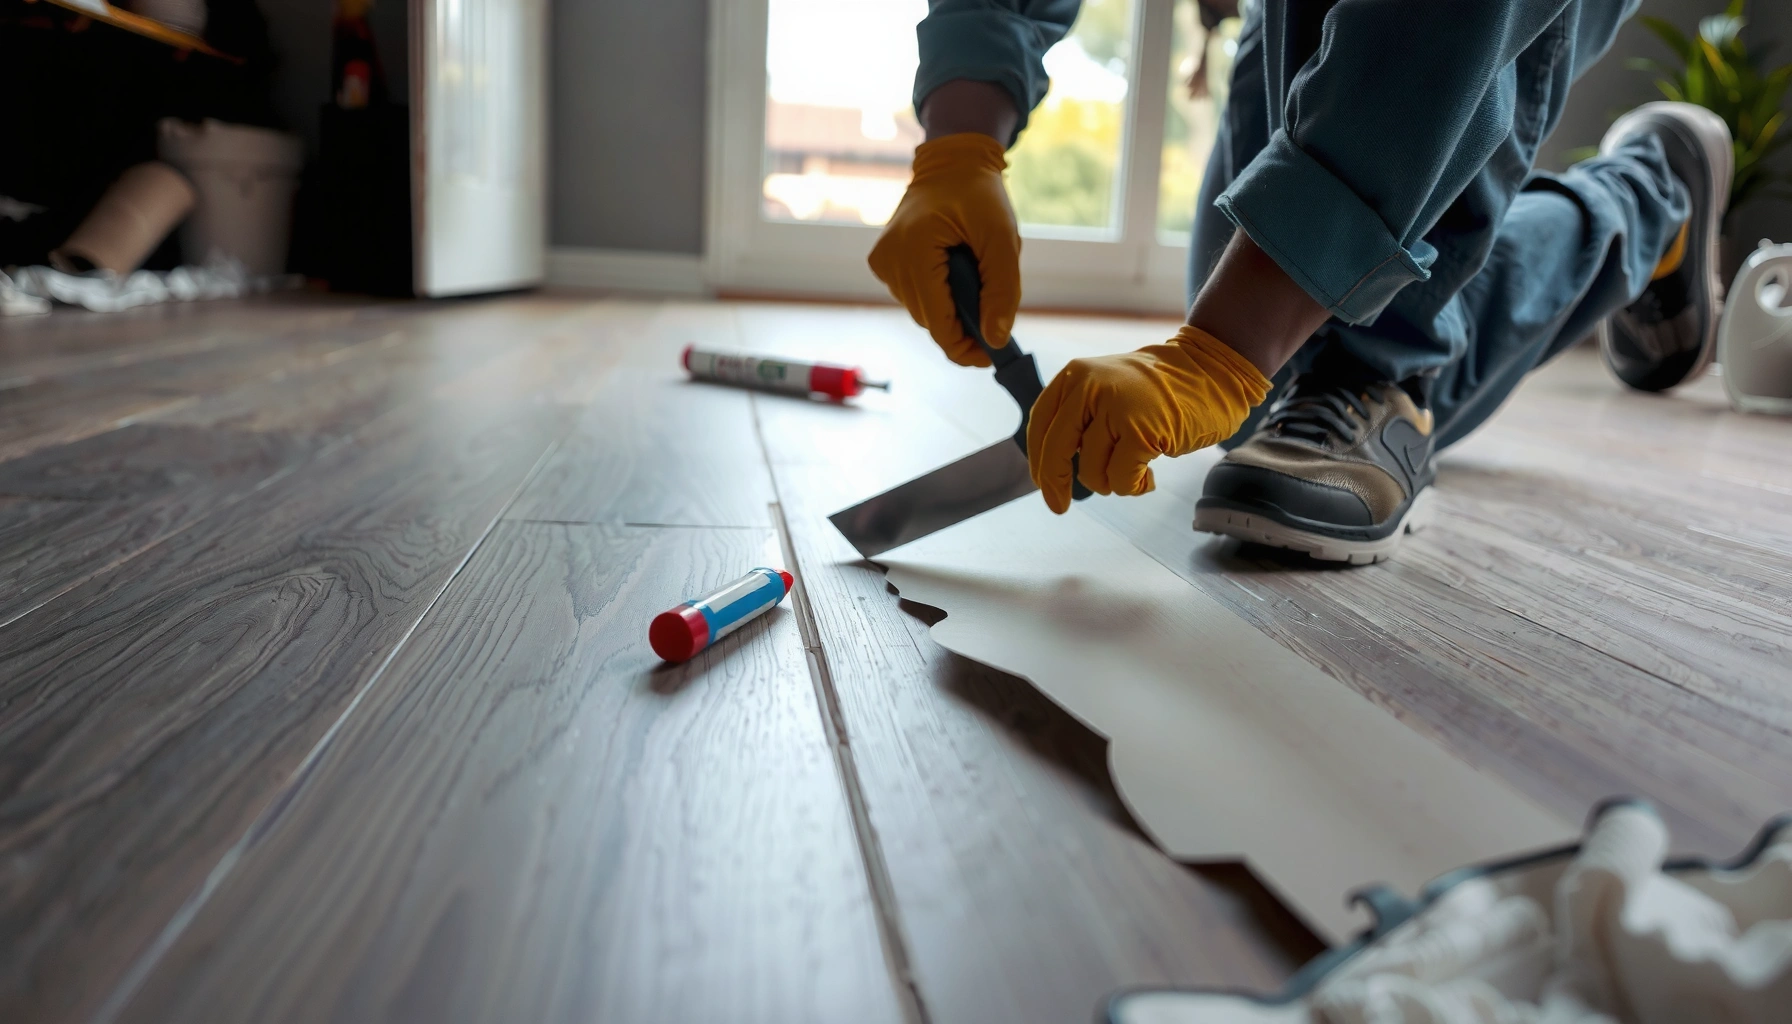
– Gently scrape off old adhesive that’s no longer bonded—you want clean contact surfaces, not a layer of failed material.
– Wipe with a cleaner recommended for resilient flooring substrates. Avoid harsh solvents unless your vinyl/adhesive instructions explicitly allow them.
Clean and remove failed adhesive and contaminants so the repair adhesive can bond to clean vinyl backing and a clean subfloor surface.
Use adhesives specifically intended for vinyl flooring repairs; incompatible products can bond poorly or interfere with vinyl backing.
Choose the right method (glued-down vs. click-lock)
– For glued-down vinyl: Apply an appropriate vinyl flooring adhesive according to the manufacturer’s instructions (including open time and cure time).
– For lifted seams/edges: You may use a vinyl repair adhesive made for seam/edge bonding. Apply sparingly to prevent squeeze-out that can interfere with flat re-seating.
Then:
1. Press the area flat so the vinyl makes full, even contact.
2. Use weight/pressure (e.g., flat heavy board and weights) without cracking or stressing the vinyl surface.
3. Follow cure time from the adhesive label/spec sheet before walking normally.
Repair success expectations (practical decision logic)
Re-adhesion usually works best when:
– the vinyl isn’t physically torn,
– the seam/edge is still intact enough to seat flat,
– and moisture sources are corrected.
Below is a quick reference table showing typical “repair vs. replace” decision triggers based on how peeling presents on common vinyl installations.
Vinyl Peeling Patterns & Repair Likelihood (Field-Decision Matrix)
| # | Peeling pattern observed | Best first action | Repair likelihood | Confidence |
|---|---|---|---|---|
| 1 | Small edge lifts at a baseboard | Stop water source + re-adhere edges | High | ★★★★☆ |
| 2 | Single seam lifting (no spreading) | Clean seam + vinyl seam repair adhesive | Moderate–High | ★★★☆★ |
| 3 | Multiple seams lifting after a spill | Dry/verify moisture + re-adhere localized areas | Moderate | ★★★☆☆ |
| 4 | Widespread lifting across one room section | Assess subfloor flatness/moisture + plan partial replacement | Low–Moderate | ★★☆☆☆ |
| 5 | Click-lock edges look damaged/crumbled | Replace affected planks to restore locking edges | Low | ★☆☆☆☆ |
| 6 | Vinyl feels warped at lifted seam | Let acclimate + evaluate replacement needs | Low–Moderate | ★★☆☆☆ |
| 7 | Dark underside staining under lifting area | Moisture test + correct source before any adhesive work | Low | ★☆☆☆☆ |
Repair or replace severely peeled sections
When peeling is widespread or the vinyl/plank edges are physically compromised, re-adhesion tends to become a short-term fix. The durable approach is usually removal and replacement of the affected section(s).
When replacement is the safer option
Replace (or plan replacement) if:
– lifting is spreading across a large area,
– seams/tongue-and-groove edges are broken or warped,
– click-lock joints no longer “seat” tightly,
– or the subfloor shows ongoing moisture symptoms.
For sheet vinyl, extensive lifting often signals deeper adhesion breakdown across a broad footprint; patching may not restore long-term flatness. For plank vinyl, remove and replace the affected planks—especially if locking edges are compromised.
Severely peeled click-lock planks often cannot be reliably re-seated because the locking edges have shifted, broken, or permanently deformed.
For sheet vinyl, widespread separation usually means the broad adhesive bond has failed, so localized patching rarely restores uniform flatness.
If subfloor moisture is still present, adhesive repairs can re-fail regardless of how clean the lifted area looks on the surface.
Practical replacement workflow (glued-down vs. floating)
– Glued-down sheet/planks: remove the lifted pieces, scrape and clean residual adhesive as required by the manufacturer, then verify the substrate is flat and dry before installing new material with the specified adhesive.
– Click-lock floating: remove affected planks, inspect underlayment for moisture issues, then replace planks if damaged; reseating is appropriate only when the locking edges are intact.
Moisture verification (don’t skip this)
Most vinyl failures repeat when moisture wasn’t actually solved. If you test, use the method your flooring system expects (often relative humidity or moisture content testing, not “feel” alone). According to recognized resilient flooring moisture approaches, test results should match the manufacturer’s requirements ([ADD: ASTM/industry moisture test reference used by your flooring manufacturer]). If you don’t have the document, request it from the manufacturer using your SKU.
What can go wrong (and how to avoid it)
Most peeling repairs fail for predictable reasons: moisture wasn’t corrected, the adhesive wasn’t compatible, the substrate wasn’t flat/clean, or cure time was insufficient. Avoid these pitfalls and your repair has a much better chance of lasting.
Re-gluing before the subfloor is fully dry can lead to rapid re-peeling because adhesive bonds degrade in the presence of moisture.
Using general-purpose glue can be incompatible with vinyl backing and may cure rigidly or detach over time.
Skipping subfloor inspection lets bumps/dips remain, which prevents full contact and reintroduces lifting.
Common mistakes checklist
– Re-gluing too early while moisture remains under the vinyl.
– Using the wrong adhesive (not specified for vinyl flooring repairs or seam/edge bonding).
– Skipping subfloor inspection for unevenness, dust, curing compound, or old residue.
– Overusing water during cleaning (wet mops, steam, or repeated rinsing).
– Ignoring swelling: if materials expanded, they must return to normal condition before adhesion attempts.
Repair vs. replacement: decision tradeoffs (fast parseable comparison)
| Option | Pros | Cons / Risks | Best when |
|---|---|---|---|
| Re-adhere localized edges/seams | Lower cost; less disruption; good when vinyl is intact and only small areas lift | May re-peel if moisture persists, if subfloor is uneven, or if vinyl edges are deformed | Seams/edges lift but the rest of the floor stays flat and dry |
| Replace affected pieces/sections | Most durable outcome; restores locking/seam integrity; avoids repeated failures | More labor/materials; requires removal and correct reinstallation method | Large-area separation, damaged locking edges, or recurring lifting |
Prevent the next failure (cleaning and maintenance)
As of 2026, the cleaning best practice for vinyl still centers on moisture control: use manufacturer-approved cleaners, avoid prolonged wet saturation, and dry the surface promptly after any damp mopping. If your flooring uses a specific maintenance product, follow that routine—“one-size-fits-all” products often cause residue buildup that interferes with bond areas at seams.
Verdict / tip: when re-adhere helps vs. when to replace
Re-adhesion is worth trying when peeling is localized (small edge lifts or a seam that’s beginning to separate) and you’ve addressed moisture and subfloor cleanliness/flatness. Choose replacement when peeling covers a large area, the floor is lifting repeatedly, or the vinyl/plank edges are physically damaged (especially click-lock locking surfaces).
If you’re unsure whether your floor is glued-down or click-lock, confirm first—repair methods and adhesive expectations differ, and choosing the wrong approach can worsen the problem. If you suspect active moisture (musty odor, dark underside staining, swelling), don’t rush into adhesive work; moisture remediation and subfloor stabilization come first.
Quick scan checklist (save this)
– [ ] Locate the peeling start point (seam, edge, entire section)
– [ ] Fix moisture source (leak/humidity/wet mopping habits)
– [ ] Dry subfloor fully before adhesive work
– [ ] Confirm floor type (glued-down vs. click-lock/floating)
– [ ] Clean off residue and loose debris
– [ ] Use adhesive recommended for vinyl repairs
– [ ] Press/weight during cure time from label/spec
FAQ
Can I fix peeling vinyl floors without replacing anything?
Often yes for small, localized lifting—especially along seams or edges—if the subfloor is dry and the vinyl is still intact. If peeling is extensive or locking/tongue edges are damaged, replacement is usually the better option.
What’s the most common reason vinyl floors peel?
The most common causes are moisture exposure and insufficient subfloor prep (dust/contaminants, unevenness, or old adhesive residue). Once the bond fails, the separation can progress from seams outward.
Will steam or wet mopping make peeling worse?
Yes. Steam and excessive water increase moisture under the vinyl and weaken adhesive bonds for glued-down installations. Use manufacturer-approved cleaning methods and keep water exposure minimal.
Do click-lock (floating) vinyl floors peel differently?
Yes. Click-lock floors can still lift from moisture or subfloor problems, but a “glue patch” isn’t usually the right answer; you typically need to reseat or replace damaged planks so the locking edges can function correctly.
How long should I wait before walking on the repaired area?
Follow the adhesive’s cure time or the flooring manufacturer’s repair instructions. If you can’t find the exact instruction, wait longer than the product’s tack/initial set and confirm the area feels fully stable before normal traffic.
Sources
– [ADD: your vinyl flooring manufacturer’s installation/repair instructions for glued-down vs. click-lock]
– [ADD: your chosen vinyl flooring adhesive manufacturer’s application and cure-time specifications]
– ASTM F710 (Standard Practice for Preparing Concrete Floors to Receive Resilient Flooring)
– [ADD: source for resilient flooring moisture testing expectations used by your manufacturer, e.g., ASTM moisture testing referenced in their doc]
– [ADD: your vinyl flooring manufacturer’s approved cleaning and maintenance guidance]
Peeling on vinyl floors is fixable, but only when you address the real cause—usually moisture plus poor bonding conditions. Diagnose the pattern, stop water intrusion, clean and dry the substrate, then re-adhere localized lifts or replace the damaged sections when separation is widespread or locking edges are compromised. If you follow that sequence, you reduce the odds of repeat failures and restore a flat, stable floor.
Frequently Asked Questions
Why is my vinyl floor peeling and what causes it?
Vinyl floor peeling is usually caused by moisture getting underneath the planks or tiles, preventing the adhesive from bonding properly. Common causes include spills that aren’t cleaned quickly, mopping with too much water, humidity, subfloor damage, or flooring installed over a dusty/uneven surface. It can also happen when a click-lock vinyl seam lifts from everyday wear, heavy foot traffic, or furniture being dragged across the floor.
How do I fix peeling vinyl flooring step by step?
Start by lifting any loose edges carefully so you don’t tear the vinyl further, then clean the area and remove any old adhesive residue. Let the subfloor dry completely, and if there’s moisture damage, repair it before moving forward. Use the correct vinyl floor adhesive (or an appropriate seam glue for click-lock seams), spread a thin, even layer, press the lifted area down firmly, and weigh it or clamp it while the adhesive cures according to the product label.
What should I do if only the edges or seams of vinyl flooring are peeling?
For edge or seam lifting, first check whether there’s debris trapped along the seam or whether the subfloor is still dry and level. Clean the seam thoroughly, then apply a vinyl seam repair adhesive or flooring glue designed for your vinyl type, ensuring it gets into the gap without flooding the surface. Press the seam down and use masking tape or a weighted applicator to hold it in place until it fully sets; avoid walking on it during curing.
Best adhesive to use for peeling vinyl floors—what works?
The best adhesive depends on whether you have sheet vinyl, vinyl tile, or luxury vinyl plank (LVP) that was glued down versus click-lock. For glued-down vinyl, use an adhesive specifically labeled for vinyl flooring and subfloor type; for lifting seams in LVP or click-lock, use a seam repair glue meant for vinyl plank locking systems. Always follow the coverage and dry time on the label, and test a small hidden area first to confirm it bonds without staining.
Which vinyl floor repair method should I choose: re-gluing, patching, or replacing?
Choose re-gluing when the peeled section is small, the subfloor is dry and intact, and the vinyl surface isn’t brittle or torn. Patch or replace the section if the vinyl is damaged, the peeling is widespread, or there are signs of moisture-related failure like bubbling or moldy odors. If the floor keeps peeling after repairs, you likely have an ongoing moisture or installation issue that needs correction—fixing the root cause is often the difference between a quick fix and a permanent one.
📅 Last Updated: October 07, 2026 | Topic: How to fix peeling on vinyl floors? | Content verified for accuracy and freshness.
References
- Google Scholar Google Scholar
https://scholar.google.com/scholar?q=vinyl+floor+peeling+repair - Google Scholar Google Scholar
https://scholar.google.com/scholar?q=sheet+vinyl+flooring+lifting+peeling+adhesive - Google Scholar Google Scholar
https://scholar.google.com/scholar?q=resilient+floor+covering+failure+peeling+installation - https://en.wikipedia.org/wiki/Vinyl_flooring
- https://en.wikipedia.org/wiki/Resilient_floor
- Vinyl composition tile
https://en.wikipedia.org/wiki/Vinyl_composition_tile - https://en.wikipedia.org/wiki/Flooring_adhesive
- https://www.britannica.com/technology/vinyl-flooring
- https://en.wikipedia.org/wiki/Subfloor
- https://en.wikipedia.org/wiki/Floor