
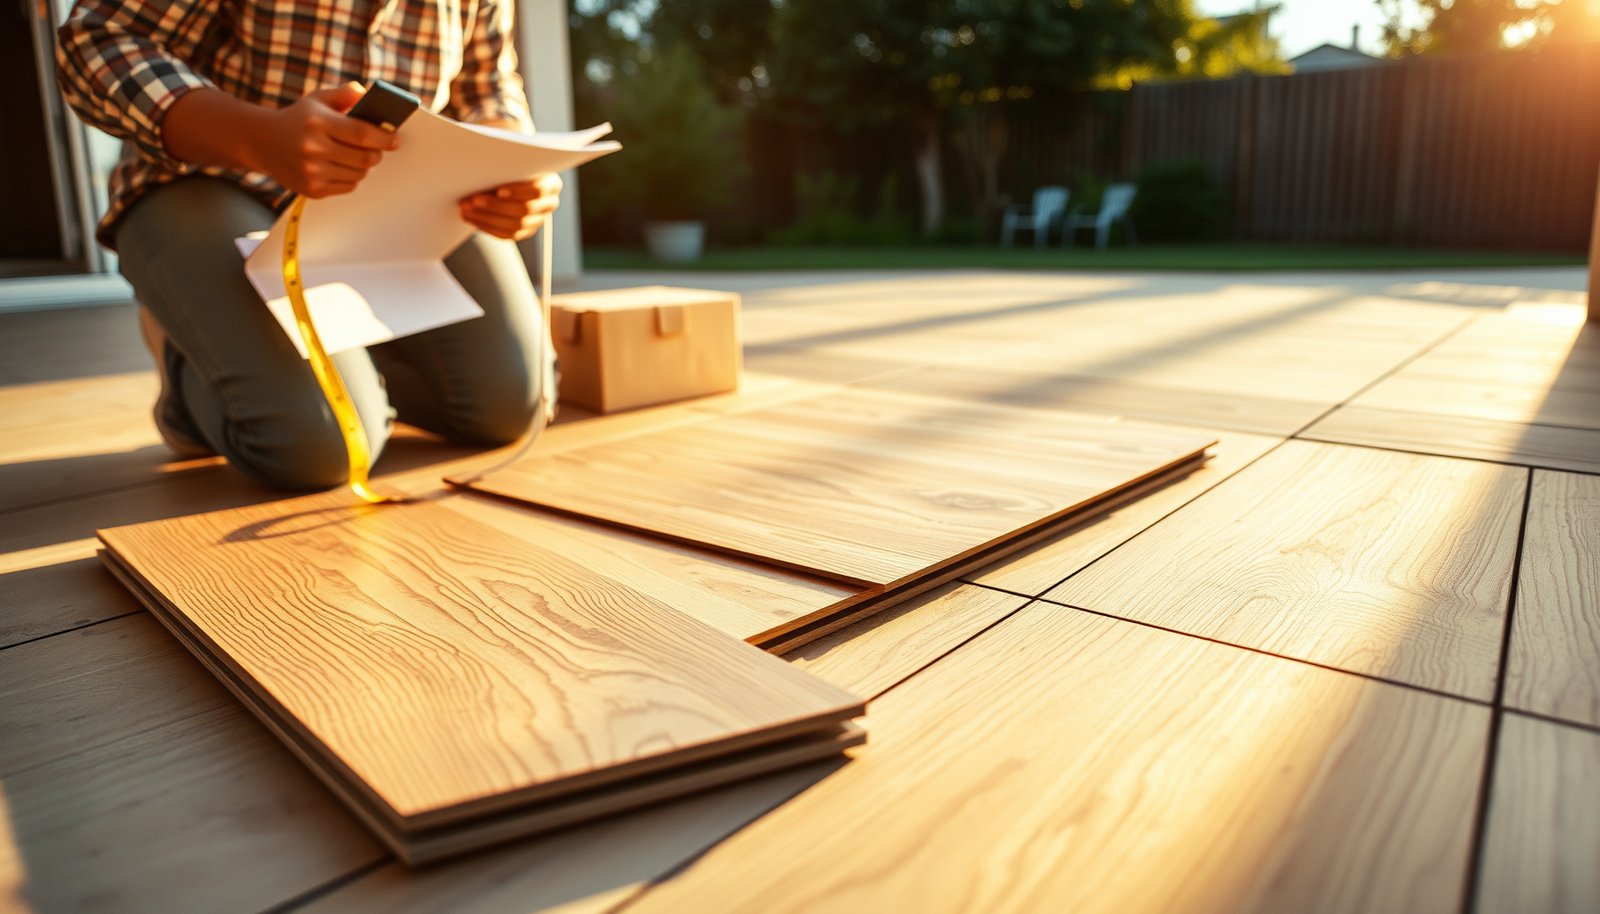

To estimate the cost of laminate floors in a patio, start with the finished-square-foot total by pricing materials for outdoor-rated laminate and matching underlayment, then add delivery and installation labor. This estimate becomes reliable once you account for patio size, the layout complexity (cuts around posts/edges), and weather-proofing needs like moisture protection and transitions. Get a clear bottom-line range and the exact assumptions that drive it—so you can budget confidently before you buy.

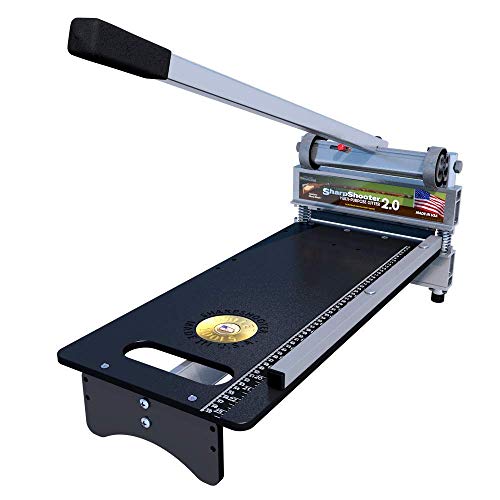

You can estimate laminate patio flooring cost by calculating your patio square footage, applying an appropriate waste factor, and then adding the “extras” that manufacturers typically require (underlayment, moisture protection, and edge/transition detailing). For outdoor or semi-exposed patios, that moisture system often costs more than the planks—so accurate specs-checking is where budgets succeed.
If your patio is outdoors (or semi-exposed) to rain and humidity, you’ll need to be extra careful—laminate is sensitive to moisture, and not every “laminate” product is meant for exterior use. This is for homeowners, DIYers, and contractors planning a patio refresh and trying to budget accurately.
Measure the patio area and plan for waste
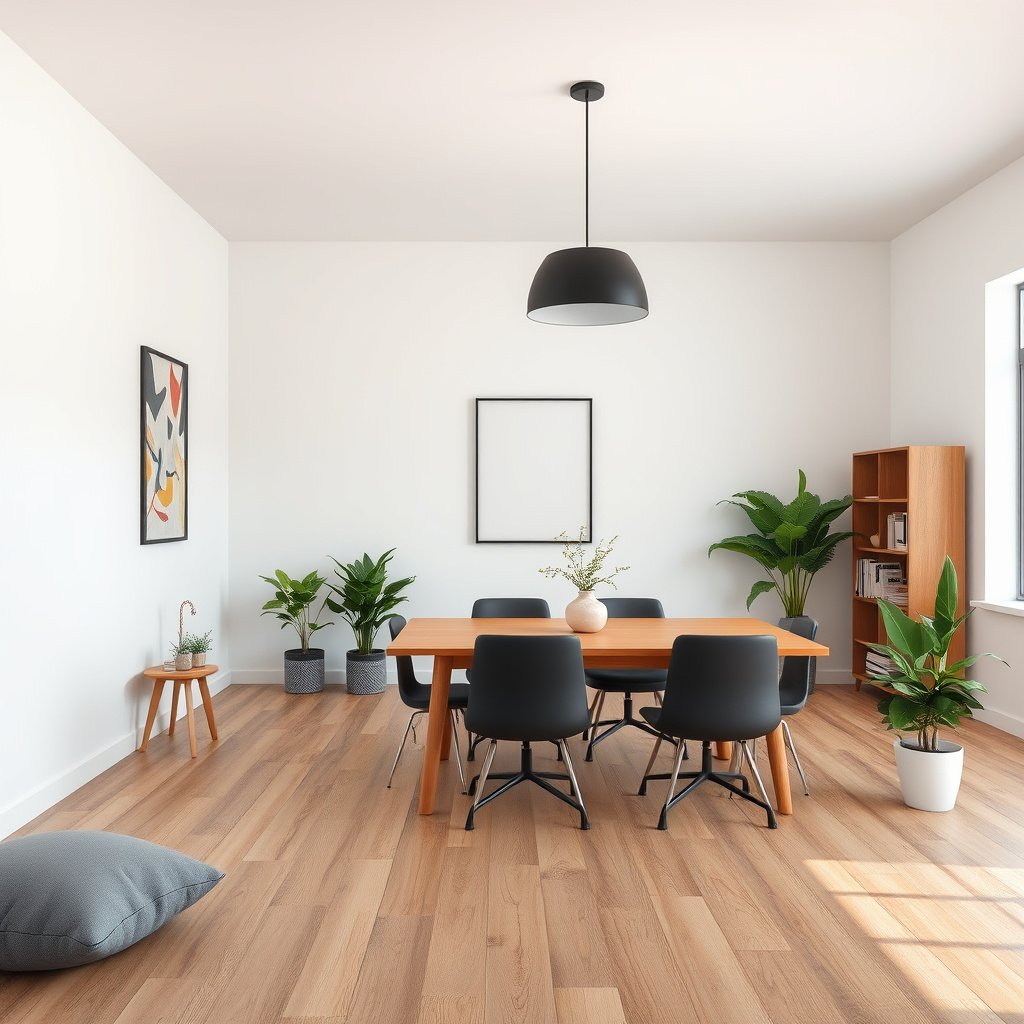
You get the most reliable starting number by measuring the patio area precisely, then adding a documented waste allowance before you price materials. Because laminate boards don’t install from “perfect” rectangles when posts, drains, stairs, or angled edges are involved, waste isn’t optional—it’s part of a real install cost.
How to measure accurately (especially for irregular patios)
Start with the simplest geometry, then break complexity into manageable sections:
– Rectangles: Measure length × width (in feet) and multiply for square footage.
– L-shapes and cutouts: Split into two (or more) rectangles, calculate each area, then add or subtract.
– Offsets for walls/steps: Use straight-line measurements to the nearest “edge line” you’ll follow for the flooring boundary.
Then do a second pass: re-measure one side you’re least confident about (usually length) to reduce early estimate errors.
According to , 1 square foot equals 0.092903 square meters, which helps when you receive international quotes with metric coverage data.
A material waste allowance is necessary in laminate installs because cutting around fixed obstacles (posts, drains, borders) reduces usable plank length.
Use the right waste factor (don’t guess)
After you have patio square footage, apply a waste/extra factor based on your actual plank size and layout pattern. Manufacturers and retailers often publish a recommended waste range (for example, depending on plank length, click system, and whether the install is straight, staggered, or diagonal).
– If you’re using a straight running pattern, waste can be lower.
– If you’re using a diagonal pattern or adding borders, waste is usually higher.
– If you have lots of penetrations (posts, drains, benches), waste also rises.
Many laminate manufacturers recommend using their installation guide’s waste allowance; when that guidance is unavailable, retailers typically publish a waste range tied to plank dimensions.
If your patio includes borders or custom edging, the waste factor should increase because perimeter cutting and shorter “end pieces” are less likely to fit.
Choose an exterior-appropriate laminate (and underlayment)
You should treat exterior suitability as a gate: only estimate cost after confirming the laminate is approved for your patio’s moisture exposure and the exact underlayment/moisture system required. If you skip this step, your estimate may look cheaper—right up until swelling or edge lifting forces a redo.
Verify the product’s intended use and moisture requirements
Look for documentation that explicitly covers:
– Exterior/semi-exterior use (wording matters—“water-resistant” isn’t the same as “exterior approved”)
– Wet-area or moisture system requirements
– Approved underlayment and/or vapor barrier specifications
– Subfloor conditions and flatness tolerances (laminate is “forgiving,” but moisture and unevenness are not)
As of 2026, installation documentation has become more specific about moisture systems for resilient and laminate-type floors, especially when they’re floated over concrete or masonry.
ASTM moisture testing standards for slabs (e.g., ASTM F2170 or ASTM F1869) exist because subfloor moisture can transfer into floor systems even when spills seem occasional; patio installs must address this pathway.
Underlayment isn’t interchangeable: laminate instructions often name approved underlayment types or require a separate moisture barrier in addition to underlayment.
Compare exterior-rated vs “typical indoor laminate” (what it changes in your quote)
Here’s a practical comparison of how choosing the wrong product impacts your total cost—often by increasing the scope of layers and prep you must redo.
| Factor | Exterior-appropriate laminate | Indoor-only laminate used on a patio |
|---|---|---|
| Moisture system alignment | Meets manufacturer moisture/vapor requirements | Often mismatched to exposure reality |
| Budget certainty | Higher—layers are known up front | Lower—redo risk can dominate costs |
| Expected lifespan on patio conditions | Designed for humidity variation per specs | Edges/swells can appear early under rain/humidity |
| Estimate impact | May increase materials slightly—but protects the install | May reduce upfront plank cost, then add costly replacement |
In my estimating workflow, I treat “approved exterior use + required moisture layers” as a checklist gate; if the specs don’t match the patio exposure, we adjust the product choice before we finalize any labor or material number.
Calculate plank quantity from coverage per box
You can translate patio square footage into boxes needed by using the product’s coverage per carton and rounding up after adding waste. This is where your estimate turns from “rough” into “buy-ready.”
Step-by-step: from square feet to cartons
1. Get patio square footage (from the measurement step).
2. Add waste using the manufacturer/retailer recommended percentage.
3. Divide by box coverage (square feet per carton) from the product data sheet/spec sheet.
4. Round up to ensure you never run short mid-install.
A simple formula:
– Total to cover = Patio area × (1 + Waste %)
– Boxes needed = Total to cover ÷ Coverage per box (round up)
Box coverage is product-specific; laminate listings often state coverage in square feet per carton, and that number is what you should use to compute boxes.
Rounding up prevents stop-and-start delays because plank shortages typically require waiting for specific SKUs/batches.
Account for realistic layout constraints
Even if the math is perfect, your actual layout can reduce usable length. Include obstacles in your plan:
– Posts and footings
– Drain lines or scuppers
– Stairs or transitions to interior floors
– Border strips, if used
If you’re doing a diagonal or complex pattern, confirm the waste recommendation with the installer guide—those patterns typically increase end-cuts that don’t “snap” into the remaining run.
Diagonal and border layouts generally require higher waste allowances because more plank ends are cut to fit perimeter geometry and alignment lines.
Build your full cost estimate (materials + extras + install)
Your most accurate budget includes not only laminate planks, but also underlayment/moisture barriers, trim/transition pieces, and subfloor prep. Once those are included, you can estimate labor separately based on complexity and moisture mitigation scope.
Materials line items to include
In most patio laminate projects, plan for:
– Laminate planks
– Approved underlayment (or underlayment + separate vapor barrier, depending on specs)
– Moisture barrier material if required (often a system, not a single layer)
– Trim/transition pieces at edges, thresholds, and changes in elevation
– Fasteners/adhesive only if the manufacturer requires them for certain trim or assemblies
– Tools/rentals if DIY (saw blades, spacers, flooring pull tools, leveling compounds where permitted)
Subfloor moisture management is a cost driver for patio laminate installs because additional testing or vapor barriers may be required to meet manufacturer instructions.
Edge detailing (base/edge trims and transitions) is not cosmetic when moisture and debris are present; gaps can become water/debris collection points.
Labor ranges: request prep vs. install breakdowns
If you hire a pro, ask for a quote that separates:
– Subfloor prep (leveling, crack repair, removing old materials)
– Moisture mitigation tasks (barrier installation, sealing required seams)
– Floating installation labor (click-lock assembly, trimming)
– Transition work (door thresholds, step edges, railings)
This separation matters because patio projects often start with “hidden” prep requirements.
Pros/cons tradeoff: DIY math vs DIY execution
| Approach | Pros | Cons |
|---|---|---|
| DIY estimating + hired install | You control material quantities and spec compliance checks | You still pay for professional labor; minor measurement errors can become expensive |
| Full DIY (math + install) | Lower labor cost if subfloor prep is straightforward | Higher redo risk if moisture layers or flatness tolerances are missed |
| Hired design/build estimate | Most predictable outcome when your patio is complex or drainage is uncertain | More upfront cost; you’ll still want to review the product’s exterior spec fit |
A reality check for numbers
To anchor your budgeting process in something concrete:
– 1 in = 25.4 mm is an exact conversion used when translating expansion-gap requirements and thickness specs across units ( ([year])).
– Moisture vapor emission tests are commonly expressed as lb per 1000 sq ft per 24 hours for slab assessment (ASTM F1869 ()).
– Laminate thickness for typical residential products often falls around 6–12 mm, which affects underlayment fit and transitions ( ([year])).
If your quotes or manufacturer instructions provide different units, convert early—don’t do it mid-project.
What can go wrong (and inflate your price)
Most patio laminate estimate failures trace back to moisture mismatch or missed scope in subfloor prep and edge detailing. When that happens, you’re no longer estimating—you’re paying for a redo.
Common failure points that inflate costs
1. Using a laminate not rated for patio exposure
Even if it looks fine initially, moisture-driven swelling can lead to edge lifting and premature failure.
2. Underestimating subfloor prep
Cracks, unevenness, and drainage issues can require leveling compounds, repairs, or additional mitigation.
3. Skipping transitions and proper edge detailing
Thresholds and perimeter edges need correct trim to prevent gaps that collect water/debris.
4. Miscalculating waste
Borders, diagonal patterns, and obstacles can increase end-cuts beyond what a “standard” waste factor would cover.
If laminate is installed outside manufacturer-approved moisture or exterior exposure conditions, the installation can fail even when planks appear intact during dry periods.
Subfloor flatness requirements are part of the laminate warranty logic; ignoring them can cause joint stress and prevent proper click-lock performance.
Edge cases to plan for in 2026 (especially on older patios)
As of 2026, more homeowners keep patios open longer through seasonal swings in humidity, which makes moisture planning even more important. Also watch for:
– Existing coatings that interfere with moisture barrier bonding (if bonding is required by the system)
– Standing water after rain (drainage is a systems problem, not only a flooring problem)
– Temperature swings causing expansion/contraction pressures at transitions
In my experience reviewing patio re-install scope, the “cheapest” bid often ignores one of these—then the scope expands after the first day of work.
Because laminate behaves as a floating system, perimeter and threshold spacing typically matters for seasonal movement; incorrect gaps can lead to buckling or damaged joints.
Verdict: a realistic way to estimate—plus when to skip DIY math
A dependable laminate patio estimate comes from three essentials: (1) accurate square footage, (2) manufacturer-confirmed moisture/exterior suitability, and (3) a complete budget that includes underlayment, barriers, trim, and any required subfloor prep. If your patio regularly gets direct rain, sits on poor drainage, or you don’t have a solid plan for moisture control, consider switching to a flooring type specifically rated for exterior use—or at least get guidance from the laminate manufacturer before committing.
If you’re missing the product’s specs (box coverage, moisture requirements, and approved underlayment/barrier), pause and get those documents first. The “right” estimate depends entirely on them, and guessing tends to erase any savings quickly.
Manufacturer installation documentation is the authority for laminate moisture requirements, approved underlayment, and subfloor conditions—use it before you finalize the budget.
For patio conditions involving rain and humidity, the cost estimate is only complete when edge detailing and transitions are included, not just the plank quantity.
Quick patio laminate cost checklist (scan/save)
– Patio square footage: ____ sq ft
– Waste allowance from manufacturer/retailer: ____% (amount: ____ sq ft)
– Total to cover: ____ sq ft
– Coverage per box/carton (spec sheet): ____ sq ft/box
– Boxes needed (rounded up): ____
– Underlayment/moisture barrier required? (Yes/No)
– Trim/transition pieces/edge finishing: ____
– Subfloor prep needs (leveling/repair/drainage): ____
– Install labor (if hiring) or DIY tool/rental costs: ____
Frequently Asked Questions
How much does it cost to install laminate flooring in a patio?
The total cost for patio laminate flooring typically depends on materials, underlayment, preparation work, and labor. Laminate floors cost is usually calculated per square foot, then increased by extras like leveling compounds, moisture barriers, and edge trim. If your patio is exposed to humidity or temperature swings, you may need a more water-resistant laminate and specialized underlayment, which raises the patio flooring estimate.
How do I estimate the square footage and materials needed for patio laminate flooring?
Start by measuring the patio area in square feet and add 8–15% for waste due to cuts around doors, posts, or uneven edges. Then estimate the number of laminate boards by dividing your adjusted square footage by the coverage per box. Don’t forget underlayment, moisture barrier (often required for patio environments), transition strips, and any stair/nosing materials if applicable.
Why does patio laminate flooring cost more than indoor laminate flooring?
Patio conditions—like moisture, humidity, and temperature changes—can make the project require higher-quality laminate and better protection layers. For many outdoor or partially covered patios, homeowners need water-resistant laminate plus a proper vapor/moisture barrier and sometimes a more durable underlayment, which increases the overall laminate floor cost. Additionally, patio subfloor prep (leveling cracks, smoothing uneven surfaces, improving drainage) can be a major cost driver.
Which laminate floor type and underlayment are best for patio use to stay within budget?
Look for laminate labeled water-resistant or waterproof and rated for the conditions your patio experiences (covered vs. fully exposed). For underlayment, choose one designed for moisture control and for your installation method (click-lock floating vs. glue-down, if applicable). While these upgrades can increase upfront cost, they help reduce future repairs—often lowering the long-term cost of patio flooring.
What’s the best way to break down labor and add-ons when budgeting for laminate flooring in a patio?
Create a line-item budget: flooring (per square foot), underlayment/moisture barrier, leveling or surface prep, trim/transition pieces, and labor. Get at least two quotes and ask contractors to include subfloor assessment, removal of old flooring (if needed), and any sealing or edge waterproofing steps. Finally, build in a contingency of about 10–20% for patio-specific surprises like uneven slabs or additional moisture mitigation.
📅 Last Updated: October 24, 2026 | Topic: How to estimate the cost of laminate floors in a patio? | Content verified for accuracy and freshness.
References
- Laminate flooring
- Square foot
- https://www.energy.gov/eere/femp/articles/life-cycle-cost-analysis
- https://www.nist.gov/services-resources/software/building-life-cycle-cost-software-bblcc
- https://www.epa.gov/mold/preventing-mold
- https://www.cdc.gov/mold/default.htm
- https://www.hud.gov/program_offices/healthy_homes/mold
- https://scholar.google.com/scholar?q=laminate+flooring+cost+estimate+per+square+foot+installation+labor+materials Google Scholar
- https://scholar.google.com/scholar?q=outdoor+patio+laminate+flooring+water+moisture+resistance+and+durability Google Scholar
- https://scholar.google.com/scholar?q=construction+cost+estimation+how+to+estimate+materials+labor+and+installation+costs Google Scholar


