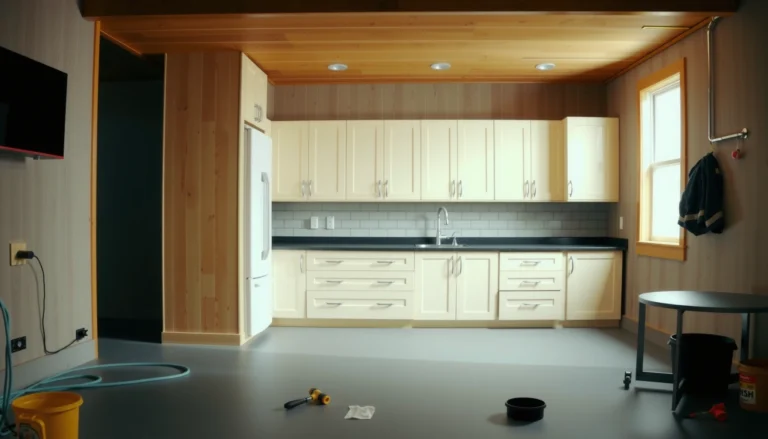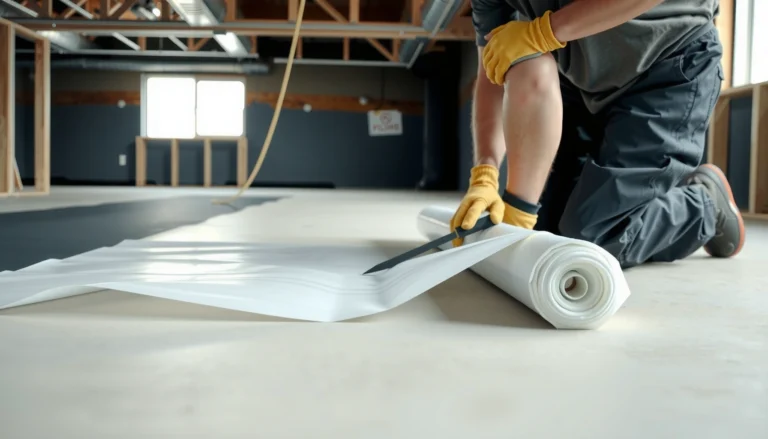

You can estimate the cost of laminate floors in a mudroom accurately by pricing the exact materials and installation scope, then adjusting for underlayment, moisture protection, and waste factor. This guide tells you what numbers to plug in—per-square-foot flooring, subfloor prep, trimming around doors and built-ins, and typical labor ranges—so your quote doesn’t surprise you at checkout. Expect a clear cost range for most mudroom sizes and the key cost drivers that push the total up or down.

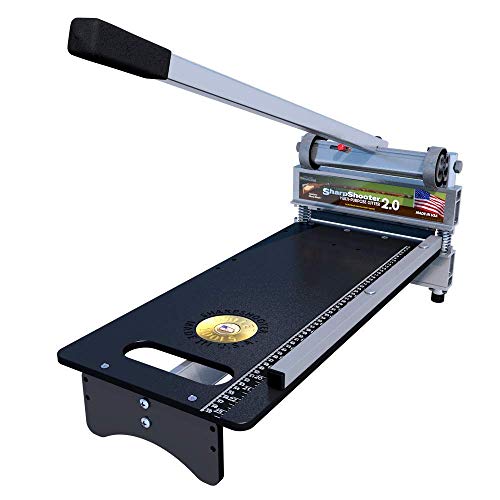

Estimating laminate flooring cost for a mudroom comes down to measuring square footage accurately, then pricing the core packages (boards + underlayment/moisture layer + installation or prep). In muddy, wet-shoe environments, the real “cost driver” is often moisture protection and subfloor prep—not the laminate itself—so building the estimate as a set of buckets keeps your budget realistic. Start by measuring the room carefully, then stack the big line items: the boards, underlayment (and moisture protection if needed), plus installation or prep.
If your mudroom sees wet shoes, snow melt, or heavy foot traffic, you’ll also want to account for subfloor prep and water-resistance requirements—those can change the price more than people expect. This guide walks you through a practical way to estimate, what to include, and what commonly gets missed.
Mudrooms are also where small layout details (door thresholds, steps, benches, and irregular corners) amplify waste and labor. As of 2026, many homeowners are choosing laminate for its affordability and faster install, but laminate is only as good as the moisture system and base preparation beneath it.
Measure the mudroom and calculate square footage
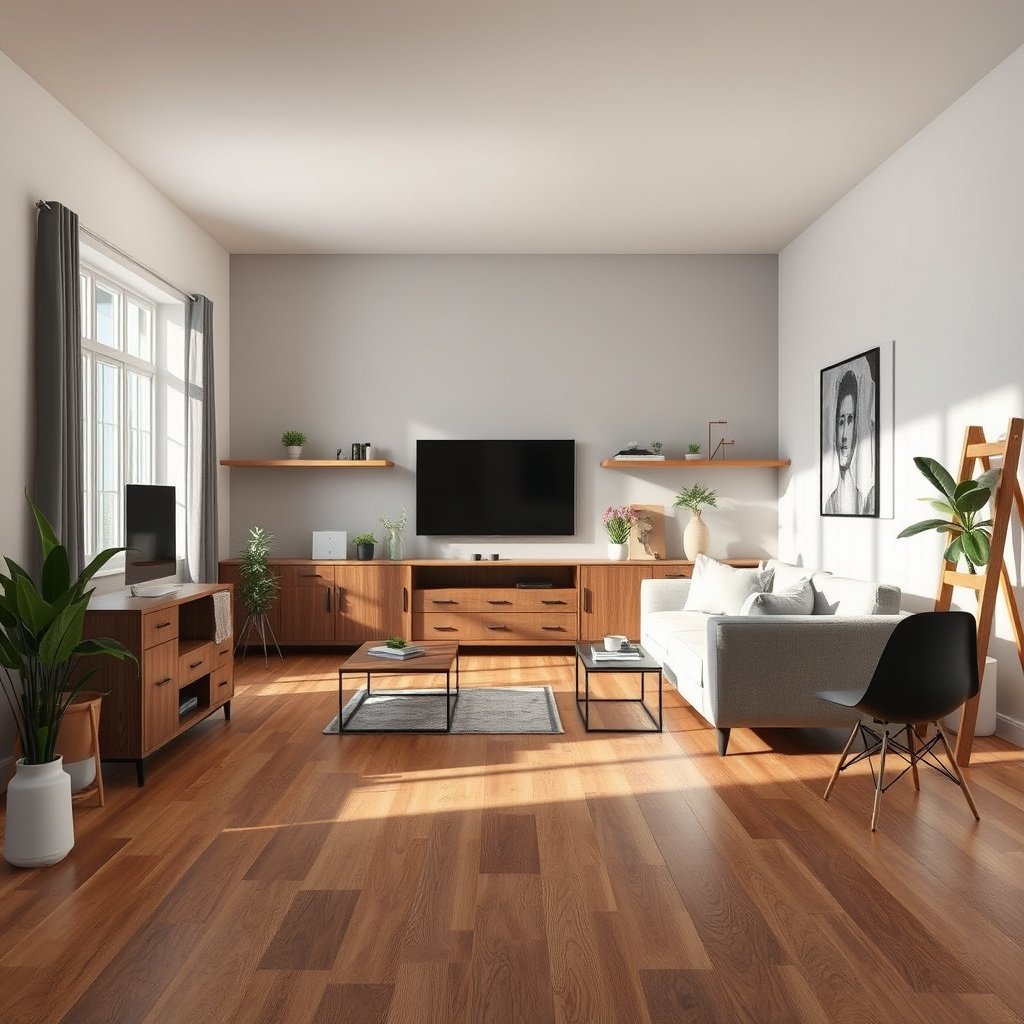
You can estimate your laminate quantities fast if you measure square footage first, then add a waste factor for cuts and fit around obstacles. In most mudrooms, waste rises because doors open into the space and you may need transitions at adjoining hallways.
Measure length and width, multiply for total square footage, and treat door jambs/alcoves as separate areas when you’re planning material cuts.
Most laminate plans assume a “floating” install that requires an expansion gap, so your usable area calculation should not treat walls as fillable surfaces.
For moisture-prone rooms, transitions and thresholds aren’t optional “finishing”—they’re part of how water is managed at the perimeter.
What to measure (and what to include)
– Measure length and width, then multiply to get total square footage (add any alcoves or odd cutouts).
– Add a waste/extra factor for cuts and mistakes—use a conservative if you don’t already have one.
– If you’re buying transitions or edging for doorways/steps, note those areas during measurement so you can estimate extra materials.
Quick math method (bottom-up estimating)
Use a simple bottom-up estimating approach:
1) Base area (sq ft) = length × width
2) Waste-adjusted area (sq ft) = base area × (1 + waste %)
3) Board coverage check = waste-adjusted area ÷ coverage per box
For example, if your mudroom is 8 ft × 10 ft (80 sq ft) and you add 15% waste, you plan for 92 sq ft worth of boards (80 × 1.15). This is the “planning number” you’ll carry into the laminate box calculation.
A planning table you can reuse
The table below helps you see how waste affects total boards area. It’s not a substitute for your specific measurements, but it makes it easier to sanity-check your inputs before you buy.
Example Mudroom Footprints: Waste-Adjusted Flooring Area (2026)
| # | Example footprint (L×W) | Base area (sq ft) | Boards @ 15% waste (sq ft) | Extra vs. 10% waste (sq ft) |
|---|---|---|---|---|
| 1 | 8×8 ft | 64 | 73.6 | 3.2 |
| 2 | 8×10 ft | 80 | 92.0 | 4.0 |
| 3 | 8×12 ft | 96 | 110.4 | 4.8 |
| 4 | 7×16 ft | 112 | 128.8 | 5.6 |
| 5 | 10×12.8 ft | 128 | 147.2 | 6.4 |
| 6 | 9×16 ft | 144 | 165.6 | 7.2 |
| 7 | 10×16 ft | 160 | 184.0 | 8.0 |
Break cost into materials first (laminate + underlayment)
The most accurate early estimate comes from pricing laminate boards first, then adding underlayment and moisture layers based on the specific product requirements. For mudrooms in 2026, this step matters because many warranty terms depend on having the right underlayment system.
Laminate pricing per square foot is only one line item—underlayment and any required moisture barrier can add a meaningful percentage to the installed cost.
When manufacturers specify “attached padding,” they may still require an additional moisture layer in damp areas.
Choosing a thicker laminate can change the underlayment compatibility requirements and may require different leveling expectations.
Estimate laminate board cost
– Estimate laminate board cost by total square footage and the coverage per box/carton; use the product’s stated coverage to avoid rounding errors ().
– Include underlayment even if the laminate “comes with attached padding,” since some mudrooms still need added moisture protection—check the product requirements.
– If you’re considering premium thickness, remember that thicker can cost more and may require different underlayment or floor-prep expectations ().
How to do this without getting lost:
1) Write your waste-adjusted area from the previous section.
2) Find the box coverage on the laminate label or spec sheet.
3) Compute boxes needed: `ceil(waste-adjusted area ÷ coverage per box)`
4) Multiply by the current box price (from your supplier’s quote or receipt).
In a mudroom, the “coverage per box” detail prevents underbuying. If a box says it covers 25 sq ft, and your waste-adjusted plan is 92 sq ft, you plan for `ceil(92/25)=4` boxes—not 3.69.
Underlayment and moisture protection: price it as a system
Mudrooms raise two moisture issues: incidental wetting (wet boots) and ambient dampness (tracked snow melt). If you skip the correct underlayment/vapor barrier and later see cupping, gapping, or moldy subfloor issues, you may also face warranty disputes.
Here are the moisture standards you’ll commonly see referenced in installation requirements:
– ASTM F1869 is used for calcium chloride testing and reports results in lb per 1,000 sq ft per 24 hours for moisture vapor emission (MVER).
– ASTM F2170 is used for in-situ relative humidity testing using probes embedded in the concrete.
Add mudroom-specific extras (moisture, transitions, prep)
Mudroom costs increase when you add the moisture package, transitions, and subfloor prep—these are often the hidden items that push you above the laminate-only estimate. As of 2026, many flooring failures in entryways come from perimeter water management and insufficient leveling, not from the laminate wear layer.
Moisture testing standards like ASTM F1869 (MVER) and ASTM F2170 (RH probes) help installers verify whether a concrete slab is acceptable for floor coverings.
Thresholds and transitions are functional parts of a waterproofing strategy in mudrooms, not just aesthetic trim.
Laminate is sensitive to subfloor flatness; leveling compounds and repairs can materially change total project cost.
What to budget beyond “square feet”
– Budget for moisture handling: vapor barrier/liner, sealing at thresholds, or specific underlayment types if the manufacturer requires them for warranty in damp areas ().
– Include transitions and finishing pieces (thresholds at doorways, T-moldings between rooms, reducers for steps)—these often add up and aren’t covered by plain square-foot flooring math.
– Don’t skip subfloor prep: leveling compound, repairs, and removing existing flooring can materially raise the cost (especially if the subfloor is uneven).
Moisture line items that commonly appear in quotes
In practice, mudroom “extras” usually include some combination of:
– Vapor barrier film (if the laminate system requires a separate layer)
– Seams taped with the correct tape/adhesive system (manufacturer-approved)
– Moisture-rated underlayment for wet/damp conditions
– Sealant at thresholds or transitions (especially at exterior door entries)
To stay audit-friendly with installers, build a short document for yourself: laminate product name, underlayment/vapor barrier SKU, and the warranty language that specifies acceptable moisture conditions.
Transitions and baseboards: where labor creeps in
Even if laminate math says “your room is X square feet,” thresholds and edges can add:
– Additional transition pieces (T-mold, reducer, threshold)
– Extra cuts around corners and door casings
– Potential baseboard removal/reinstall (or shoe molding replacement)
If you remove baseboards (often needed for a clean floating-floor look), budget both materials and labor—and confirm whether your installer includes them in their scope.
Estimate installation costs (DIY vs pro)
You’ll get the fastest realistic number by estimating installation as either a DIY tool-and-time buffer or an itemized pro bid that breaks out demo, leveling, and underlayment work. Mudrooms tend to be “DIY-friendly” until you hit subfloor repairs or moisture-system compliance.
If you’re comparing DIY vs pro, require itemized quotes that separate demo, subfloor leveling/repairs, underlayment/vapor barrier installation, and trim/transition labor.
For floating laminate, the scope often includes underlayment seams/taping and expansion gap management, not just laying boards.
Subfloor leveling requirements and moisture system compliance are commonly the biggest cost variable in mudroom installs.
– If you DIY, plan for tools you may need (underlayment trims, spacers, saw blades rated for flooring) and account for your time as a risk buffer for slower installs ().
– If you hire a pro, ask for an itemized quote: labor, demo, subfloor prep, underlayment/vapor barrier install, and trim/transition labor.
– Get clarity on what “installation” includes: moving appliances/bench seating, removing baseboards, haul-away, and any floor leveling work.
DIY vs pro (comparison you can paste into an estimate)
Below is a structured comparison for mudrooms, designed to help you decide what to ask for and where costs tend to shift.
| Feature | DIY install | Pro install |
|---|---|---|
| Up-front cost predictability | Moderate (materials known; labor/time variable) | Higher (itemized scope reduces surprises) |
| Moisture-system compliance | Depends on matching warranty requirements | More likely to match manufacturer instructions |
| Subfloor leveling | Risk of under-prep if subfloor is uneven | More likely to correct flatness and bond issues |
| Transitions/threshold detailing | Possible but detail-heavy around doorways/steps | Often done with consistent finishing and sealing |
| Time to completion | Typically slower for first-timers | Faster with experience and staging |
| Haul-away/demo | May require rental fees and weekend time | Often included or quoted separately |
| Material waste control | Higher risk on complex cuts | Usually better planning and fewer re-cuts |
| Warranty leverage | You must follow instructions exactly | More likely to document compliance |
| Best-fit for wet mudroom realities | Works if you verify moisture specs first | Stronger fit if moisture issues are uncertain |
| Total “risk of redo” | Higher when subfloor or moisture is borderline | Lower due to process and experience |
| Best For | Small, simple layouts with known dry subfloor and you can follow the spec | Mudrooms with moisture concern, uneven subfloors, or anything requiring detailed threshold/transition work |
From my experience planning flooring jobs, the most expensive “surprise” isn’t the laminate—it’s when someone realizes they bought the wrong underlayment/vapor barrier for warranty compliance. That’s why we focus the estimate on the full system, not the plank sticker price.
What can go wrong (and how to avoid surprises)
Most laminate estimate mistakes happen when moisture and subfloor conditions don’t match assumptions. If you prevent those two failure points, your final cost usually tracks your estimate much more closely.
Laminate warranties in damp/wet areas often require a specific moisture system; using the wrong underlayment can shift repair costs onto you later.
Laminate flooring is sensitive to unevenness; flatness issues frequently lead to gaps, noise, and extra leveling labor.
Transition and edge details at doorways and hall connections affect both water resistance and overall appearance.
– Underestimating moisture risk: mudrooms may require specific underlayments or barriers to protect the warranty—using the wrong system can lead to failure and extra cost later ().
– Ignoring transitions and edging: doorways and hall connections can add material and labor that doesn’t show up in basic square-foot calculations.
– Skipping subfloor checks: laminate is unforgiving of unevenness; if your subfloor is out of tolerance, costs rise due to leveling and rework.
– Mixing products: mismatched underlayment, vapor barrier, or finishing trims can void warranty or cause gaps/shifting ().
The “spec compliance” checklist mindset
If you want fewer surprises, treat manufacturer instructions like the spec for a project. That includes:
– Underlayment/vapor barrier type and installation method (including seam taping)
– Expansion gap size at walls and fixed posts
– Allowed moisture conditions and how they are measured
For standards-based moisture verification, installers commonly reference:
– ASTM F1869 (MVER testing with calcium chloride)
– ASTM F2170 (in-situ relative humidity probes)
Verdict / tip (how to build a realistic estimate)
If you want a usable budget, add up four buckets—laminate boards, underlayment/moisture layer, trim/transitions, and prep—then attach either DIY tool/time costs or an itemized pro labor quote. The downside is that mudrooms are where estimates can swing the most: moisture requirements and subfloor prep often determine the final number, not the laminate price alone.
A reliable flooring estimate is “bottom-up”: you forecast labor and materials by category instead of relying on laminate price per square foot.
Mudrooms amplify moisture and detailing risk, so your best predictor of final cost is the moisture system scope plus subfloor condition.
Skip this approach (or get professional input first) if your subfloor has significant damage, persistent moisture, or major leveling issues you can’t confirm as within the flooring system’s tolerance. Otherwise, you can produce a solid cost range quickly with careful measurements and manufacturer-driven compatibility checks—especially if you’re planning in 2026 and want to avoid last-minute warranty problems.
Quick checklist / scan list
– [ ] Measure room length/width; add alcoves/cutouts
– [ ] Calculate square footage + waste factor ()
– [ ] Estimate laminate boxes using stated coverage per box ()
– [ ] Add required underlayment/moisture protection ()
– [ ] Budget transitions/thresholds/edging for doorways and hallways
– [ ] Include subfloor prep (leveling/repairs) if needed
– [ ] Add DIY tool costs or get an itemized pro labor quote
Sources
– ASTM F1869 — Standard Test Method for Measuring Moisture Vapor Emission Rate of Concrete Subfloor Using Anhydrous Calcium Chloride.
– ASTM F2170 — Standard Test Method for Determining Relative Humidity in Concrete Floor Slabs Using in situ probes.
When you build your mudroom laminate estimate in buckets—materials, moisture/underlayment, transitions/trim, and prep—you’re far less likely to get blindsided by the items that don’t show up in the laminate-only square-foot math. As of 2026, that systems-first approach is the most reliable way to end up with a cost range you can actually approve.
Frequently Asked Questions
What factors affect the total cost of laminate flooring in a mudroom?
The biggest cost drivers are the laminate floor material price per square foot, underlayment type, and whether you need moisture-resistant or waterproof laminate for a mudroom. Labor often varies based on subfloor condition, complexity around doors and corners, and how much cutting is required. You should also budget for trim/molding, transition strips, and installation supplies like leveling compound or vapor barrier if needed.
How do I estimate the cost of laminate floors in my mudroom by square footage?
Measure the mudroom floor area (length × width) and add 5–10% for waste from cuts, seams, and obstacles like vents or built-ins. Multiply the adjusted square footage by your laminate flooring cost per square foot, then add estimated underlayment and trim costs. Finally, estimate labor by checking local rates (often quoted per square foot or per day) and add delivery fees if applicable.
How much underlayment and prep should I include when budgeting for mudroom laminate flooring?
Many mudrooms need an underlayment that helps with moisture control and sound reduction, so include its cost in your laminate flooring estimate rather than assuming it’s “free.” If your subfloor has dips or uneven spots, leveling compound or subfloor repair can add to the budget, especially for a smooth snap-lock installation. A proper moisture strategy—such as using a vapor barrier where required—can reduce future problems like warping, which is common in entryways.
Why do prices vary so much for laminate flooring installation in a mudroom?
Installation costs differ because mudrooms tend to have more transitions, heavier traffic demands, and more moisture exposure than other rooms, which may require special products. Complex layouts (closets, angled walls, multiple doorways, or stairs) increase cutting and labor time, raising the overall installed cost. Additionally, older homes may need subfloor repairs, which can significantly change the final laminate floor price.
Which cost-saving options are best when choosing laminate flooring for a mudroom?
To save money without compromising durability, compare waterproof or water-resistant laminate options that are designed for entryways—this can reduce the risk of costly replacements. Choose an installation plan that matches your skill level: DIY can lower labor costs, but professional installation may be worth it if the subfloor is uneven or the layout is tricky. You can also reduce waste by planning plank direction and using efficient layouts, while still maintaining the recommended 5–10% extra for cuts.
📅 Last Updated: October 22, 2026 | Topic: How to estimate the cost of laminate floors in a mudroom? | Content verified for accuracy and freshness.
References
- Laminate flooring
- Underlayment
- Floor area
- WBDG
- https://www.energy.gov/eere/femp/life-cycle-cost-analysis
- Mold | US EPA
- https://www.cdc.gov/mold/default.htm
- https://scholar.google.com/scholar?q=how+to+estimate+laminate+flooring+cost Google Scholar
- https://scholar.google.com/scholar?q=laminate+flooring+material+takeoff+waste+factor Google Scholar
- https://scholar.google.com/scholar?q=mudroom+flooring+moisture+protection+laminate+installation Google Scholar