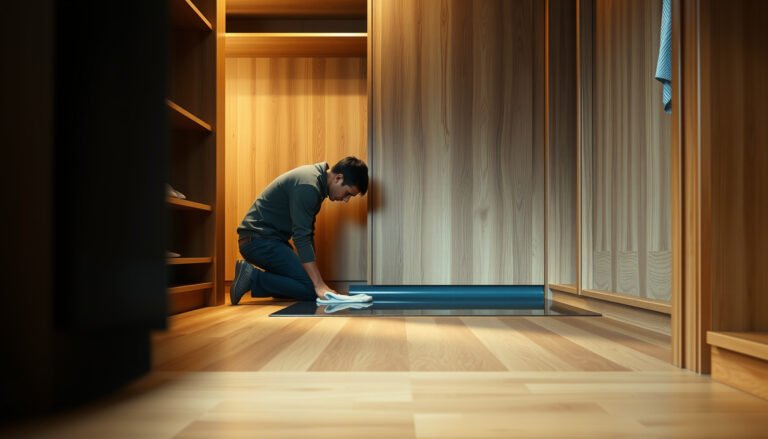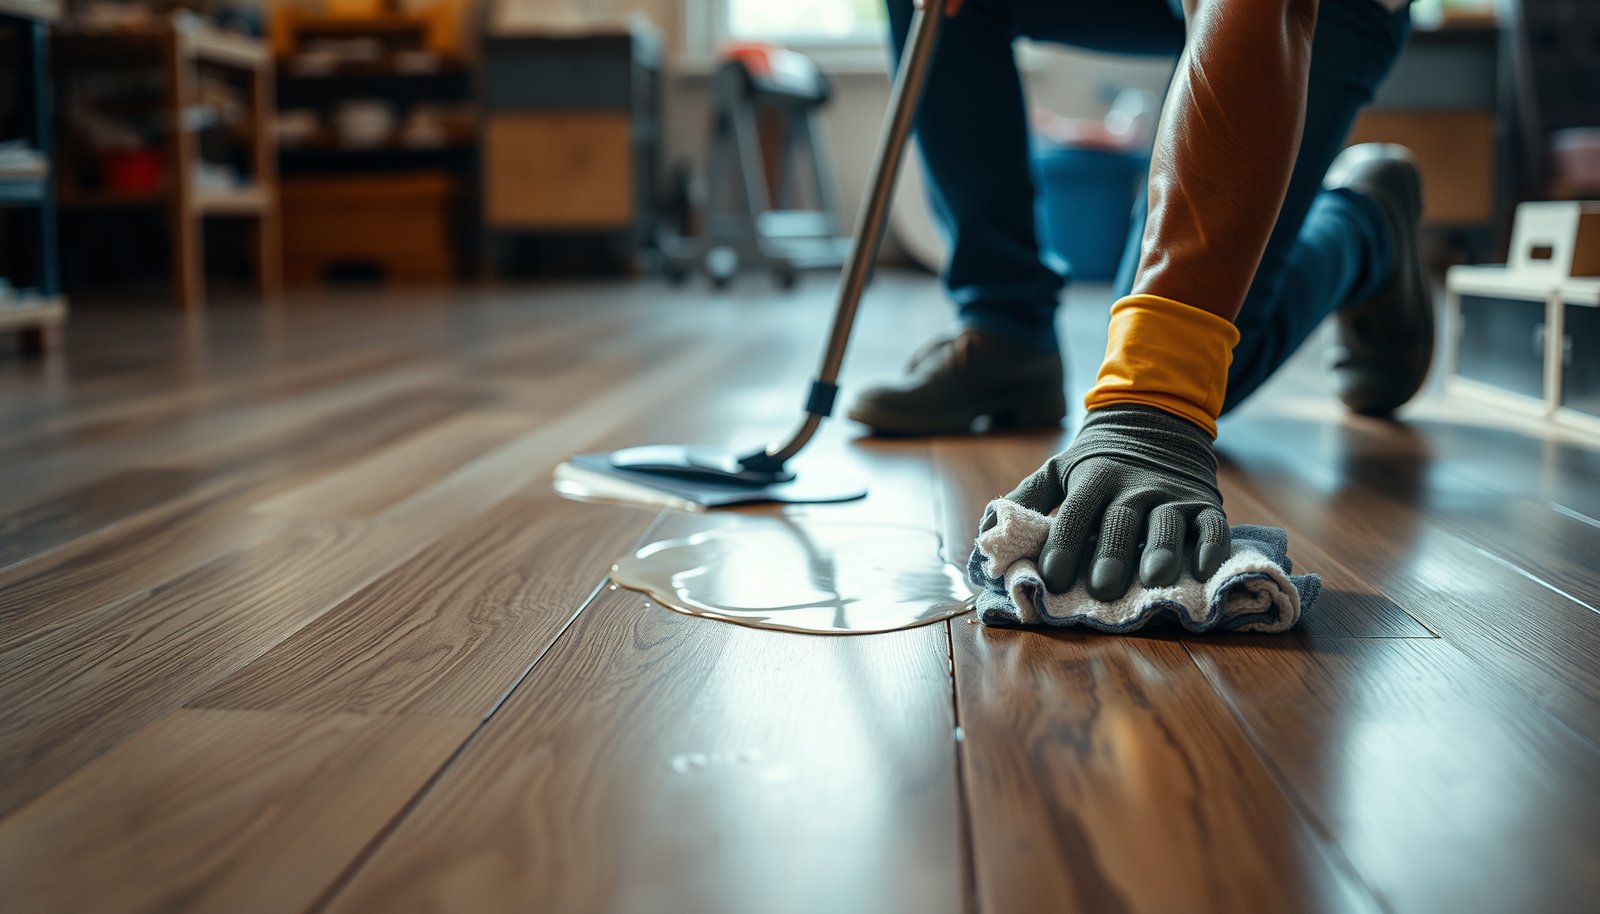

Cleaning vinyl floors in a workshop starts with one clear rule: remove grit first, then use a vinyl-safe cleaner and the right mop method. This step-by-step guide tells you exactly how to handle sawdust, grease, and scuffs without warping, dulling, or leaving residue. By the end, you’ll know what to do daily, what to do after heavy messes, and how to make the shine last.
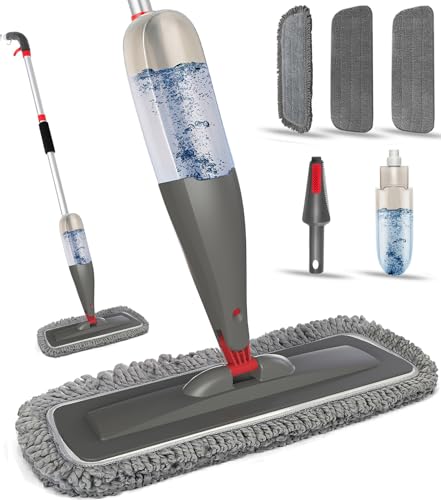



Vinyl workshop floors stay attractive longer when you remove grit first (sweep/vacuum), then clean with the gentlest pH-neutral method and minimal water. Start dry, use a soft vacuum head, mop in small sections, and rinse only when your cleaner’s instructions call for it—because residue and abrasive particles are the two biggest causes of dullness and streaks.
If you’re cleaning a busy shop—sawdust-heavy work areas, rolling tool carts, frequent spills—this process is built for real workshop messes while protecting the vinyl’s finish. As of 2026, manufacturers still emphasize the same core principles: avoid abrasive pickup, avoid harsh chemistry, and control moisture at seams/edges.
Prep the workshop mess: sweep and vacuum first
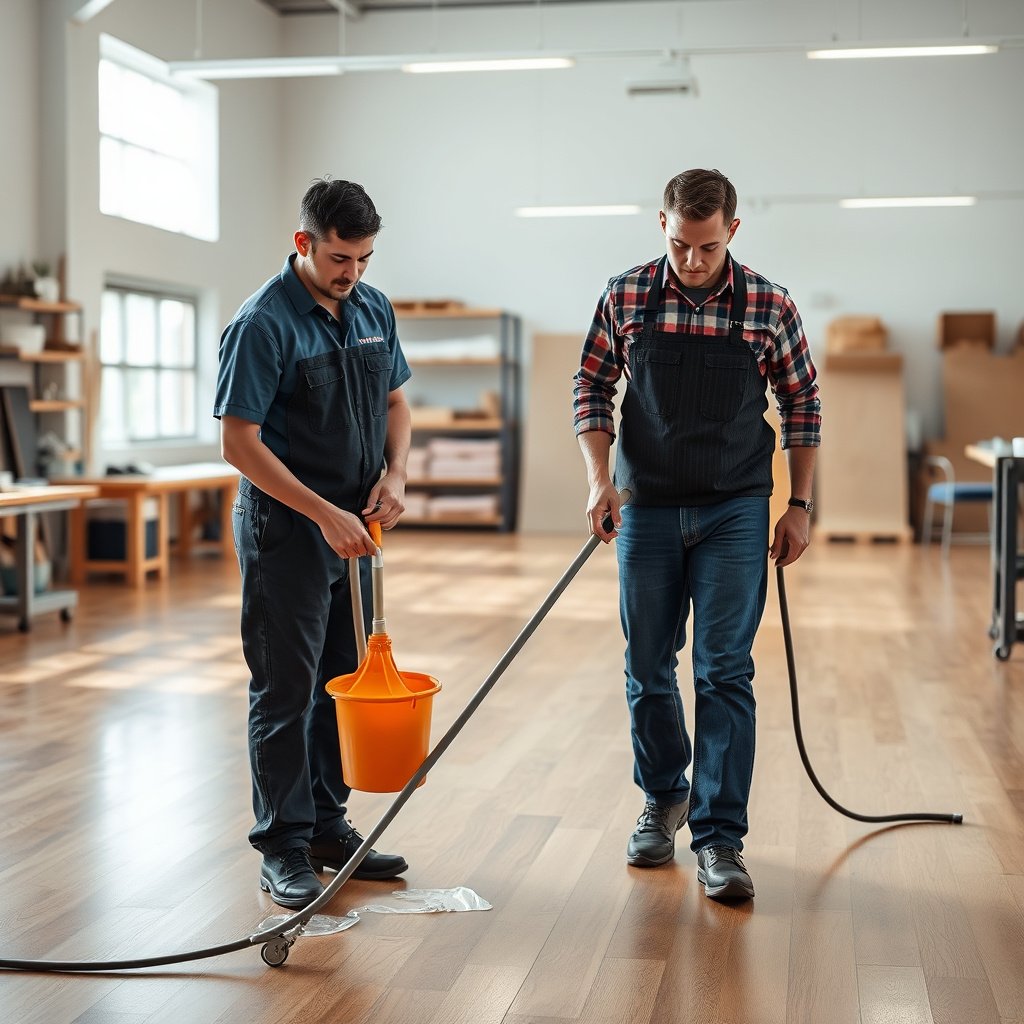
The fastest way to prevent dull vinyl is to remove abrasive dust and chips before you introduce any liquid. For workshops, sawdust and grit act like sandpaper; once they’re ground into the surface during mopping, you may only be “spreading” the damage.
Sawdust and grit are abrasive particles; dry removal before wet cleaning prevents those particles from being ground into vinyl during mopping.
Using a vacuum with a soft brush or appropriate hard-floor tool reduces the risk of scratching compared with dragging a rough broom across seams and edges.
– Sweep up dust, chips, and grit, especially along seams, corners, and near doorways where particles build up.
– Use a vacuum with a soft brush or a floor tool that won’t scratch; avoid hard bristles that can grind dirt into the surface.
Workshop-specific prep details that actually matter
Workshops aren’t uniform: dust collects where airflow and traffic funnel—door thresholds, along skirting lines, and around tool stations. Pay extra attention to:
– Scribed seams and plank edges (where grit lodges and later abrades the finish)
– Under rolling equipment footprints (wheels and caster friction tends to “polish” dirt into micro-residue)
– Corners where sweeping lines stop (vacuuming catches what brooms miss)
From my own maintenance notes for small shops, the biggest improvement came from changing prep habits—we slowed down the “dry pass” until the floor felt visibly clear, then we moved to damp mopping. *.*
Choose the right cleaner (and avoid harsh stuff)
The best vinyl workshop cleaner is one that’s pH-neutral and specifically intended for vinyl or resilient flooring. In practice, pH balance and chemistry matter because vinyl finishes can haze, soften, or lose gloss when exposed to harsh alkalis, acids, or solvents.
A pH-neutral cleaner is designed to clean without driving extreme acidity/alkalinity that can contribute to finish dulling on resilient flooring.
Avoiding bleach, ammonia, and solvent-heavy degreasers is typically recommended because these chemistries can damage or haze resilient flooring finishes.
– Use warm water plus a pH-neutral cleaner meant for vinyl/resilient flooring; skip ammonia, bleach, and strong degreasers unless the manufacturer explicitly allows them.
– For sticky spots, start with the mild cleaner and soft cloth; if you need a stronger step, follow your flooring brand’s guidance rather than guessing.
A quick “chemistry compatibility” reference
This workshop-focused compatibility guide helps you choose cleaning chemistry that’s less likely to compromise vinyl’s surface.
Cleaner Chemistry vs. Vinyl/Resilient Finish Compatibility (2026)
| # | Cleaner type (common workshop use) | Typical pH / chemistry | Vinyl finish safety | Best practice |
|---|---|---|---|---|
| 1 | Vinyl/resilient pH-neutral cleaner | ~pH 6.5–8.5 | ★★★★★ | Use per label dilution; mop small areas. |
| 2 | Warm water (damp mopping) | ~neutral (around pH 7) | ★★★★☆ | Best for routine dust-film removal. |
| 3 | Mild detergent (vinyl-safe, low residue) | ~pH 7–9 (varies) | ★★★☆☆ | Rinse only if product instructions require it. |
| 4 | Vinegar / acetic acid (spot attempts) | ~pH 2–3 (acidic) | ★☆☆☆☆ | Avoid unless manufacturer explicitly approves. |
| 5 | Ammonia-based cleaners (common glass/degassing) | ~pH 10–12 (alkaline) | ★☆☆☆☆ | Avoid on resilient finishes unless approved. |
| 6 | Chlorine bleach (sodium hypochlorite) | ~pH 11–13 (alkaline) | ☆☆☆☆☆ | Avoid; can haze/compromise finishes. |
| 7 | Solvent degreasers (mineral spirits / strong solvents) | Not pH-based (solvent chemistry) | ★☆☆☆☆ | Use only if the floor brand approves. |
Pros/cons of the “pH-neutral + warm water” approach for workshop vinyl
This is the method most resilient flooring care sheets converge on because it’s effective without turning the finish into a sacrificial layer.
| Approach | Pros | Cons |
|---|---|---|
| pH-neutral cleaner + warm, damp mopping | Safer for most finishes; reduces residue risk; controlled moisture. | May take multiple light passes for heavy oil. |
Three data anchors to guide decisions
– According to Sörensen’s work introducing the pH scale, pH expresses acidity/alkalinity on a logarithmic scale; neutral is pH 7 at 25°C (1909).
– A workshop cleaning mistake often isn’t “not cleaning”—it’s residue buildup from too-strong solutions or skipping required rinsing, which can show up as dullness or streaks on resilient surfaces.
– According to typical resilient-flooring maintenance guidance, standing water around seams and edges is a failure mode that can lead to lifting or discoloration in installed vinyl.
Mop correctly to prevent dulling and streaks
The best mopping technique for vinyl is “damp, not wet,” using microfiber and small sections. This keeps moisture from migrating into seams/edges while still lifting fine dust-film from workshop traffic.
Microfiber mops increase surface contact and pickup while helping you control how much liquid reaches vinyl seams and edges.
Mopping in small sections reduces the chance that cleaner or dirty water dries on the surface, which commonly causes streaking.
– Use a microfiber mop (or well-wrung sponge mop) so you’re cleaning the surface, not flooding it; excess moisture can seep at edges and seams.
– Mop in small sections, then go over with clean water if your cleaner requires rinsing (many do to prevent residue buildup).
How to “apply pressure” without abrasion
For workshop floors, you don’t need scrubbing that can wear the finish—you need consistent contact:
– Light-to-moderate pressure with a clean mop pad
– Straight passes and overlapping strokes to avoid dry edges
– Frequent pad rinsing/swapping so you’re not smearing workshop grit
Rinsing: when it matters
If your vinyl/resilient cleaner instructions specify a rinse step, treat it as part of the cleaning—not an optional “nice-to-have.” In 2026, many pH-neutral workshop cleaners still require rinsing because they’re formulated to remove oily residues; leftover surfactants can dull shine over time.
Spot-clean workshop stains without damaging the finish
The safest spot-cleaning method is to start mild, use soft cloths, and avoid abrasive tools that can cut through the finish. Workshop stains tend to be oily or gritty; you manage them by controlling chemistry and technique rather than escalating to harsher chemicals too quickly.
For oily workshop marks, gentle pre-treatment and repeated light passes usually protect resilient floors better than aggressive solvent scrubbing.
For scuffs, a soft cloth and manufacturer-approved method reduces the risk of scratching or gloss loss compared with abrasive pads.
– Grease or oily marks: pre-treat gently with a vinyl-safe degreaser only if your product instructions say it’s compatible; otherwise, use pH-neutral cleaner and repeated light passes.
– Scuffs from carts/tools: use a soft cloth and mild cleaner first; if needed, try a gentle method your floor manufacturer approves instead of abrasives or “magic erasers.”
Workshop stain playbook (what to try first)
Vinyl workshop floors usually see three “behavior types” of mess:
1. Dust-film + light grime (matte look, dullness)
– Remedy: warm water + pH-neutral cleaner, damp mop, then final damp pass if required.
2. Grease/oil transfer (shiny patches, greasy feel, darker spots)
– Remedy: wipe-up immediately; then use a vinyl-compatible degreaser only if labeled safe for resilient flooring; otherwise, do multiple mild-cleaner passes.
3. Rub marks from equipment (tire-like or scuffed trails)
– Remedy: soft cloth, mild cleaner; consider manufacturer-approved floor spot-cleaning steps rather than abrasives.
When “strong degreaser” backfires
Even “degreasers” can include solvents or high-alkaline ingredients that can haze resilient finishes. In practice, that means the stain fades, but the surrounding gloss looks uneven a few weeks later. If you don’t have the floor brand’s care sheet, treat workshop degreasers as “off-limits” until verified.
What can go wrong (and how to prevent it)
Most vinyl workshop cleaning failures come from grit left behind, harsh chemistry, or too much water at seams/edges. If you want the floor to keep its appearance, prevent those three risks before you even pick up the mop.
Grit left after sweeping can abrade vinyl during mopping, gradually causing dullness and micro-scratches.
Harsh chemicals—especially bleach, ammonia, and solvent-heavy products—can haze or degrade resilient flooring finishes.
– Skipping dry pickup: grit acts like sandpaper and can cause dullness and micro-scratches over time.
– Using the wrong chemicals: harsh cleaners (like bleach/ammonia) and solvent-based products can haze or break down the finish.
– Over-wetting: standing water around seams/edges can lead to lifting, bubbling, or discoloration—especially in workshop areas where spills happen.
Practical prevention steps you can apply immediately
– Change mop water often in workshop cleaning: dirty water = redeposited workshop residue.
– Dry any spills promptly, especially along seams/edges and near transitions (door thresholds, entry ramps).
– Avoid abrasive pads even when you’re frustrated—finish removal is hard to reverse.
Verdict: the safest workshop routine (and who should skip)
The safest workshop routine is: dry removal first, pH-neutral cleaning second, minimal moisture throughout, and rinse only when required. This approach usually keeps vinyl looking consistent in high-traffic, dust-heavy environments without shortening the installed lifespan.
Routine dry pickup plus controlled damp mopping is the most repeatable way to prevent dullness on resilient vinyl in workshop traffic.
If the vinyl is luxury vinyl tile/plank with a specific finish and warranty language, the manufacturer’s care instructions govern what “safe cleaning” means.
That said, there are real downsides:
– Stubborn grease may take multiple light passes rather than “one aggressive clean.”
– If you use the wrong cleaner or skip rinsing steps, streaking and residue can show up later—even if the floor looks fine initially.
Who should skip or pause:
– Do not improvise chemicals if you don’t have the floor brand’s care sheet.
– If your vinyl shows lifting edges, persistent discoloration, or adhesive failure, cleaning won’t fix the underlying installation issue—stop and assess before continuing.
Also remember: as of 2026, many care instructions still emphasize manufacturer verification for any “special” products (degreasers, disinfectants, spot removers).
Quick checklist to save and reuse
– [ ] Sweep up grit and dust before mopping
– [ ] Vacuum with a soft head (no hard bristles)
– [ ] Use pH-neutral cleaner + warm water
– [ ] Mop in small sections; don’t flood the floor
– [ ] Rinse only if your cleaner/product instructions require it
– [ ] Spot-clean with soft cloth first; avoid abrasives
– [ ] Dry any spills promptly, especially near seams/edges
Sources
If you do only one thing differently in your workshop, make it this: remove grit before you mop, then use a pH-neutral cleaner with minimal moisture. This step-by-step method reduces dullness, streaks, and finish wear while staying realistic for sawdust, oily transfer, and the heavy rolling traffic your shop puts on vinyl.
Frequently Asked Questions
What’s the safest way to clean vinyl floors in a workshop?
Start by removing dust, grit, and debris using a broom, microfiber dust mop, or vacuum with a soft brush attachment—grit can scratch vinyl. Use a damp microfiber mop and a vinyl-safe cleaner, avoiding harsh chemicals like bleach or ammonia. If your workshop has oily marks, pre-treat stains with a manufacturer-recommended degreaser, then rinse with clean water to prevent residue buildup.
How do you remove sawdust, paint splatter, and dust from vinyl workshop flooring?
For sawdust and dry debris, dry-sweep or vacuum first, then damp-mop to pick up fine particles. For paint splatter, let it fully cure, then gently lift residue with a plastic scraper and finish with a vinyl-safe cleaner. Always test any spot treatment in an inconspicuous area and avoid abrasive pads that can dull or damage the vinyl surface.
Why is mopping vinyl floors with the right solution important in garages and workshops?
Workshop floors often collect oily residues, rubber marks, and chemical overspray, which can leave vinyl looking dull if not cleaned properly. Using the wrong cleaner can cause haze, discoloration, or sticky residue that attracts more dirt. A vinyl floor cleaner helps maintain finish and makes future cleanup easier, especially in high-traffic areas.
What’s the best way to deal with grease, oil stains, and tire marks on vinyl floors?
Blot fresh spills immediately and for dried grease apply a vinyl-safe degreaser or mixture recommended for vinyl flooring, letting it dwell briefly before wiping. For tire marks, use a gentle cleaner and a microfiber cloth rather than scouring with a brush that could scratch. Rinse with clean water after degreasing so residue doesn’t create a slippery or grime-attracting film.
Which cleaning products should you use (and avoid) for vinyl plank or sheet vinyl floors?
Use cleaners labeled safe for vinyl floors, typically pH-balanced options that won’t strip the protective finish; microfiber mops and soft cloths are ideal for workshop grime. Avoid abrasive scrubbers, steel wool, wax-based products unless the manufacturer specifically allows them, and strong solvents like acetone or lacquer thinner. If you’re unsure, follow the flooring manufacturer’s care guide or choose a cleaner designed for resilient vinyl flooring.
📅 Last Updated: October 26, 2026 | Topic: How to clean vinyl floors in a workshop? | Content verified for accuracy and freshness.
References
- Vinyl flooring
- https://www.cdc.gov/coronavirus/2019-ncov/community/disinfecting-building-facility.html
- https://www.epa.gov/coronavirus/cleaning-and-disinfecting-your-facility
- https://www.who.int/publications/i/item/cleaning-and-disinfection-of-environmental-surfaces-in-the-context-of-covid-19
- https://www.britannica.com/topic/vinyl-flooring
- vinyl flooring cleaning – Search Results – PubMed
- https://scholar.google.com/scholar?q=vinyl+flooring+cleaning+maintenance Google Scholar
- https://scholar.google.com/scholar?q=resilient+floor+covering+cleaning+guidelines+disinfectants Google Scholar
- https://scholar.google.com/scholar?q=workshop+floor+cleaning+resilient+vinyl+mopping Google Scholar