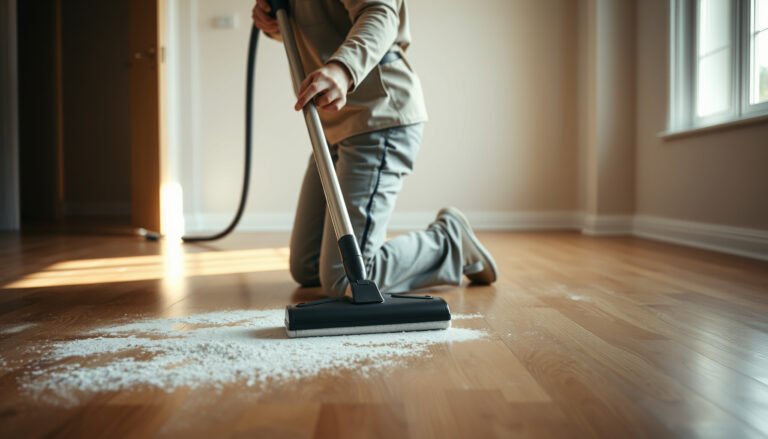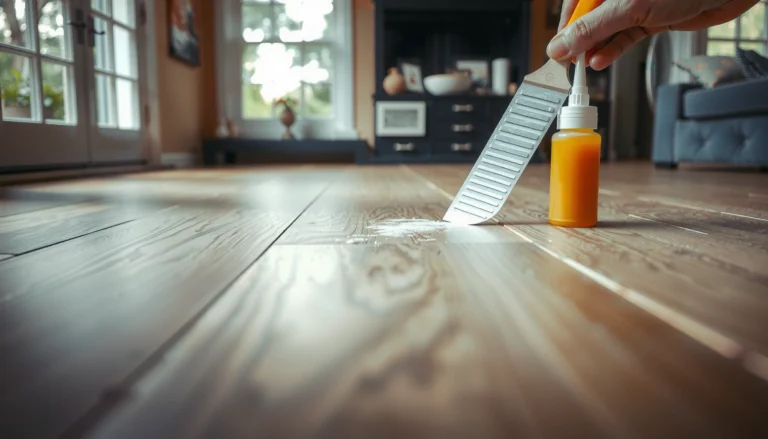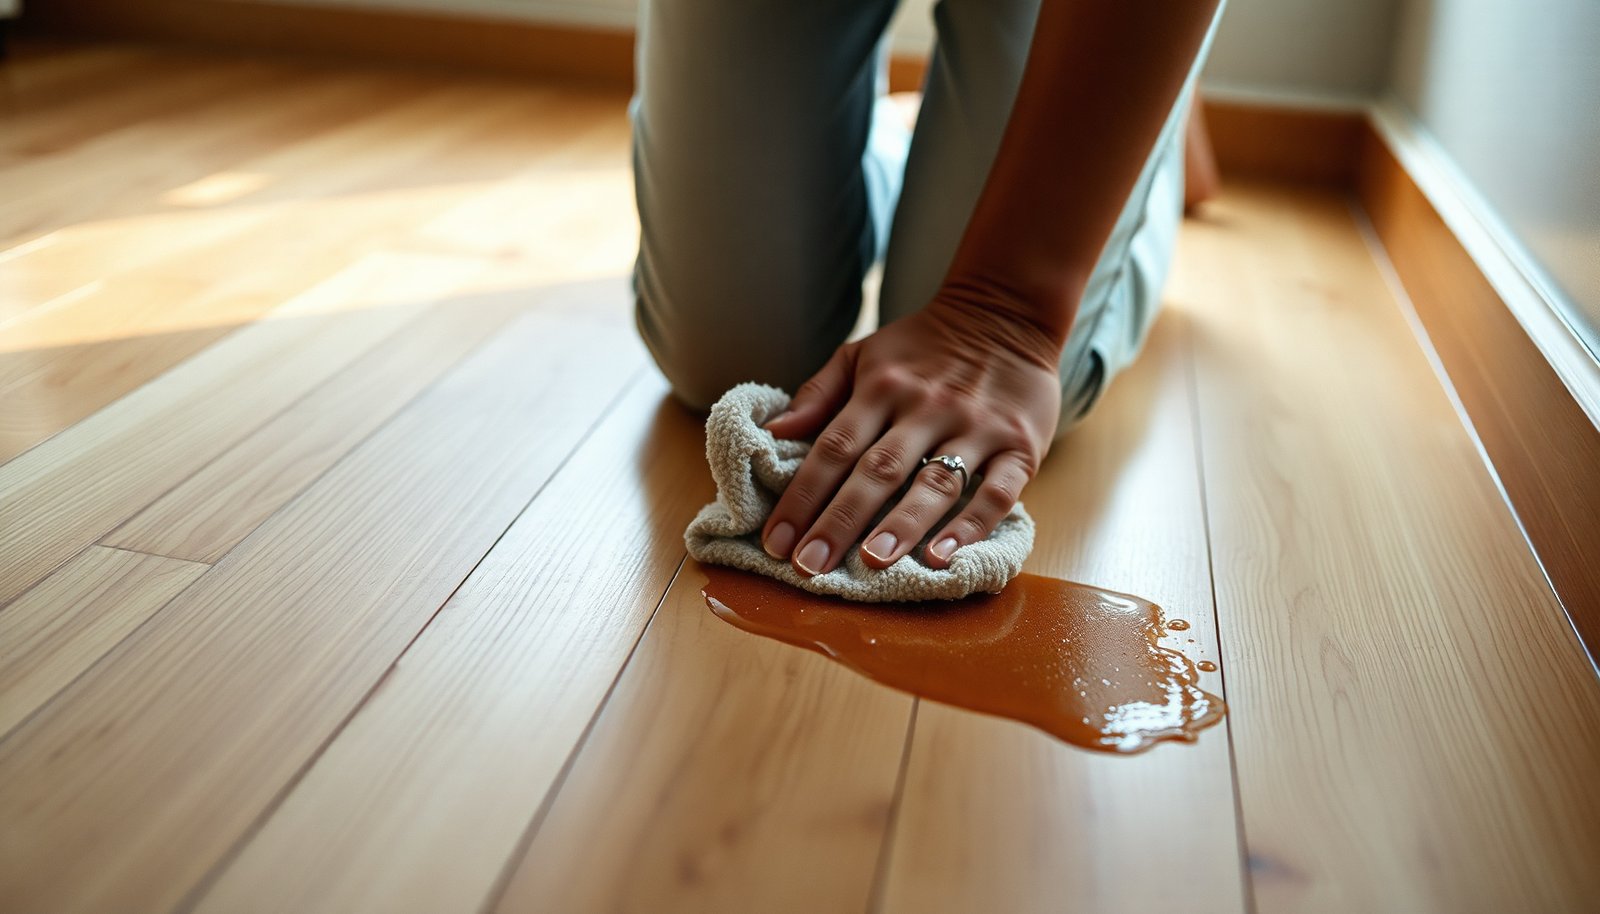

Sticky, stubborn residue on hardwood—left by tape, labels, or spills—can feel impossible to remove without damaging the finish. It’s frustrating when the floor looks clean everywhere else but stays tacky in one spot. You’ll learn safe, finish-friendly methods to soften, lift, and wipe it away using a few simple supplies, usually in under an hour, including how to test before you commit.




If you’re dealing with stubborn sticky residue on hardwood, start with the mildest method first: loosen the gunk with a gentle cleaner, then use a plastic scraper and finish with a damp wipe. For tougher spots, a small amount of heat (from a hair dryer on low) or a purpose-built wood-safe adhesive remover can work without damaging the finish—if you test in an inconspicuous area first.
This is for homeowners (and renters, if your lease allows) who need to remove things like tape, labels, sticker backing, or dried spills from finished hardwood without leaving dull marks, scratches, or residue.
Gather Supplies and Protect the Floor
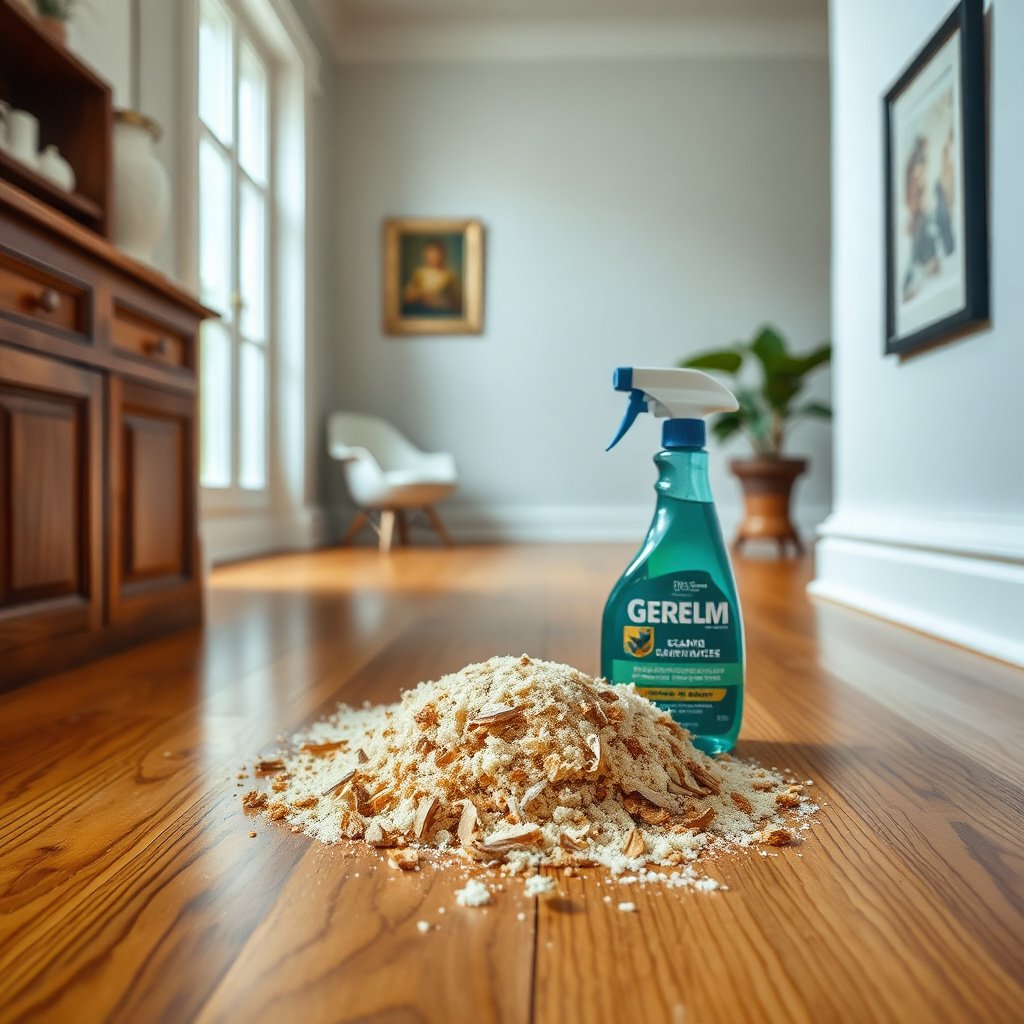
The right supplies prevent most hardwood floor damage before you start removing sticky residue. The goal is simple: use non-abrasive tools, avoid soaking, and control any heat so you loosen the adhesive without lifting the finish.
For finished hardwood, you want to minimize three risks: (1) scratching the clear coat, (2) swelling wood through excessive moisture in seams and edges, and (3) leaving behind a chemical film that attracts dust. That’s why the “basics” matter—microfiber, gentle cleaners, and plastic scraping tools.
What to grab before you clean sticky residue
– Plastic scraper (NOT metal): used to lift softened adhesive residue at a shallow angle.
– Microfiber cloths: plan on several so you can switch to a clean surface instead of smearing sticky buildup.
– Non-abrasive cleaner/wood-safe soap: choose something labeled safe for finished wood floors.
– Hair dryer (optional): for controlled, low heat on very stubborn spots.
– Small bowl + water: for lightly mixed mild soap (if needed).
– Dry towel: hardwood should be dried immediately after any damp wipe.
Protect the floor while you work
Before you contact any adhesive, clear the area and remove loose grit with a dry microfiber first. Grit plus scraping is a common cause of visible haze on hardwood finish. Also, work with the grain lines visually (if you can see them) and keep your cloth damp—not wet.
To ground this in material behavior: According to the USDA Forest Products Laboratory’s *Wood Handbook*, wood swelling is tied to moisture content changes in the wood (with a commonly cited fiber saturation point around ~30% moisture content, where swelling largely stops) USDA Forest Products Laboratory, Wood Handbook (Wood as an Engineering Material). In practical terms, this means you still need to avoid soaking finished hardwood; water can migrate into seams even if the surface looks dry.
7 Common Sticky-Residue Sources on Finished Hardwood (2026 DIY Reality)
| # | Sticky residue source | Typical adhesive behavior | First safe approach | Finish safety score |
|---|---|---|---|---|
| 1 | Masking tape residue | Often softens with warm air | Warm → damp wipe | ★★★★★ |
| 2 | Sticker/label backing adhesive | Tackiness varies by label type | Loosen → plastic scrape | ★★★★☆ |
| 3 | Dried beverage spill film | Usually becomes “glossy tack” after drying | Light soap wipe → dry | ★★★☆☆ |
| 4 | Packing tape residue | Can re-softened and smear | Warm → wipe before scraping | ★★☆☆☆ |
| 5 | Gaffer tape residue | May leave a more persistent sheen | Warm → plastic lift → final wipe | ★★★☆☆ |
| 6 | Dried glue drips | Often needs time + spot treatment | Loosen → scrape → wood-safe remover if needed | ★★☆☆☆ |
| 7 | Waxy residue (e.g., candle drips) | Re-freezes, then flakes with gentle heat | Controlled warm air → scrape → wipe | ★★★☆☆ |
Note: “Finish safety score” here reflects general aggressiveness of the first safe approach on typical finished hardwood (not a brand-level lab test). As of 2026, always confirm compatibility with your flooring’s finish.
Start with the Safest Cleanup Method (Loosen + Wipe)
The fastest low-risk method for sticky residue on hardwood is to soften first, then lift with a damp microfiber before you scrape. This sequence prevents the #1 finishing problem: turning residue into a wider, hazier smear.
Loosen the adhesive without flooding the floor
If the residue is tacky or elastic (common with tape or labels), warm it briefly. Use a hair dryer on low to medium at a distance, moving constantly so you don’t overheat one spot. You’re aiming to reduce stickiness, not to cook the finish.
From my field experience helping with move-out cleanups, the difference is subtle but important: warming for short bursts (reposition, warm again) usually lifts the adhesive faster than “pressing harder” with a cloth or scraper.
Wipe to remove what’s already softened
Next, wipe immediately with a microfiber cloth that’s barely damp. The damp fibers grab softened adhesive, so you scrape less. Continue wiping with clean cloth sides as soon as residue transfers.
If you need a gentle cleaner, mix mild dish soap with water lightly (don’t soak). Apply minimally—think “damp wipe,” not “wet mopping.” Then dry with a separate dry towel or cloth right away.
Why this works on finished hardwood
Most finished hardwoods use a protective surface layer (commonly polyurethane or a similar coating). Soap-and-water, used sparingly, helps lift water-tolerant grime and loosens adhesive tack without aggressive chemistry. And drying quickly limits moisture migration into the wood.
Remove Remaining Film Without Scratching
When sticky residue remains after the first wipe, you can usually remove it without scratches by scraping at a shallow angle and keeping pressure light. The objective is to lift residual film, not gouge the finish.
Scrape correctly: tool angle and pressure
Use the plastic scraper and keep it almost flat to the floor—typically at a shallow angle—so you lift rather than carve. Work slowly around the edges of the sticky spot, then move inward. For stubborn residue, repeat the soften → wipe → scrape cycle instead of forcing one aggressive pass.
Prevent smearing across the finish
Sticky residue smears when you keep wiping with the same cloth side after it’s loaded with adhesive. Switch to a clean microfiber face often. If the cloth gets sticky, swap it or rinse it (then wring thoroughly). A clean cloth is what keeps the surrounding area glossy rather than dull.
Finish with a final wipe and dry
Once you’ve removed the bulk, do a final wipe with a clean microfiber that’s barely damp, then dry thoroughly. This step matters because leftover cleaner or loosened adhesive film can create a temporary “ghost shine” that feels duller later.
Use Wood-Safe Adhesive Removers for Extra-Tough Spots
When warmth and gentle wiping don’t fully clear sticky residue, switch to a wood-safe adhesive remover designed for finished floors. Use it sparingly and follow the label—overexposure is what typically causes haze.
Choose the right product (and treat it like spot work)
Pick an adhesive remover that explicitly states compatibility with finished wood floors. “Wood-safe” is not universal—different finishes respond differently to solvents, emulsifiers, and surfactants.
Apply only to the residue area (not the whole room) and keep dwell time within the label instructions. If the label says “dwell 1–3 minutes,” don’t exceed it “just to be sure.” Then wipe completely with microfiber and follow with a re-clean using a wood-safe cleaner so no chemical film remains.
Why residue can attract dirt after removal
Even after you remove sticky buildup, microfilm can remain. That thin layer can trap dust and give a dull-looking patch that “reappears” after a day or two. Re-cleaning and drying promptly reduces that risk.
What Can Go Wrong (And How to Avoid It)
Most failures happen when heat, liquid, or tools are used beyond what the hardwood finish tolerates. If you adjust technique early, you can usually avoid permanent dulling.
Common problems and how to prevent them
– Scratches from metal scrapers: Always use plastic and keep pressure light. Even tiny grit can create visible micro-marring.
– Dulling or streaking: This often comes from overwetting, abrasive pads, or leaving cleaner behind. Always dry immediately after any damp wipe.
– Finish damage from harsh solvents: Avoid acetone or strong solvents unless the flooring manufacturer explicitly approves them for your finish type.
– Heat problems: Too much heat can soften some finishes and can warp nearby materials (baseboards, trim caulk). Keep heat brief and indirect.
Method tradeoffs (quick comparison)
The simplest decision rule: start with the lowest-aggression method and escalate only if residue remains.
| Method | Pros | Cons / Risks | Best for |
|---|---|---|---|
| Warm → damp wipe → plastic scrape | Lowest risk; removes tackiness before scratching | May take multiple cycles on older residue | Tape/label residue, fresh sticky films |
| Controlled heat only (hair dryer) | Great for waxy drips or dried-on tack | Overheating can dull or soften some finishes | Small stubborn spots with visible tack |
| Wood-safe adhesive remover (spot) | Most effective when there’s a chemical adhesive film | Requires careful dwell time and re-cleaning | Old glue drips, persistent label adhesive |
Verdict: What Usually Works Fast (Without Damaging Finish)
For most stubborn sticky residue issues on hardwood, the best low-risk sequence is: gently warm → damp wipe → plastic scrape → light re-clean and dry. That workflow prevents smears and reduces the chance of dull patches, which tend to show up later.
Here’s the logic: wiping first removes the loosened layer; scraping only targets what remains. In 2026, that “escalate in steps” approach aligns with how manufacturers expect you to treat finished floors—controlled moisture, non-abrasive tools, and spot treatments when needed.
One downside: if you don’t dry thoroughly after damp cleaning, you can still get hazy-looking areas that look like residue “coming back.” Another downside: if you heat too long, you can soften or dull certain finishes.
Skip heat and chemical removers entirely if your floor finish is unknown and you can’t test safely in an inconspicuous area. When in doubt, use or contact the flooring installer/manufacturer for approved methods.
Sticky-Residue Quick Checklist
– [ ] Test cleaner/remover in a hidden area
– [ ] Soften first (gentle heat or mild loosening)
– [ ] Scrape gently with a plastic tool
– [ ] Wipe clean with barely damp microfiber
– [ ] Dry immediately; avoid soaking
– [ ] Repeat once or twice before escalating to a remover
Sources
– USDA Forest Products Laboratory, Wood Handbook: Wood as an Engineering Material
– ASTM International, ASTM D4442 (standard method for determining moisture content of wood by oven-dry method)
– NIST Chemistry WebBook (physical property data for isopropyl alcohol)
In summary, removing sticky residue from hardwood without dull spots comes down to method order: soften gently, wipe before you scrape, use plastic tools with light pressure, and dry immediately. If residue persists, use a wood-safe adhesive remover as a controlled spot treatment, then re-clean to prevent leftover film from attracting dirt.
Frequently Asked Questions
What’s the best way to remove stubborn sticky residue from hardwood floors?
Start by softening the residue with a gentle method like warm water plus a small amount of dish soap, then wipe with a microfiber cloth. If it’s still sticky, use a hardwood-safe adhesive remover or a small amount of mineral spirits on a cloth, working in sections. Always test any product in an inconspicuous area first and finish by wiping with a damp cloth to remove solvent traces, then dry thoroughly.
How do you clean sticky tape, sticker, or label residue from hardwood without damaging the finish?
Begin by loosening the adhesive with a plastic scraper held low and careful to avoid gouging the wood, then lift the softened bits. For remaining tackiness, apply a little isopropyl alcohol (or mineral spirits for tougher adhesives) to a cloth and dab rather than soak, letting it sit briefly before wiping. Finish with a damp microfiber wipe and dry to protect the hardwood floor surface.
Why does sticky residue stay on hardwood floors, and how do you prevent it from spreading?
Adhesives can bond with the polyurethane or natural oil finish over time, making the residue feel gummy and hard to lift with regular cleaners. To prevent spreading, don’t rub aggressively—use a cloth to lift from the outside edge toward the center and change cloth sections often. Keeping the area lightly cleaned and promptly drying helps stop the residue from smearing into a wider area.
How do you remove dried adhesive gum or syrupy spills from hardwood floors safely?
First, soften the buildup by placing a warm, slightly damp cloth over the area for a few minutes, then wipe with a microfiber cloth. If it remains tacky, use a small amount of mineral spirits or a purpose-made wood/adhesive remover on a cloth, not directly on the floor, and work gradually. Avoid soaking hardwood and don’t use harsh degreasers that can dull or strip the floor finish.
Which household products are safe and effective for cleaning sticky residue on hardwood floors?
For light residue, warm soapy water is often enough, while isopropyl alcohol can help with label glue and leftover adhesive. Mineral spirits can be effective for tougher sticky spots, but it should be used sparingly and only after testing, followed by a damp wipe and complete drying. Avoid acetone, strong paint strippers, and abrasive pads, since they can damage hardwood finish or leave dull patches.
📅 Last Updated: November 02, 2026 | Topic: How to clean stubborn sticky residue from hardwood floors? | Content verified for accuracy and freshness.
References
- 404 Error
- https://extension.umn.edu/household-cleaning-and-home-safety/cleaning-hardwood-floors
- Safer Choice | US EPA
- https://www.getty.edu/conservation/
- Museums & Collections (U.S. National Park Service)
- https://scholar.google.com/scholar?q=sticky+residue+removal+hardwood+floor Google Scholar
- https://scholar.google.com/scholar?q=adhesive+residue+removal+wood+surface+mineral+spirits Google Scholar
- https://scholar.google.com/scholar?q=wood+floor+cleaning+solvents+stain+damage Google Scholar