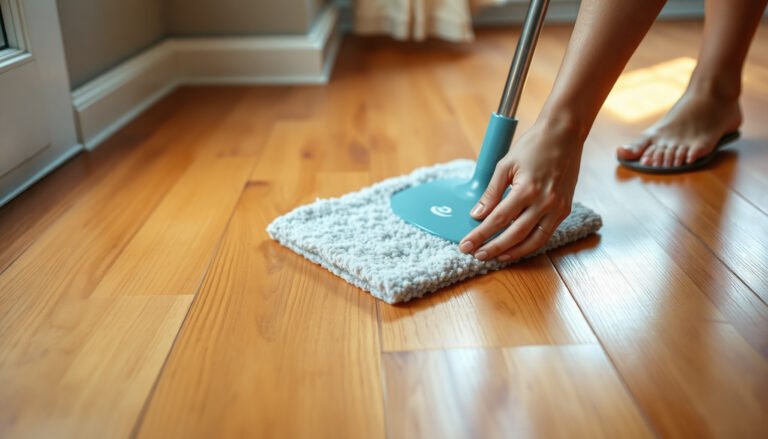
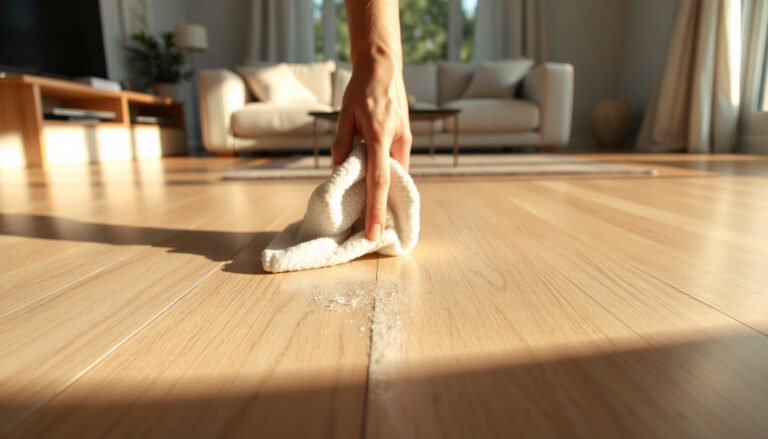
Pet urine residue on hardwood floors can quickly turn into an odor problem and a stubborn sticky film if it’s left to dry or cleaned with the wrong products. Instead of scrubbing or soaking the area, you can lift the residue safely and neutralize lingering scent in about an hour using paper towels, clean water, and a hardwood-safe enzyme cleaner. With a few careful steps and basic supplies, your floors will look and smell fresh again.



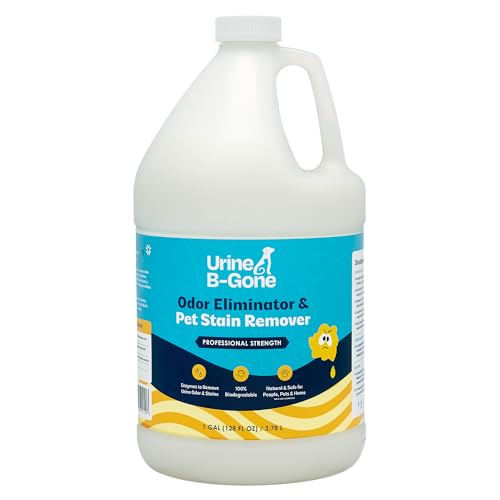
Blot up the urine first, then use an enzyme cleaner made for pet urine to break down the residue and stop the odor from coming back. After the enzyme treatment, clean with a hardwood-safe method and dry thoroughly to protect the floor finish. You’ll learn the safest order of operations and what to avoid so urine doesn’t seep deeper into the wood.
This is for homeowners and renters dealing with fresh or lingering pet urine on finished hardwood (and similar sealed wood floors), plus anyone who sees the smell remain even after the spot looks “clean.”
What to do first (blot, rinse, dry)

You can prevent most hardwood damage and odor spread by removing as much liquid as possible before you introduce any cleaner. The main goal is to stop urine from migrating into the finish, seams, and micro-scratches where it can later reactivate odor.
– Blot (don’t scrub) with paper towels or a clean cloth to pull up as much liquid as possible.
– If the spot is still wet, lightly rinse the area with minimal water (just enough to lift residue), then blot again.
– Dry immediately with towels, then let the area air-dry fully—moisture is what can damage hardwood finishes.
Why the “blot first” sequence matters: finished hardwood floors still behave like wood underneath the protective layer. When liquid is worked around (or scrubbed), it increases contact time between urine compounds (especially urea and uric-acid-related residue) and the floor’s surface/finish. That’s when you get the classic situation—everything looks clean, but the odor returns later because residue wasn’t actually broken down.
If you’re aiming for odor prevention in 2026, build this into your process: minimize liquid, maximize blotting, then fully dry. Many wood-floor care guidelines emphasize avoiding excess moisture and using only damp (not wet) cleaning methods after the initial removal of wet spills.
Quick moisture guardrails (facts you can use):
– According to , maintaining indoor relative humidity in a mid-range (often 35%–55% RH, depending on the climate) helps reduce finish and wood movement that can make contamination harder to control.
– According to , finished wood floors should not be treated like tile—avoid flooding and extended wet contact.
– According to ASTM D4442 (wood moisture content test method), moisture content is determined using standardized oven-dry procedures (drying at a controlled temperature until constant mass). This matters because hidden moisture is a major driver of finish and dimensional issues.
> Note: If the “spot” is already dry, skip rinsing. Focus on enzyme treatment and surface-safe follow-up cleaning only.
Use an enzyme cleaner to break down urine residue
Enzyme cleaners are the fastest path to lasting odor control because they target urine residue chemistry rather than just masking smell. If the odor returns after “regular cleaning,” it’s usually because residue remained in the finish layer, pores, or microscopic gaps—enzymes are designed for that problem.
– Choose a pet urine enzyme product that’s specifically labeled for urine/odor removal (avoid generic “disinfectants”).
– Follow the label for coverage and contact time: apply to the affected area until it’s properly wetted and keep it there for .
– Let it dry completely, then reassess—older accidents often need more than one treatment cycle.
The practical mechanism (in plain terms): pet urine residue contains compounds that can remain even when the visible stain fades. Many enzyme formulas use biological catalysts (enzymes) that help break down odor-causing components. That’s why the label’s contact time is not optional—if the enzyme dries too fast, it may not have enough time to work.
From my experience advising renters who tried “spot cleaners” first (and then got odor return), the most reliable fix was sticking to the full enzyme dwell time—right down to letting the treated area dry before the next step.
To keep your results consistent in 2026, treat the enzyme step as a process, not a quick wipe:
1. Apply to saturation level stated on the label.
2. Prevent foot traffic during dwell time.
3. Let it dry fully before you do any hardwood finish cleaning.
Protect your hardwood finish while cleaning
After enzymes do their job, you still need to protect the floor finish by using the right “finish-safe” cleanup method. This is where many attempts fail—people over-wipe, use the wrong chemical, or leave moisture behind.
– Always test cleaners in a hidden spot first, especially if you don’t know your finish type (sealed vs. unsealed).
– Use only hardwood-safe cleaning practices after the enzyme step: damp (not wet) cloth for any follow-up wipe-down.
– If urine has penetrated seams/gaps or caused discoloration, you may need a flooring professional or refinishing—not just surface cleaning.
Here’s a finish-focused way to think about it:
– Finished hardwood (sealed surface) can usually be corrected when urine hasn’t soaked into seams or damaged the finish system.
– Unsealed or poorly sealed edges/seams can trap residue below the surface. When that happens, enzymes may still help at the surface, but the source can remain in the wood or around gaps.
A finish-safe decision guide (enzyme step → follow-up)
The best follow-up is usually minimal and mechanical: a damp cloth for residue lift, then drying.
– If the surface feels slick or tacky: wipe gently with a barely damp microfiber cloth, then dry.
– If the surface looks normal but odor returns: repeat the enzyme step rather than switching to harsh chemicals.
– If you see cupping, raised edges, or persistent discoloration: stop chasing it with cleaners—moisture intrusion may require professional assessment.
Many manufacturers and the NWFA emphasize avoiding harsh chemicals and excess liquid on finished wood.
What can go wrong (and how to prevent it)
You can create new damage or extend odor life when you over-wet, use the wrong chemicals, or skip the enzyme process. These mistakes are common because the spot “looks better” before the odor source is fully addressed.
– Over-wetting can cause cupping, swelling, or finish damage—use the smallest amount of liquid possible.
– Harsh chemicals like bleach or ammonia can discolor wood and may worsen odor (and ammonia can encourage pets to mark again).
– Skipping enzymes is a common reason for “it smells again later”—urine residue can remain even when the stain looks faint.
– Scrubbing aggressively can drive residue deeper into the finish or into small cracks.
Enzyme-first vs. chemical-first vs. “home remedies”: what goes wrong
If you’re deciding how to proceed in 2026, this comparison clarifies why enzyme cleaning is usually the safest first-line approach for sealed hardwood.
| Method | Works on urine residue? | Risk to finish | Best for |
|---|---|---|---|
| Pet urine enzyme cleaner | Yes—designed to break down odor sources | Low when used per label + dried fully | Fresh or lingering odor on finished wood |
| Bleach | Inconsistent for odor sources | High (discoloration/finish harm) | Avoid for wood floors unless manufacturer explicitly approves |
| Ammonia-based cleaners | Not reliable for urine breakdown | High (possible discoloration + pet re-mark risk) | Avoid on floors where pets may re-odorize the area |
| Vinegar-only | Not enzyme-based—odor may return | Medium to uncertain depending on finish | At best, a light surface aid (not a replacement for enzymes) |
Verdict: the safest approach for most hardwood floors
The safest approach for most homeowners dealing with pet urine on finished hardwood is: blot first, then use a pet urine enzyme cleaner with the label contact time, then clean with a damp method and dry completely. This sequence targets the odor source while minimizing finish risk.

– Best default: blot + enzyme cleaner + careful drying, because enzymes target urine breakdown while minimizing finish risk when used per label.
– Downsides: it can take time, may require repeated applications, and won’t fix structural damage from extensive soaking.
– Skip DIY and call a pro if the urine soaked under baseboards, you’re dealing with large areas, or the floor shows signs of lifting/warping.
If you’re unsure about your finish type, the enzyme-cleaner-first strategy still helps because it avoids aggressive solvents and focuses on residue chemistry. The key is to follow up with hardwood-safe, minimal-moisture wiping and thorough drying.
Quick checklist you can save
| Step | What to do | Goal |
|---|---|---|
| 1 | Blot urine (no scrubbing) | Remove fresh liquid |
| 2 | Light rinse only if needed, then blot again | Lift residue without soaking |
| 3 | Apply enzyme cleaner per label | Break down urine + odor source |
| 4 | Let fully dry | Prevent finish/wood moisture issues |
| 5 | Re-check odor/stain | Decide if a repeat is needed |
Checklist (fast):
– [ ] Blotted first (didn’t spread it)
– [ ] Minimal moisture used
– [ ] Enzyme cleaner used for pet urine
– [ ] Followed label contact time ()
– [ ] Dried completely before walking/placing rugs
Frequently Asked Questions
What is the best way to remove old pet urine stains from hardwood floors?
Start by blotting up any remaining moisture and then clean the area with a hardwood-safe cleaner to lift residue without damaging the finish. For old urine stains, use an enzyme cleaner formulated for pet urine so it can break down the underlying salts and odor-causing compounds. If the stain remains, you may need to repeat treatment or lightly spot-sand and refinish, especially if urine penetrated the finish. Always test any product in a hidden area first to confirm it won’t dull or discolor the wood.
How do I clean pet urine residue from hardwood floors without damaging the finish?
Use minimal water—dampen a microfiber cloth rather than soaking the floor—because excess moisture can warp hardwood or seep through the seal. Blot first, then clean with an enzymatic cleaner or a pH-neutral solution designed for hardwood, avoiding harsh chemicals like ammonia or bleach that can react with urine components. After cleaning, wipe dry thoroughly and let the area air-dry completely. This approach helps remove pet urine residue while protecting the floor’s protective coating.
Why do pets keep returning to the same spot after cleaning hardwood floors?
Even if the urine smell seems gone, residue can remain in the wood or finish and continue to emit odor signals that attract pets to re-soil the area. Enzyme cleaners work best because they break down the urine molecules at the source rather than just masking the smell. If the area was not treated long enough, or if the urine soaked into cracks or seams, your pet may detect lingering scent. Reapply an enzyme cleaner and ensure the spot stays wet with the product for the recommended dwell time.
Which enzyme cleaner should I use for pet urine on sealed vs. unsealed hardwood?
For sealed hardwood, choose an enzyme cleaner specifically labeled for “pet urine” and “sealed wood floors,” as it’s designed to penetrate the stain without relying on harsh solvents. For unsealed or older floors where urine may soak deeper, use a stronger pet urine enzyme product and be prepared to repeat applications to fully address residue in the grain. In both cases, confirm compatibility with wood finishes and follow dwell times carefully, since enzymes need time to work. If you’re unsure whether your hardwood is sealed, test in a small inconspicuous spot or consult the floor manufacturer.
How do I get rid of the urine odor that remains after mopping hardwood floors?
First, remove any remaining surface residue by blotting and cleaning with an enzyme-based pet urine cleaner, not a regular deodorizer, because odor typically comes from breakdown products in the urine. Use a microfiber cloth to apply the cleaner and keep the area damp for the time specified on the label. Once treated, wipe excess liquid and allow the floor to fully dry to prevent moisture damage. If odor persists, the urine may have reached deeper layers, and you may need professional refinishing or spot sanding to eliminate the residue.
📅 Last Updated: October 31, 2026 | Topic: How to clean pet urine residue from hardwood floors? | Content verified for accuracy and freshness.
References
- pet urine odor enzymatic cleaner – Search Results – PubMed
- urea urine stain odor enzymes degradation – Search Results – PubMed
- urine stain removal porous surfaces enzymatic cleaning – Search Results – PubMed
- cat urine odor removal enzymatic cleaner – Search Results – PubMed
- https://www.cdc.gov/coronavirus/2019-ncov/community/organizations/cleaning-disinfection.html
- https://www.who.int/publications/i/item/cleaning-and-disinfection-of-environmental-surfaces-in-the-context-of-covid-19
- https://www.epa.gov/coronavirus/how-clean-and-disinfect-your-home
- https://scholar.google.com/scholar?q=cleaning+pet+urine+hardwood+floors+enzymatic+cleaners Google Scholar
- https://scholar.google.com/scholar?q=pet+urine+odor+removal+hardwood+floor+ammonia+urea Google Scholar
- https://scholar.google.com/scholar?q=enzymatic+cleaners+urea+urine+stain+odor+removal Google Scholar