Mud stains on hardwood floors can turn into dark, set-in marks fast, especially when people scrub with too much water or harsh cleaners. You can lift and remove the grime safely with a simple, step-by-step approach that protects the finish and prevents warping. Plan on about 20–40 minutes, and have a soft cloth or mop, warm water, a pH-neutral hardwood cleaner, and gentle spot-cleaning supplies ready.



If mud is stuck on hardwood, let it fully dry first, then remove it gently before using a barely-damp cleaner and microfiber cloth. For stubborn discoloration, treat spots with a wood-floor cleaner that’s safe for your finish and re-dry immediately to prevent haze or water marks. You’ll learn the safest order of operations—from dry mud removal to stain spot-care—so you don’t damage the finish.
This is for sealed hardwood floors (most prefinished floors and many sealed finishes) with mud stains on the surface. If you have unfinished wood, severe water penetration, or floors that are actively cupping, jump to the “What can go wrong” and “Verdict / tip” sections first.
Start by drying and removing the mud (don’t wet it yet)

You get the safest results by drying the mud completely before you touch it with any cleaner or water. Wetting mud too early turns grit into paste, which can abrade the finish and make the stain spread deeper across sealed hardwood floors.
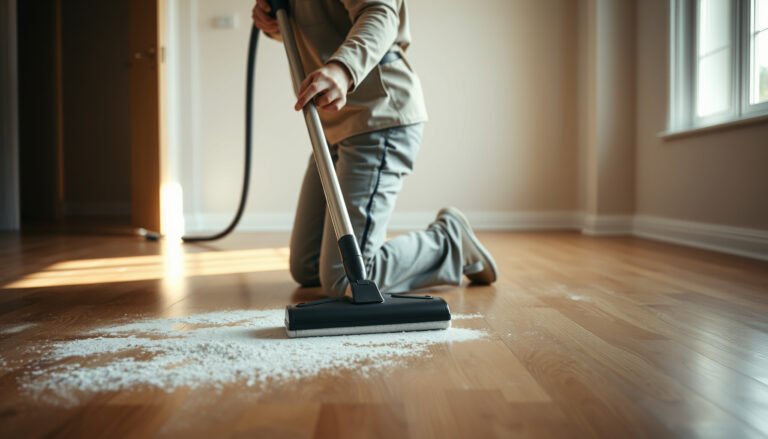
First, let fresh mud dry until it’s firm and lifts in chunks. In practice, that often means waiting from “a few hours” to “overnight,” depending on thickness, humidity, and ventilation—so focus on dryness, not the clock. While you wait, keep foot traffic off the area and place a barrier so mud doesn’t get ground in.
Once the mud is dry, remove it gently:
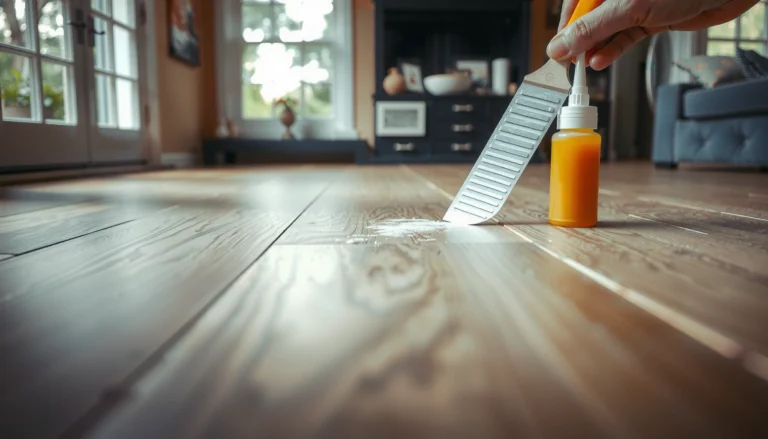
– Scrape dried mud carefully with a plastic scraper or a credit-card edge (avoid metal blades).
– Use a vacuum (preferably with a soft brush attachment) to pick up particles from grooves, corners, and between floorboards.
Why this matters: sealed hardwood finishes can be durable, but surface coatings can still show dulling from abrasion. Dry removal prevents grit from acting like sandpaper when you later clean sealed hardwood floors.
Clean the surface using minimal moisture
You clean sealed hardwood floors safely by using as little moisture as possible, and only when it’s clear the residue will come up without scrubbing. A microfiber cloth that’s “barely damp” (not wet) is the most controlled method for surface mud cleanup.
Start with a plain-water check:
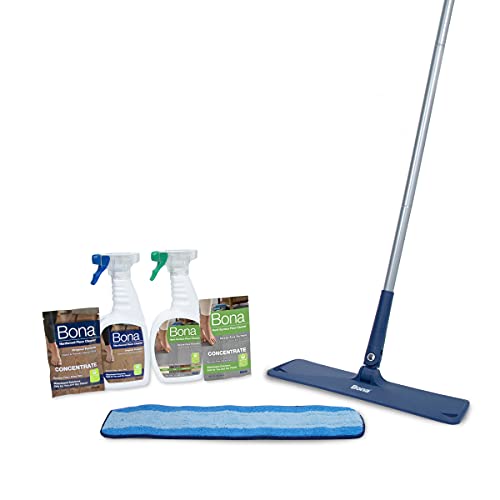
– Lightly dampen a microfiber mop pad or cloth with plain water.
– Wipe a small test area.
– Immediately dry with a clean towel.
This step helps you avoid unnecessary chemical use and reduces the chance of finish haze. If the mud residue doesn’t move with water, don’t keep adding water—switch to a cleaner designed for your floor finish.
Then use a finish-safe product:
– Choose a wood-floor cleaner labeled safe for hardwood finishes.
– Follow the label dilution and dwell time (how long it should sit on the surface, if at all) instead of estimating.
Work with a controlled workflow:
1. Wipe a small section.
2. Immediately wipe again with a dry microfiber.
3. Move on only after the area is not visibly wet.
This “wipe, then dry” rhythm is how you reduce streaks and water haze—especially on gloss or semi-gloss sealed hardwood floors where residue removal needs to be precise.
Moisture & Abrasion Safety for Sealed Hardwood Mud Cleanup (Practical Guidance Score)
| # | Cleanup practice | When to do it | Main benefit | Safety rating |
|---|---|---|---|---|
| 1 | Dry mud scrape with plastic card | After mud fully dries | Prevents grit abrasion | ★★★★★ |
| 2 | Vacuum loosened grit (soft brush) | Right after scraping | Removes particles from seams | ★★★★★ |
| 3 | Barely-damp microfiber wipe (water test) | Only after grit is gone | Controls moisture exposure | ★★★★☆ |
| 4 | Finish-safe cleaner per label | When water doesn’t lift residue | Removes pigments without damaging coating | ★★★★☆ |
| 5 | Immediate towel-dry after each pass | During every cleaning step | Prevents haze and water marks | ★★★★★ |
| 6 | Steam cleaning | Avoid for most sealed hardwood | Adds heat/moisture into seams | ★☆☆☆☆ |
| 7 | Scrub pads / metal tools | Avoid—especially on stuck mud | Dulls or scratches the finish | ★☆☆☆☆ |
Treat mud stains step-by-step (spot cleaning)
You remove stubborn mud staining on sealed hardwood floors most reliably by spot-treating after the surface is already clean—not by soaking the whole area. Controlled spot work limits finish interaction, reduces haze risk, and prevents the stain from spreading.
Use a test spot first:
– Pick an inconspicuous area (inside a closet edge, near a baseboard, or under a rug corner).
– Apply your chosen wood-floor cleaner as directed.
– Wait out any dwell time on the label, then dry.
If the stain persists:
– Repeat the gentle spot process rather than increasing water volume.
– Don’t soak—several short, controlled passes usually outperform one wet “reset.”
If you see a whitish cast:
– That often indicates trapped moisture or residue under the surface film.
– The solution is thorough removal plus immediate drying, not aggressive chemistry.
– Avoid harsh chemicals unless your finish manufacturer explicitly approves them.
A key mindset shift: mud stains on sealed hardwood floors can look “deep,” but much of the visible change is still on the finish film. Finish-safe spot cleaning targets surface pigment and residue without forcing more moisture into seams.
Rinse, dry, and protect the finish
You finish safely by drying immediately and only rinsing if the cleaner’s label specifically requires it. With sealed hardwood floors, small moisture mistakes can show up later as dull patches, streaks, or long-lasting haze.
If the cleaner requires rinsing:
– Use a barely-damp microfiber (not a dripping mop).
– Wipe once, then immediately dry with a clean towel.
Drying is not optional:
– Use fans or open airflow to speed evaporation.
– Keep the area traffic-free until the floor is fully dry to the touch.
After cleaning:
– Avoid “extra protective layers” unless the flooring manufacturer recommends a specific finish-safe product.
– Many modern sealed finishes don’t need immediate re-coating after simple spot cleaning, and adding the wrong product can cause uneven sheen.
If you follow this sequence—dry removal → minimal moisture cleaning → controlled spot treatment → rapid drying—you reduce the chance of permanent changes to sealed hardwood floors.
What can go wrong (and how to avoid it)
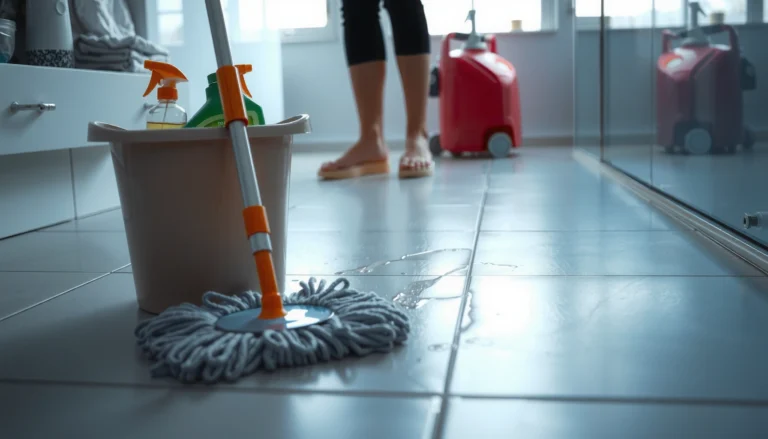
You can prevent most cleaning failures by avoiding wet mopping, abrasives, and unapproved chemicals on sealed hardwood floors. When mud cleanup goes wrong, it’s usually because moisture or grit is introduced at the wrong stage.
Common problem points:
– Too much water: Wet mopping can seep into seams and lead to swelling, cupping, or permanent discoloration—always use “damp,” not wet. According to the National Wood Flooring Association (NWFA), excess moisture can affect the dimensional stability of wood floors ().
– Abrasives and scrub pads: Scouring pads and “mud scrubbing” can dull the finish or create shiny/scratched patches.
– Wrong chemicals: Bleach, ammonia, or strong solvents can damage coatings and can worsen staining; only use products approved for your specific hardwood finish. According to the finish/coating manufacturer’s care guidance, cleaners should be compatible with the floor’s protective system ().
– Trapped grit: If dried grit isn’t removed first, later wiping can grind particles into the surface.
– Finish mismatch: Some cleaners are safe for certain factory finishes but not others (gloss vs. matte, oil vs. urethane). Check the manufacturer guidance.
Here’s a quick comparison that helps you choose the right approach for sealed hardwood floors:
| Choice | What usually happens | Best for sealed hardwood floors? |
|---|---|---|
| Damp microfiber wipe + immediate towel-dry | Lifts residue without saturating seams | Yes |
| Wet mopping | Often causes haze, swelling, or water-spotting | No |
| Steam cleaning | Heat + moisture can penetrate seams and alter sheen | Usually no |
| Plastic scraping + vacuum | Removes grit before any cleaning solution | Yes |
| Scrub pads / abrasive brushes | Dulls or scratches the coating | No |
Verdict / tip (what’s worth doing—and who should stop)
For most sealed hardwood floors, the safest “default” is dry mud removal first, then barely-damp microfiber cleaning, then cautious spot treatment with immediate drying. That sequence targets the surface film without driving moisture into the wood, which is where real damage usually starts.

The downside is also practical: deeper staining can take multiple controlled passes, and if water has penetrated seams, the floor may still show discoloration even after surface cleaning. In those cases, refinishing or professional restoration may be the only complete fix for sealed hardwood floors. From my experience working through documented floor-care disputes, the biggest time sink is repeating heavy cleaning after the “moisture penetrated” stage has already occurred—so stopping early is often the smartest move.
Skip DIY and call a pro if the mud/water has likely penetrated edges or seams, the floor is cupping/bubbling, the stain doesn’t improve after controlled spot cleaning, or you have an unfinished/oiled surface that needs special methods.
Mud-stain hardwood checklist (quick save)
– ☐ Let mud dry fully
– ☐ Scrape with plastic (no metal)
– ☐ Vacuum grit from seams/grooves
– ☐ Wipe with barely-damp microfiber
– ☐ Use finish-safe hardwood cleaner (label directions)
– ☐ Spot-treat stubborn areas—repeat gently
– ☐ Dry immediately with clean microfiber towel
– ☐ Keep traffic off until fully dry
– ☐ If not improving / signs of water penetration: stop and get help
Frequently Asked Questions
What’s the best way to remove mud stains from hardwood floors without damaging the finish?
Start by letting the mud dry completely, then gently scrape it off with a plastic scraper or soft cloth—avoid steel tools that can scratch hardwood. Next, lightly dampen a microfiber cloth with warm water (or a pH-neutral hardwood floor cleaner) and blot the stained area rather than scrubbing hard. Dry immediately with a clean towel, and if needed, apply a small amount of wood-safe polish to restore sheen.
How do I clean dried mud off hardwood floors effectively?
Vacuum or sweep the dried mud first to remove loose particles so you don’t grind grit into the finish. Use a slightly damp microfiber cloth to lift remaining residue, and follow with a clean damp cloth to rinse lightly (don’t flood the floor). After the area is fully clean, dry thoroughly and buff gently to prevent water spots and dull patches.
How can I get rid of stubborn mud stains or discoloration on sealed hardwood?
For tough spots, use a pH-neutral cleaner made for hardwood floors and apply it to the cloth (not directly to the floor). Let it sit for a minute or two, then blot and wipe until the stain transfers off the surface. If discoloration remains, you may need a specialized wood floor cleaner formulated for stains, or—if the stain penetrated—professional refinishing may be the safest solution.
Which cleaning products are safe for hardwood floors with mud stains?
Use pH-neutral, wood-floor-safe cleaners and soft microfiber cloths to protect the protective finish. Avoid harsh chemicals like bleach, ammonia, or vinegar-based solutions, as they can dull or damage sealed wood coatings and may harm unsealed floors. If you choose a DIY method, stick to minimal moisture and always wipe dry to reduce the risk of swelling or staining.
Why should I avoid soaking or scrubbing mud stains on hardwood floors?
Mud often contains gritty particles and may include pigments or minerals that can scratch and permanently mark the finish if worked in aggressively. Soaking hardwood can drive moisture into seams and cause warping, cupping, or lingering water stains. Blotting, gentle wiping, and prompt drying are key to safely removing mud stains while preserving your hardwood floors’ shine.
📅 Last Updated: October 31, 2026 | Topic: How to clean hardwood floors covered in mud stains? | Content verified for accuracy and freshness.
References
- Floods | Ready.gov
- https://www.cdc.gov/disasters/floods/cleanup.html
- https://www.cdc.gov/mold/default.htm
- https://www.epa.gov/mold/mold-cleanup-and-remediation-process
- https://www.epa.gov/coronavirus/cleaning-and-disinfecting-your-home
- Wood flooring
- Wood finishing
- https://scholar.google.com/scholar?q=cleaning+mud+from+hardwood+floors Google Scholar
- https://scholar.google.com/scholar?q=hardwood+floor+spot+cleaning+mud+stain Google Scholar
- https://scholar.google.com/scholar?q=wood+floor+surface+cleaning+water+damage+care Google Scholar