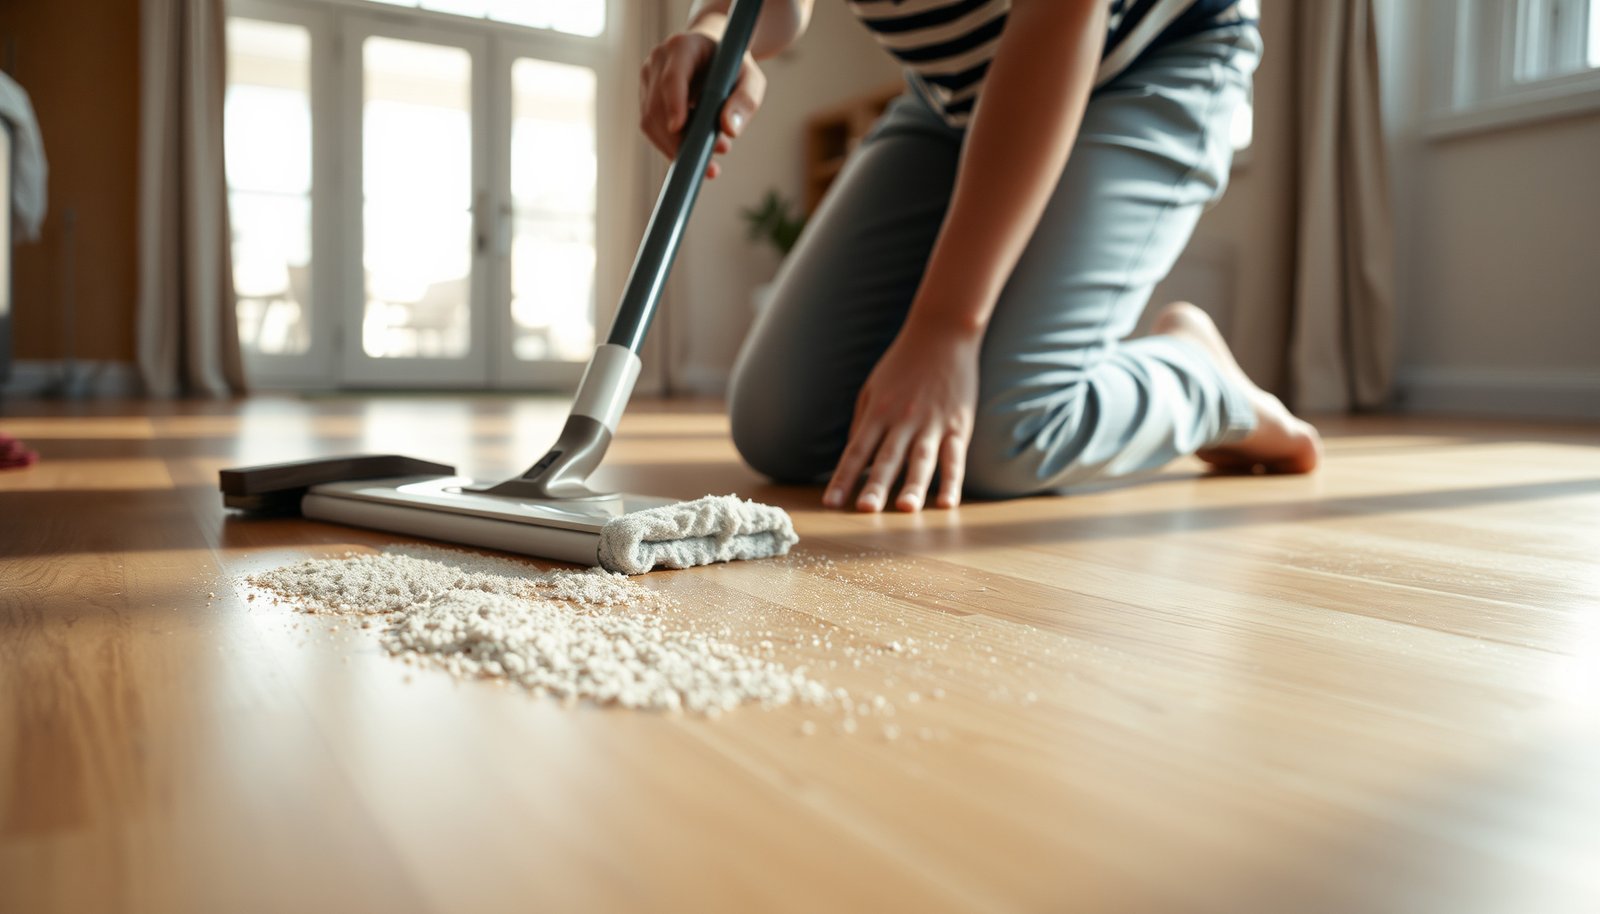

To clean hardwood floors after grit gets on it, start by dry-sweeping or vacuuming with a soft brush to remove abrasive particles before they grind into the finish. Then use a barely damp microfiber mop with a hardwood-safe cleaner, and dry the floor immediately to prevent streaking and moisture damage. If grit is embedded in seams or corners, spot-treat with a lightly damp cloth—no soaking, no harsh chemicals—so the finish stays intact.
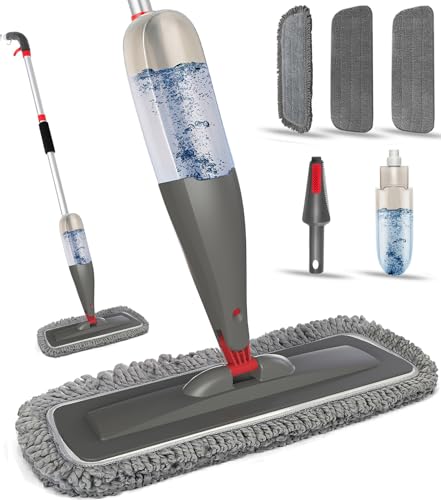

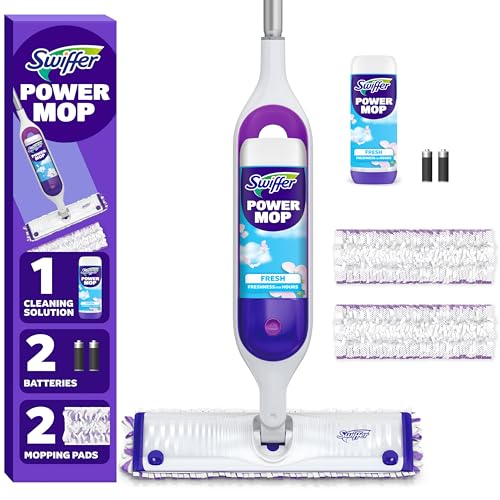

Clean grit off hardwood by removing it dry first, then using a barely-damp, finish-safe cleaner. This order prevents sandpaper-like abrasion from continuing to wear down the finish—especially after builders, windy days, or tracked-in soil.
If grit gets on hardwood, clean it up first with dry methods (vacuuming and soft dusting) so it doesn’t keep grinding into the finish. Then use the gentlest, finish-safe cleaner and a barely-damp mop—avoid scrubbing, steam, or soaking. This guide walks you through the safe order of operations to remove grit without adding scratches.
This advice is for finished hardwood floors (sealed/stained) where grit (sand, soil, dust tracked in) can act like sandpaper. If your floor is unfinished, severely worn, or you see actual gouges, you may need different steps—start by checking what finish your floor has and how damaged it looks.
Stop the damage fast: assess and isolate the grit
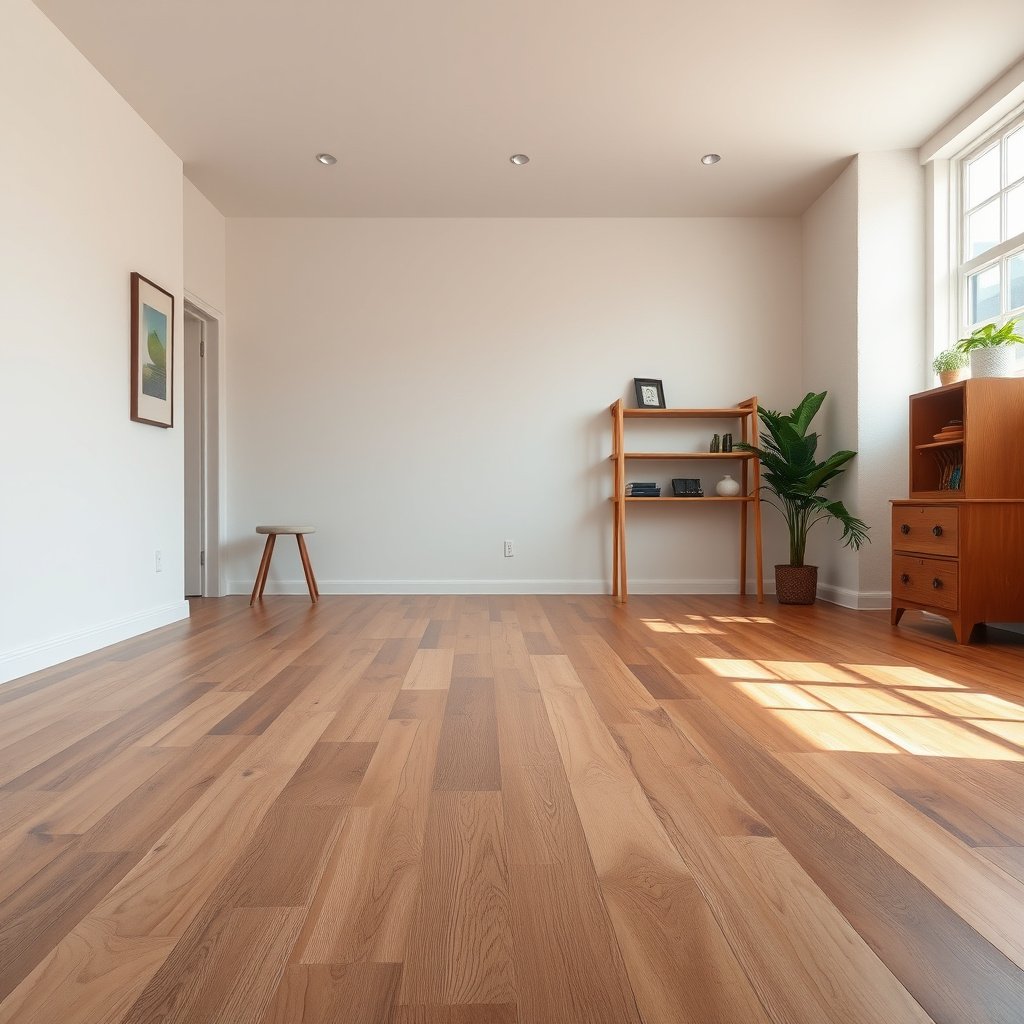
The fastest way to protect a hardwood floor finish is to prevent people and pets from walking grit deeper while you plan your removal sequence. Sand and soil particles embedded in seams and texture will keep abrading the finish if you keep traffic on the area.
According to the USGS, sand grains commonly fall in the ~0.0625 to 2.0 mm range—large enough to physically abrade floor finishes like controlled “grit.” USGS (sediment grain-size guidance; Wentworth scale references)
Quartz (a common sand mineral) has a Mohs hardness of 7, which is high enough to scratch softer materials and accelerate finish wear on hardwood floors. USGS (mineral hardness references)
The NWFA emphasizes moisture control for hardwood floors, recommending indoor relative humidity ranges that help limit finish and wood movement. National Wood Flooring Association (NWFA) maintenance/environment guidance
– Remove people/pets from the area immediately so the grit can’t be walked deeper.
Even one “extra pass” can turn loose grit into a distributed abrasive film across the hardwood floor.
– Look for obvious sand/gravel chunks first, then plan to start with dry pickup before any moisture.
Dry pickup lets you remove larger abrasive particles without turning them into muddy residue that can smear.
– If grit is trapped in seams/grooves, plan on careful vacuuming rather than rubbing with a cloth.
That’s because wiping grit across hardwood seams often drags particles into the groove edges—where they continue damaging the finish over time.
What grit types matter most on a finished hardwood floor?
Grit tends to be a mix: sand (often silica/quartz), dust, tiny soil particles, and debris from shoes. The bigger the particles and the more mineral content (quartz/silica), the more quickly a hardwood floor finish can dull.
If you can see grains, treat the area like a “chemical-free abrasion risk zone”: isolate, dry-capture, then clean.
A quick note on unfinished or damaged hardwood floors
If the hardwood floor is unfinished (no protective topcoat) or the finish is already gone in patches, the dry-first logic still applies—but the “finish-safe” cleaner step may need to change. In those cases, you’ll want to follow your floor’s specific care instructions and consider professional refinishing rather than hoping cleaning alone will restore appearance.
Dry removal first: vacuuming and soft dusting
The best first move for a grit-covered hardwood floor is careful dry pickup that removes particles before they can keep grinding. Vacuuming and microfiber dusting should lift loose grit without redistributing it.
Using a vacuum with a soft/no-beater-head attachment reduces the chance of scratching hardwood finishes while removing dry abrasive particles.
Microfiber dust mops are designed to capture fine particulate dust without spreading it across hard surfaces, which helps limit ongoing abrasion on hardwood floors.
– Vacuum with a hardwood-safe attachment (soft brush/no beater bar) or use a microfiber dust mop dry to lift loose particles.
For hardwood floors, you want “lift,” not “scrape.” If your vacuum has a brush roll, turn it off. If it doesn’t, use a separate soft-brush tool head.
– For lingering grit, re-vacuum slowly—press lightly so you’re lifting, not grinding.
Light pressure matters. Heavier pressure can push grit into micro-gaps and increase abrasion on the topcoat.
– Avoid rubber/scratchy brooms for this step; they can push grit around and create micro-scratches.
The goal is one-direction capture, not sweeping that spreads grains.
Where dry removal works (and where it doesn’t)
Dry methods are ideal for:
– tracked sand/soil on the surface
– dust film that hasn’t fully settled into seams yet
– larger grains sitting near baseboards or entryways
Dry methods are less ideal when grit is deeply embedded or wet/muddy. If grit has been turned into paste (snow melt, rain tracking), you’ll still start dry—then move to minimal-moisture cleaning after.
Safe wet cleaning for hardwood without spreading grit
After dry pickup, the right approach for a hardwood floor is a barely-damp mop with a finish-safe cleaner—applied to the mop, not poured onto the wood. This keeps moisture low enough to avoid swelling at seams while still removing residue left behind by soil and dust.
For sealed hardwood floors, manufacturers commonly specify using a pH-neutral, residue-free cleaner and applying it to a mop rather than the floor.
Excess moisture increases the risk of finish breakdown and wood movement around seams, reinforcing the need for “minimal moisture” cleaning on hardwood floors. NWFA wood floor maintenance/environment guidance
– After dry removal, use a cleaner recommended for hardwood with a sealed finish (typically a pH-neutral option), applied to the mop—not poured on the floor.
Pouring liquid directly onto hardwood floors increases the chance of puddling along seams, edges, and board gaps.
– Use minimal moisture: wring the mop well so the floor doesn’t stay wet in traffic lanes or seams.
“Barely-damp” is the operational goal. If you can see wet shine that takes time to disappear, your mop is too wet for a grit cleanup.
– Wipe in the direction of the wood grain, and if the cleaner leaves residue, follow the product’s directions for whether you should damp-rinse.
Rinse only if the cleaner’s instructions call for it—residue can be more damaging to a hardwood floor finish than you expect because it traps grit during the next traffic cycle.
Grit abrasion: what the particle-size reality means for cleaning
Smaller particles can still scratch, but bigger grains are usually the immediate finish killers. The table below translates common grit-size bands into “expected scratch potential” so you can decide how aggressive your dry steps should be before any moisture touches the hardwood floor.
Common Grit Particle Size Bands and Expected Scratch Risk on Finished Hardwood
| # | Grit type (Wentworth band) | Typical size (mm) | Abrasive behavior on a hardwood floor | Expected scratch risk | Priority for “dry first” |
|---|---|---|---|---|---|
| 1 | Very coarse sand | 1.0–2.0 | Acts like visible grit; quickly abrades finish | ★★★★★ | Highest |
| 2 | Coarse sand | 0.5–1.0 | High abrasion under foot traffic | ★★★★★ | Highest |
| 3 | Medium sand | 0.25–0.5 | Abrasion is still significant, especially near entries | ★★★★☆ | High |
| 4 | Fine sand | 0.125–0.25 | Often settles into seams; still scratch-causing | ★★★★☆ | High |
| 5 | Very fine sand | 0.0625–0.125 | Can be “invisible grit” that keeps dulling finishes | ★★★☆☆ | Medium |
| 6 | Silt | 0.004–0.0625 | More likely to smear into residue; still abrades slowly | ★★☆☆☆ | Lower |
| 7 | Clay | < 0.004 | Usually behaves like fine soil; abrasion is typically slower | ★☆☆☆☆ | Lowest |
(Grain-size bands follow standard sediment classifications commonly summarized using the Wentworth scale, with sand and silt boundaries reported in USGS sediment references. USGS sediment grain-size classification references (Wentworth scale))
Protect the finish after you clean (and prevent repeat grit)
Once the grit is removed, the best way to protect your hardwood floor is to dry thoroughly and prevent new abrasives from getting back on the surface. Prevention matters as much as cleaning because a single re-tracking event can undo days of finish care.
When hardwood floors are cleaned, drying promptly helps limit moisture exposure around seams—an important factor in finish longevity per NWFA maintenance guidance. NWFA maintenance/environment guidance
Reducing tracked-in grit with mats and a no-shoes policy is a core surface-prevention strategy because it stops abrasive particles before they reach the finish.
– Dry the area thoroughly (use airflow/a fan if needed) so moisture doesn’t sit in seams.
This is especially relevant in 2026 when many homes have HVAC that runs intermittently; even “small” moisture can linger in cracks at board edges.
– Add friction control: entry mats, a “no shoes” rule, and felt pads on furniture to reduce new grit tracking.
Felt pads prevent micro-scratches from furniture movement, while mats act like a filter for the largest abrasive particles.
– Once the floor is clean and dry, consider a light maintenance routine that matches your floor finish—don’t layer products that your finish manufacturer warns against.
Layering can create residue or film build-up that traps grit, making future cleanups harder and more abrasive.
A practical prevention routine for a busy household or office
If your hardwood floor sees heavy entry traffic (front doors, hallways, loading areas), use a consistent “first line of defense” plan:
1) washable entry mats at every exterior entrance
2) shoe policy posted at eye level
3) vacuuming with hardwood-safe tools 1–3 times per week during high-track seasons
4) immediate dry pickup after muddy weather
What can go wrong (common mistakes and limits)
The most common way people damage a hardwood floor during grit cleanup is by using the wrong method before the grit is removed. Scrubbing, steam, or soaking can turn grit into an abrasion tool and can also worsen moisture-related risks for seams and the finish.
Abrasion from mineral grit is a primary cause of finish dulling; quartz/sand hardness makes “scrub-first” approaches especially risky on finished hardwood floors. USGS mineral hardness references (quartz hardness)
Many hardwood floor manufacturers caution against steam and excessive moisture because they can degrade finishes and increase wood movement risk.
– Scrubbing first with grit still present: this is the fastest way to scratch hardwood because sand abrades the finish.
Even if the visible grit comes off, the friction you used likely micro-scored the topcoat.
– Using steam or soaking: excessive water can damage seams and can dull or lift certain finishes.
Steam also forces heat into the flooring system; if the floor is sensitive, it can reduce finish uniformity.
– Choosing the wrong cleaner: avoid harsh abrasives and anything your floor manufacturer advises against (common examples include strong degreasers, bleach/ammonia-type products, and scouring powders).
Harsh cleaners don’t just clean—they can strip protective layers or leave residues that re-capture grit.
– Unfinished or heavily worn floors: if the surface isn’t well sealed, “standard” wet-cleaning guidance may not apply—stop and follow your floor’s care instructions.
If the wood is open-grain or the finish is failing, treat it as a refinishing question rather than a mop-and-bucket question.
Dry-first vs. wet-first: what’s the tradeoff?
| Approach | What it does well | Common failure mode on a hardwood floor |
|---|---|---|
| Dry-first (vacuum + microfiber) | Removes abrasive particles before they grind | Skipping the “seams” pass leaves grit behind |
| Wet-first (mop with cleaner right away) | Dissolves soil films quickly | Turns sand into slurry that smears and abrades finish |
| Scrub-first (cloth/brush with grit present) | Removes visible spots fastest | Creates micro-scratches and lasting dulling |
Verdict / tip: the best approach is “dry first, then barely damp”
If grit is mostly loose, you can usually handle it with careful dry vacuuming plus a finish-safe, lightly damp mop. If the grit is mixed with heavy soil, you still start dry—then clean with minimal moisture to avoid spreading grit across your hardwood floor.
Downsides: even with careful cleaning, grit that already caused scratches won’t fully “come out” like dirt—it may only be reduced visually until you refinish. And if you see deep gouges in the hardwood floor finish, the remaining steps are more about repair than cleaning.
Skip DIY and consult a flooring professional if you see deep gouges, widespread dulling from abrasion, or if you’re unsure whether your floor is sealed vs. unfinished. For 2026, that “finish identification” step is still the biggest divider between safe DIY and accidental finish loss.
What to do when you’re not sure your floor is sealed
If you can’t confirm sealed/stained vs unfinished, pause the wet-cleaning step. Use dry removal first and locate your floor’s care documentation. Finishes vary (urethane vs. oil vs. varnish), and manufacturers differ on acceptable cleaners.
Quick checklist to save and scan
| Step | Do this | Avoid this |
|---|---|---|
| 1 | Block off the area | Let people/pets walk through |
| 2 | Dry vacuum (hardwood-safe attachment) | Beater bar or scratchy broom |
| 3 | Dry dust/microfiber mop to lift leftovers | Wiping hard while grit remains |
| 4 | Barely-damp mop with finish-safe hardwood cleaner (per label directions) | Pouring liquid or soaking |
| 5 | Dry thoroughly; manage airflow | Steam, standing water, leaving it wet |
| 6 | Add mats/felt pads to prevent re-tracking | Skipping prevention next time |
Sources:
– National Wood Flooring Association (NWFA) — wood floor maintenance/care guidance for cleaning practices and moisture control (seek the NWFA maintenance guidance for sealed hardwood). NWFA wood floor maintenance guidance
– USGS — mineral hardness and sediment grain-size classifications (used to explain why sand/grit abrades hardwood). USGS mineral hardness references; USGS sediment grain-size (Wentworth scale) references
– [Manufacturer documentation]
Summing it up: clean grit off hardwood in the safest order—dry pickup first, then a barely-damp mop with a finish-safe cleaner. If the surface shows damage beyond light dulling, you may not be able to “erase” scratches with cleaning alone. Use the checklist, then confirm your floor’s finish care instructions so your cleaner and moisture level match what the manufacturer actually allows.
Frequently Asked Questions
How do I remove gritty sand from hardwood floors without scratching the finish?
First, dry-sweep the area using a soft broom or a microfiber dust mop so the grit doesn’t grind into the wood grain. For any remaining particles, lightly vacuum with a floor brush attachment (no beater bar) to lift grit rather than smear it. Once the loose grit is gone, clean with a hardwood floor cleaner slightly dampened on a microfiber mop—avoid soaking the boards. Finish by drying immediately with a clean, dry microfiber cloth to prevent water spots.
What’s the safest way to clean hardwood floors after dirt or grit gets tracked in?
Start with the “dry clean” step: sweep or vacuum thoroughly before using any water. Mix a small amount of pH-neutral hardwood floor cleaner with warm water, then apply it using a wrung-out microfiber mop so the floor stays barely damp. If the grit caused dull spots, use a cleaner designed for hardwood and work gently in the direction of the wood grain. Do not use steam mops or excessive water, as they can damage the finish and lead to warping.
Why does grit damage hardwood floors, and what should I do immediately?
Grit acts like sandpaper, scratching and abrading the protective finish every time you walk on it. The fastest solution is to remove loose debris right away—sweep first, then vacuum with a soft attachment—to stop further grinding. After the grit is removed, do a gentle wet-clean with a hardwood-safe cleaner to pick up remaining residue. Finally, dry the floor completely to protect the wood and keep the finish looking even.
Which cleaning products are best for hardwood floor grit cleanup?
Use a pH-neutral hardwood floor cleaner and microfiber mops, since these are formulated to lift grime without harming common finishes. Avoid harsh degreasers, vinegar, ammonia, or abrasive scrub pads, which can strip or haze the finish. If you see scuffing after grit removal, choose a hardwood floor spot cleaner or polish that’s compatible with your finish type. Always follow label directions and test any product in an inconspicuous area first.
What’s the best method to deep clean hardwood floors when grit left dull patches or streaks?
After removing all loose particles, clean with a hardwood floor cleaner using minimal moisture and steady, direction-following strokes. For stubborn dull patches, lightly re-clean the area with a microfiber cloth and cleaner, then buff dry immediately with a separate cloth. If streaking persists, it’s often from residue—wipe again with a lightly damp microfiber mop using clean water, then dry thoroughly. If the finish is visibly worn through, you may need refinishing or a professional assessment to restore the protective layer.
📅 Last Updated: October 29, 2026 | Topic: How to clean hardwood floors after grit gets on it? | Content verified for accuracy and freshness.
References
- Wood flooring
- 404 Error
- https://www.bruceflooring.com/how-to-clean-hardwood-floors/
- https://www.armstrongflooring.com/floor-care/cleaning.html
- https://extension.oregonstate.edu/collection/floor-care-and-maintenance
- https://edis.ifas.ufl.edu/publication/FP418
- https://scholar.google.com/scholar?q=cleaning+hardwood+floors+grit+sand Google Scholar
- https://scholar.google.com/scholar?q=hardwood+floor+maintenance+cleaning+abrasive+dirt Google Scholar
- https://scholar.google.com/scholar?q=wood+floor+scratch+prevention+sand+grit Google Scholar