


You step across your engineered wood and find chalky white rings that won’t dissolve where hard-water droplets dried. You can usually lift these mineral deposits safely in about 20 to 40 minutes using a soft microfiber cloth, distilled water, and a small amount of pH-neutral cleaner (or lightly diluted white vinegar), followed by thorough drying. With the right technique—no soaking and no abrasive pads—you restore a clear, even finish without warping the planks.




Cleaning engineered wood floors with hard-water deposits usually comes down to removing the mineral haze gently, without soaking the planks. Start with dry cleanup and a light, pH-neutral wash, then use a diluted acid-based cleaner (like vinegar/citric) only after you’ve tested a hidden spot. You’ll learn how to lift the mineral film safely and what to avoid so the finish doesn’t get dull or peel.
If your floor has white spots, a cloudy look, or ring marks from wet mopping, pet bowls, or bathroom track water, this is for you. It’s especially relevant for engineered wood because the top finish can be damaged by harsh chemicals, abrasive scrubbing, and excess moisture. In 2026, people still run into this issue most often when sprinklers, humidifiers, or repeated wet mopping leave mineral residue that dries on top of the finish.
Check your finish first (so you don’t ruin it)
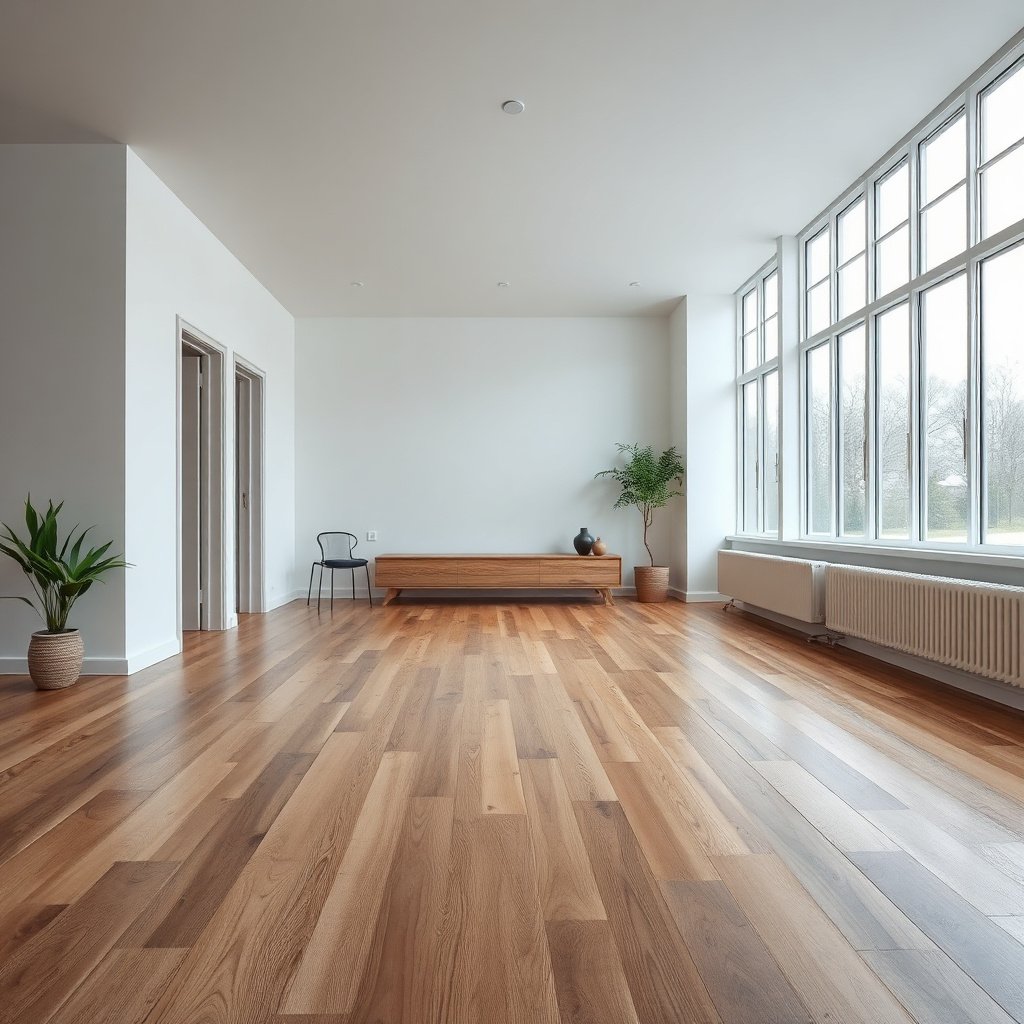
Before you clean engineered wood, confirm what finish system is on top and whether it allows acidic products. This step prevents permanent dulling and edge lifting that can be difficult (or impossible) to reverse on engineered wood floors.
Identify the finish type and cleaner limits
– Look for the manufacturer’s care instructions and note the finish type (common ones include urethane/polyurethane); follow their approved cleaners.
– If you don’t have the paperwork, check the brand’s website using the floor’s model name—many engineered wood manufacturers publish an “approved cleaners” list and explicit chemical do-not-use guidance.
– Pay attention to whether your floor is described as “finished,” “sealed,” or “waxed.” A waxed topcoat typically has different cleaning limits than a factory-cured urethane.
Do a spot test for any acid-based cleaner
– Do a small spot test in an inconspicuous area before using any acid-based product to confirm the haze lifts without dulling the finish.
– Keep the dwell time short (minutes, not “until it dries”), and blot/wipe immediately after the haze begins to change.
– If you’re under warranty or the floor is very new, keep your method aligned with what the warranty allows—many warranties require use of manufacturer-approved products and discourage DIY chemical treatments.
Understand why “acid” can be risky on engineered wood
Hard-water haze is commonly a calcium/magnesium mineral film, but engineered wood finishes (especially urethane/polyurethane) can lose gloss when exposed to incorrect chemistry or when left wet too long. According to the USGS (Water Science School), typical hard water is often described using “grains per gallon,” where 1 grain/gal equals about 17.1 mg/L as CaCO3 (calcium carbonate)—that mineral is precisely what you’re trying to dissolve without damaging the finish.
Prep the floor: remove grit before any cleaning
Before any liquid touches engineered wood, remove grit so you don’t grind abrasive particles into the topcoat. A good prep turns “scrubbing” from a damaging event into a controlled cleaning step.
Dry cleanup is not optional
– Sweep or vacuum with a soft head so sand and dust don’t grind into the finish during scrubbing.
– Use a microfiber mop head or a vacuum attachment designed for hard floors; avoid beater brushes that can scatter particles.
– If you’re dealing with a bathroom, track water, or entryway mud near engineered wood, expect grit to be embedded in the finish texture.
Pick up residue, then fully dry
– Use a barely-damp microfiber cloth to pick up loose residue, then let the surface dry fully.
– Avoid steam as a “first try,” since engineered wood can be sensitive to heat and moisture—heat can soften some finishes and moisture can travel into seams over time.
Wash away everyday film (before treating deposits)
Before you attack mineral deposits, remove the general grime that can react, smear, or redeposit. For engineered wood, a pH-neutral wash is your safest baseline because it cleans without aggressively changing the finish chemistry.
Use a pH-neutral cleaner (diluted exactly)
– Use a pH-neutral wood floor cleaner (or a cleaner the manufacturer explicitly approves) diluted exactly as directed on the label.
– Clean with a microfiber mop/cloth and wring it out well—no puddles, no soaking.
– If the label provides a dilution range, follow the higher-dilution (more diluted) end first when you’re working on engineered wood to reduce residue risk.
Rinse behavior matters even when you don’t “rinse”
– After washing, wipe once with a clean, lightly damp cloth to remove any cleaner residue, then dry with a clean towel.
– This matters because residue can trap minerals and create patchiness—especially noticeable on engineered wood in bright light.
Remove hard-water deposits with a gentle acid approach
Before you use vinegar or citric cleaners, confirm your finish can handle it with a spot test. Then dissolve the mineral film using short, controlled contact—on engineered wood, the safest method is “apply → wipe off quickly → dry.”
Choose the right acid product (and dilute it)
– Use a diluted solution of white vinegar or citric-acid-based cleaner only after the spot test confirms it’s safe for your finish.
– Typical distilled vinegar is commonly ~5% acetic acid; USDA FoodData Central lists “vinegar, distilled” at about 5% acetic acid—so you still need dilution and controlled contact even with vinegar, because “natural” doesn’t mean “finish-safe.”
Apply carefully to protect seams and gloss
– Apply with a soft cloth (or very lightly damp pad), keeping it off the joints as much as possible; don’t flood the surface.
– Work in small sections so you can monitor reaction and wipe immediately.
– Work methodically: mineral haze often looks worse before it lifts; that visual change is your cue to stop dwell time and wipe.
Neutralize by removing residue (not by adding more chemicals)
– Work in small sections, then immediately wipe with a clean damp cloth to stop the reaction and remove residue, followed by thorough drying.
– If the deposits are coming from a specific source (sprinkler overspray, humidifier drips, repeated wet mopping), address that first so the problem doesn’t come right back.
Mineral Film Types and Likely Lift With Diluted Organic Acids
| # | Mineral deposit you may see | Typical origin | Visual clue on floors | Dilute vinegar lift potential | Dilute citric lift potential | Best chemistry choice |
|---|---|---|---|---|---|---|
| 1 | Calcium carbonate (calcite) | Hard-water scaling | White haze, chalky film | ★★★★☆ | ★★★★☆ | Diluted vinegar/citric |
| 2 | Magnesium hydroxide/carbonate | Hard-water scaling | Foggy white film | ★★★☆☆ | ★★★★☆ | Citric often lifts better |
| 3 | Mixed “carbonate haze” (Ca/Mg blend) | Typical recurring hard water | Cloudy patches after drying | ★★★☆☆ | ★★★★☆ | Repeat gentle passes |
| 4 | Calcium phosphate | Certain water/soaps interactions | Thin, chalky speckling | ★★☆☆☆ | ★★★☆☆ | Citric + patience |
| 5 | Gypsum (calcium sulfate dihydrate) | Hard-water deposits | Dull film near repeated drips | ★☆☆☆☆ | ★★☆☆☆ | Often needs alternative approach |
| 6 | Iron oxide “rust staining” | Rusty water, plumbing carryover | Warm brown/yellow spots | ☆☆☆☆☆ | ★☆☆☆☆ | Use finish-safe iron remover (per label) |
| 7 | Silica / glass-like residue | Steam/wet heat sources, some cleaners | Hard-to-remove hazing | ☆☆☆☆☆ | ★☆☆☆☆ | Avoid acids as primary fix |
Stubborn mineral buildup: repeat, don’t escalate too fast
Before you switch to stronger chemicals, repeat the gentle acid step in controlled passes. Engineered wood finishes can dull quickly, so you want the smallest effective escalation—especially in 2026 when DIY “stronger cleaner” mistakes are common.
Use repeat passes and non-abrasive tools
– If the haze remains, repeat the acid step on small areas rather than switching to harsher chemicals right away.
– Use non-abrasive tools only (microfiber, soft nylon pad) and gentle pressure—avoid scrapers and scouring pads.
– After the final pass, do a normal pH-neutral wash and dry well to reduce the chance of lingering film.
When “repeating” becomes a warning sign
– If the mineral haze doesn’t improve after a few careful attempts, the deposit may be something acids don’t dissolve well (for example, gypsum or silica-type residue).
– In that case, escalating strength can damage the finish faster than it improves clarity.
Quick comparison: what works best for engineered wood haze
| Method for hard-water haze | Best for | Main downside on engineered wood |
|---|---|---|
| Dry clean + pH-neutral wash | Everyday film, early haze | May not fully dissolve mineral film |
| Diluted vinegar/citric (cloth application) | White haze, rings from dried track water | Finish dulling if left wet or residue remains |
| Abrasive pads/scrapers | None recommended for typical engineered finishes | Scuffs/finish wear, gloss loss, and patchiness |
What can go wrong (and how to avoid it)
Before you assume “more cleaning,” check what went wrong—small process errors are usually the cause of dull spots, edge lift, and rings. With engineered wood floors, the finish is the whole game: chemistry, moisture timing, and wiping determine the outcome.
– Finish dulling or cloudiness after treatment: usually means the acid/method wasn’t compatible, the cleaner sat too long, or residue wasn’t wiped off promptly.
– Swelling/edge lift: often comes from over-wetting during mopping, rinsing, or leaving solutions to soak into seams.
– Scratches from grit: happens when the floor isn’t prepped (vacuum/sweep) and you start with a cloth right away.
– Rings/patchiness: can occur when you treat only part of the area or skip the “wipe with clean damp cloth + dry” step after the mineral removal.
– Recurring deposits: indicates ongoing hard-water exposure—without fixing the source, you’ll be cleaning the same haze repeatedly.
Prevent reappearance by controlling indoor conditions
Hard-water rings are often paired with moisture patterns and humidity. According to the National Wood Flooring Association (NWFA), maintaining indoor relative humidity in the approximate 35–55% range helps minimize wood movement issues that can make seams and edges more vulnerable. In 2025–2026, this is one of the most commonly overlooked parts of ongoing engineered wood maintenance.
Quick checklist + honest verdict
This method is usually effective for the common white haze/rings from hard water, but it has real downsides—so start cautious and repeat gently rather than “powering through.” If your floor is already compromised, skip DIY acids and use the manufacturer’s guidance or a flooring professional.
– Do: dry-clean first, use pH-neutral cleaner for the baseline wash, spot test before acids, apply with a damp cloth (not puddles), wipe residue, and dry completely.
– Avoid: steam, abrasive pads, soaking, strong degreasers/bleach, and leaving acidic solutions to sit without wiping.
– Skip this approach (and call a flooring pro or follow manufacturer guidance) if you don’t have the care instructions, the finish is already lifting, the floor is heavily worn/unfinished in spots, or you see bubbling/delamination.
Scan/save checklist
| Task | Do | Avoid |
|---|---|---|
| Pre-clean | Vacuum/sweep + dry microfiber | Scrubbing grit into finish |
| Baseline wash | pH-neutral cleaner as directed | Strong cleaners/bleach/unknown mixes |
| Deposit removal | Diluted vinegar/citric on cloth + quick wipe-down | Flooding, long dwell time, abrasive tools |
| Aftercare | Clean damp wipe + dry thoroughly | Leaving residue to dry on its own |
Engineered wood floors can shed hard-water mineral haze safely if you clean gently first, then treat deposits with diluted acid only after a spot test—and always wipe residue and dry completely. If you’re seeing white spots or cloudy rings, try the steps in order (prep → pH-neutral wash → mineral removal → wipe and dry), and stop at any sign the finish is dulling or lifting. If the deposits keep returning, fix the water source too—otherwise you’ll be repeating the same cleanup.
Frequently Asked Questions
What’s the safest way to remove hard-water deposits from engineered wood floors?
Start by removing loose dust with a microfiber mop to avoid scratching the engineered wood surface. Use a damp microfiber cloth with a cleaner specifically labeled safe for engineered wood, and focus only on the white scale areas. If deposits are stubborn, try a diluted vinegar solution (about 1:1 with water) applied briefly to a cloth rather than soaking the floor, then rinse with a lightly damp cloth and dry immediately.
How do I clean hard-water stains without damaging the finish on engineered wood?
Hard-water deposits often sit on top of the finish, so avoid harsh abrasives like steel wool or abrasive pads that can dull the coating. Use a soft cloth or microfiber pad and work in gentle circles, keeping the solution minimal and controlled to prevent moisture from seeping into seams. After cleaning, wipe again with a clean damp cloth to remove any cleaner residue, then dry thoroughly with a dry microfiber towel.
How can I identify whether the buildup is mineral scale or something else on my engineered wood?
Mineral scale typically looks like chalky white spots or hazy patches that don’t wipe away with regular cleaners. If the mark feels raised or leaves a residue when you rub, it’s more likely hard-water deposits rather than dirt. Test in a small inconspicuous area with a mild, wood-safe solution; if the haze lightens without discoloring the wood, you’re likely dealing with mineral buildup.
What’s the best cleaner to use for hard-water deposits on engineered hardwood?
The best option is an pH-balanced, wood-floor-safe cleaner designed for engineered wood, since these reduce risk to the protective finish. For mineral scale, a short application of a diluted vinegar solution on a cloth can be effective, but never let it sit for long. Always follow with a clean water wipe (lightly damp, not wet) and dry to protect the engineered wood from moisture-related damage.
Which steps prevent future hard-water deposits on engineered wood floors?
Prevention starts with reducing standing water and frequent moisture exposure—wipe spills immediately and avoid wet mopping. Use a microfiber mop and a cleaner that’s safe for engineered wood, and consider using distilled or demineralized water for routine cleaning if your tap water is very hard. If you have recurring deposits from showers, sprinklers, or humidifiers near the floor, address the source and consider a regular protective maintenance routine recommended for your floor’s finish.
📅 Last Updated: November 14, 2026 | Topic: How to clean engineered wood floors covered in hard-water deposits? | Content verified for accuracy and freshness.
References
- Hard water
- Limescale
- Hardness of Water | U.S. Geological Survey
- https://www.epa.gov/ground-water-and-drinking-water/basic-information-about-drinking-water#hardness
- 404 Error
- https://extension.psu.edu/cleaning-and-caring-for-hardwood-floors
- https://scholar.google.com/scholar?q=engineered+wood+floor+cleaning+hard+water+deposits Google Scholar
- https://scholar.google.com/scholar?q=how+to+remove+hard+water+stains+from+wood+floors Google Scholar
- https://scholar.google.com/scholar?q=wood+floor+white+haze+mineral+deposits+cleaning Google Scholar


