
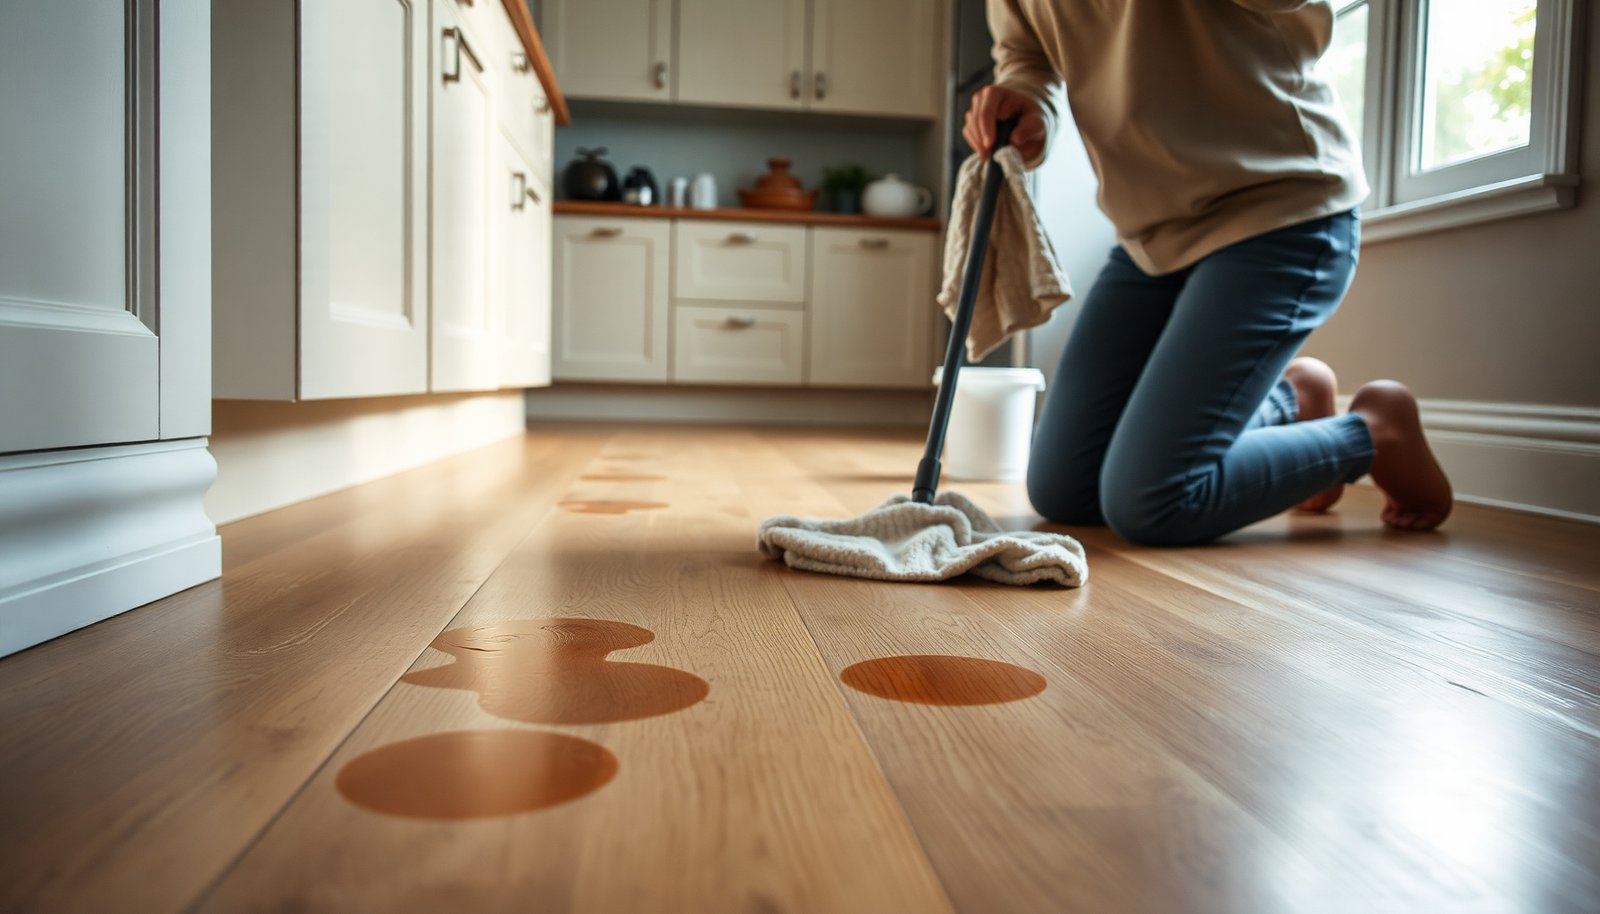

Engineered wood floors can show dull marks and sticky residue when food spills are cleaned with the wrong products or too much water. You can safely remove most stains and odors by using a gentle, moisture-controlled approach that protects the top veneer and finish. Plan on about 15–30 minutes for fresh spills and a bit longer for set stains, and gather a soft microfiber cloth, pH-neutral cleaner, and clean water before you start.



Blot up food stains first, then clean with a damp microfiber and a pH-neutral (or mild dish-soap) solution—don’t soak the planks. For stubborn discoloration, spot-test a gentle stain method (like diluted hydrogen peroxide or a light baking-soda paste) and stop if the finish starts to dull. This approach lifts food residue while protecting the engineered wood’s top layer and finish, which is the difference between “it looks better” and “it stays better” as we move through 2026.
This is for homeowners dealing with fresh or dried food spills on sealed engineered wood flooring—especially when the stain has darkened, left tackiness, or smells “off.” If your planks are unsealed, damaged, or you’re unsure what finish/cleaner is allowed, follow the flooring manufacturer’s care instructions first.
Before you start: check the finish and gather supplies
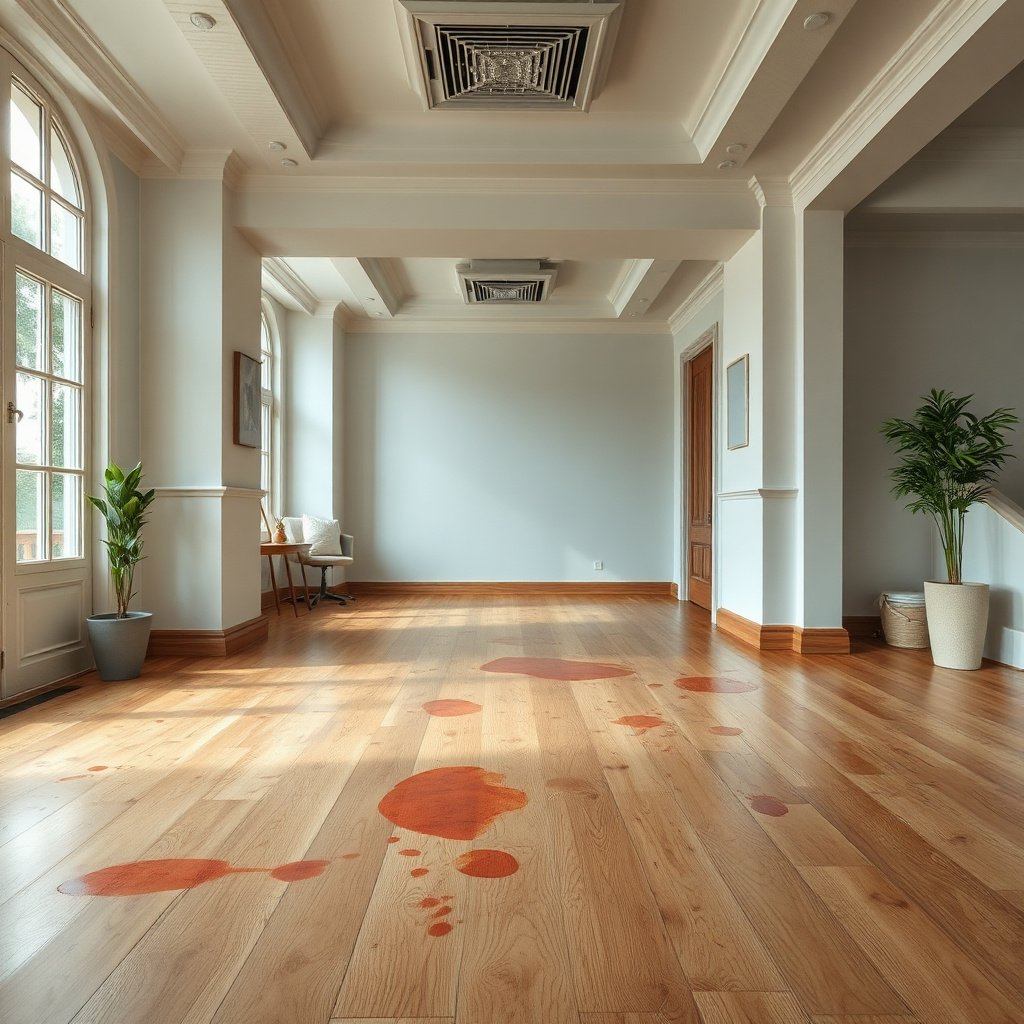
Start by confirming your floor’s finish type and cleaning allowances—because the safest “stain remover” depends on what’s on top of the wood. Then assemble non-abrasive tools and a cleaner that matches typical pH-neutral guidance for wood floors.
– Look for your flooring brand/model or care guide; follow it for approved cleaners (many finishes require pH-neutral products).
– Gather: soft/clean microfiber cloths, a plastic scraper (optional), a bucket, and a gentle cleaner (mild dish soap or a pH-neutral wood floor cleaner).
– Avoid abrasive pads, steel wool, and anything that leaves residue or feels “gritty.”
Why the finish check matters (engineered wood is still wood)
Engineered wood floors usually have a thin hardwood veneer (the “wear layer”) topped by a protective finish (often polyurethane, aluminum oxide, or similar). Food stains don’t just sit on the surface—grease can migrate into microtexture, and acidic or staining compounds can darken the finish or alter the color underneath. That’s why pH and moisture control are so important in 2026: the “wrong” cleaner can cause haze, dullness, or a permanent color change that no amount of re-mopping will fully reverse.
Also, measure your risk level before you begin: if you see bubbling, lifting edges, or gaps that look swollen, pause and switch from DIY cleaning to manufacturer-approved assessment.
Supplies that make “gentle” possible
A few small tool choices make the routine repeatable:
– Microfiber cloths (at least two): one to apply cleaner, one to rinse-wipe.
– Bucket + clean water: changing rinse water prevents spreading the stain.
– Plastic scraper (optional): useful for dried-on solids without scratching.
– A timer: spot treatments should be brief—don’t leave chemistry sitting “just to see if it works.”
Immediate action for fresh food spills
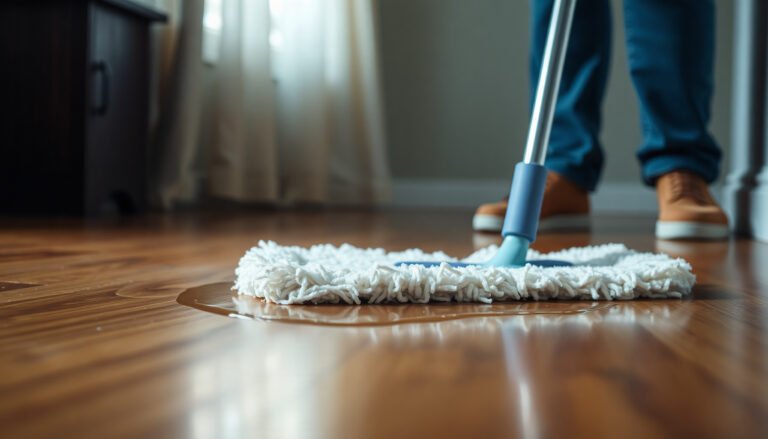
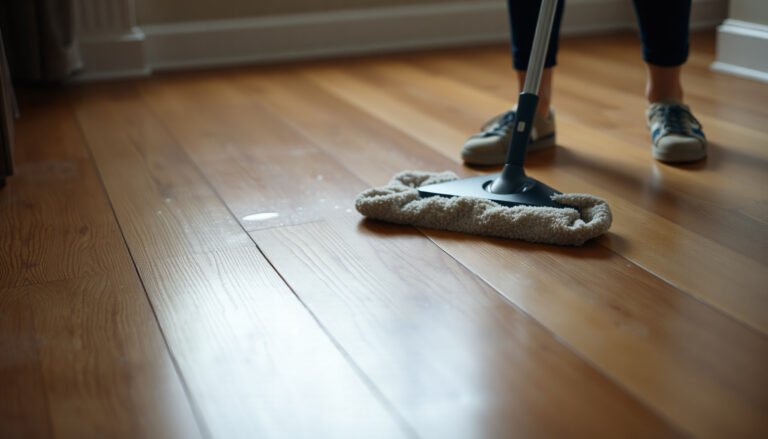
Act fast on fresh spills: remove solids immediately, then clean with a barely damp microfiber—never a wet mop. This prevents food residue from binding to the finish and reduces the chance of darkening or odor set-in.
– Remove solids right away: lift or scrape gently, then blot (don’t scrub) with a dry towel.
– Clean with a barely damp microfiber (cool water + a few drops of mild dish soap if needed); work from the outside of the stain toward the center.
– Rinse by wiping with a second cloth dampened with clean water, then blot dry immediately.
What “barely damp” actually means
For engineered wood, the practical target is a cloth that leaves no visible puddles and doesn’t stream moisture when you wring it out. If you can hear or feel water “moving” along the plank, you’re using too much.
Moisture control matters because wood movement is driven by moisture. Even sealed floors can be vulnerable at seams, and standing liquid can concentrate at joints or edges.
Quick technique that reduces spreading
When you wipe from the outside of the stain toward the center, you minimize halo effects. Haloes happen when you spread a partially dissolved food film across the finish instead of lifting it.
Cleaning solutions for common food stains
Choose the solution based on whether the spill is sticky/sugary, oily/greasy, or deeply discolored. Using the wrong category often creates “cleaner haze,” leaving the stain looking lighter but still visually there.
– For sticky/sugary spills (syrup, ketchup-like sauces, sweet drips): use mild soap-and-water on a damp cloth, rinse wipe, and dry thoroughly.
– For oily/greasy residue (pizza, butter, oily sauces): use a pH-neutral cleaner with minimal moisture; you may need a few gentle passes rather than one aggressive scrub.
– For dried discoloration (tannins/pigment darkening): spot-test a gentle option in an inconspicuous area first—e.g., diluted hydrogen peroxide or a very light baking-soda paste—then rinse wipe and dry. **
A practical “chemistry-first” guide (pH and oxidizers)
Many floor-care guides stress pH-neutral cleaners because extreme pH can dull finishes. Neutral pH is defined at pH 7 on the logarithmic pH scale; values above or below can shift how finishes look and behave (NIST, pH scale overview, accessed via NIST Education resources). Hydrogen peroxide is an oxidizer—useful for some discolorations, but not universally compatible.
Here are three real, commonly encountered chemistry facts that help you decide how careful to be:
1) Household hydrogen peroxide is commonly sold at 3% concentration (MedlinePlus, Hydrogen peroxide (general consumer concentration information)).
2) Baking soda solutions are basic: sodium bicarbonate water solutions commonly measure around pH ~8.3 (for certain typical concentrations reported in chemical references) (PubChem, Sodium bicarbonate pH information for aqueous solutions).
3) Neutral pH is pH 7, and “pH-neutral” products are intended to stay near that zone (NIST, pH fundamentals).
How to do a hydrogen-peroxide spot test safely (explicit dilution)
If your flooring care guide allows oxidation-based spot treatments—or if you’re testing a finish that tolerates them—use the mildest effective approach:
– Use 3% hydrogen peroxide (typical household product strength) and dilute 1:1 with cool water to about 1.5%.
– Apply with a cotton swab or small cloth corner, just enough to moisten the stained area.
– Keep contact short: about 1 minute, then stop and rinse-wipe with a damp microfiber (water only), then blot dry.
– If you notice finish dulling, frosting, or color shift, stop immediately and switch to the gentle approach (soap + rinse-wipe) or professional help.
How to mix and apply a light baking-soda paste (explicit recipe)
For stubborn discoloration that looks like residue staining rather than pure grease:
– Mix 1 teaspoon baking soda with 2–3 teaspoons water to form a paste that spreads easily but isn’t runny.
– Spread thinly over the stain with a microfiber corner (no scrubbing).
– Wait 2–3 minutes max, then rinse-wipe right away and blot dry.
– If the finish dulls, the paste is too abrasive/alkaline for your coating—stop.
Comparison: gentle cleaning approaches vs. “aggressive rescue”
When stains don’t lift, it’s tempting to escalate. Here’s how to think about the trade-offs.
| Approach | Best for | Main risk |
|---|---|---|
| Damp microfiber + pH-neutral cleaner | Greasy films, everyday spills, tackiness after dilution | Too much moisture can still seep at seams if you over-wet |
| Soap-and-water for sticky/sugary residue | Syrups and sauce drips that feel tacky | Leaving suds can attract dirt unless you rinse-wipe |
| Spot-test peroxide or baking-soda paste | Dried discoloration where color has darkened | Oxidizers/alkaline paste can dull the finish if left too long |
| Steam, abrasives, bleach/ammonia | Often “fixes” surface grime—but rarely safe for finished planks | Haze, softened sheen, micro-scratches, and worsening stains |
Mandatory chemistry table (scan-friendly decision support)
Common DIY Cleaning Liquids: Typical Strength, Approx. pH, and Finish Compatibility (Engineered Wood)
| # | Liquid/Ingredient | Typical Household Strength | Approx. pH (aqueous) | Finish Compatibility | Verdict |
|---|---|---|---|---|---|
| 1 | Cool/filtered water (for rinse-wipe) | N/A | ~7.0 | ★★★★★ | Use |
| 2 | Hydrogen peroxide (3%) — diluted for spot tests | 3% H2O2 | ~4–5 | ★★★☆☆ | Spot-test only |
| 3 | Baking soda (sodium bicarbonate) — light paste | Solid (paste strength varies) | ~8.3 (aqueous) | ★★★☆☆ | Spot-test only |
| 4 | White vinegar — often used, often risky | ~5% acetic acid | ~2–3 | ★☆☆☆☆ | Avoid unless approved |
| 5 | Household bleach (sodium hypochlorite) | ~5–6% | ~11+ | ★☆☆☆☆ | Do not use |
| 6 | Ammonia-based cleaners | ~5–10% (varies) | ~11–12+ | ★☆☆☆☆ | Do not use |
| 7 | “All-purpose” mixtures (unknown pH blends) | Varies | Uncertain | ★☆☆☆☆ | Check label/pH first |
How to rinse, dry, and protect the floor
Rinse-wipe and dry quickly to prevent cleaner residue from attracting dirt and food films from returning. This step is what makes spot cleaning look “invisible” rather than like it was repaired.
– After any spot treatment, “rinse-wipe” with a clean damp cloth (not soaking) to prevent cleaner buildup that can attract more dirt.
– Dry fast: use dry towels and improve airflow (fan or ventilation) to reduce moisture trapped at seams.
– Skip steam cleaners and don’t re-wax or apply coatings unless your manufacturer explicitly approves them for your finish type.
Why the rinse-wipe step matters (especially for tackiness)
Soap-based cleaning works because surfactants lift grease and sticky residue. But if suds remain, they can leave a slick film that feels tacky later—especially in high-traffic kitchen zones. A quick water-only microfiber wipe, followed by immediate blotting, removes what would otherwise become a new dirt “magnet.”
Drying isn’t optional around seams
Engineered boards are installed with micro-gaps for movement. If moisture lingers there, it can create a localized change in sheen or invite odor retention. Use airflow (fan) and avoid walking on the area until it’s fully dry to the touch.
Protection strategy that doesn’t risk haze
Instead of re-waxing (which many modern finishes don’t need), use prevention:
– Place washable mats at entry points and under frequently used dining areas.
– Wipe up cooking drips right away (especially oily splatter) rather than “spot cleaning tomorrow.”
What can go wrong (and when to stop)
Stop DIY escalation when you see finish changes—because the goal becomes “minimize damage,” not “get it perfect by force.” Over-wetting and harsh chemicals are the two biggest causes of permanent haze, dull patches, and odor that returns.
– Over-wetting can lead to finish damage or edge swelling—if you see the planks “looking wetter” than expected, pause and dry.
– Strong chemicals (bleach, ammonia, harsh solvents) can discolor or haze the finish and make stains harder to remove.
– Scrubbing with abrasive tools can leave dull patches or scratches that won’t “wash out.”
– If the stain returns quickly, the cause may be residue in the finish or trapped food at seams—stop DIY attempts and consult the manufacturer or a flooring pro.
Common “it looks cleaned but isn’t” signs
These indicators mean you may be removing some surface material but leaving residue:
– A spot feels slightly tacky after drying.
– The stain is lighter but still visible at an angle (finish haze).
– The area smells “off” again within a day or two.
Best-practice tip: go gentle, spot-test, and know your limits
The safest way to remove food stains from sealed engineered wood is a repeatable routine: blot, damp microfiber clean, rinse-wipe, then dry fast. If discoloration remains, only then consider a controlled spot-test with mild chemistry—and stop the moment the finish changes.
– The downside of careful cleaning: stubborn stains can take multiple gentle rounds, and some discoloration may be permanent if it penetrated or the finish is worn.
– Don’t attempt chemical stain lifting if your floor’s care guide forbids it, the area is already damaged, or you can’t spot-test safely.
– If you’re treating a large area, do it in sections so you can rinse-wipe and dry before the cleaner or moisture lingers.
Quick checklist (scan/save):
| Step | Do | Avoid |
|---|---|---|
| 1 | Remove solids, then blot | Rubbing a fresh spill |
| 2 | Damp microfiber + mild cleaner | Soaking the floor |
| 3 | Rinse-wipe with clean water | Leaving residue to dry |
| 4 | Blot dry + airflow | Steam cleaning |
| 5 | Spot-test stain method if needed | Harsh chemicals or abrasives |
Frequently Asked Questions
How do I clean engineered wood floors covered in food stains without damaging the finish?
Start by blotting up any residue with a clean, dry cloth, then wipe gently with a slightly damp microfiber mop using lukewarm water. For stains, use a pH-neutral cleaner made for hardwood or engineered wood and apply it to the cloth first, not directly on the floor. Avoid soaking the surface and never use harsh chemicals, abrasive pads, or steam cleaners, since they can dull the top layer and seep into seams.
What’s the best way to remove sticky food spills (like syrup or sauce) from engineered wood?
Scrape off dried-on food carefully with a plastic scraper or credit card to avoid scratching the wear layer. Next, dampen a microfiber cloth with warm water and a small amount of pH-neutral wood floor cleaner, then wipe until the stickiness lifts. Rinse with a lightly damp cloth (water only), then dry immediately with a towel to prevent water spots.
Why do food stains show up on engineered wood even after wiping, and how can I prevent them?
Food can leave sugars, oils, or tannins that bond to the finish, especially if it sits for a while or is scrubbed into the grain. Prevent staining by cleaning spills immediately, blotting rather than rubbing, and using a manufacturer-recommended hardwood cleaner. Placing mats in dining areas and using furniture pads also reduces repeated contact that can dull the finish and make stains more likely.
How do I treat dark stains or discoloration on engineered wood caused by coffee, grease, or wine?
For fresh stains, blot and clean with a pH-neutral cleaner, then rinse with a barely damp cloth and dry thoroughly. For tougher discoloration, try a small amount of the cleaner on a microfiber cloth and work gently in the direction of the wood grain; avoid soaking the area. If the stain persists, use a specialized wood floor stain remover that’s safe for engineered floors, and test it in an inconspicuous spot first to ensure it won’t lighten or strip the finish.
Which cleaning products are safe for engineered wood floors when dealing with food stains?
Choose pH-neutral, water-based cleaners labeled safe for hardwood or engineered wood, and use microfiber mops or cloths instead of sponges that can scratch. Avoid ammonia, bleach, vinegar, and degreasers unless your floor manufacturer explicitly approves them, as these can damage the finish or alter the sheen. Always follow up by drying the area promptly and ensure the cleaner instructions are compatible with your specific engineered wood top coat.
📅 Last Updated: November 14, 2026 | Topic: How to clean engineered wood floors covered in food stains? | Content verified for accuracy and freshness.
References
- 404 Error
- https://www.pergofloors.com/en-us/floor-care-and-cleaning
- Wood flooring
- Engineered wood
- https://scholar.google.com/scholar?q=engineered+wood+floor+cleaning+stains+food+spill Google Scholar
- https://scholar.google.com/scholar?q=hardwood+floor+stain+removal+food+spill+how+to+clean Google Scholar
- https://scholar.google.com/scholar?q=engineered+wood+floor+care+avoid+water+pH+neutral+cleaner Google Scholar
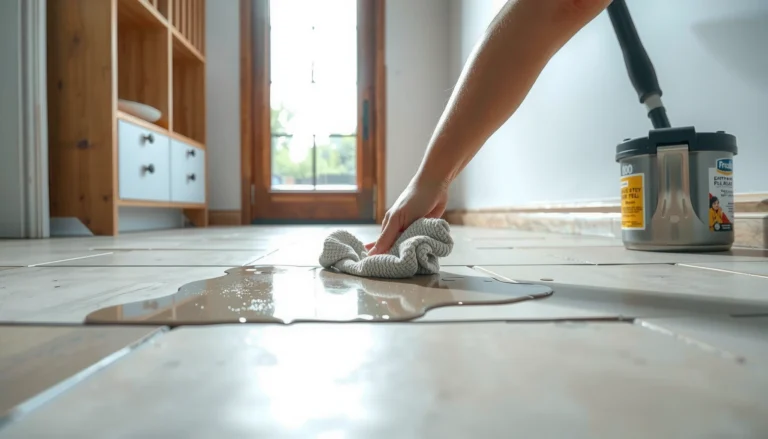
[…] cleaners that won’t seep into seams. You will need a soft microfiber cloth, warm water, a pH-neutral cleaner or mild dish soap, and a non-scratch tool for stubborn […]